I’m excited to share today’s tutorial because it’s quick & easy – and on a windy winter day it’s an even better hairstyle! I’ll even go as far as saying it’s a “hair hack!” But first – I need to announce the winner of our Book Giveaway #1.
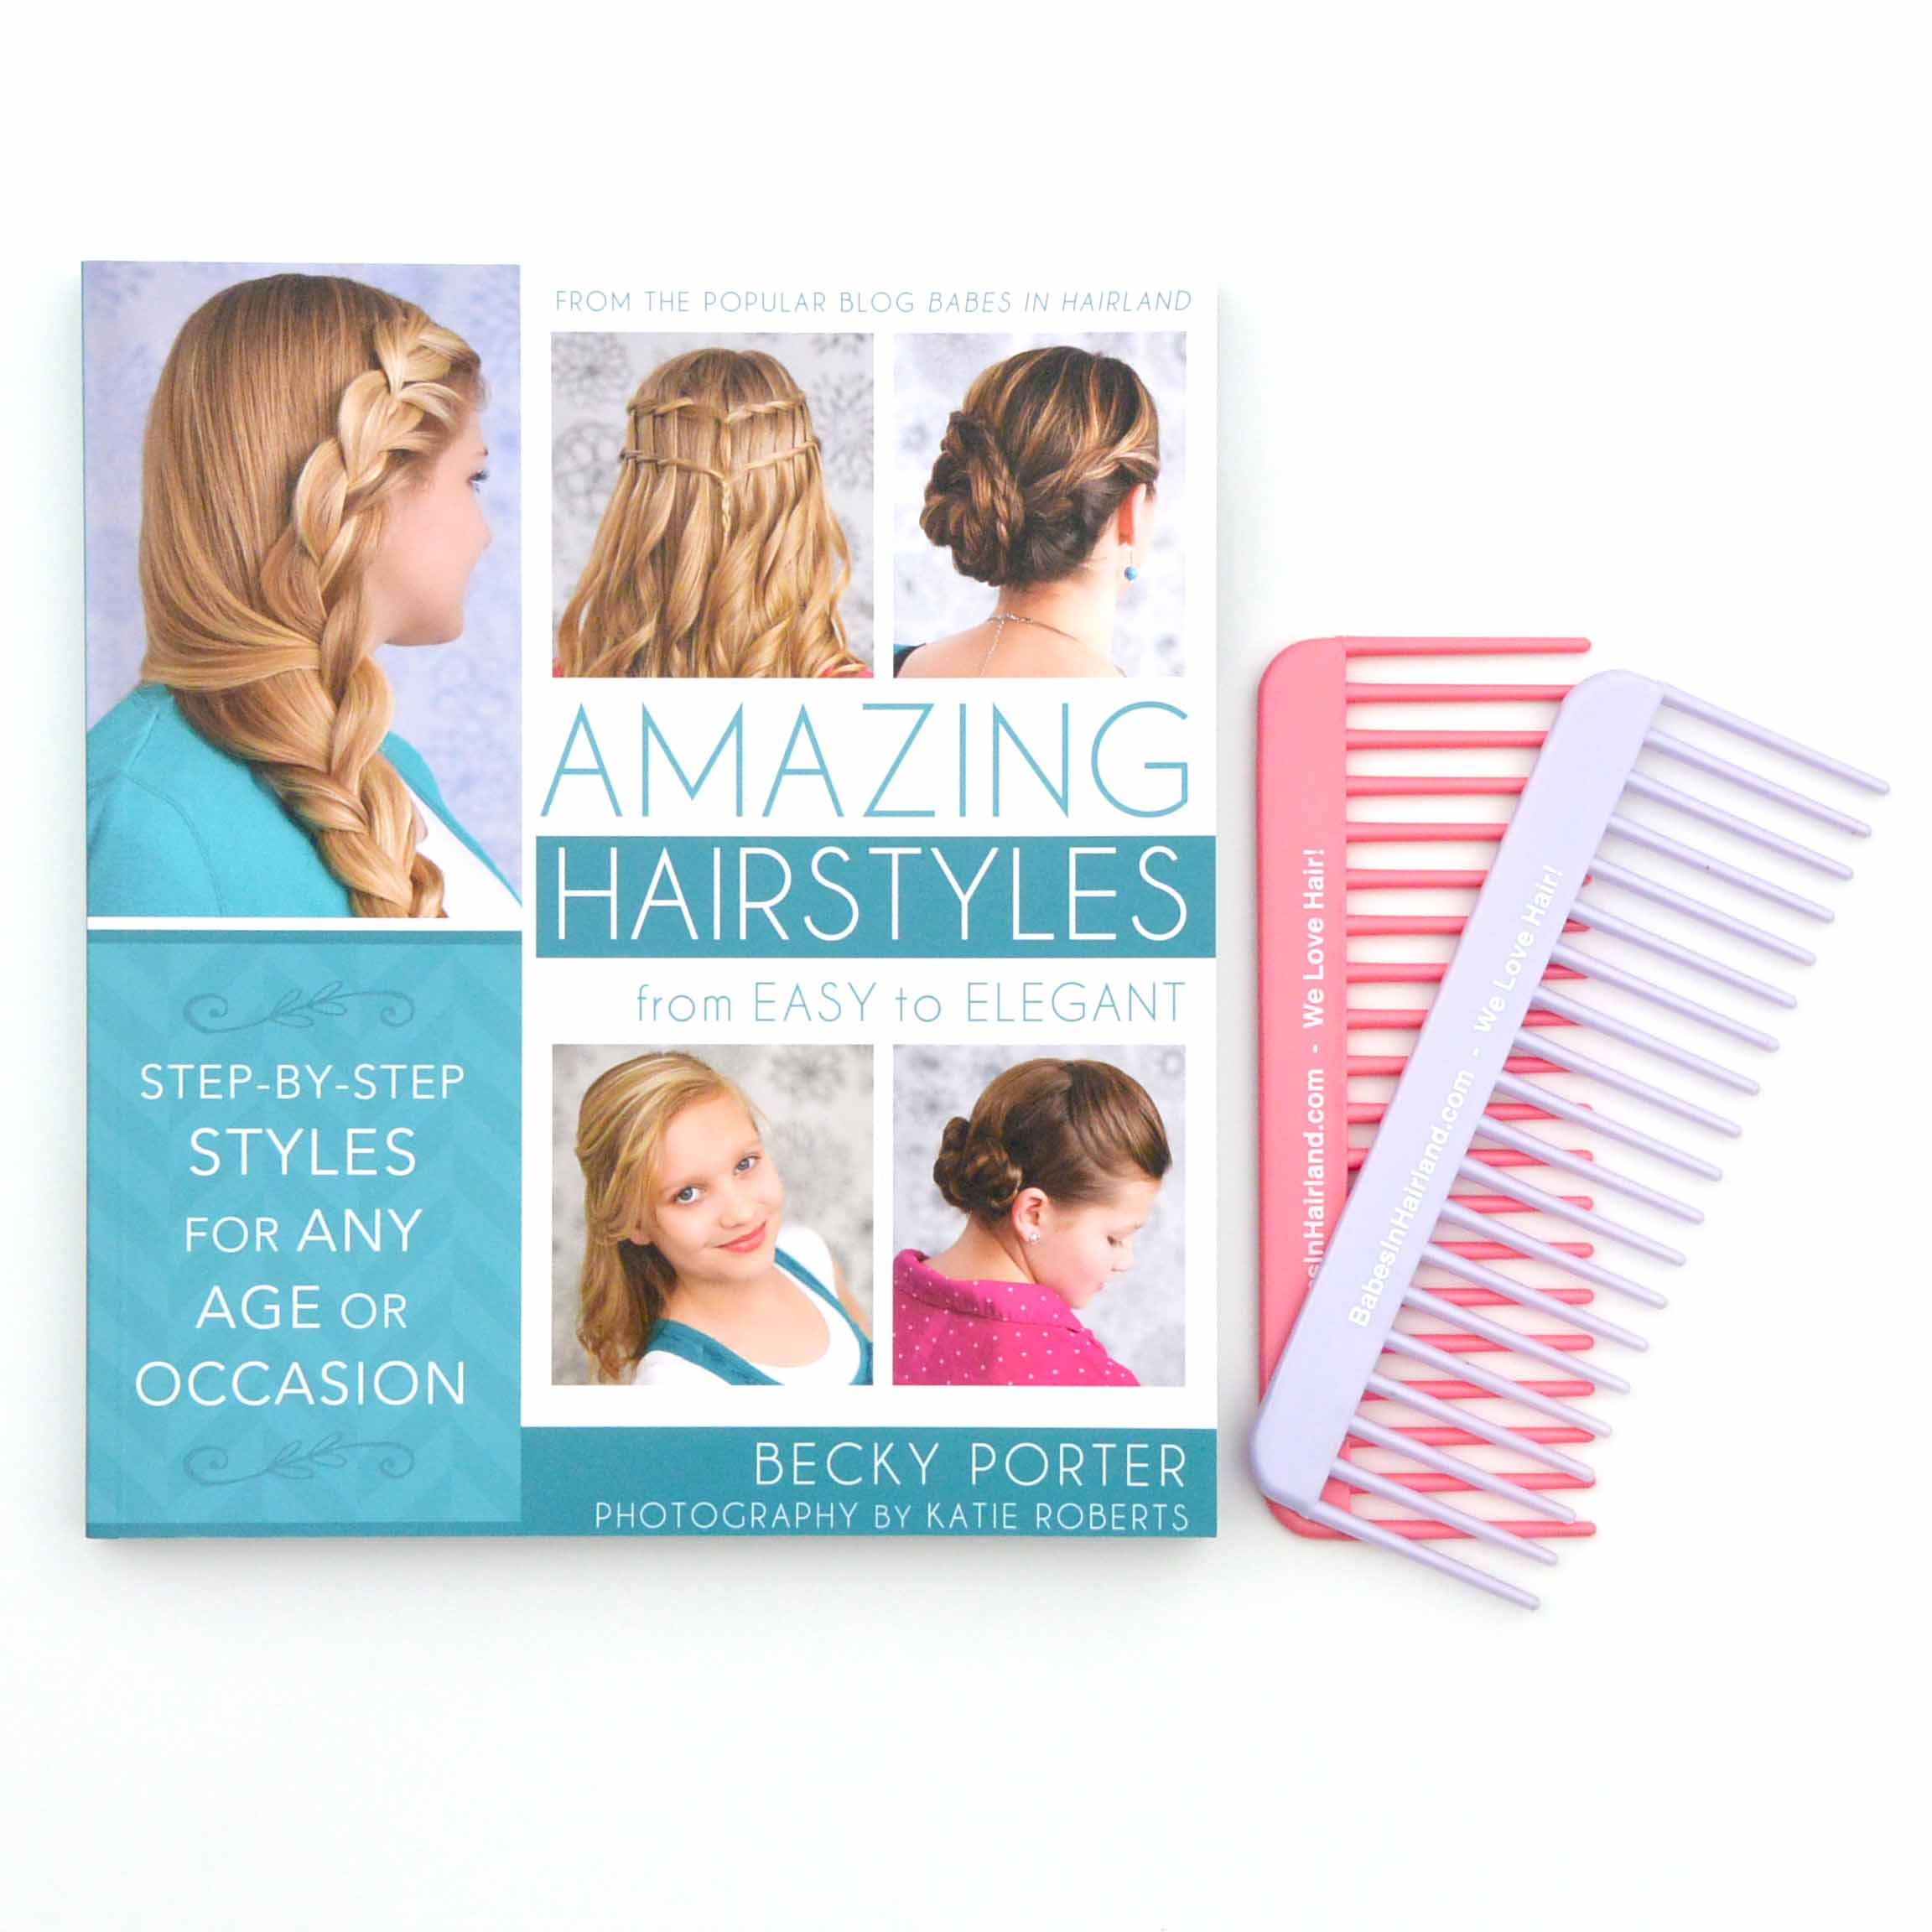 The winner of our new book
Amazing Hairstyles: From Easy to Elegant and
2 of our BabesInHairland.com special edition wide-tooth combs is
…. drum roll please:

So Gerilyn Jensen – check your e-mail (and possibly your spam folder) for an e-mail from us. If you don’t find one, please contact us using our “Contact Form” tab at the top of our blog! Congratulations!
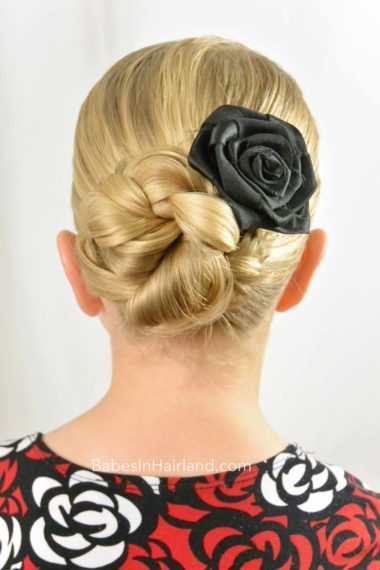
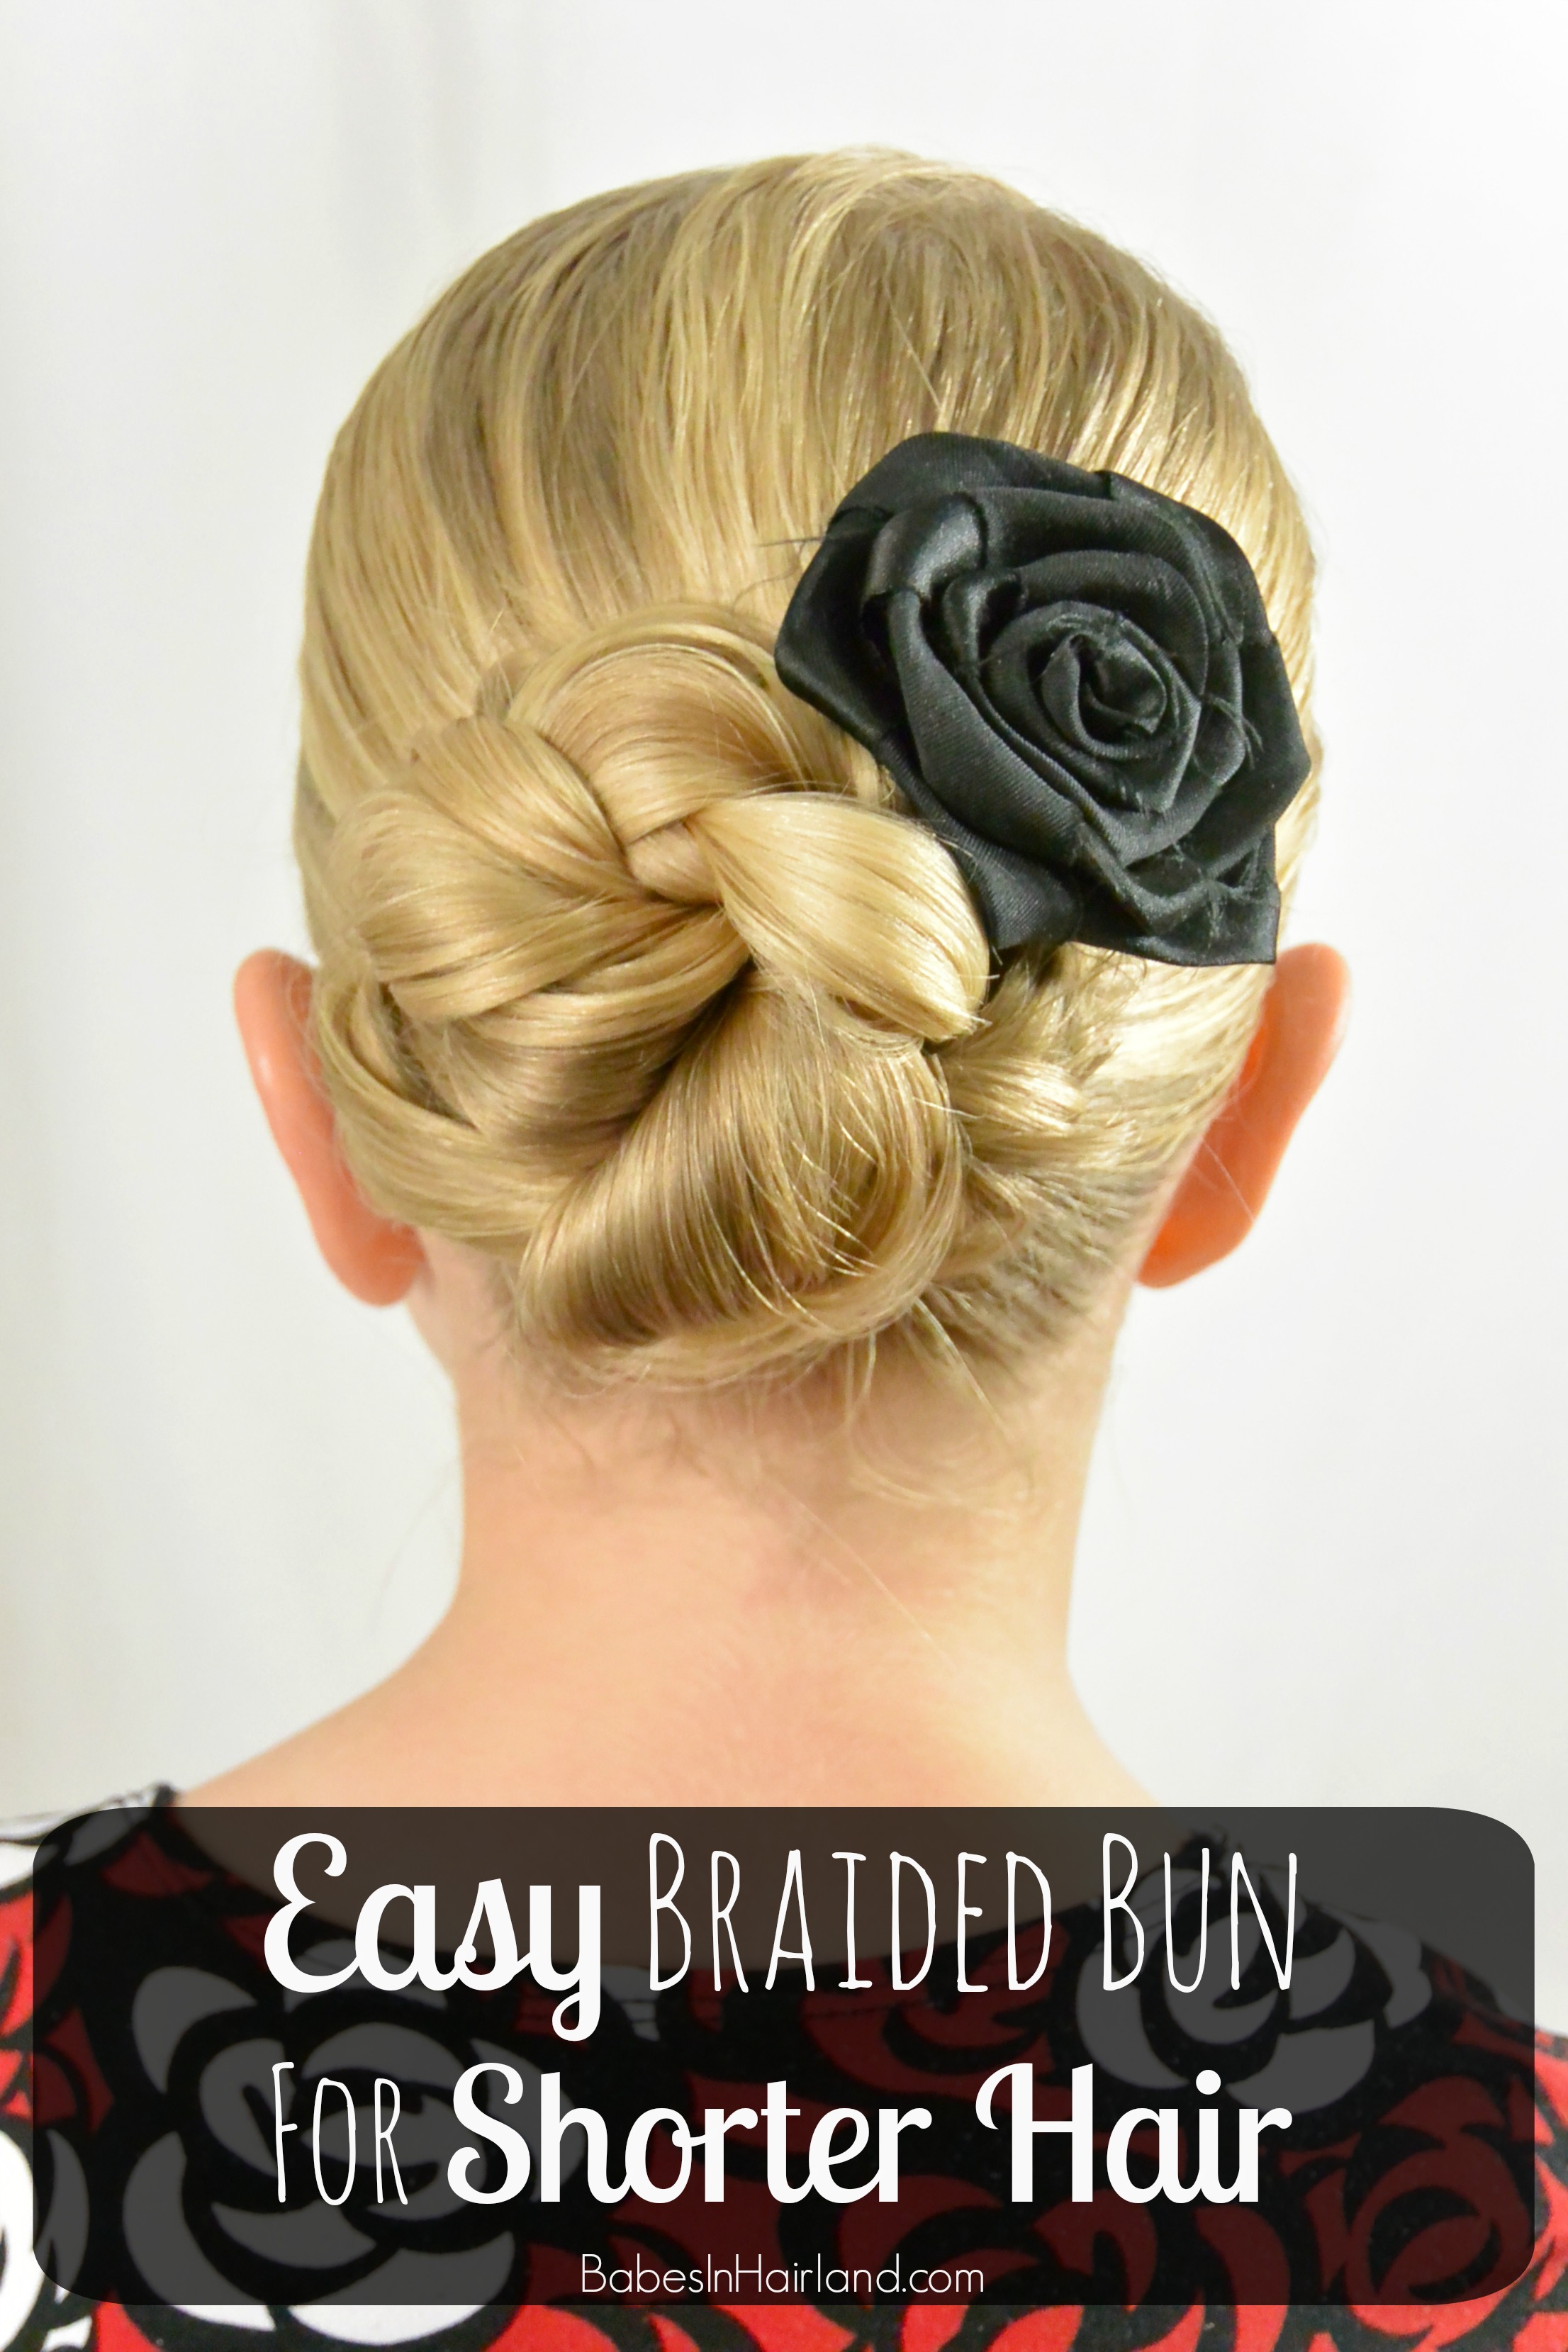
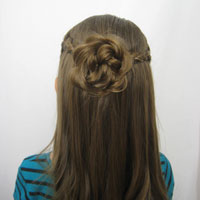
So on with our tutorial! Today’s style may look like an ordinary bun, but it’s one especially for people with shorter hair (like my cute little Bee) or for someone who has finer hair (I’ll explain that in second). Since Bee cut off over 12″ of her hair and donated it, I’ve missed being able to do a pretty braided bun in her hair. I’m talking about the kind where you make a ponytail, braid it, and wrap it up into a bun. Her hair is at the length where if I braid her ponytail it’s rather “stubby” and if I try wrap it up into a bun it doesn’t even make 1 full rotation and it just looks awful. So today’s tutorial is the solution to that problem!
As I mentioned above, this bun is great for someone with finer hair as well. If you have fine hair and when you make a braid and try and wrap it, it just doesn’t create much of a bun, if you divide your hair into 2 or more different sections and braid them, and then wrap them into a bun as shown in the video, it will also give the appearance of having more hair and a thicker nicer looking bun. And of course, as mentioned in the video, you can use more than 2 sections to create this same look – it just depends on your preference. We’ve done it with 2 & 3 different braids and each time it turns out so nice.
Step 1 – Make a ponytail
Step 2 – Divide the ponytail into 2 sections
Step 3 – Make 2 braids in the ponytail & secure the ends with elastics
Step 4 – Draw the left braid up and around and secure with a few bobby pins
Step 5 – Anchor the right braid under the bottom of braid from step 4
Depending on how short the hair you’re working with is, will determine how you need to lay this braid. You’re going to want to wrap it so it covers any gaps in the bun and then tuck the ends in under the braid from Step 4.
Step 6 – Secure with bobby pins as needed
Step 7 – Add a pretty hair accessory (optional)
This pretty black flower is from Gimme Clips.
FINISHED!
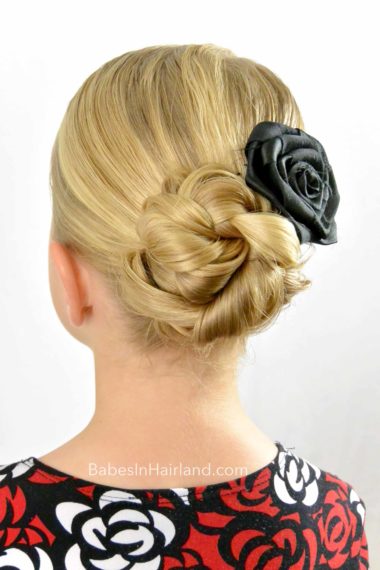
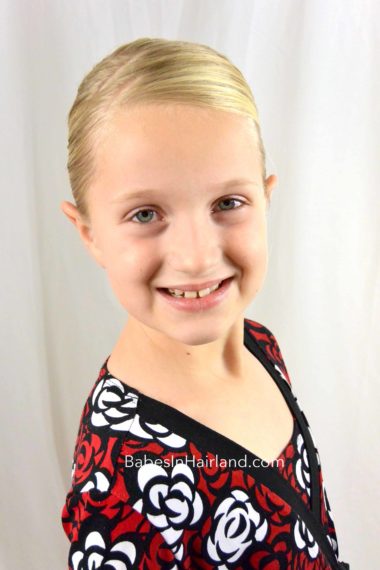
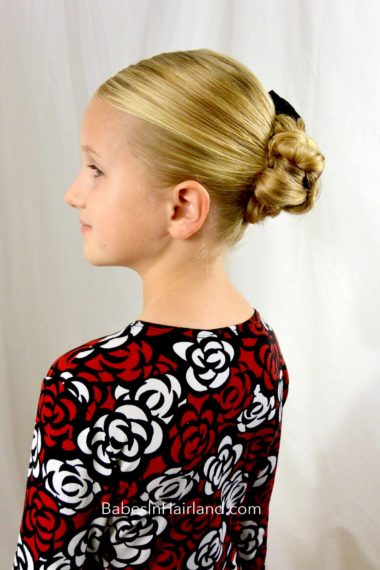

If you’ve got shorter hair, and struggle with buns, check out this playful “Bun for Shorter Hair” we did back on Bug when she’d also cut & donated her hair. Or check out our messy bun tutorial which works great on this length of hair as well.
Love this, i look at your site all the time for ideas…I have a 7 year old the only problem i have is she has super this hair..makes it hard to see the detail in some of the hair styles 🙂 keep up the good work
Thanks so much Meagan! So glad we’ve been able to help! Hope you’ll continue to come back often!
I love this! I have fine hair and am always struggling to find cute styles that work. This looks like something I might be able to manage.
Can you please recommend shampoos, conditioners and detanglers? The cheap stuff for kids doesn’t leave my girls hair looking healthy and shiny.
Thank you
We have used Tre Semme for years and love how it is in the girls (as well as my) hair. It’s not the most expensive stuff out there, but definitely not the cheapest either. We love it, so maybe give that a try. 🙂
Love It