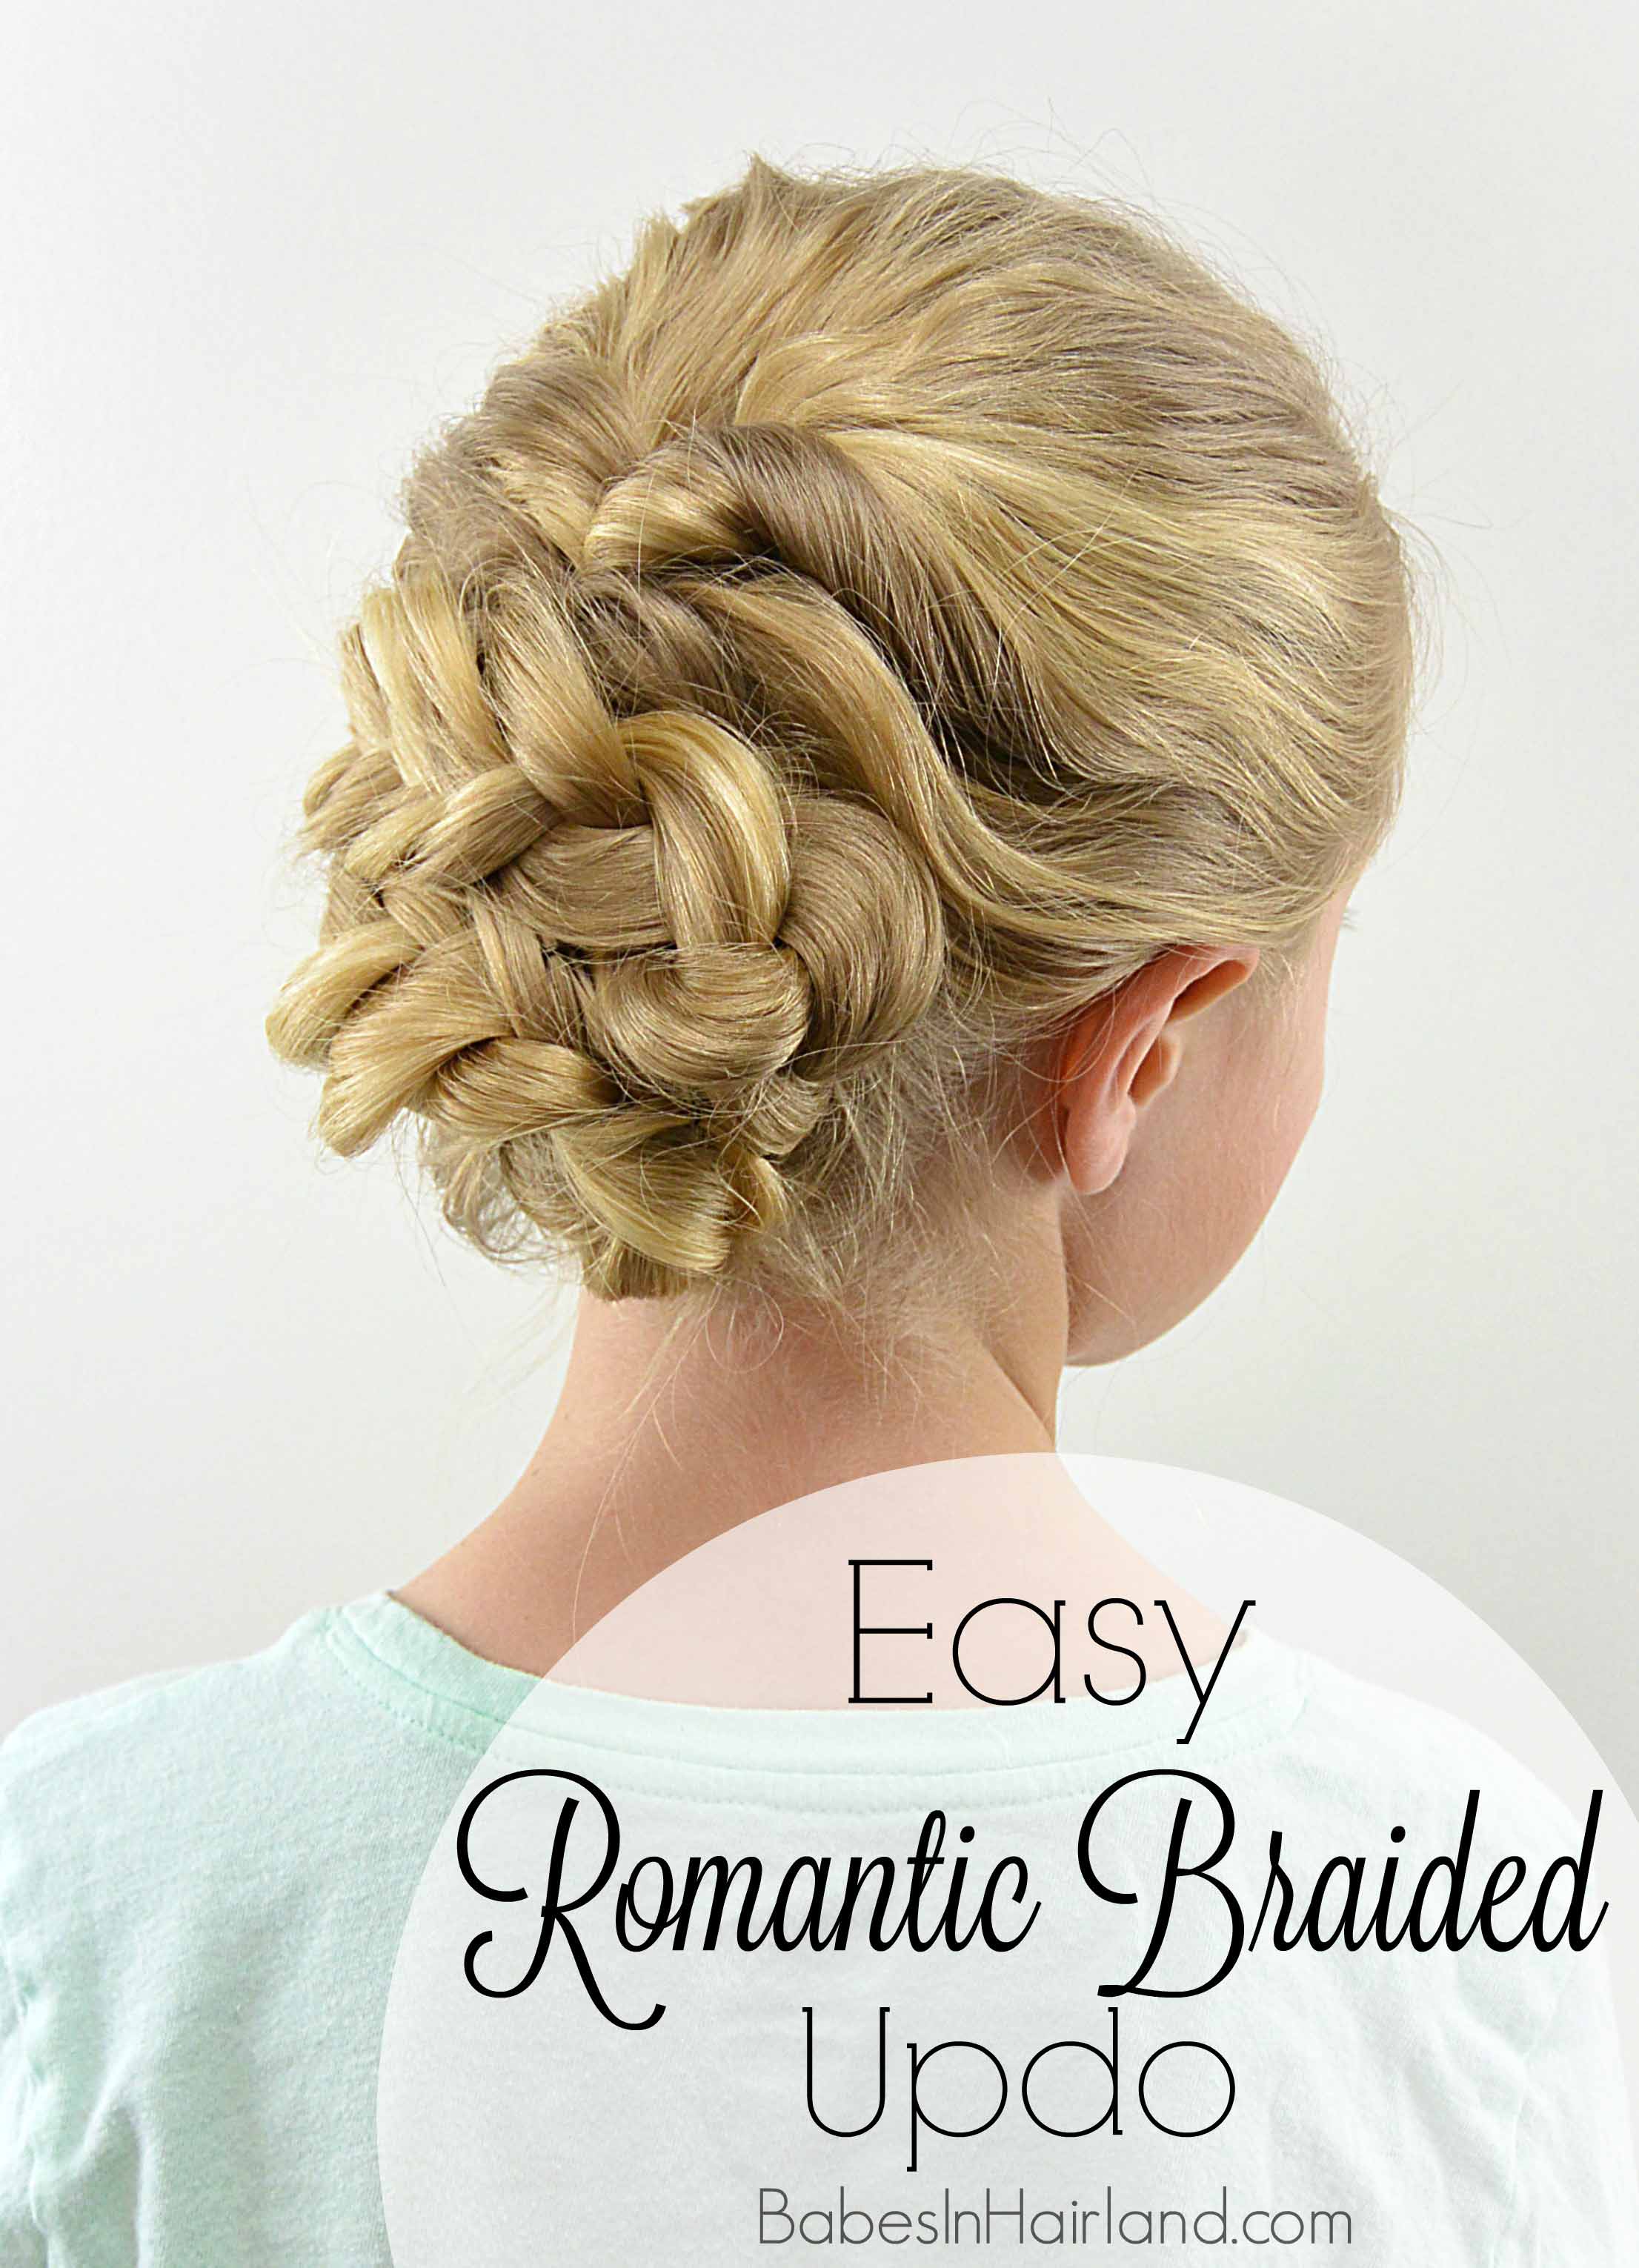
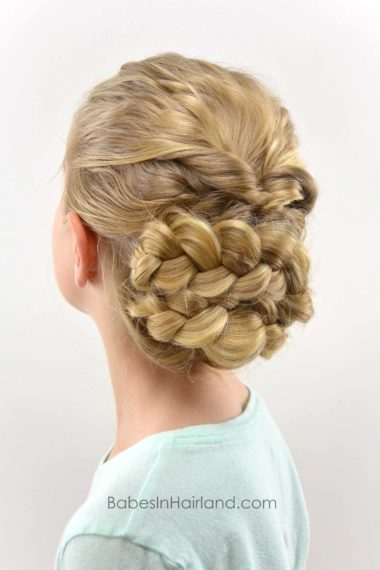
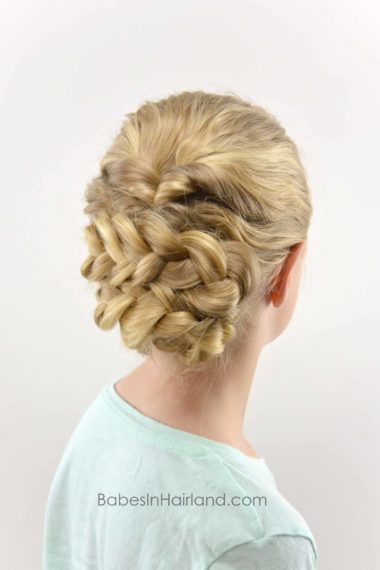
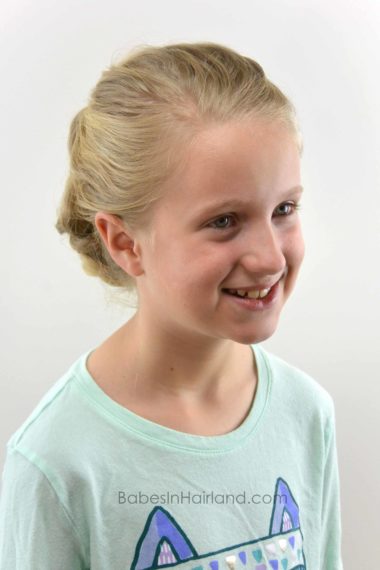
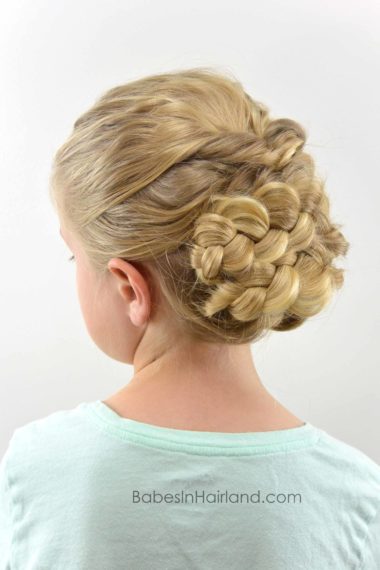
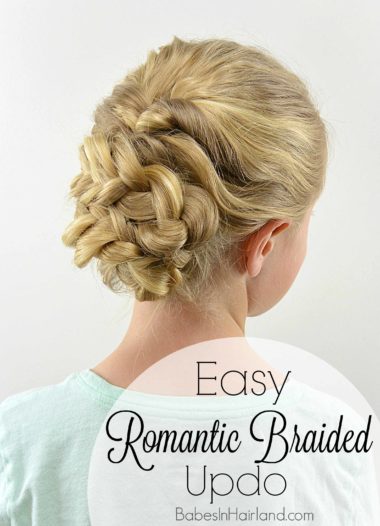
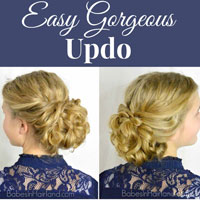
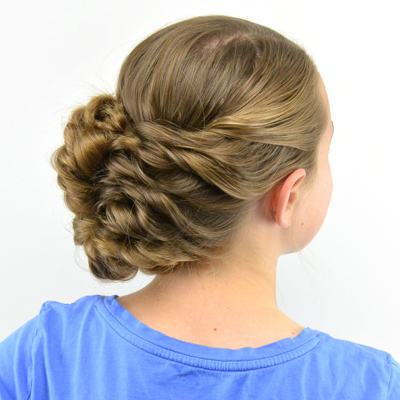
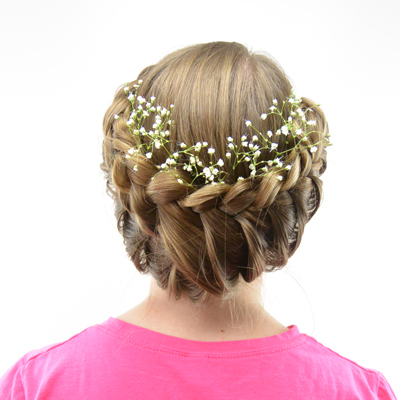
I realized it’s been a long time since we posted an updo hairstyle, and with one of my nieces heading to a formal dance in the near future, it got my creative juices flowing and thinking of pretty updos. Sometimes updos seem so hard, but this one is far from hard, and it took me around 10 minutes to create. My disclaimer is this is done on my 9 year old, and obviously most 9 year olds aren’t in need of a “romantic” hairstyle – so just go with me on this one! 😉
But first, if you’re looking for St. Patrick Day styles & ideas, go HERE. Sorry, no new one this year!
Here’s our video showing how it’s done. For the sake of time, we sped the video up, but like I mentioned, it took me about 10 minutes to do this style, so it’s one you can whip out in no time at all!
Step 1- Draw hair back from each temple into a loose ponytail near the crown
She had a few left over waves from braids she’d worn earlier, and that helped add to this style. It’s not necessary, but it does give the style a bit more texture.
Don’t make the ponytail too tight or too high. This style is supposed to be a bit “loose” and romantic looking so if there are wispy hairs and things aren’t sleek and smooth, that’s the look you’re going for!
Step 2 – Flip the ponytail up and over the elastic
You can use a Topsy Tail for this if you want, I just used my fingers to make the hole above the elastic, and then pulled it through with my fingers.
Step 3 – Gently pull on the twisted part of the hair near the elastic once the ponytail is flipped to loosen and pull it apart
Loosen this hair up as much as desired, but keep cinching the ponytail so all the hair isn’t coming out. Break up the twisted hair as much as desired to give it a pretty look.
Step 4 – Gather hair above the ears on both sides and draw to the back of the head
Step 5 – Combine these sections of hair into another ponytail just below the first one in the middle of the head
Don’t include any other hair in this – just the hair from each side.
Step 6 – Flip the hair up and over the elastic
Step 7 – As before, gently pull on the twisted part of the hair near the elastic to pull it apart and loosen things up
Step 8 – Divide remaining hair down in back into even sections – one on the left and one on the right
Step 9- With the section on the right, create a regular 3 strand braid
Step 10 – Gently pull on the edges of only the right side of the braid, making it loopy and loose & secure the end with an elastic
Step 11 – With the section on the left, create another regular 3 strand braid
Step 12 – Gently pull on the edges of only the left side of the braid, making it loopy and loose & secure the end with an elastic
Step 13 – Draw the braid on the right, up and over so it lays underneath the flipped ponytail from Step 7.
Be sure the loosened edge of your braid is what is on the top and sits up underneath and sort of covering the flipped ponytail. Secure with bobby pins as needed and fold the tail of the braid underneath the braid and secure so the elastic doesn’t show.
Step 14 – Draw the braid on the left upward and fold it across the head so it lays below the other braid
Be sure to have the loosened edge of the braid down toward the neck. Fold the tail of the braid under to hide the elastic and secure with bobby pins.
Step 15 – Adjust braids and hair as needed so everything blends nicely together & spray with hairspray
FINISHED!
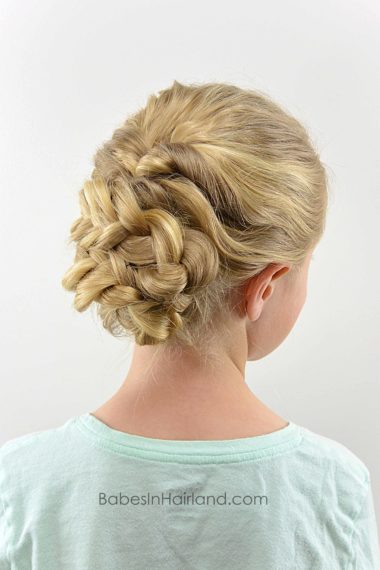
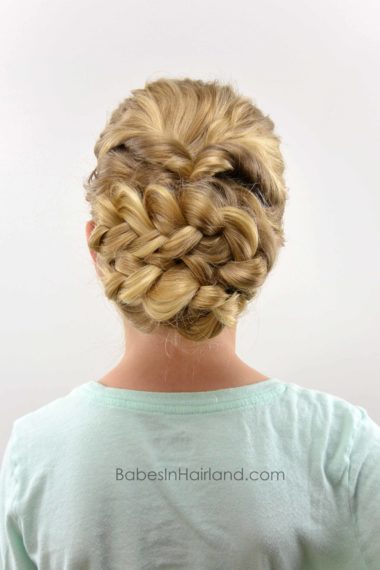
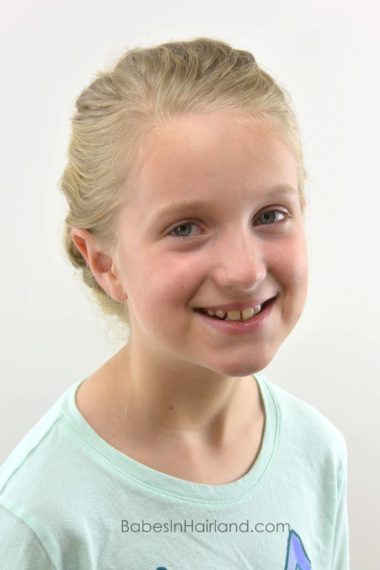
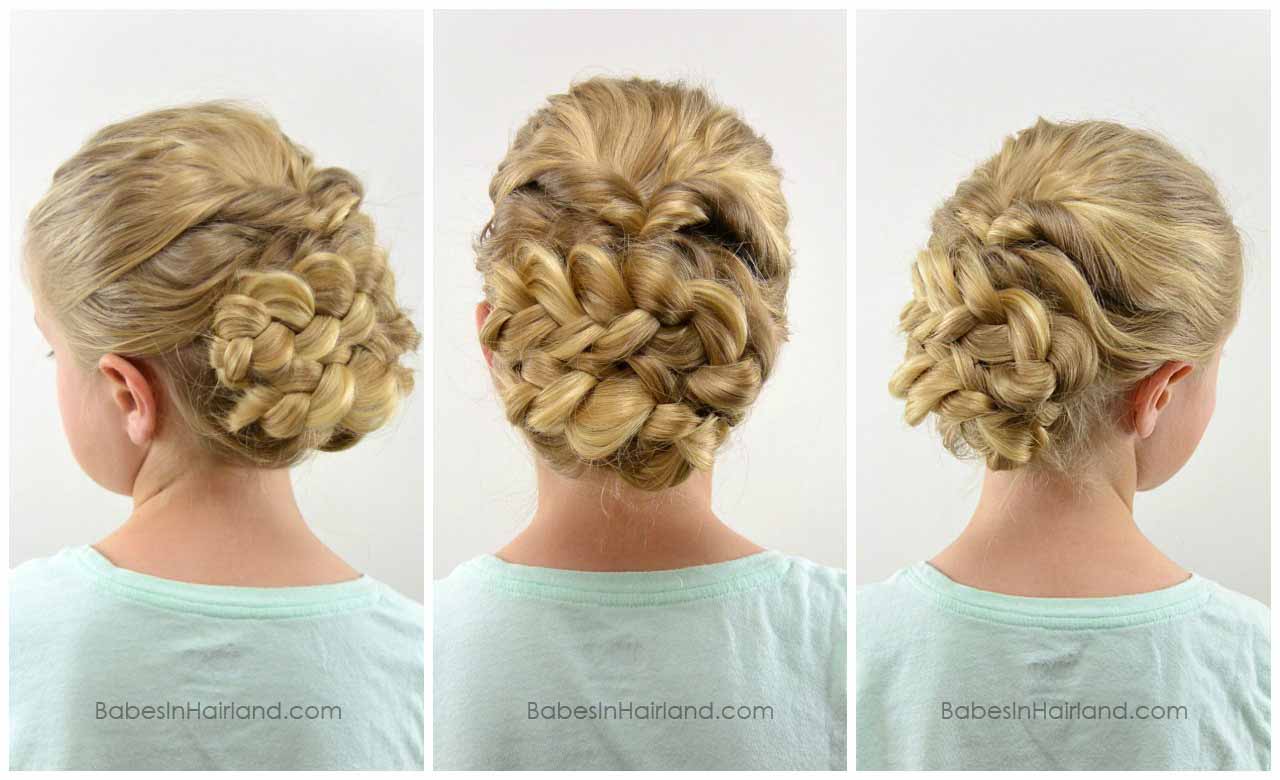
Here’s a shot from all the 3 angles. This one turned out so pretty, don’t you think?
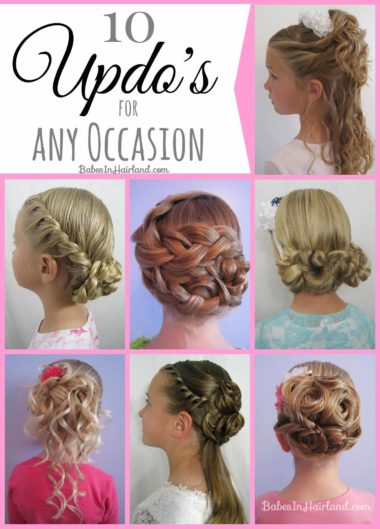
If you’re looking for more updos, we have plenty of them! We have way more than 10 however! 😉 Click HERE, to check out all of our updos. Wedding season is coming, so I’m sure you’ll find an updo you’ll love!
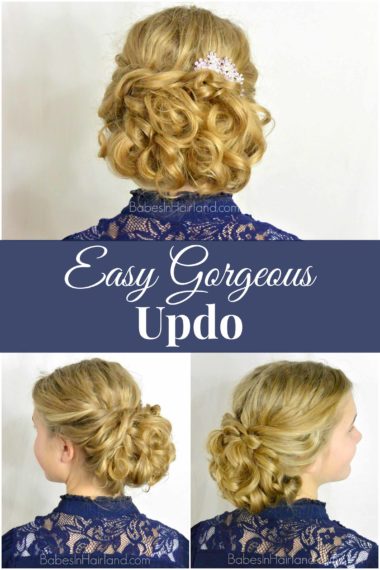
I’ve got to admit, this Easy Gorgeous Updo is one of my all time favorites, so check it out HERE! We created this style with leftover curls we’d made using Curlformers Extra Long Spiral Curls, but if you don’t have Curlformers
, you could simply curl the hair a bit before creating the updo.
Please PIN & SHARE these beautiful styles! Comment & let us know what you think of today’s tutorial!
