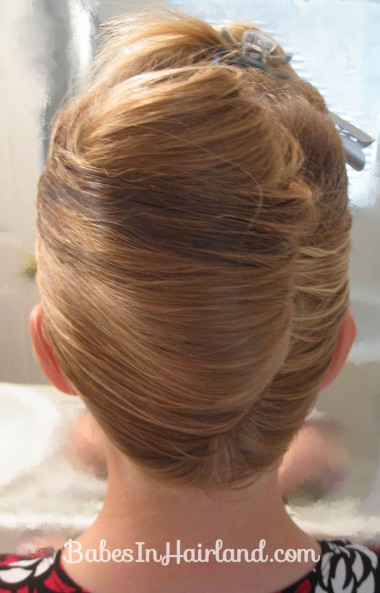
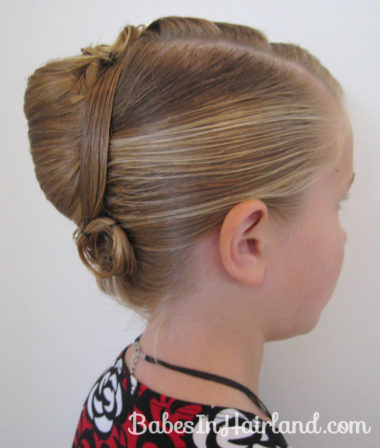
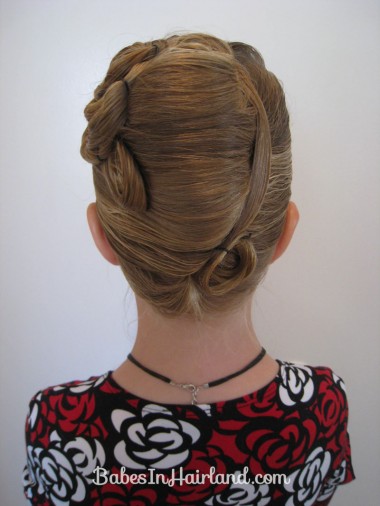
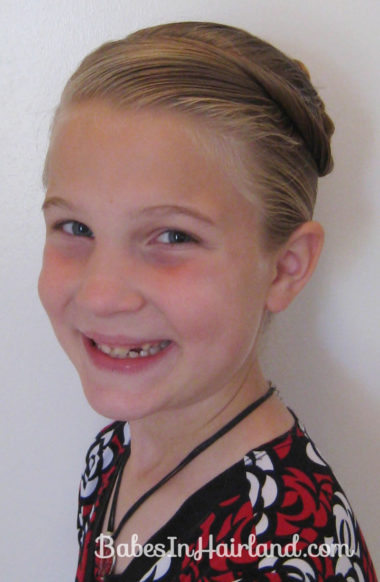
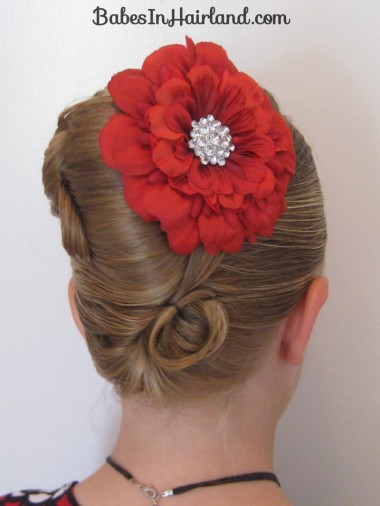
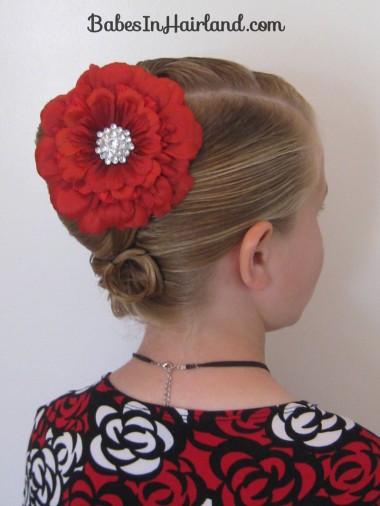
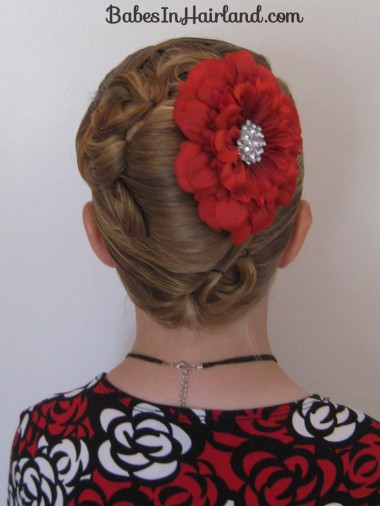
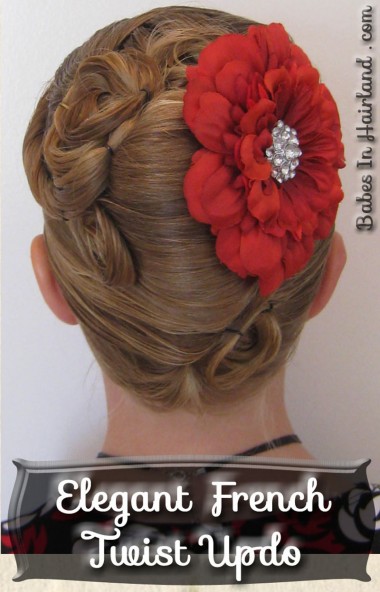
 We were feeling extra fancy a couple weeks ago and I’d also been sent that gorgeous red flower in the picture above (more on that in a bit) that I wanted to try out, so we came up with this beautiful updo fit for any wedding, formal school dance, or really any time you want to have some really elegant hair!
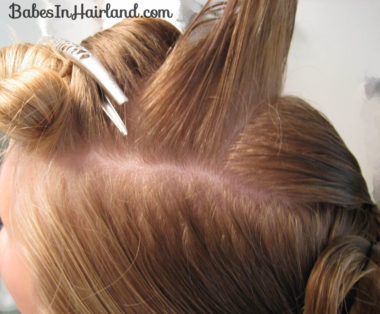
Begin by parting the hair out on the top of the head – from the temples straight back and around the back of the head. Basically the area that you’d make a little “spout” on a baby when they have just a bit of hair on top! Secure it with a clip to hold it out of the hair for now.
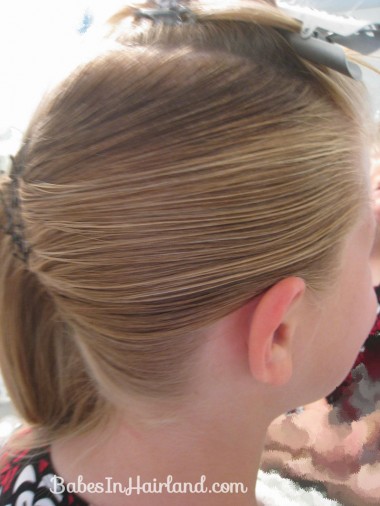
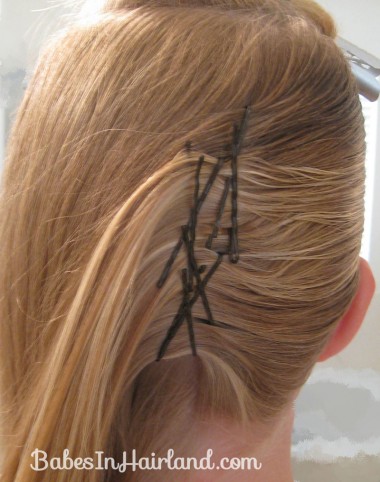
On the right side of the head, smooth the hair towards the back of the head and make a seam of bobby pins.
You will be making a French twist. By making this seam of bobby pins it helps ensure the hair on the right side doesn’t start slipping out.
Proceed to make a French twist. It’s impossible to take pictures while making one! Sorry. If you don’t quite know how to do one of those, Jenn has a post HERE that demonstrates nicely. We have to do it a bit differently with the seam of pins since Goose has sooo much hair. But Jenn’s post is how I do them normally in Bug & Bee’s hair. Secure the French twist with as many bobby pins or hair pins as needed.
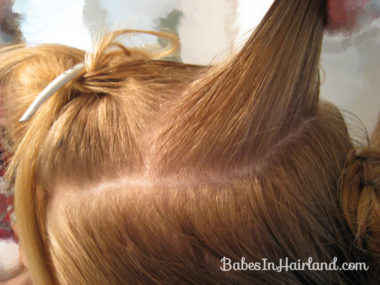
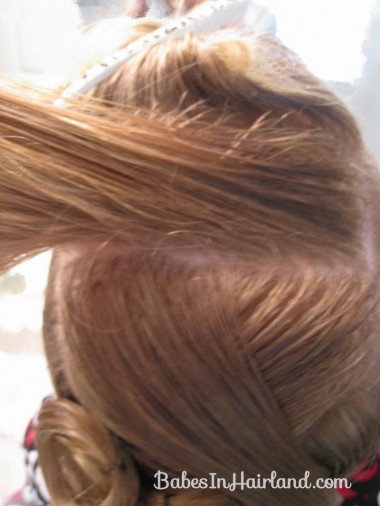
Now the real fun starts! With the hair on the top of the head that you had sectioned out – take a section from the back and part it across the entire length of it – from left to right.
Now divide it in half right down the middle.
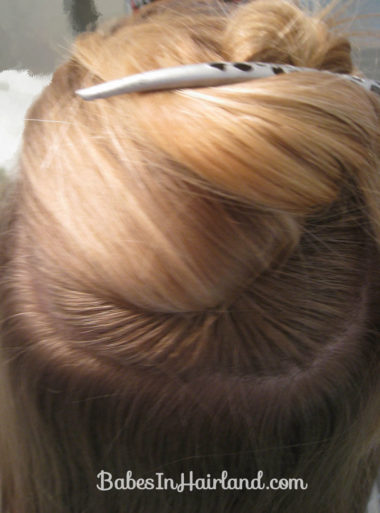
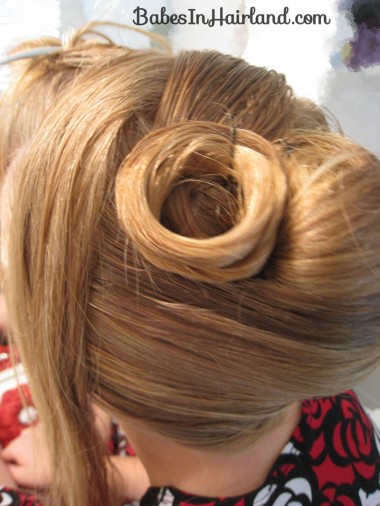
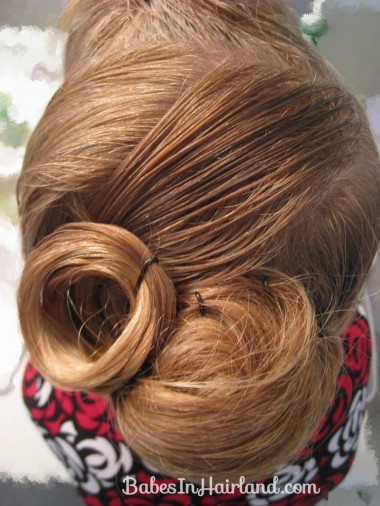
Take the piece on the right and mist it a bit with water or hair spray to get it smooth. Then pull it over to the left side. Wind the ends up to to make a nice loop/circle of hair. Secure it with a bobby pin/hair pin or two just to the left of the top of the French twist.
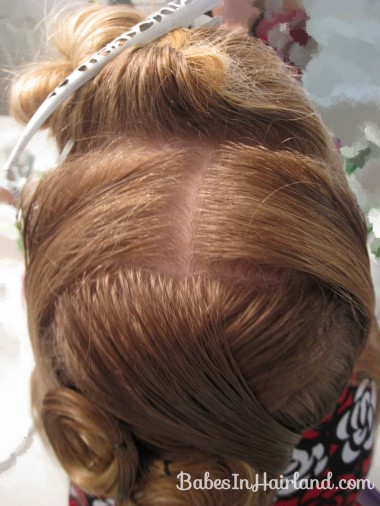
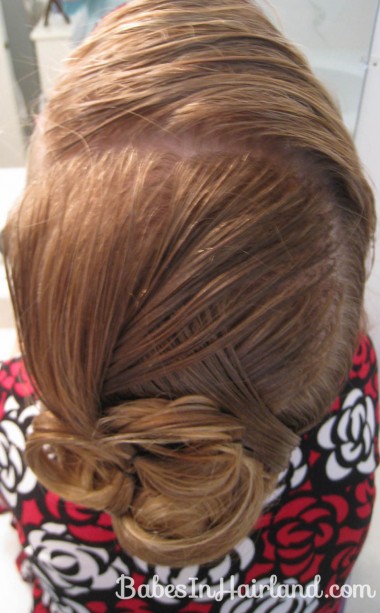
Here’s a view from the top once you’ve done that.
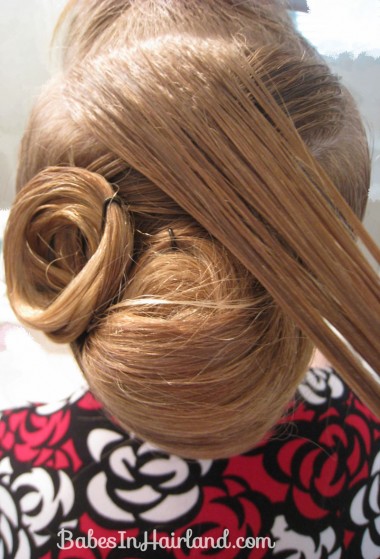
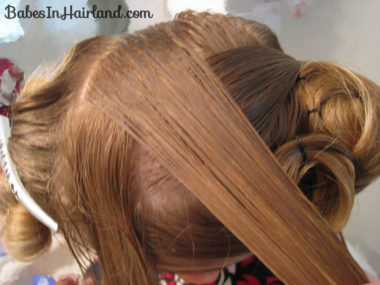
Now take the section from the left. Mist it as well so it is smooth & has minimal fly aways. Cross it over the top of the section of hair you were just working with.
Bring that section of hair clear over the top of the French twist, and down the right side of it.
Take the ends of that section of hair and roll them up to form another loop/circle of hair. Secure at the bottom right side of the French twist with bobby pins/hair pins.
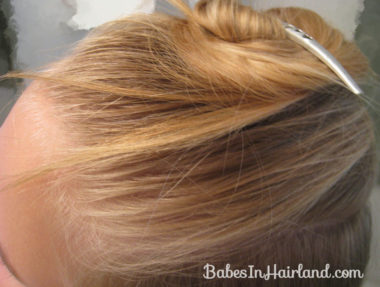
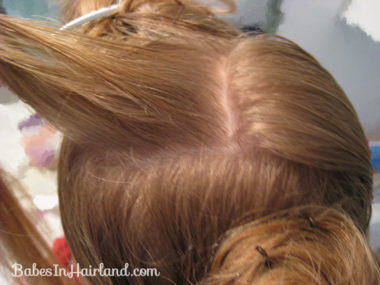
Back on the top of the head, part out another section right across the top of the head.
A view from right above:
Again, divide it in half.
With the hair good and smooth, take the right section and bring it over to the left side.
Bring the ends down underneath the very first loop/circle you did. Roll the ends of the hair up to form another loop or circle with the hair. Secure with bobby pins/hair pins.
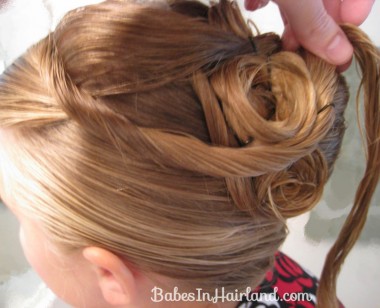
Take the hair on the left and gently pull it back to form another loop/circle on top of everything – to the right of the first circle you made – almost on top of the French twist. Secure it with more pins.
Here’s another view from the top. Now you’ve got just one more section up front and everything else is pulled back and looped around the French twist.
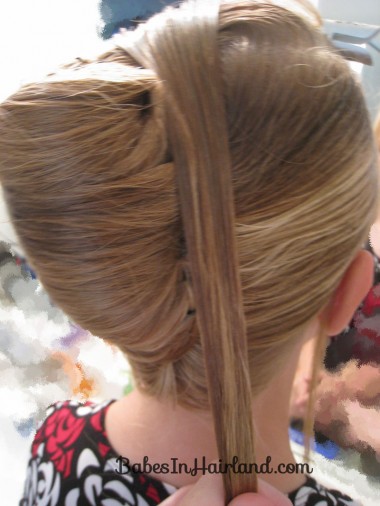
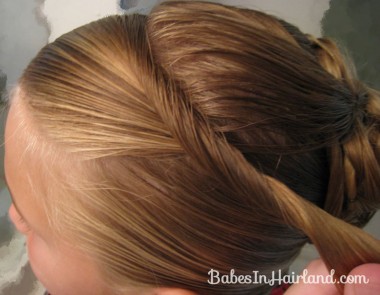
Take the last section of hair up front and mist it so it is damp. Comb it to the left side of the head and start to twist the hair downwards – toward the face.
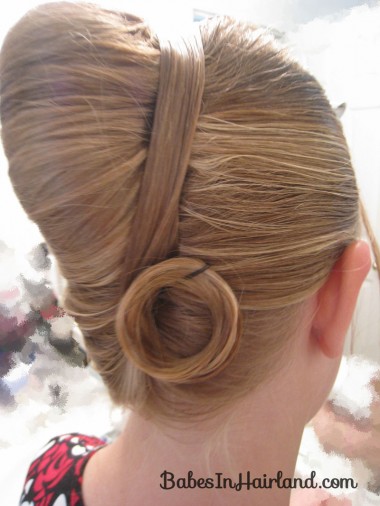
While twisting bring it back toward the back of the head. where all the other loops or hair are. Tack it in place below that first loop you ever made with a bobby pin.
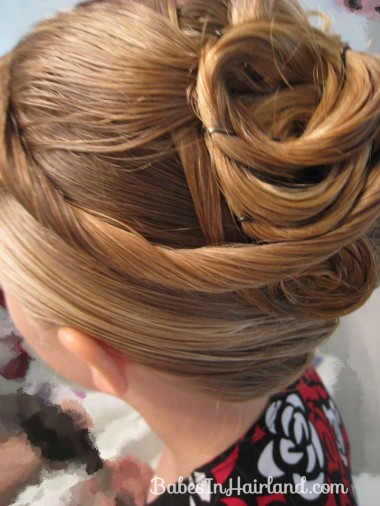
This may look sort of like a big old mess of circles and bobby pins but no worries! Just follow the same direction of the other loops/circles of hair you previously made and this section of hair is easily incorporated into it all! Just secure it with a few pins where needed. Once you’ve finished pinning this section in you can be all done!
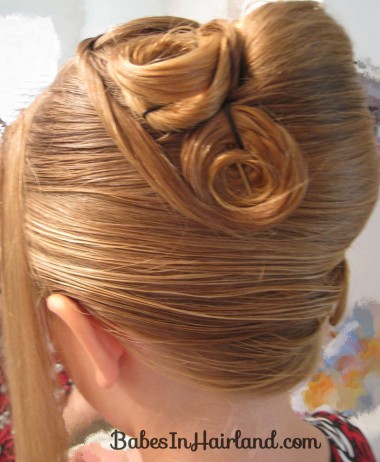
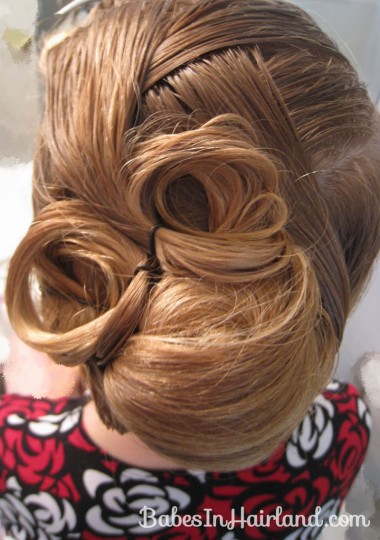
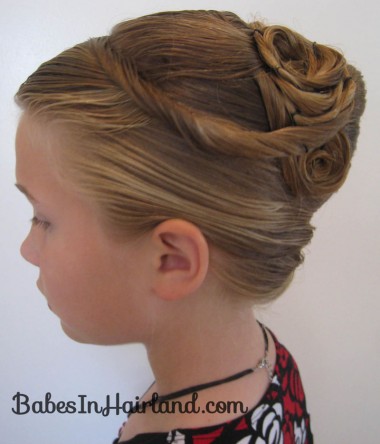
Here’s a view from the left side when it is all done:
The right side:
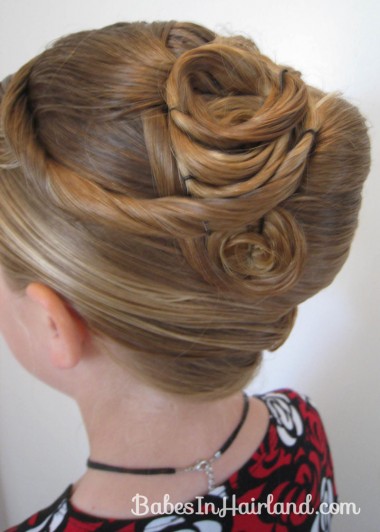
Straight on from behind:
And from the front …. now …. Do you remember at the beginning of my post I mentioned getting a new flower that I wanted to include in this hairdo? Well, I’ve got to say that I thought this updo was very pretty on its own, but when I added this flower it just made it completely beautiful.
I’d like to introduce you to Tammy’s Funky Flowers. She sent me this beautiful red beauty that I am so excited to use, especially with the holidays coming. It’s going to look great with some of the girls Christmas dresses.
What do you think? Stunning, right?
Now here’s the great news. Tammy has generously offered to do a giveaway from her site — so head over to our giveaway blog to find out more details. I’m so excited about this giveaway! So what are you waiting for? Go HERE to read more!
