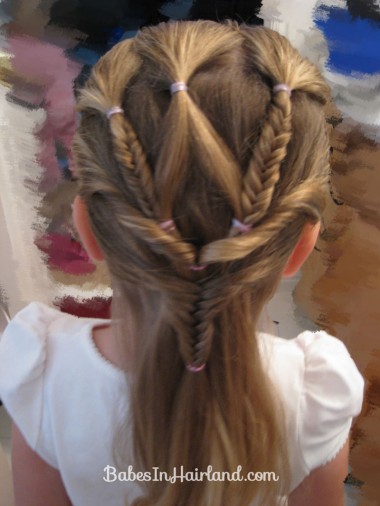
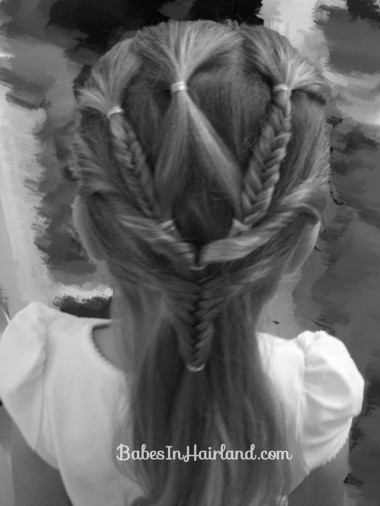
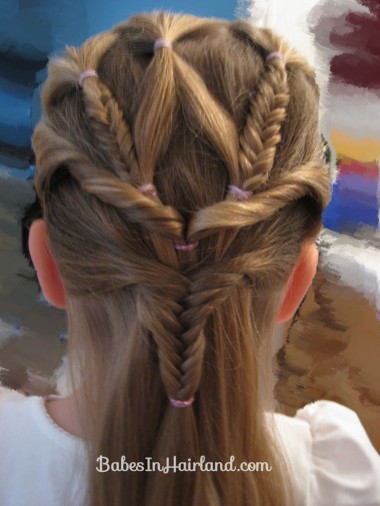
This one was definitely one of randomness & I didn’t know where I was going with it. Most of the time I have a thought of where I’m taking a do when I begin, but this was one I did without knowing where it would end up. So ignore the imperfections and just “work with me here!”
But first, just a reminder, if you were wanting to share any of your fun Halloween hair ideas, don’t forget to send them by this Sunday 11/9 so I can get them posted shortly thereafter!
I normally work with her hair sprayed damp, but I did it mainly dry, which I wish I hadn’t because I hate the whole fly-away aspect, but 20/20 hindsight – right? I guess it gives it a “gentler” less slicked back look, which is nice to have sometimes too.
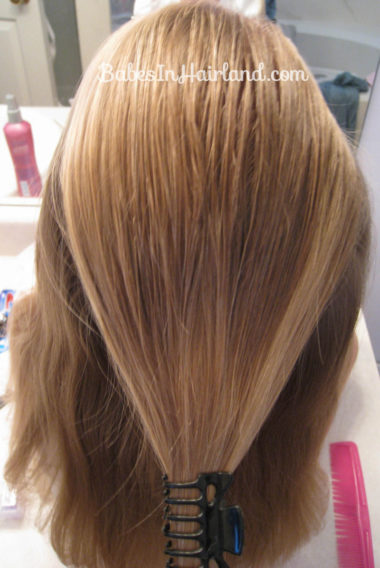
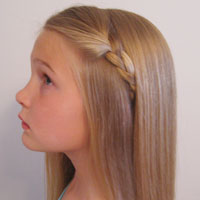
Begin by sectioning out the hair from the temples back. Don’t make a definite part, but gently pull it back and clip it off.
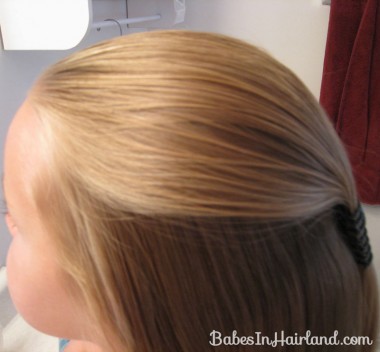
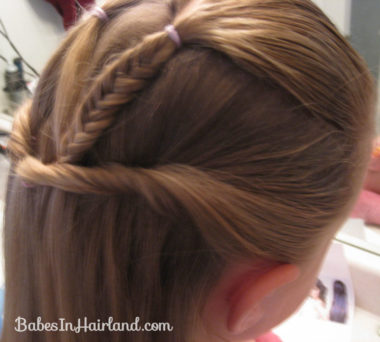
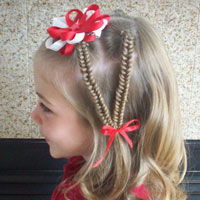
Here from the side you can see I don’t have a full on line for her part.
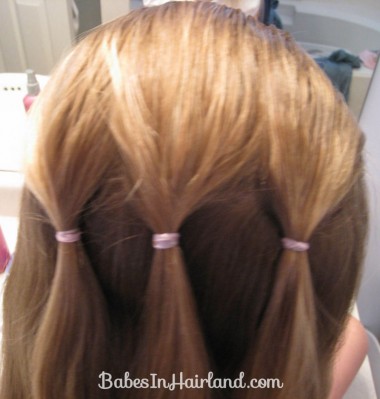
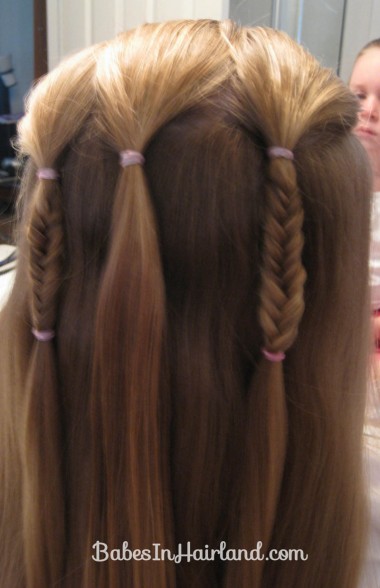
Then I divided that off into 3 sections and made little ponytails. Again, I just gently pulled the hair off into the 3 sections not defining a part. And yes, I know, the middle ponytail is a bit skewed to the left. I didn’t pay attention until after I reviewed the pictures & now it’s driving me nuts – but it just shows I have off days too, huh?!
Then do fishbone braids on the 2 outside ponytails (a couple inches long) & tie them off with rubber bands. (Remember I do have a “how to fishbone braid” over HERE.)
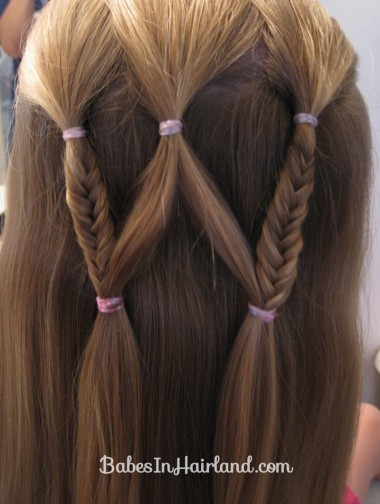
Then take the middle ponytail & divide it in half and put half with each fishbone braid. I just used another rubberband to connect them, but you could take out your first rubberband at the base of the fishbone if you wanted and then connect them. I just didn’t want to risk having my fishbone start coming undone. It makes a “W” when you get to this point!
Then I gently pulled hair from above each ear (again not making a definite part) and twisted it in towards her head making a twist. I didn’t twist it too tight that it started coiling up on itself, just enough to look twisted. Twist the one side & you can have your DD hold it while you do the other side, or just clip it off until you are done with the other side.
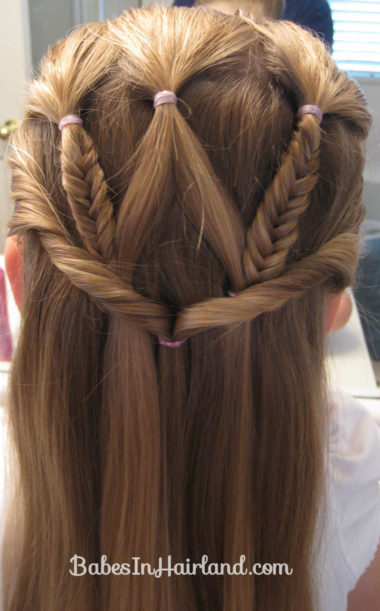
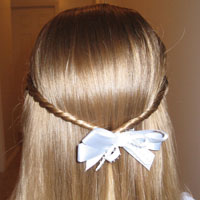
Once you’ve twisted both sides join them in the middle like the picture below. I pulled it tight enough, that it covers the rubberbands at the base of the fishbone braids. You totally could stop at this point & it’d look great, but I took it one step further.
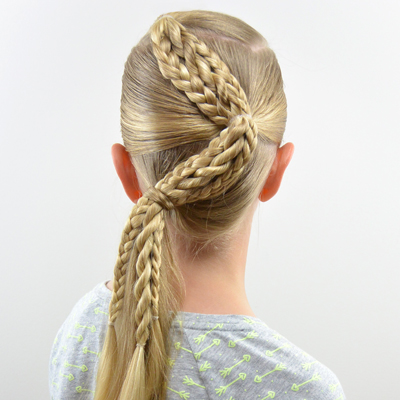
I then took another section of hair from behind her ears on each side (no major parting either), bringing them into the middle, where I proceeded to make another fishbone braid.
Then I tied it off with a rubberband and was done. I was going to curl the ends, but literally as I was putting the last rubberband in, her ride for school rang the doorbell. So hence real nice “finished product” pictures on this one. But hopefully you get the idea.
