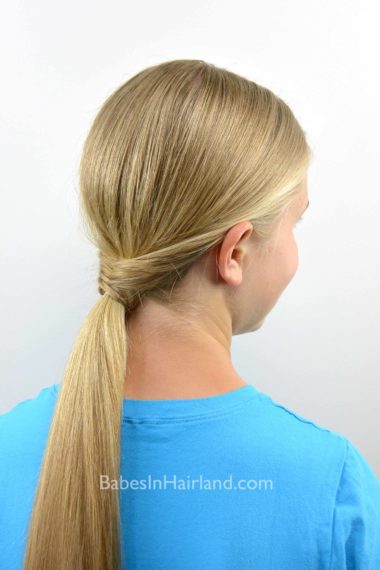
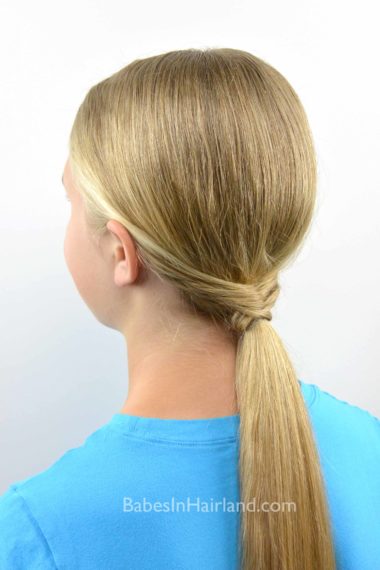
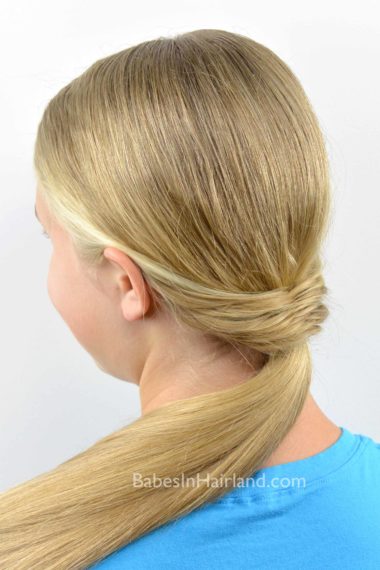
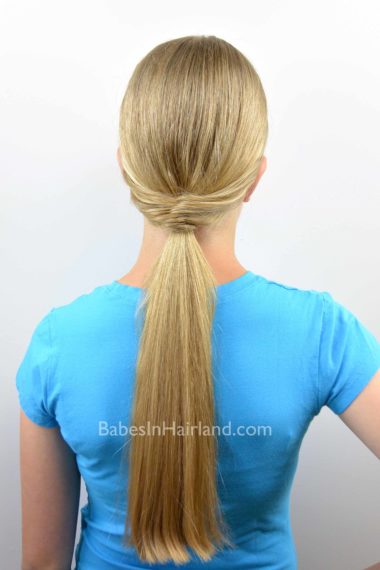
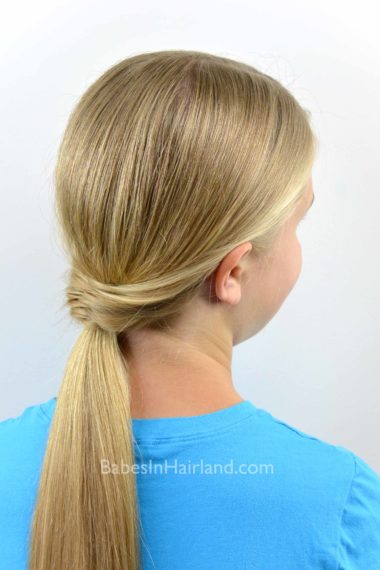
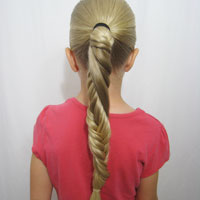
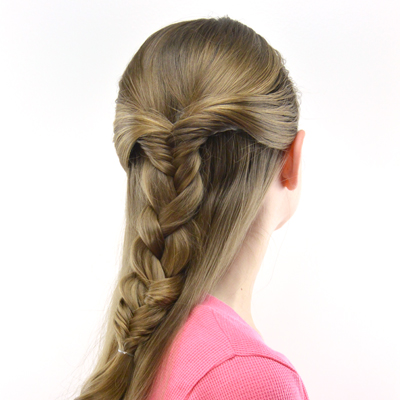
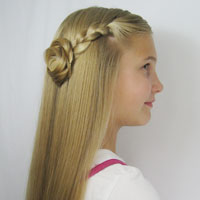
This style is actually one that my 13 year old (who I’m doing the style on) came up with on her own to help her with creating a fishtail/fishbone braid. She has struggled to do them on herself a bit, and with my help, this was something she did to try make it easier for herself. It’s a great style for sports or when you want your hair contained but don’t just want a regular plain ponytail.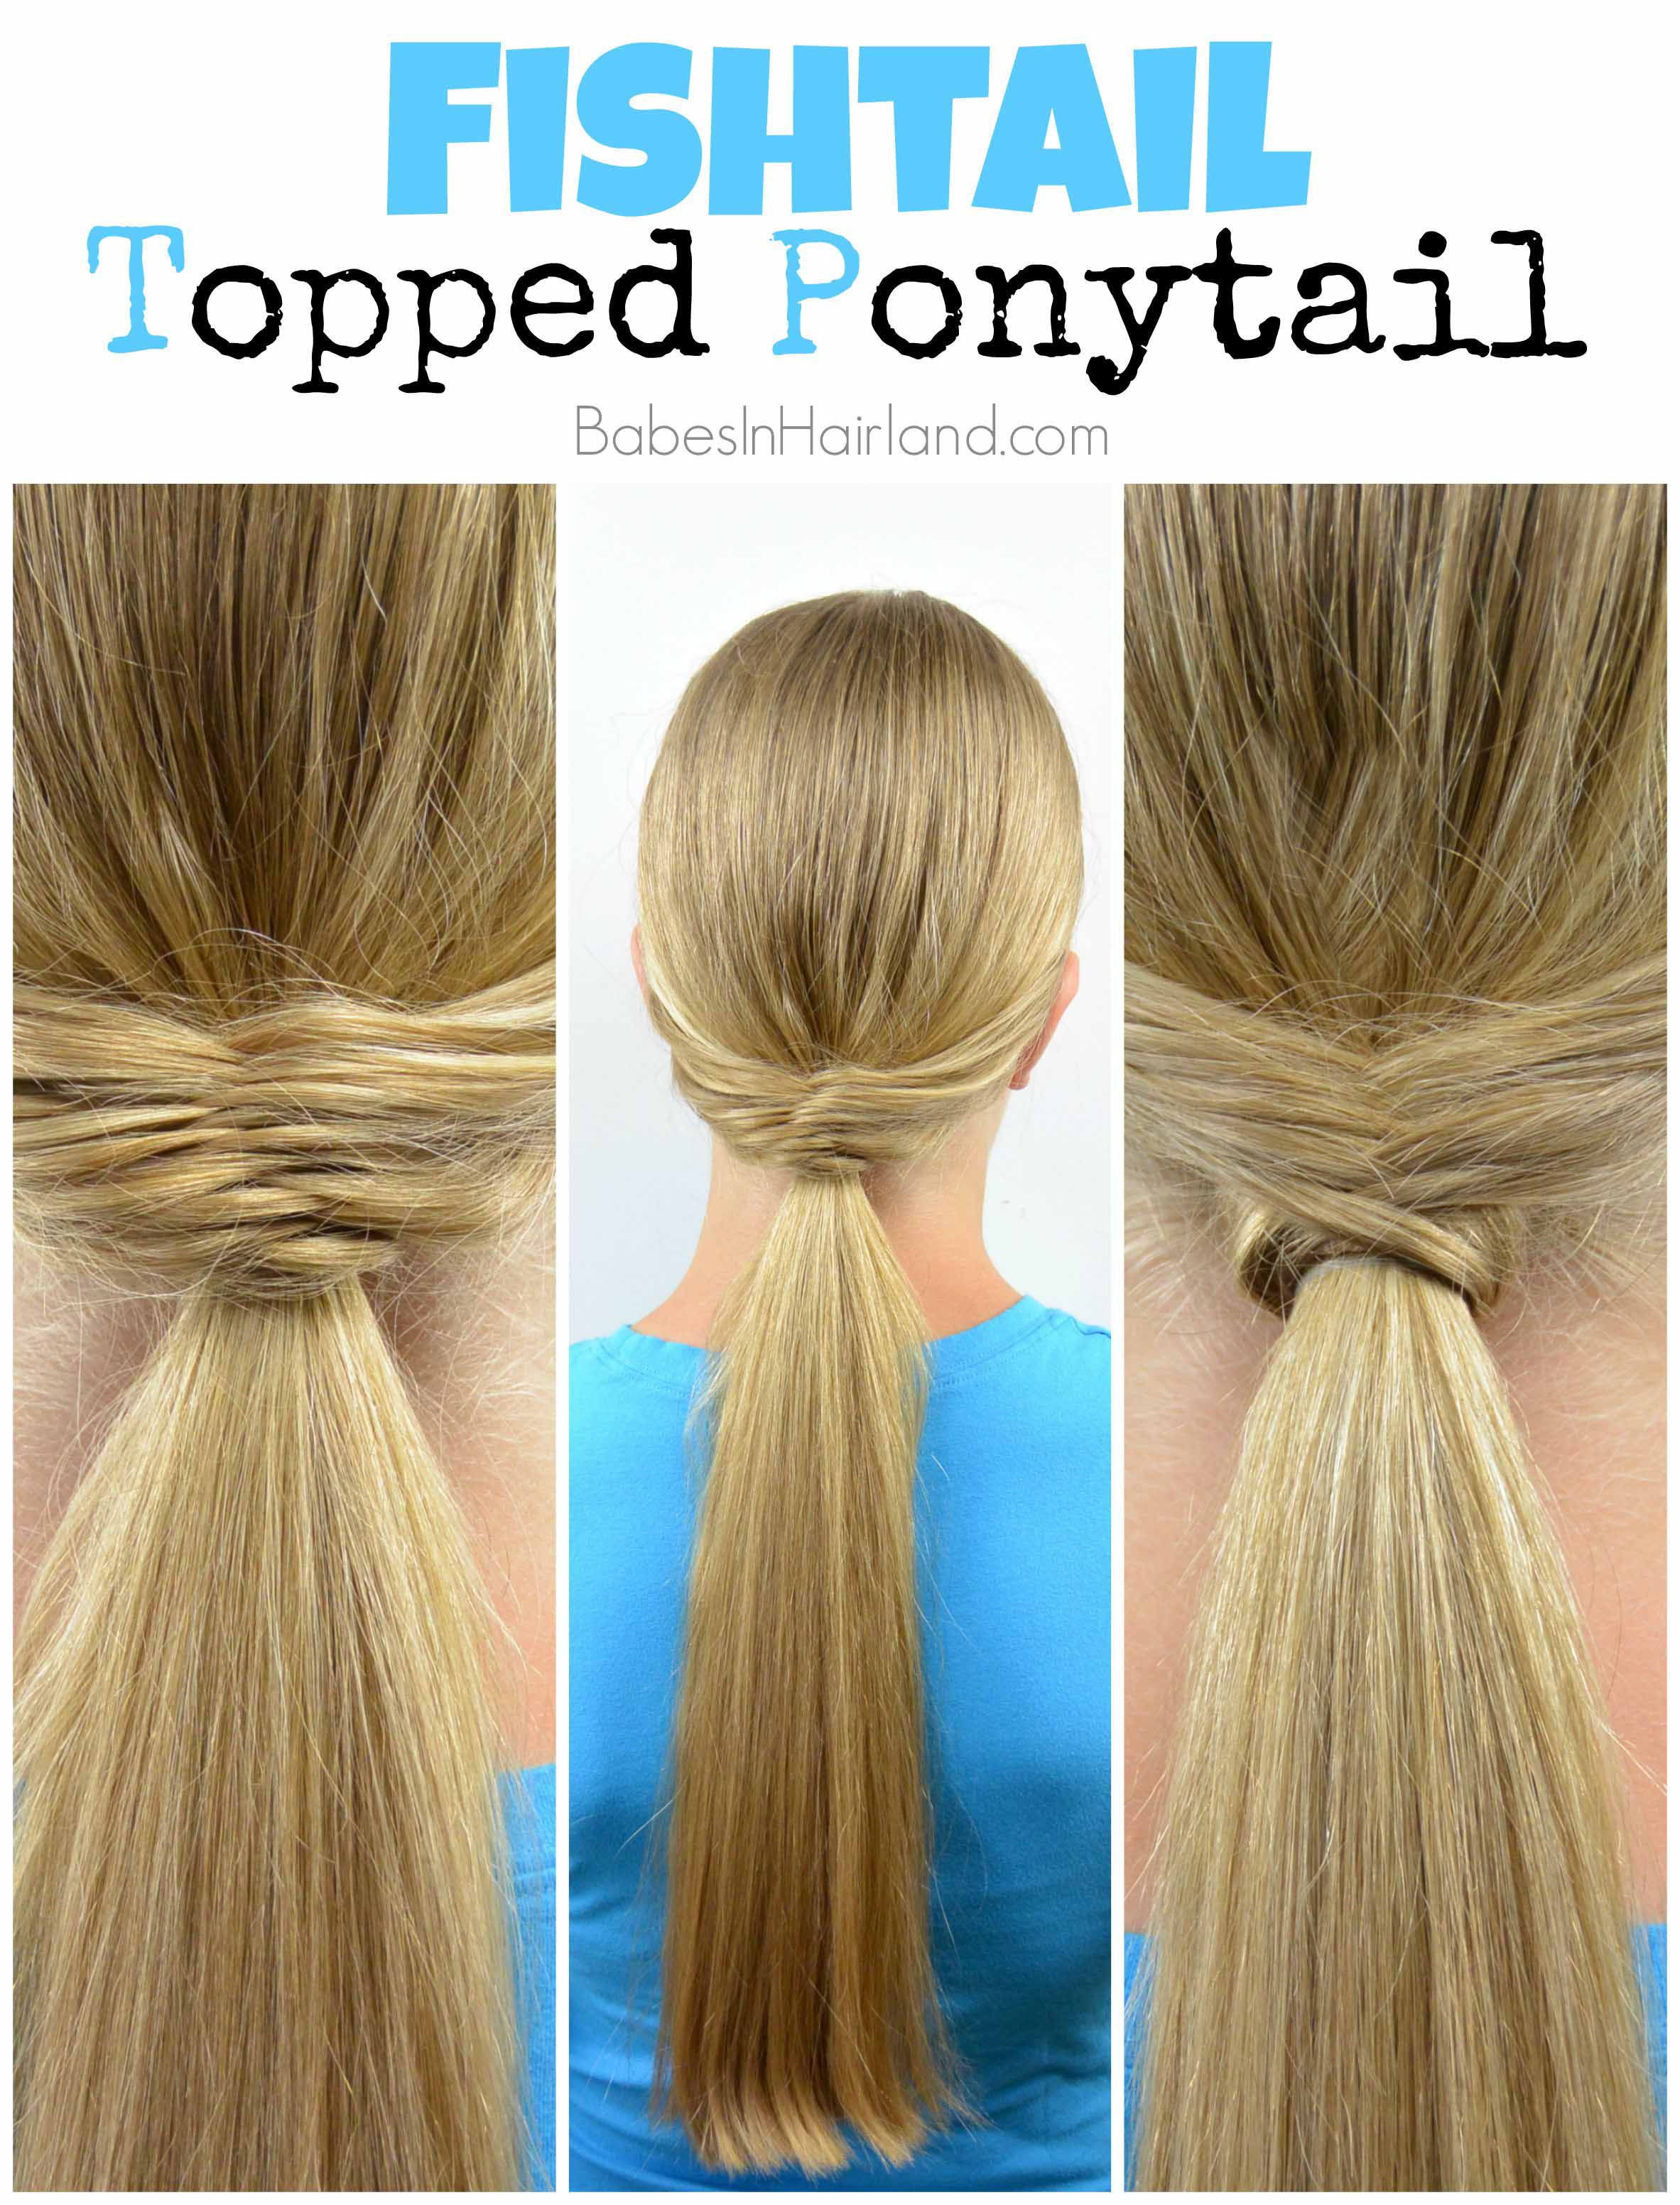
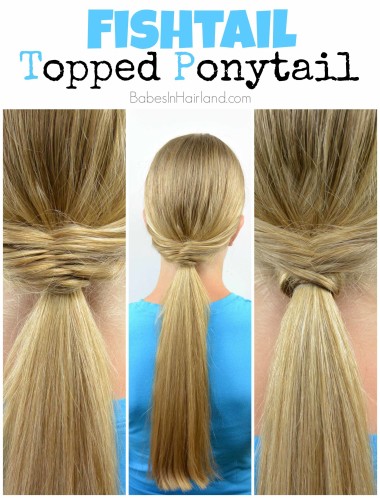
Here’s our quick video to see how we created this one. You can get 2 different looks with this style, depending on if you want things tight (as seen on the left below) or a bit looser (as shown on the left below.)
Step 1 – Draw small amount of hair from each side of the head near the top of the ears or the temple back to the middle of the head
Step 2 – Cross the right section over the left one to create an X
Step 3 – Take another small amount of hair from the left side, from below the first section and draw it toward the right side of the head,
Step 4 – Pass that section of hair to the right hand so it is added to the section of hair on the right side of the X
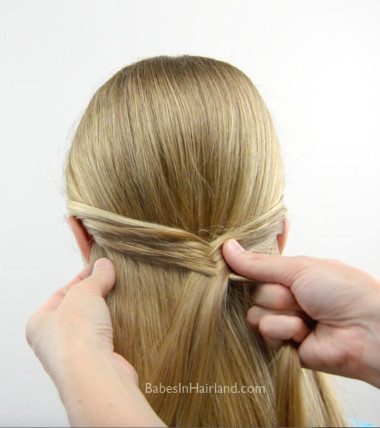
Keep your thumb & index finger pinching the middle of the “X” you will be creating, to keep things tight against the head.
Step 5 – Take another small amount of hair from the right side, from below the first section and draw it toward the left side of the head passing it off to your left hand
Step 6 – Continue the process of taking a small section of hair from the left, and then the right side, working down behind the ear, continuing to create an X pattern
Step 7 – Repeat the pattern as many times as desired. I used 20 small sections of hair – so 10 from each side.
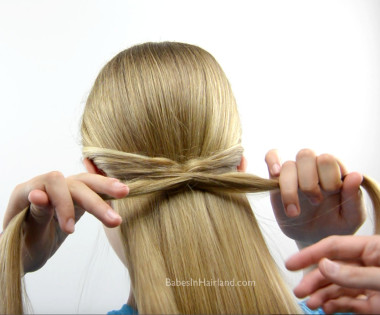
Step 8 – Pass the left section of hair to your “models” left hand & the right section of the fishtail to her right hand temporarily. Be sure they are held tightly out to the sides.
Step 9 – Gather remaining hair at the nape of the neck into a low ponytail & secure with an elastic
Step 10 – Take back the left and right sides of the fishbone from your model and have her flip the ponytail up out of the way
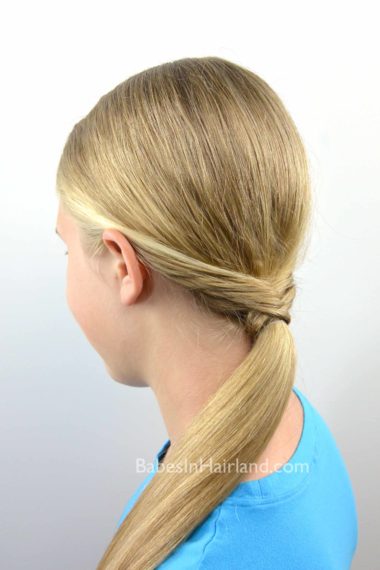
Step 11 – With the ponytail flipped up out of the way, bring the ends of your fishtail underneath the ponytail and fasten them with a small clear elastic
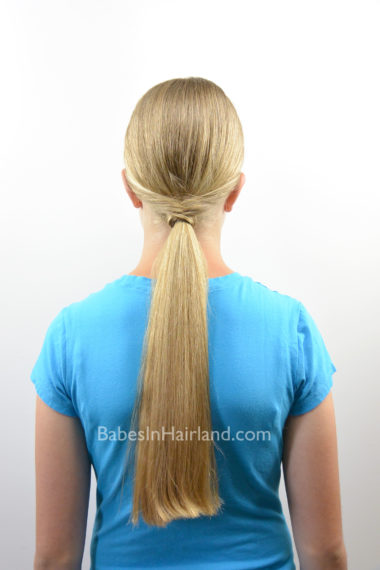
Step 12 – Drop the ponytail back down and if needed, add another clear elastic to combine the small ponytail underneath to the big one on top
FINISHED!
(or keep scrolling for an optional step & look!)
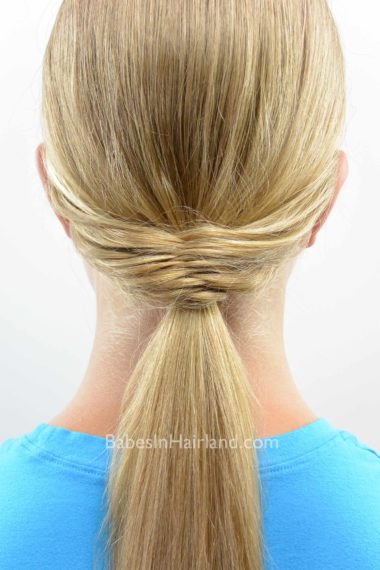
Here’s a more up close look at what will be sitting on top of the ponytail. It’s nice and tight – how my daughter preferred it.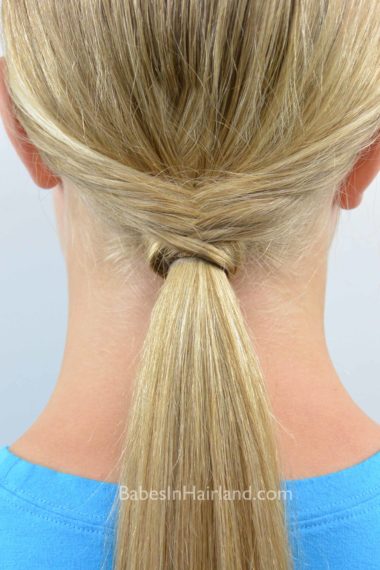
Step 13 – Optional – Pull on X pattern to loosen things up to add more definition & texture to your fishbone.
Maybe it’s a bit hard to see, but up next to each other I think you can get a better idea of what I did.
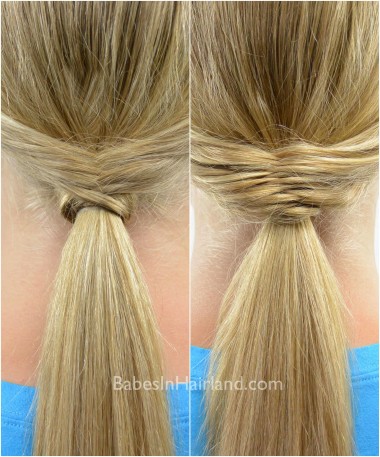 Which do you like best?
The tighter version on the left, or the looser one on the right?
Comment below & let us know which look you like better! And feel free to pin and share this one with your friends! If you like fishtail braids, check out all our fishtail styles HERE. Or, if you like ponytails a lot during the summer, we’ve also got a lot of fun ponytail styles you can try as well. Check out our styles that use ponytails HERE.
