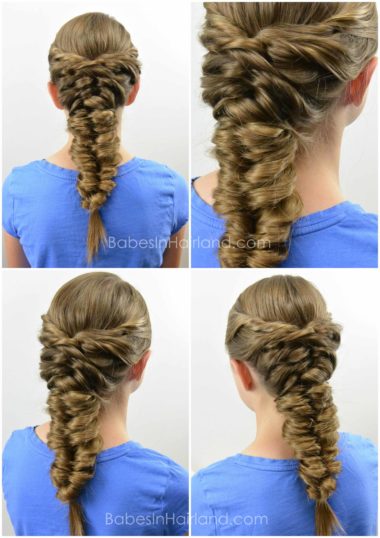
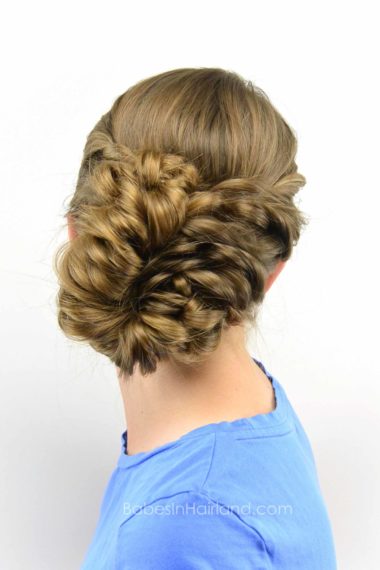
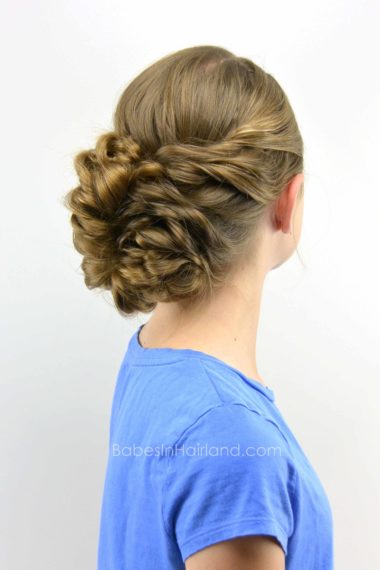
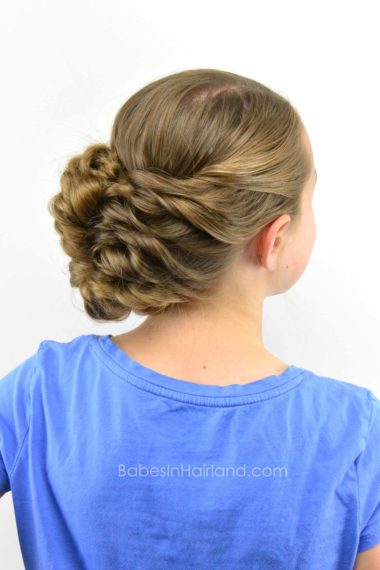
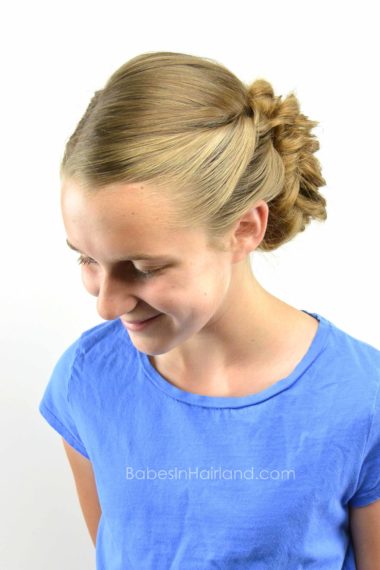
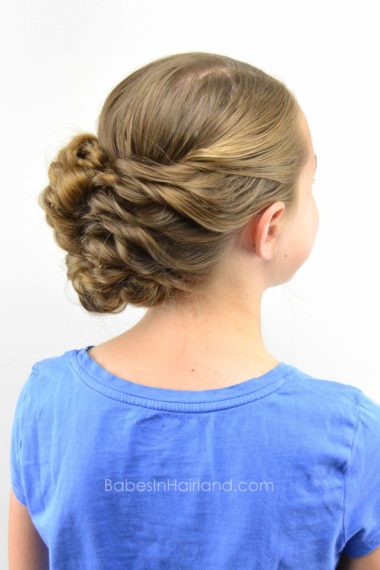
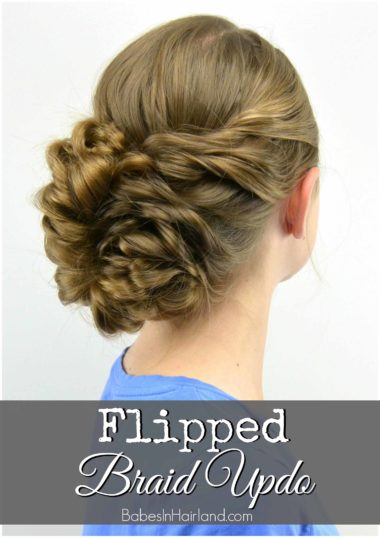
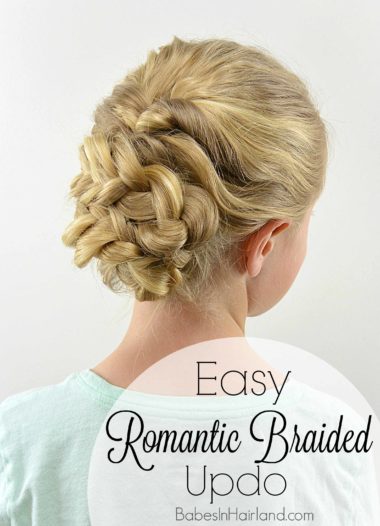
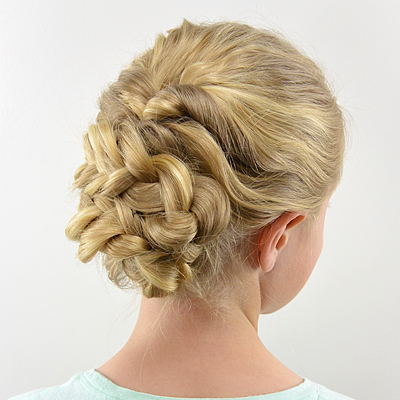
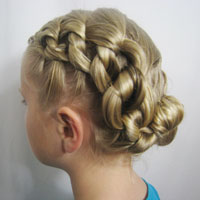
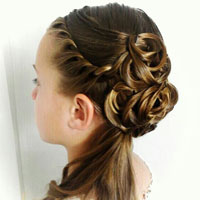
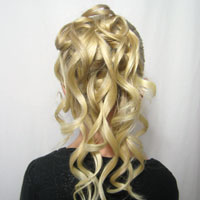
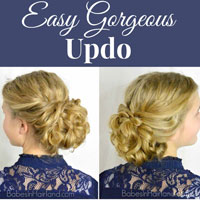
We’ve used this technique before (most recently in our Easy Romantic Updo), and it is quite popular in hairstyles these days. We love it. It results in a hairstyle that looks like it took hours, but it didn’t! This beautiful hairstyle is perfect for the upcoming wedding season, whether you’re the bride or a guest – we know you’ll love it.
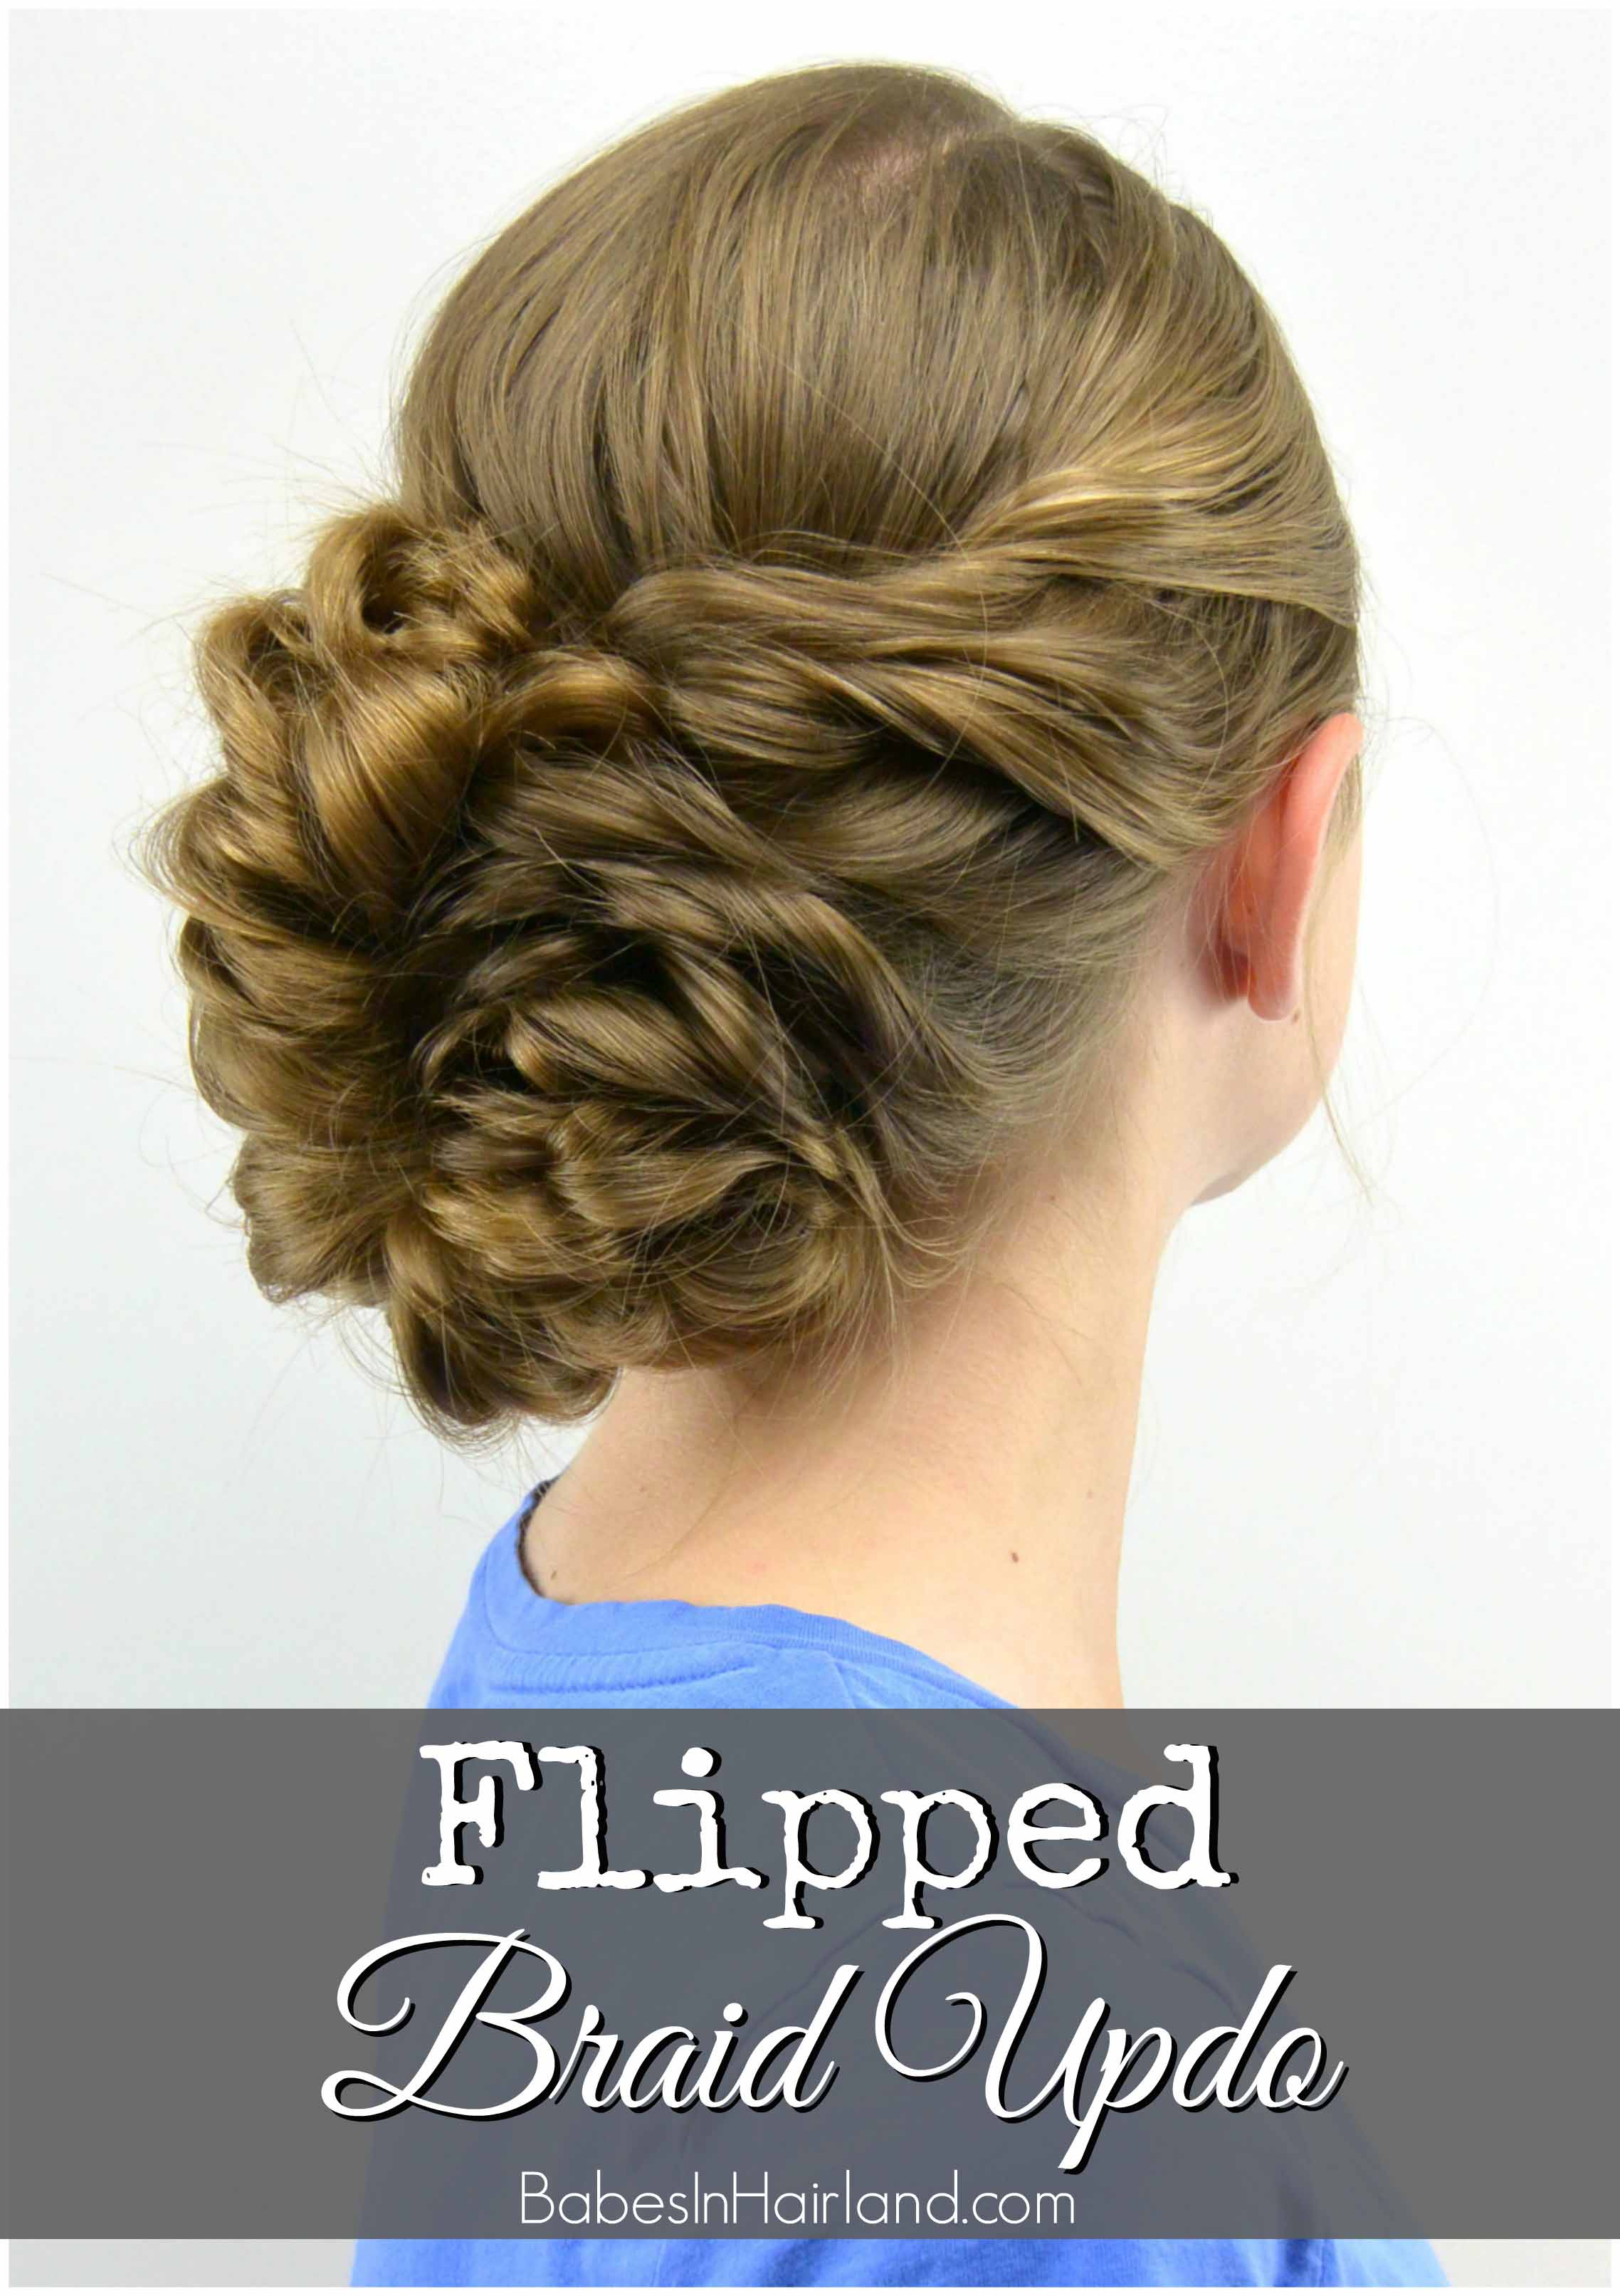 Technically there are no braids in this style, and this technique is called many different things, depending on who’s done it! I’ve seen this called a twisted braid, flipped ponytail braid, but regardless of what you call it, it’s a great technique, especially if you struggle with braiding!
Step 1 – Draw 2 small sections of hair near the temples back to the center back of the head
Step 2 – Combine these sections into a ponytail & secure with a clear elastic
You definitely want to use clear elastics for this hairstyle so none of them show. Our favorites, that you can purchase HERE are Goody Clear Elastics.
Step 3 – Flip the ponytail by taking the end of the ponytail and bring it up & over the elastic, pulling it back down the other side
You may want a Topsy Tail for this style, but since the ponytails aren’t extremely tight, I didn’t find it necessary. However, they are great for flipping ponytails, so if you haven’t bought one yet, click HERE to buy a Topsy Tail
. Check out all our hairstyles we’ve used a Topsy Tail in HERE.
Step 4 – On the hair that is now twisted, gently pinch and pull the twist to break it up and make it looser
Step 5 – Cinch the elastic if needed, and pinch & pull as much as desired to break up that twist
Step 6 – Gather hair above each ear & draw hair back and secure with a clear elastic – not directly below the elastic from Step 2
You want to stagger the elastics as you create this style. Have some in the center, and then off-set on the left or right side.
Step 7 – Continue gathering small sections of hair from each side of the head and drawing them toward the back & securing with an elastic. Then pinch and pull each twisted section to loosen it up.
Step 8 – Continue this process with all the hair until you reach the very ends
Depending on the length of hair you are working with, the number of sections you create will vary. And as with all updos, results will also vary!
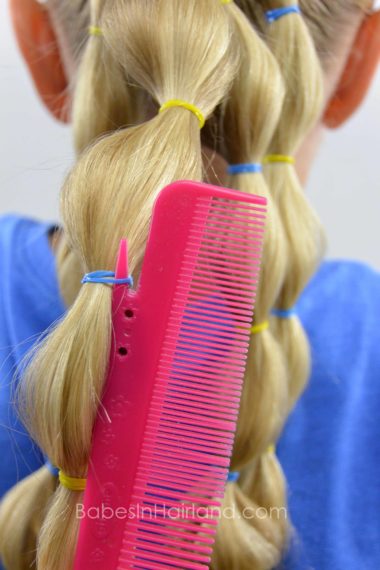
Step 9 – At this point, this is what your hair should resemble:
This is a gorgeous style if you were to stop at this point, but we were going for an updo, so we continued!
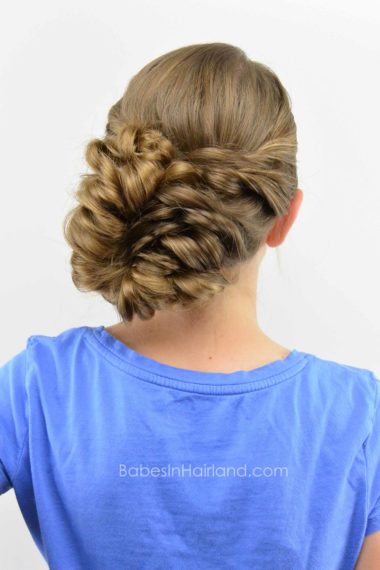
Step 10 – Draw the end of the flipped braid up toward the left side of the head
Step 11 – Bring the tail of the flipped braid so it is just above the twists that are near the crown
Step 12 – Secure flipped braid in place with bobby pins
Step 13 – Tuck the tail of the flipped braid down behind those top twists so they are hidden & then secure with bobby pins
If you have longer hair, you can drape the flipped braid back down the right side & secure the tails by tucking them in the twists or at the nape of the neck.
Step 14 – Secure updo with bobby pins as needed and then spray with hairspray
Step 15 – Add accessories as desired
*** As a side note – because there are so many elastics in this hairstyle, we find the Gimme Style Cutter Comb (pictured below) to be helpful in removing the elastics. Click HERE to buy your Gimme Style Cutter today!
Also check out our post on 5 Tools to Remove Elastics HERE.
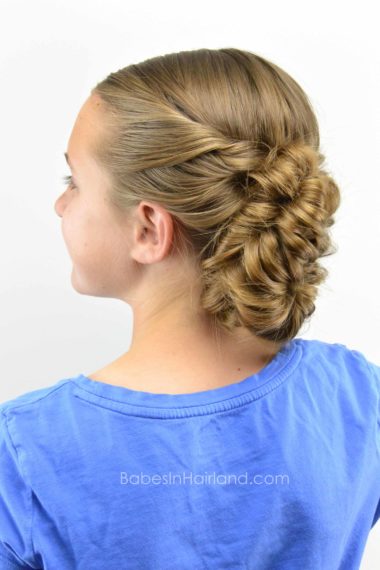
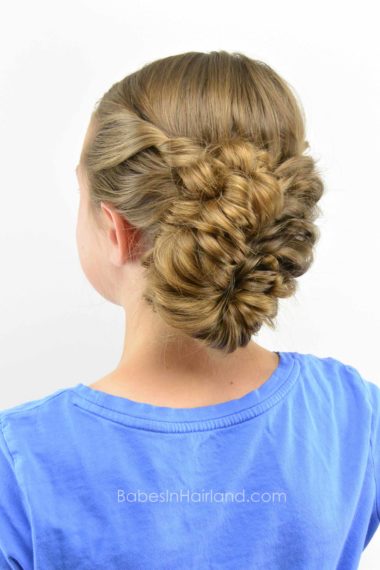
FINISHED!
I love how many different dimensions this style has. It sometimes looks like a fishbone braid, other directions it resembles curls that have been pinned up, or even from some angles a braided flower bun or something similar! Nothing better than a hairstyle that looks so complex, but it really isn’t!
Let us know what you think! And don’t forget to pin it and share it with your friends!
If you’re looking for more updos – click HERE to see all of our amazing ones for the upcoming wedding season! This Easy Romantic Braided Updo is one of my most recent favs!
