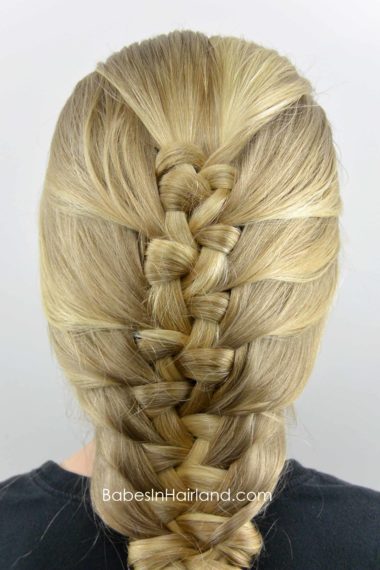
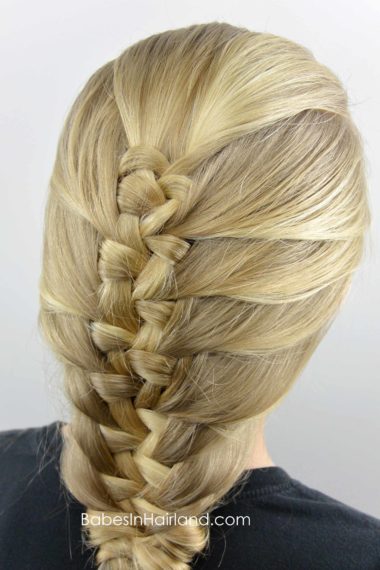
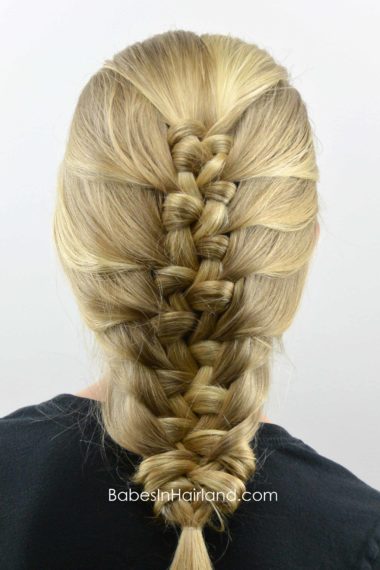
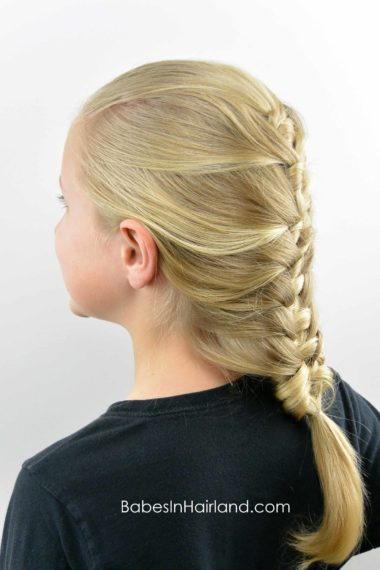
I mentioned last week that 2016 wasn’t loving us, and it appears to continue. My migraines are seeming to come back more frequently and I’m sure it’s due to a bunch of stress I’ve been under due to some huge drama with a house we were trying to buy. (But that’s a whole other story for another day!)
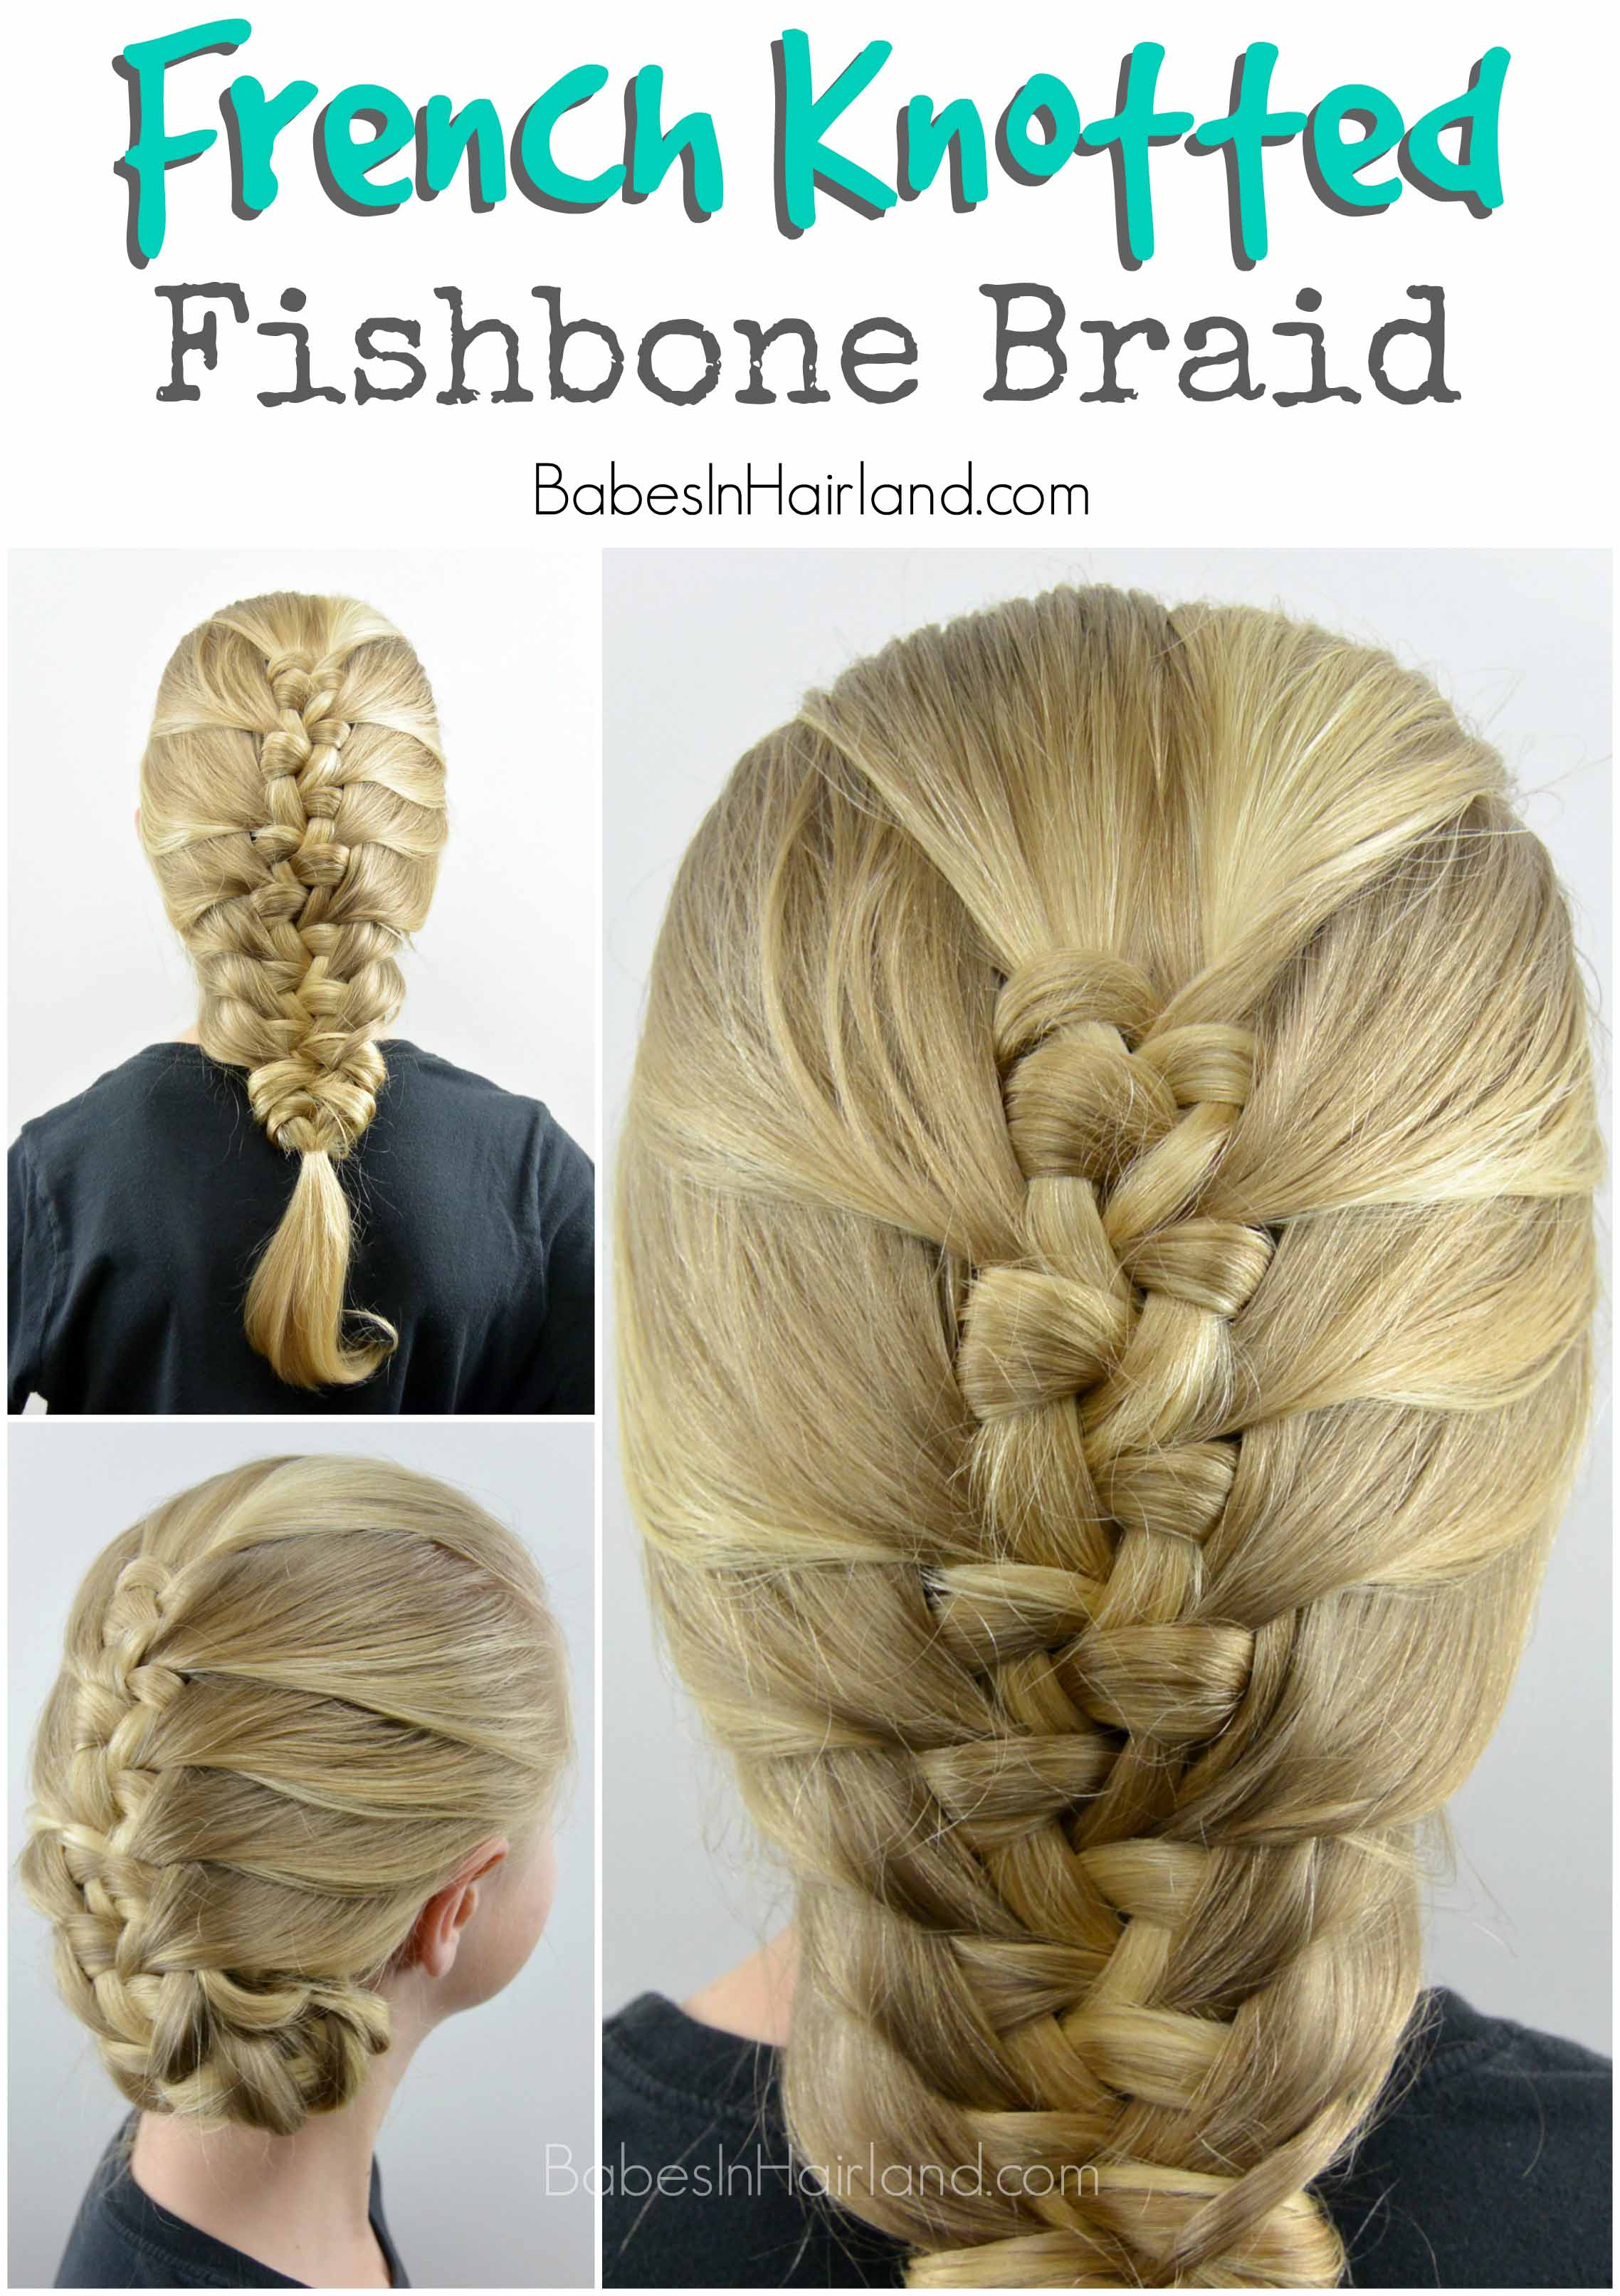
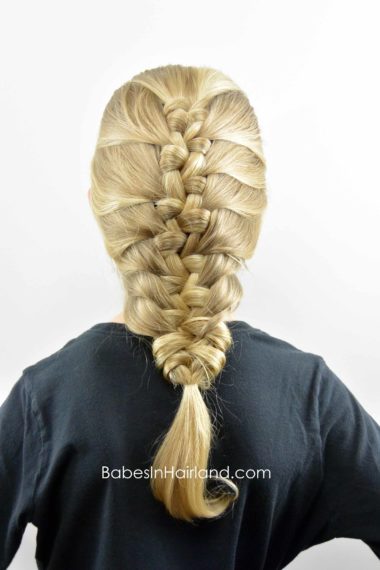
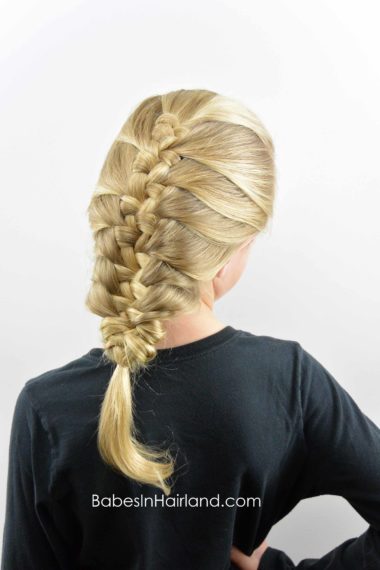
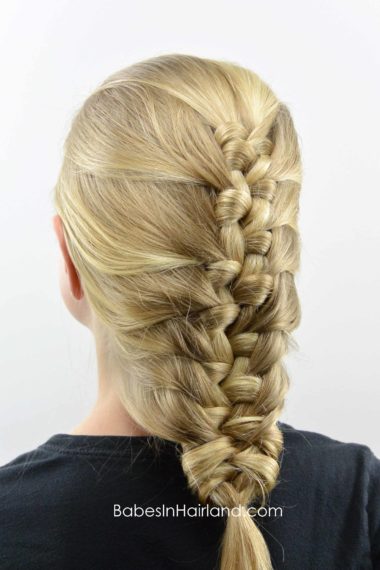
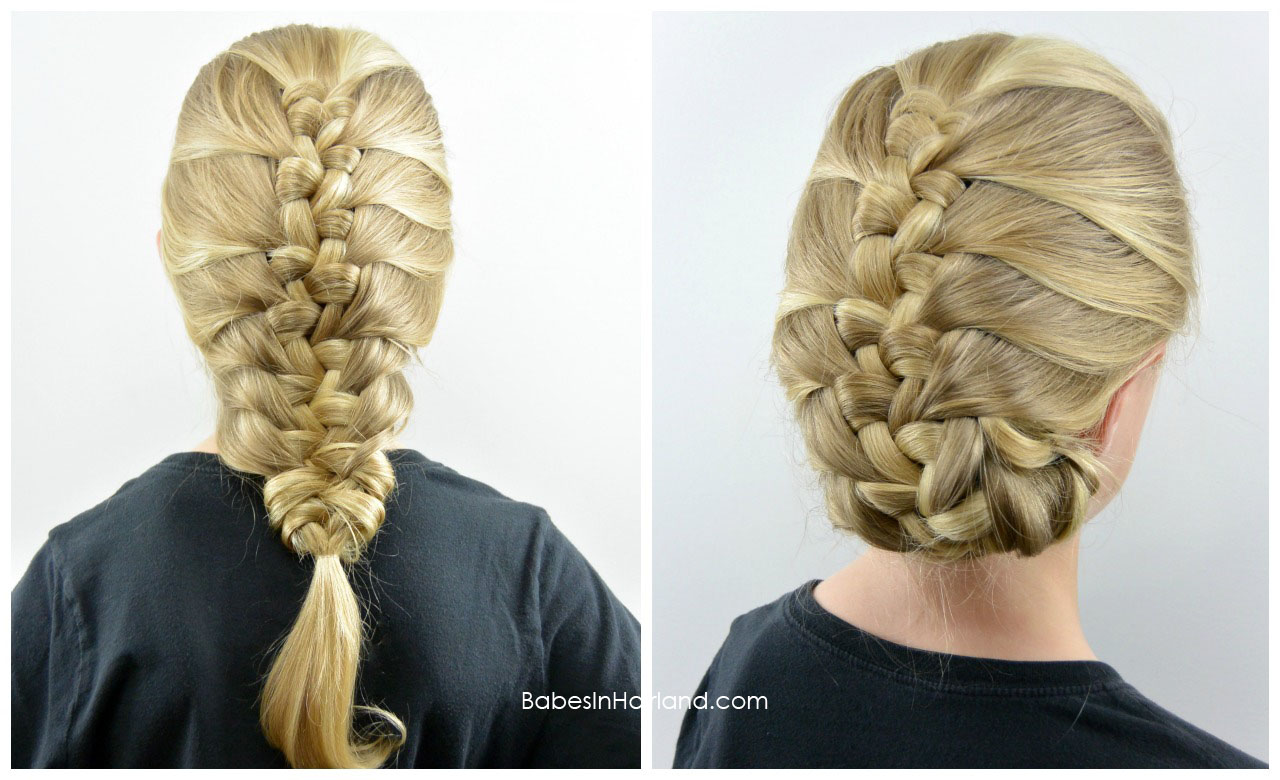
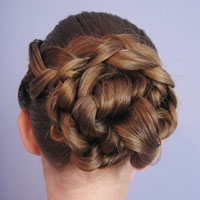
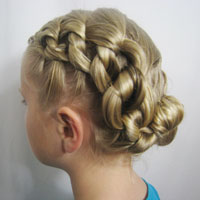
Anyway, again sorry for the delay and we hope you like our tutorial today. At first glance our hairstyle today might look like a French braid. But it’s not! It stems off the basic technique we shared a couple months ago (pictured below) that we called a “Knotted Fishbone Braid“
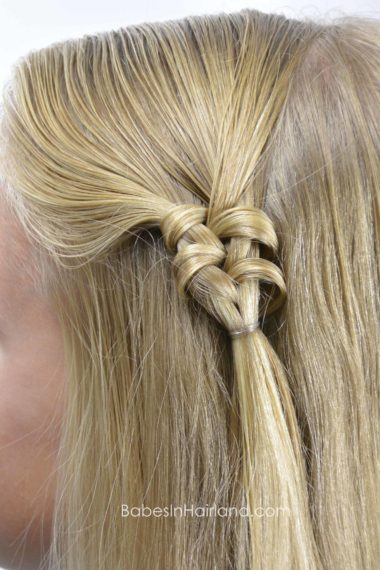 So using that same technique, we have made it “French” which makes it a bit more involved than just a couple rotations of the knotted fishbone braid technique like we showed above.
Watch our video to see how we create this unique & beautiful style. Step-by-step instructions & more pictures follow the video.
Step 1 – Make a small ponytail on top of the head from the temples to the crown & secure with an small elastic
Step 2 – Divide the ponytail into 2 even sections so you have a left & right section
Step 3 – Like you would in a fishbone braid, draw a small amount of hair from the far right side of the right section of hair. Bring it over to the left section of hair.
Step 4 – Do not add it to the left side though. Bring that small amount of hair from the right side, under and then up & over the top of the hair on the left side.
Step 5 – There should be a “hole” in between the 2 sections of hair now. With fingers from your right hand, pull this small section of hair through the hole to create a “knot” or loop around the left section of hair.
Step 6 – Add those ends back over to the right section of hair again.
Step 7 – Next take a small amount of hair from the far left side of the left section of hair and pass it over to the right section of hair.
Step 8 – Pass it under and then up & over the top of the hair on the right side.
Step 9 – With the fingers from your left hand, pull this small amount of hair through that center “hole” drawing the small amount of hair back to the left side.
Step 10 – Next, like you would in a French braid, grab hair near the face and draw it back toward the middle of the back of the head
Step 11 – Then grab a small section of hair out of the the right side of the ponytail you started with and combine it with the hair you drew back from Step 10
Step 12 – Draw all that hair over to the left side of the ponytail and pass it under and then up & over the top of the hair on the left side.
You are repeating the same process you did from Steps 3-9, but you are adding hair from the sides of the head as you go, as you would a French braid.
Step 13- As before, there should be a “hole” in between the 2 sections of hair now. With fingers from your right hand, pull this small section of hair through the hole to create a “knot” or loop around the left section of hair.
Step 14 – Now grab hair on the left side of the head near the face and draw it back toward the middle of the back of the head
Step 15 – Next grab a small amount of hair out of the left side of the ponytail you started with, and combine it with the hair you just drew back in Step 14
Step 16 – Combine all that hair and draw it over to the right side of the ponytail and pass it under and then up & over the top of the hair on the right side.
Step 17 – As before, there should be a “hole” in between the 2 sections of hair now. With fingers from your left hand, pull this small section of hair through the hole to create a “knot” or loop around the right section of hair.
You will want to keep things pulled tight, but this still might be a bit loose. If you want it tighter & neater, do the style in wet hair. I was going for a more “relaxed” style and wasn’t overly concerned with things being tight and tidy. If you want it to be a bit more intricate, take smaller amounts of hair each time.
Step 18 – Repeat the above steps all the way down working back & forth from right to left as you would a French braid until you run out of hair to add
Step 19 – If you have longer hair continue the process like in Steps 2-9 down the remaining hair, not adding any hair & secure the end with an elastic.
FINISHED!
Keep scrolling for a bonus look/style!
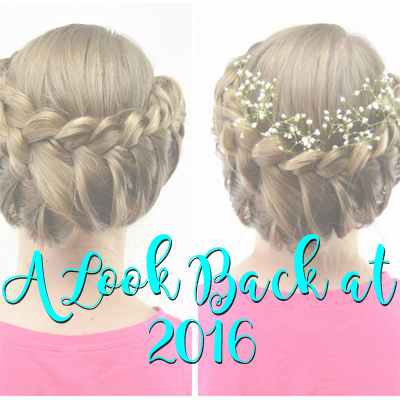
Bonus Style:
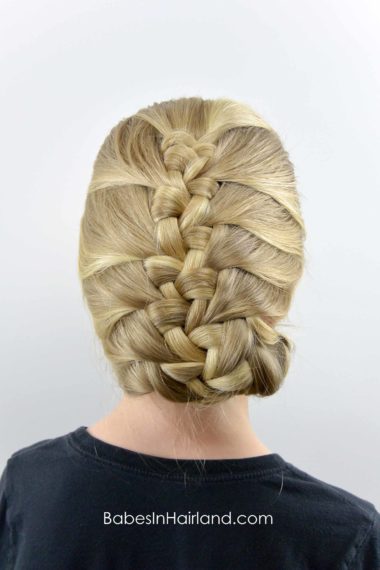
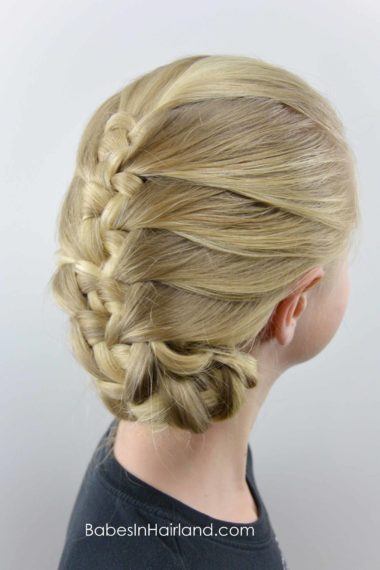
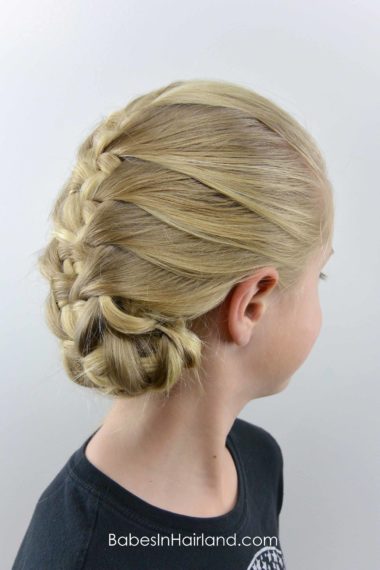
If you want a more elegant & fancy style, once you’ve finished braiding all the way down, simple wrap the ends up into a low bun/chignon at the nape of the neck. I wound hers up to the right side, tucking the elastic and tail as I “rolled” it up & secured it with a few bobby pins. This gave an extra “touch of fancy” to the style.
