Yes, I know it’s been a while! And this post, actually comes from my amazing, talented and oh so fabulous Sister-in-Law Janice. She’s got 4 kids – her two oldest being girls. They are older than my girls by several years, but that makes no difference — they still love having their hair done. In fact – if you’ve been around BIH long enough, you might remember my niece Miss J. had a fun 12th b-day party last summer and I went and did her hair & a bunch of her friends hair for her birthday party. This is the same niece and she wanted to share this fun braided style. It’s possible it’s been done elsewhere – but no matter – I LOVED it and so today our hairdo is brought to you by Miss. J (they actually all start with J – so that can be my SIL or nieces!)
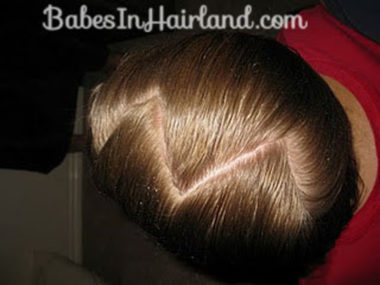
Start by making a nice big zig-zag part down the middle of the head from front to clear down the back – we’re going to be making braids on both sides of the head.
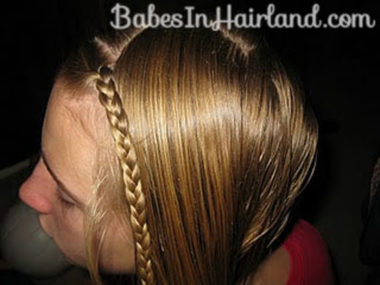
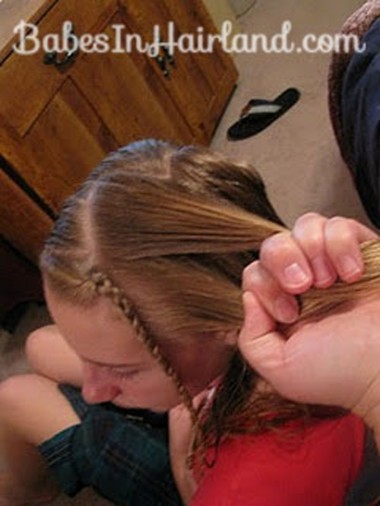
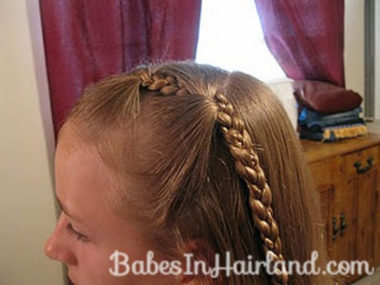
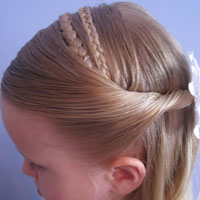
On the left side divide out a small section of hair & make a basic 3 stranded braid. Braid it down as far as you can. Tie it off with a little rubber band or a clip to secure it. You need it to stay braided clear to the ends of the hair.
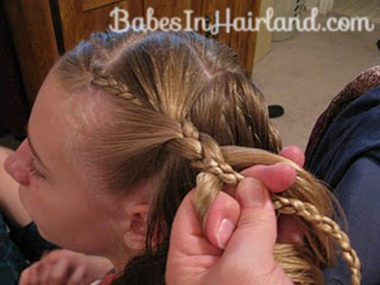
Behind the braid you just made, part out a bigger section of hair. You will be braiding this section. BUT– only divide this part into 2 sections because you will be pulling that little braid you made in the last step as the middle section for this braid. So you’ll be making a braid with 2 straight sections and 1 braided section right now. Use the braid as the middle section for the new braid you will be creating.
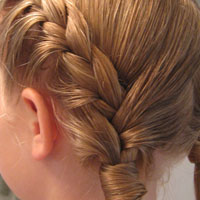
This is what it’ll look like as you get going. The one plait of the braid will be the tiny braid from up front and the other 2 plaits will just be the thicker straight sections of hair:
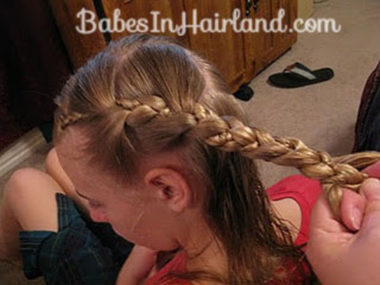
Continue braiding this section all the way down, until you run out of hair. Tie it off at the end again or hold with a clip because you want this whole section to stay braided.
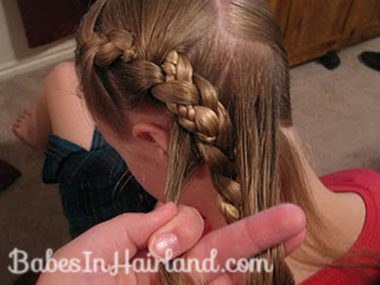
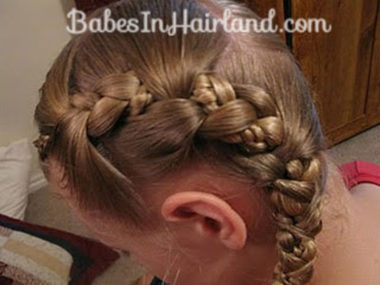
Continue on down the back of the head – parting out another section to braid – using the “main braid” as one of the “strands” for the next 3 strand braid. I think the pictures explain it easier than I can! 🙂 It just keeps getting thicker & looks cooler the further down you get.
You can do this in as many sections as you want. I believe my SIL did 4 sections not counting the little braid up front. The 4th one was just a little bit of hair at the nape of the neck though. Hopefully this all makes sense. Let me know if you have any questions.
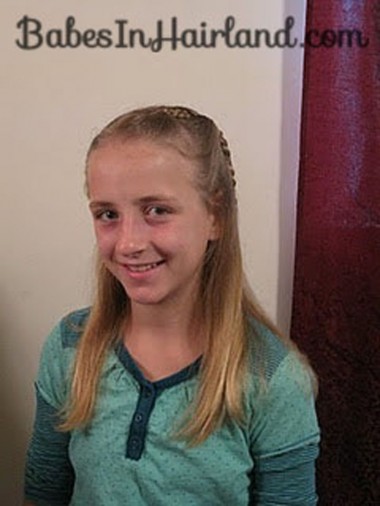
Repeat on both sides so you have some pretty awesome looking dressed up Pocahontas braids! Miss J. has beautiful hair as it is but these braids just looked awesome I think!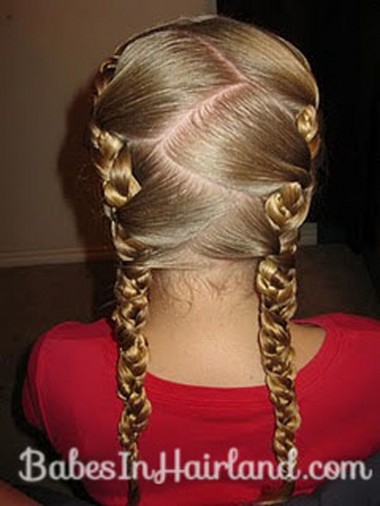
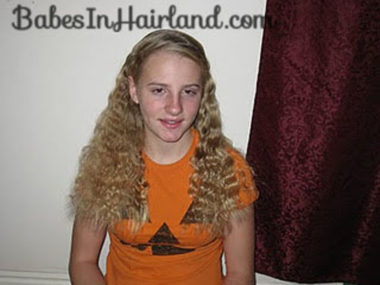
And here’s a shot from Miss J. giving us her teenage smile! She’s 13 now and it’s nice that she’s not too cool to still have her mom do her hair sometimes! 🙂 hehe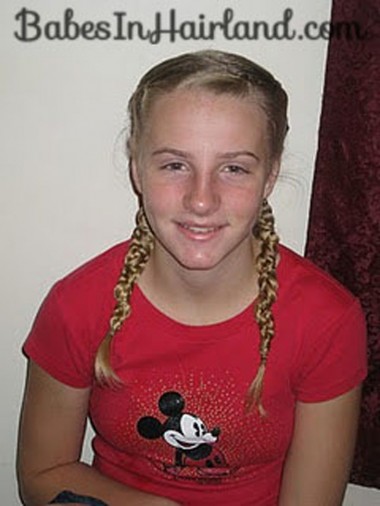
Then the next day you get some pretty amazing waves too! Can’t beat that!
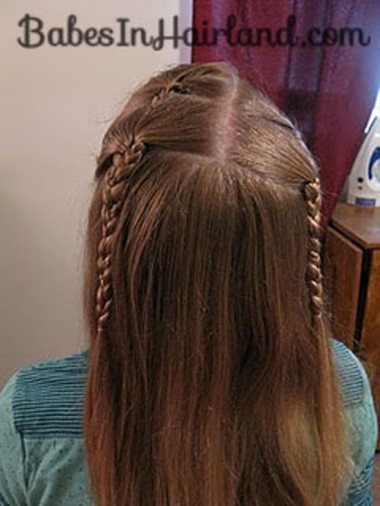
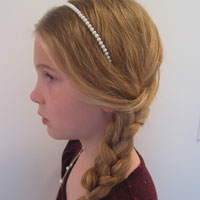
Or…. if you want to just do this partially – you can only do a few sections and leave the rest of the hair down in back. My younger niece, also Miss J., wanted her hair down in back – and she’s also got bangs, so they braided her bangs into this & it worked nicely.
This one is a fun one for all ages and has got several options depending on how much time you’ve got. Thanks so much to my SIL Janice and my beautiful nieces for sharing this one with us.
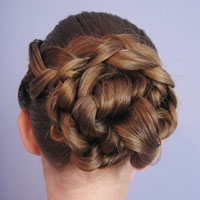
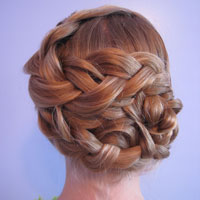
Hi, Just found this today 🙂
Tried it out on my 8yo, tomboy…she decided she’d let me do something “kinda fancy” to go to the mall. (of course when we go somewhere fancy, like a wedding its “don’t do my hair!” haha)
anyway i got the parts off, as at the end i had a little section that didn’t really belong to either side, so i braided the two sides together and made the last section the 3rd piece 🙂
I wanted to thank you for your great site, i dream on it all the time, for these rare moments 🙂
So glad she let you do something in her hair! Sometimes it’s not about what you do with the hair, just the time you spend together, kwim?! 🙂