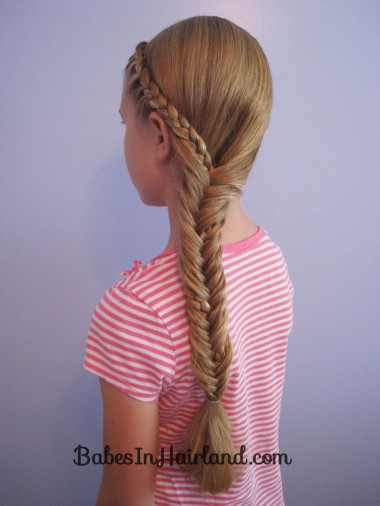
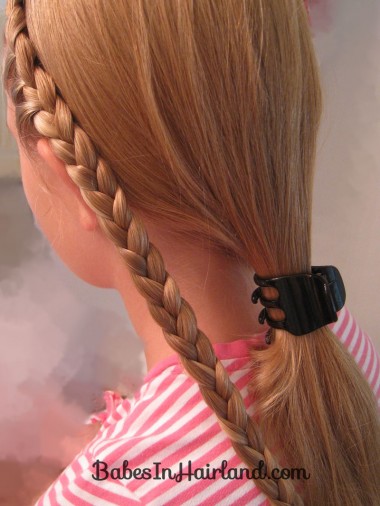
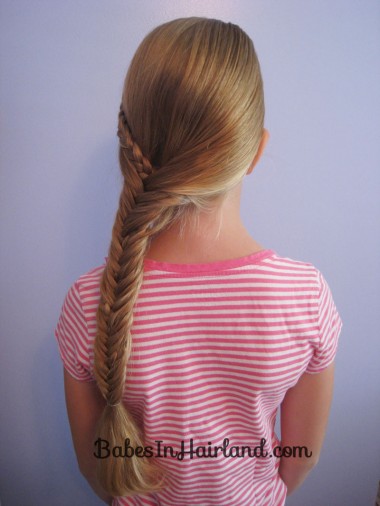
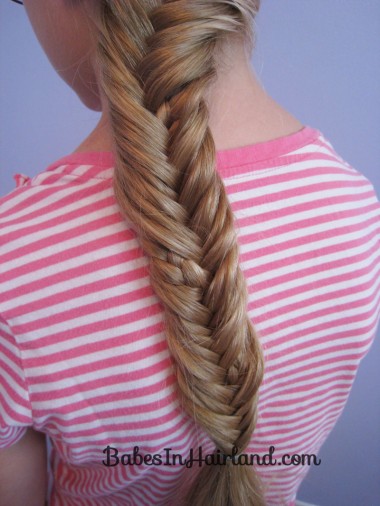
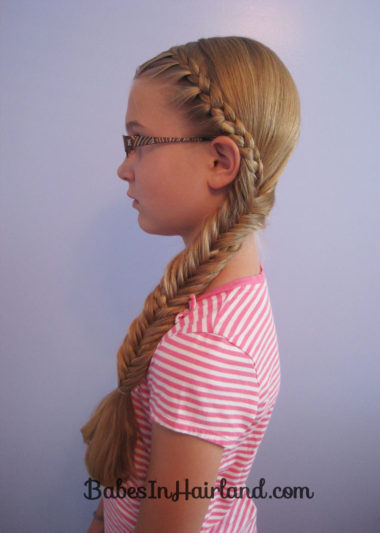
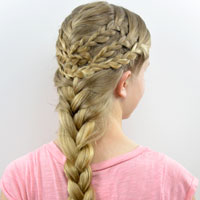
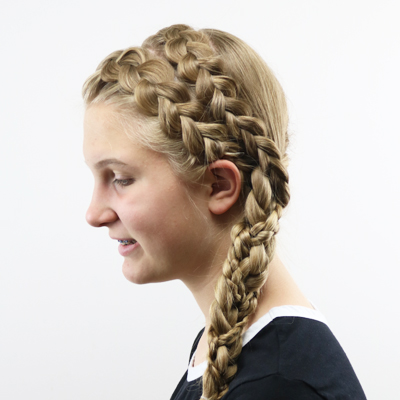
Since braids continue to be all the rage these days, I combined some of my favorites for this fun style. The regular braid winding through the fishbone braid adds a fun bit of texture & flair to an otherwise normal fishbone braid!
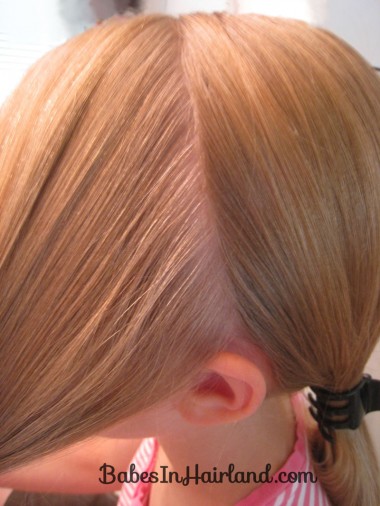
Step 1 – Part the hair
Make an off center part on top of the head. Then part from that down to the left ear.
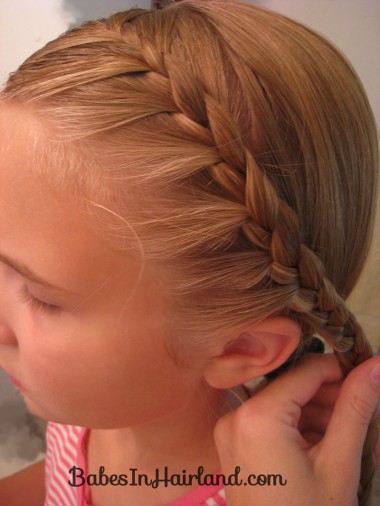
Step 2 – Make a half French braid
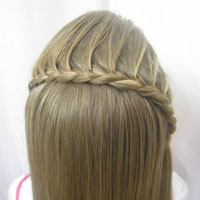
Starting as close to that off-center part on top of the head start your half French braid. A “half” French braid is where you only add hair to one side of the braid (in this case it was the left side.) You could certainly do a regular French braid here if you prefer. You can see our half French braiding video HERE. Stop adding hair to the braid once you get down to the ear.
Step 3 – Make a regular braid
Once you’ve reached the ear, stop adding hair and just continue plaiting a regular 3 strand braid until you reach the end. Secure the end with a clear rubber band. You don’t want this to come undone!
Step 4 – Divide hair in half
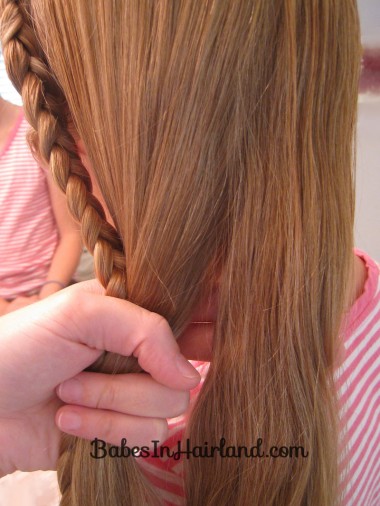
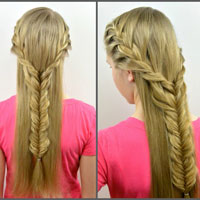
With the remaining hair in back, divide it in two sections and get ready to make a fishbone braid. For our how to make a fishbone braid video, go HERE. Try gather the hair toward the left side of the head so it will be a side braid.
Step 5 – Start a fishbone braid
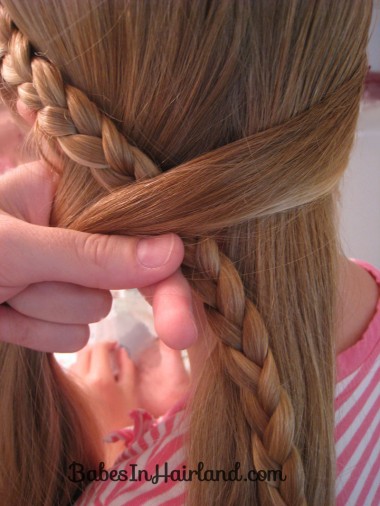
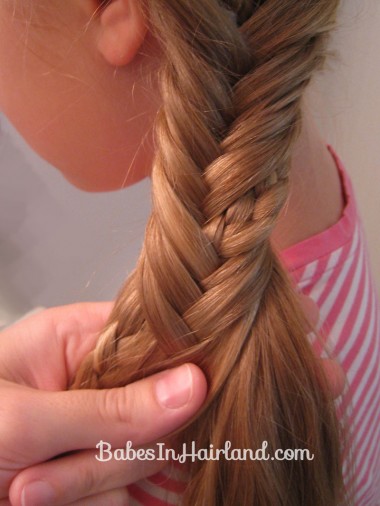
I used the braid as the first section of hair I crossed over to start my fishbone braid. Then I pulled a section of hair from the outside right section and crossed it over to the left. I wanted the regular 3 stranded braid to peek through the fishbone braid a few times as I worked my way down the hair.
Step 6- Continue fishbone braid
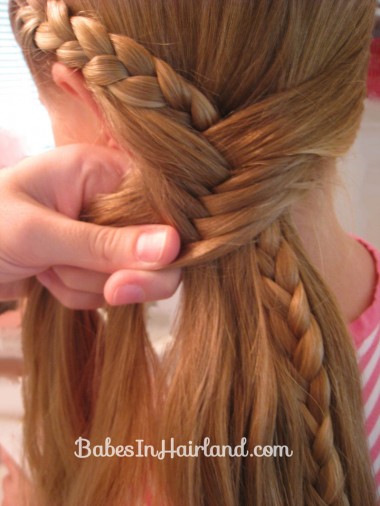
I took chunkier sections of hair to make this fishbone braid because I didn’t want it to take me forever! I also tried to keep that 3 strand braid from getting buried in all the straight hair so it’d resurface and add a bit more texture to the fishbone as I worked my way down.
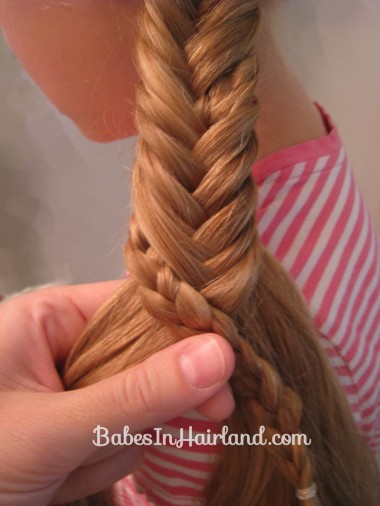
When the regular braid “resurfaced” I just used that as my section of hair to cross over to the other side and didn’t grab any of the straight hair. It looked kind of cool I thought!
Step 7 – Secure braid
Here the 3 strand braid comes back up on the left side to cross over to the right side again. I finished braiding the rest of the way down her pony and secured the end with a rubber band. You could totally give this a messier look by loosening the braids up a bit too.
Finished!
To be sure you don’t miss any of ours styles don’t forget you can sign up for our RSS feed, get updates via e-mail, follow us on Facebook, as well as Pinterest! And of course we love it when you share with your friends too! 🙂 I’m joining in the Show & Tell linky party at SNAP!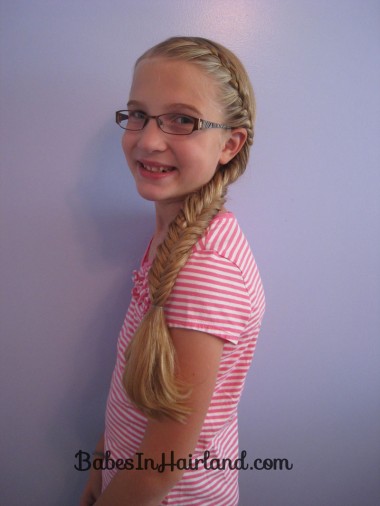

I’ve been wondering how you do the half French braid. I love seeing these!
I’ve always thought her hair was soooooo long, but i just realized that over her shoulder, its about at her waist!!! I just did this hairstyle, and its gorgeous, and thats where my hair comes over my shoulder!!! i guess my hair is longer than i thought!
Wow! Is she growing her hair out? It’s very pretty!
My daughter really likes to wear braids so I ‘m going to try this one out.
I am so excited that you stopped by my blog! I absolutely LOVE your blog and will be following via RSS feed! I can’t wait for my baby girl to actually get hair so I can have fun styling it! LOVE this!
Wish me luck, gonna try this on Princess M tomorrow!!!