This is a style we did a while ago and shared it on Instagram but didn’t have a tutorial yet (btw – do you follow us!? @babesinhairlandblog – wink wink 😉 ) This style is one anyone can wear and can be done with shorter or longer hair. If you’re working with shorter hair, the braids won’t “snake” around as much, and if you have longer hair, you’ll obviously have more hair to wind around and secure. It’s nothing earth shattering & hard — but it looks very pretty once it’s done.
Step 1 – Part hair down the middle & to the ears
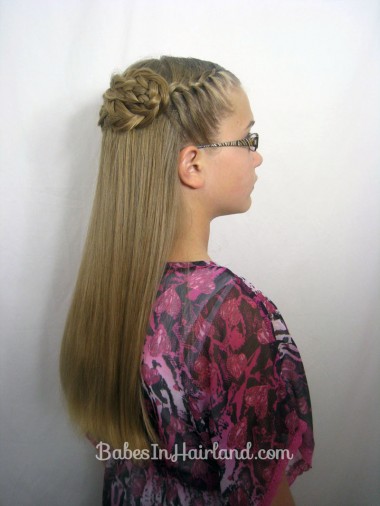
Step 2 – On the left side plait a half French braid
Our definition of a half-French braid is where you only add hair to one side – and in this case it’s added to the bottom. Add hair until you reach the ear & can no longer incorporate hair.
Step 3 – Finish the braid with a regular 3 strand braid
Step 4 – Secure the braid with an elastic
Step 5 – Repeat steps 2-4 on the right side
Step 6 – Loosen/pancake braids as desired (optional)
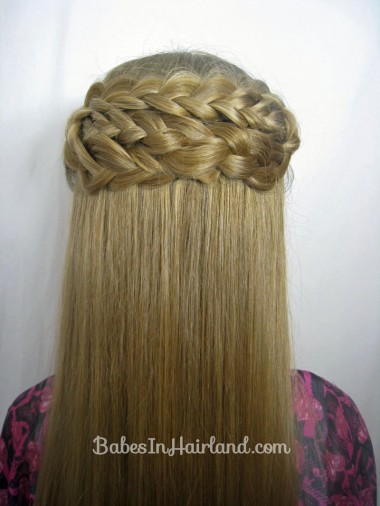
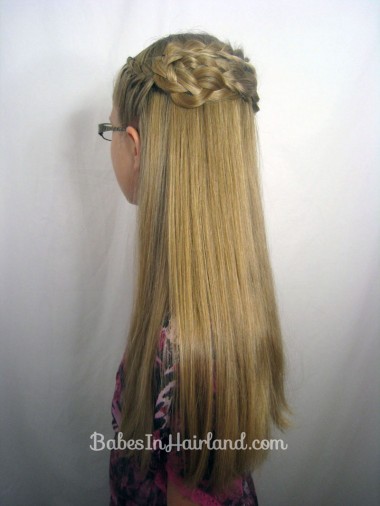
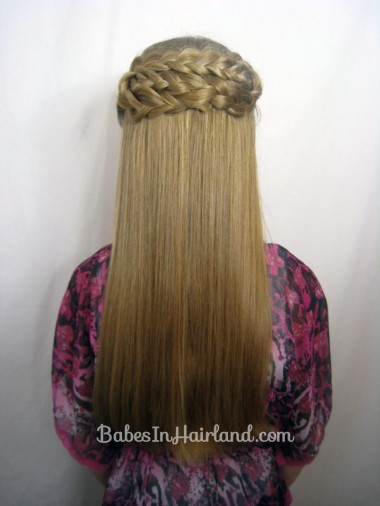
Step 7 – Wrap braids around on the back of the head & secure with bobby pins
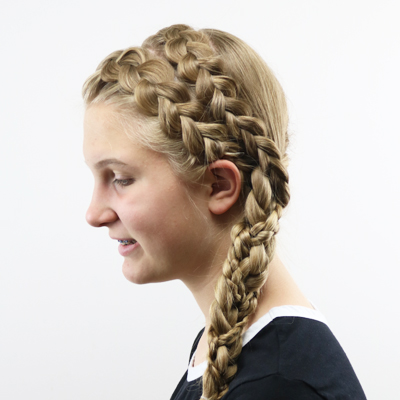
Starting on the left, drape the braid across the back of the head until you reach where the French braid stops on the right side. Secure as needed with bobby pins. Take the braid from the left & drape it across to the left side. Wrap hair as needed to hide the tails of the braids and secure with bobby pins. If desired, pull on braids to give a messier/thicker look to the wrapped braided area.
FINISHED!
You can make this one as messy as you like, or dress it up for a more formal occasion. Let us know if you try this one!


Really cute, easy and quick. I wear this look today at work. Special thanks!
brilliant and awesome hairstyles submitted on this site. Got really help from these hairstyles. Keep this up babes in hairland!