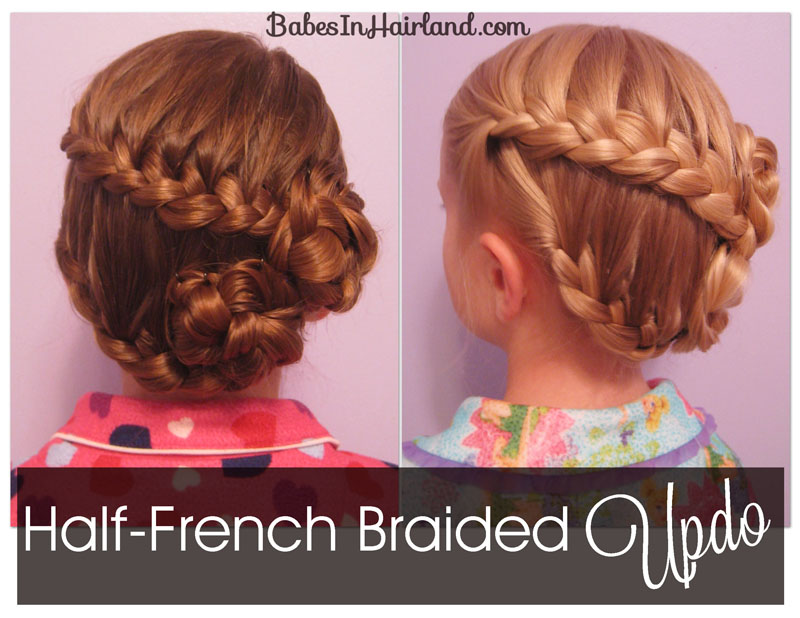
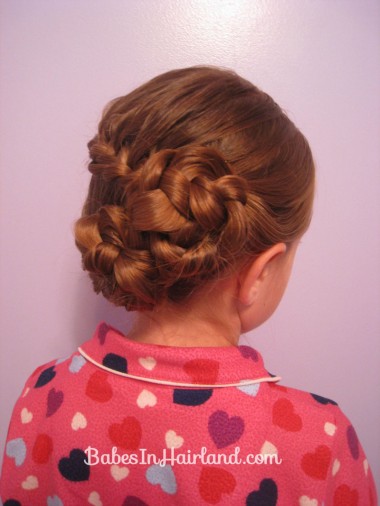
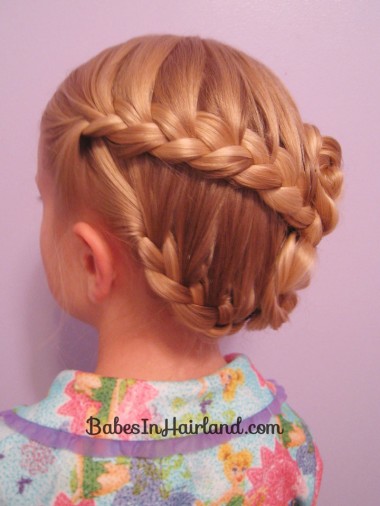
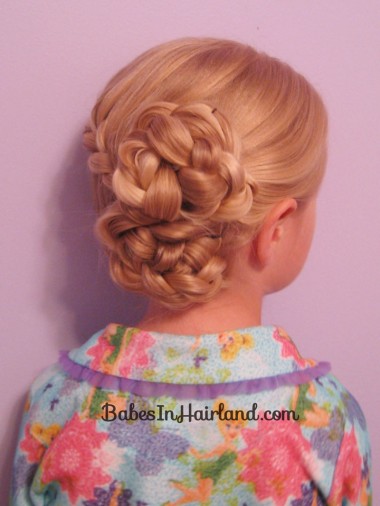
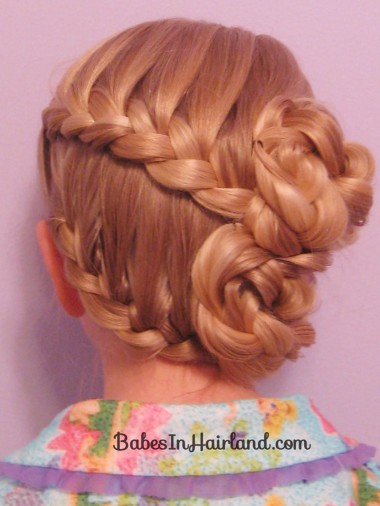
 A while back I was messing around with Bee’s hair after her bath while it was fairly damp and we did this style. As tends to happen, I didn’t have my camera around so I only got pictures of the finished product. So I redid it on Bug and so you get the step-by-step pictures on her and the finished product on her & Bee. So this style is great for long or shorter hair. Ever since we did our half-French braid wrapped ponytail, I love incorporating these half-French braids (as we call them) into different styles.
Step 1 – Make a small part on the top right of the head
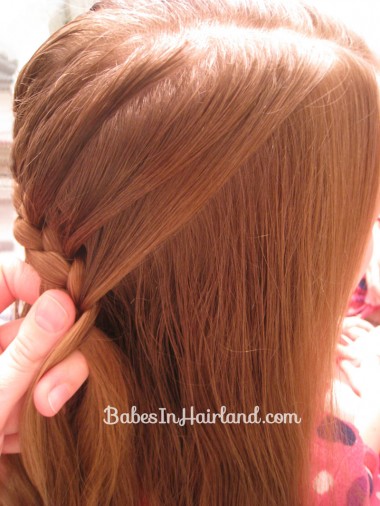
Step 2 – Begin a braid on the left side of the head
Make one full plait before starting to add any hair. 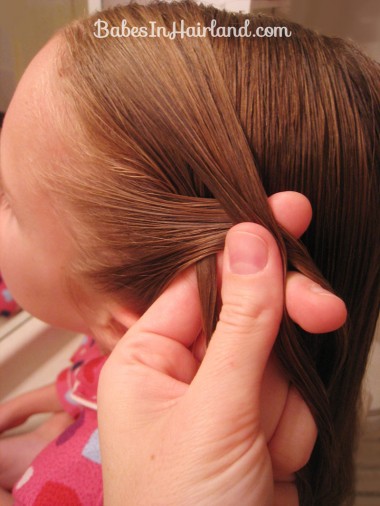
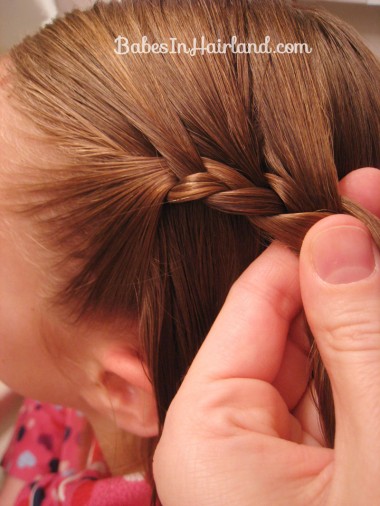
Step 3 – Add hair into your braid
With each plait of the braid, add hair to the top section only. This is the same thing I show in our crown French braid video I did years ago – except you are adding hair to the top instead of the bottom. ** Just a note — I did not section out the whole top half of her hair for this first braid that wraps around. I simply guided the braid around her head – no “real” parting except to pull sections down into the braid. I didn’t want a big part wrapping clear around her head.
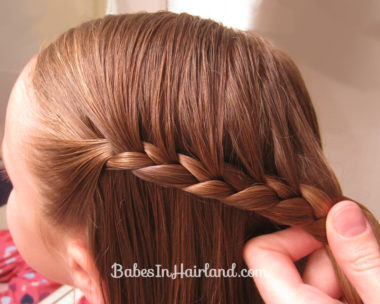
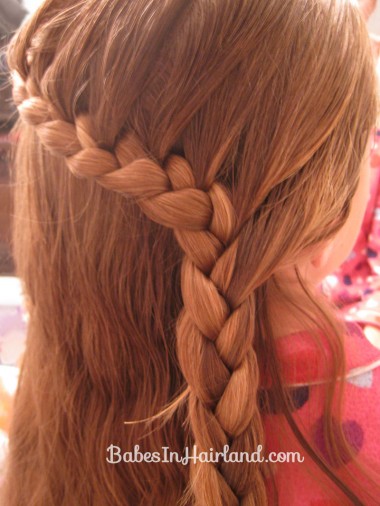
Continue around the head adding hair only to the top …
Step 4 – Braid entirely around to the right side of the head
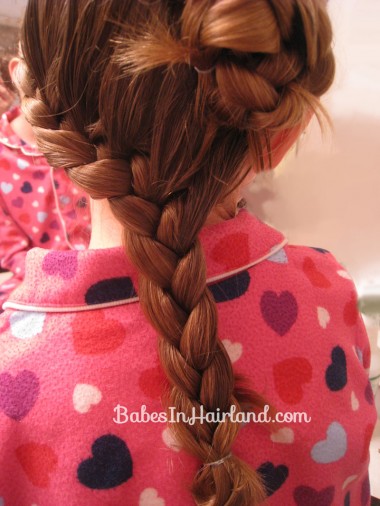
Once you can’t add anymore hair into your half-French braid, just braid all the way down to the end of the hair & secure the end with a rubber band. Be sure to add all the hair from the right side of the head into your braid before braiding all the way to the end.
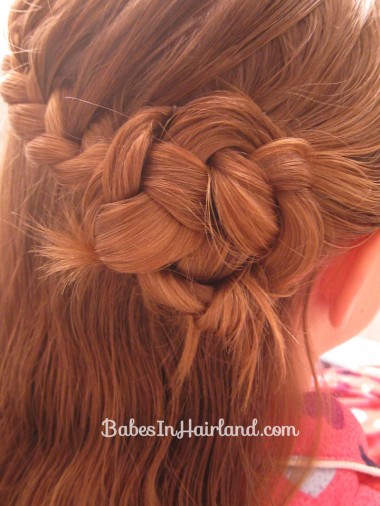
Step 5 – Make a bun
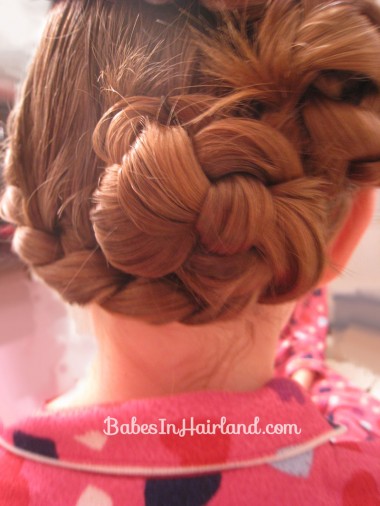
With the hair you just finished braiding, wrap it up into a bun & secure with bobby pins. The length of her hair makes it a bit harder to get a decent bun and she has random hairs poking out, but that added to the look I guess!
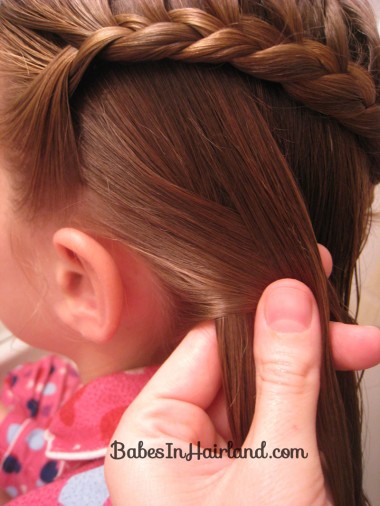
Step 6 – Begin a second braid
Just below where you started the top braid on the left side, begin plaiting another braid.
Step 7 – Repeat steps 3 & 4 wrapping around the head
Keep this braid down low around the nape of the neck as best you can. You don’t want to pull it up too high or your second bun won’t have anywhere to be anchored.
Step 8 – Make another bun
Below the first bun – or off to the side a little, wrap the braid into another bun & secure with bobby pins.
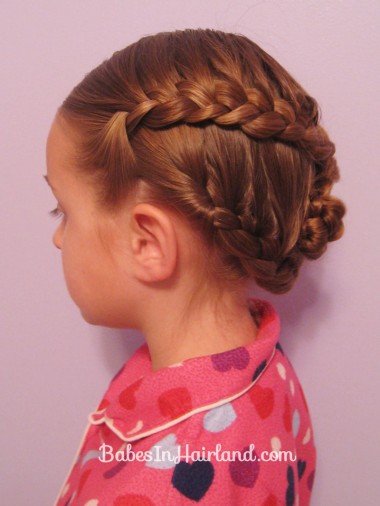
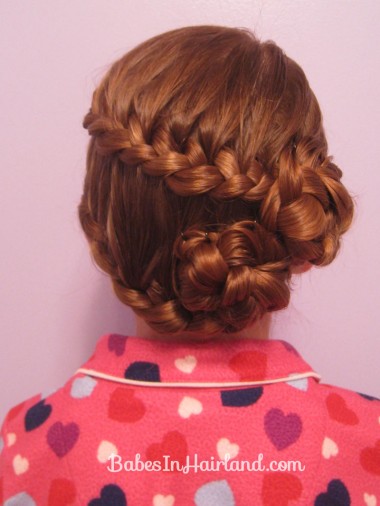
Finished!
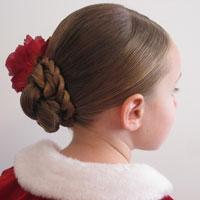
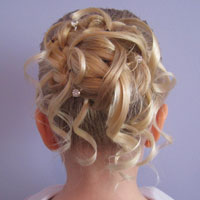
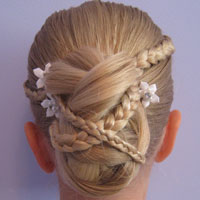
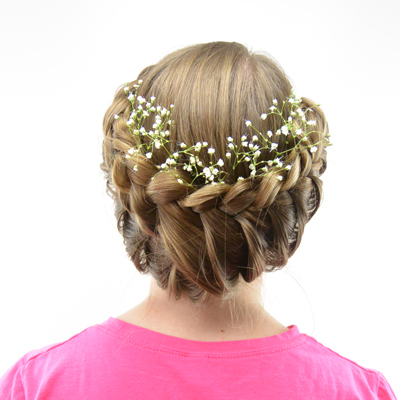
Here are some other angles from both Bug & Bee’s hair. This really is a fairly simple style and I find half-French braids are a lot easier to handle if you have a hard time doing a full French braid. It looks so pretty when it’s all done & can be embelished with small little flowers or clips. Since they were hanging in their PJ’s I didn’t bother!
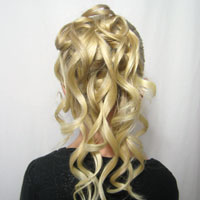
And here it is on Bee. I find her lighter hair is easier to see it on and she has a bit thicker hair so the braids are a bit chunkier. And obviously the buns are a bit bigger because she has such long hair.
Be sure to share this and spread the love by clicking on the little buttons below!
They both look so gorgeous!!!!! This is really cute, you did a great job Mom! 🙂
Thanks Wendy. Thank you for always leaving such kind comments! Will you be trying this out on Miss M.? 🙂
It’s beautiful! My girl love it very much!
Been regretting chopping of my oldest length but this worked great thank you
I’m so glad this worked for you. It’s funny how sometimes I’ll think one of the girl’s hair isn’t long enough for a certain style but after I try I’m happy to find it actually will work!