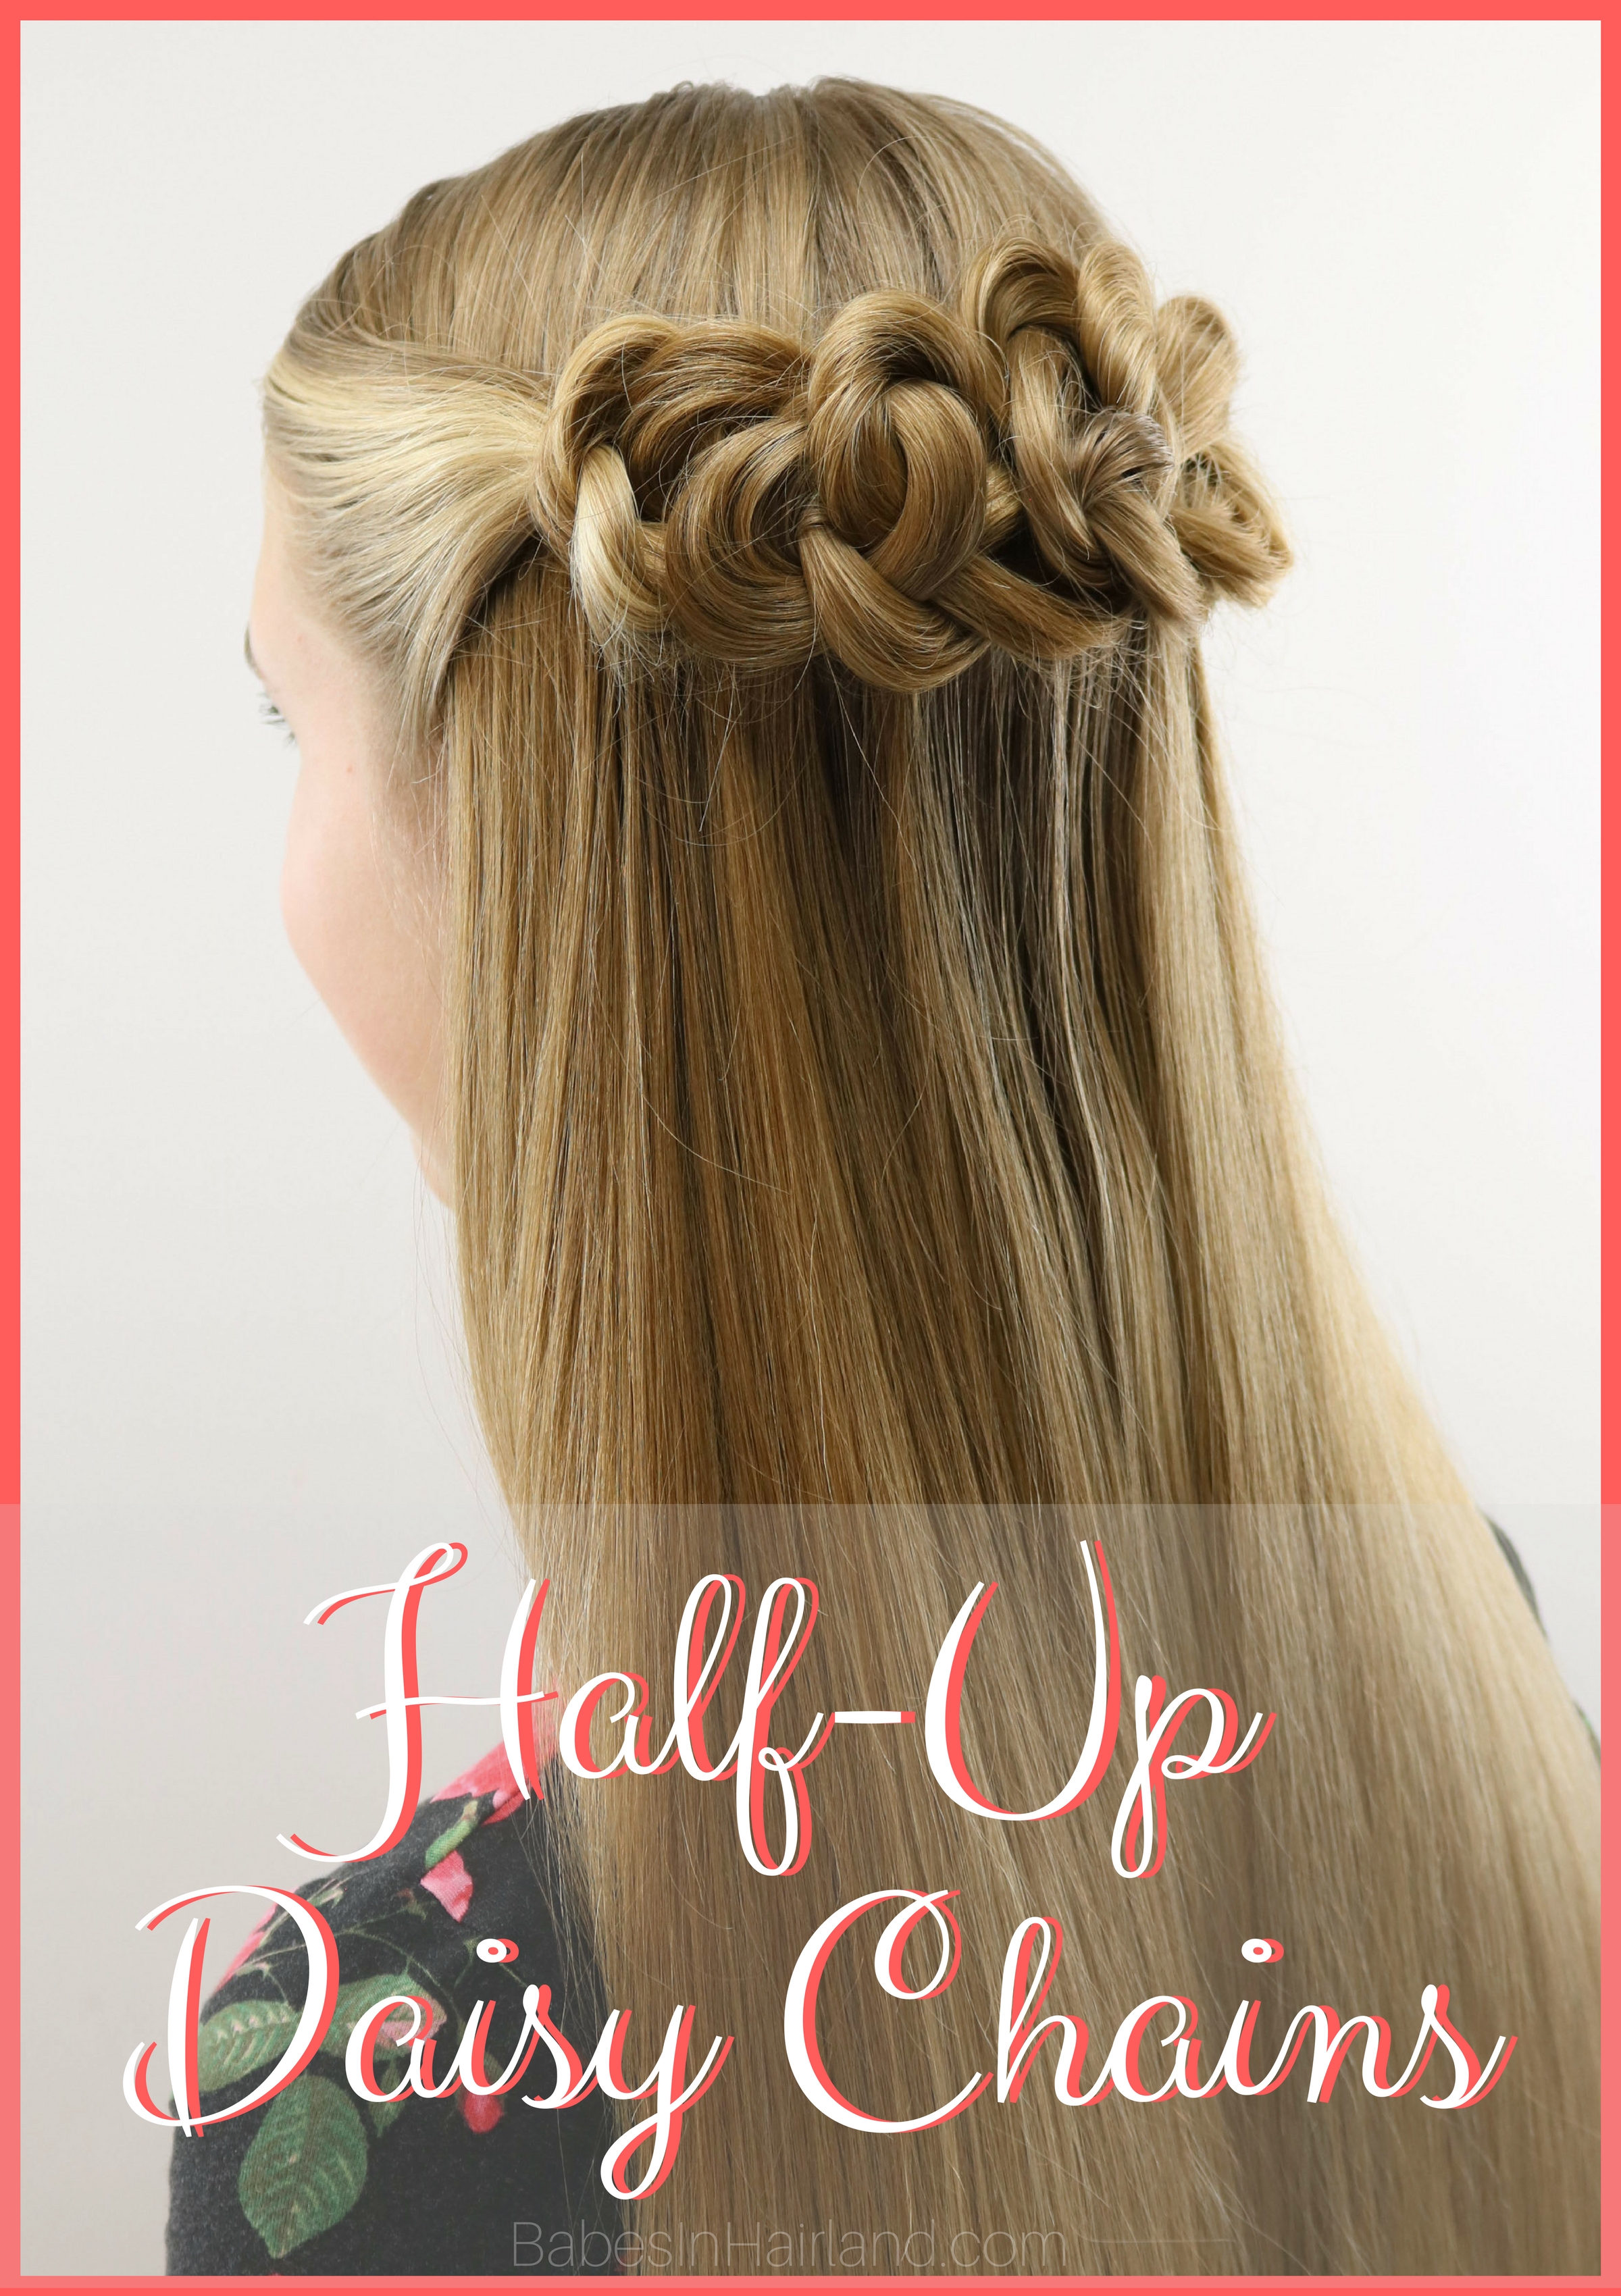
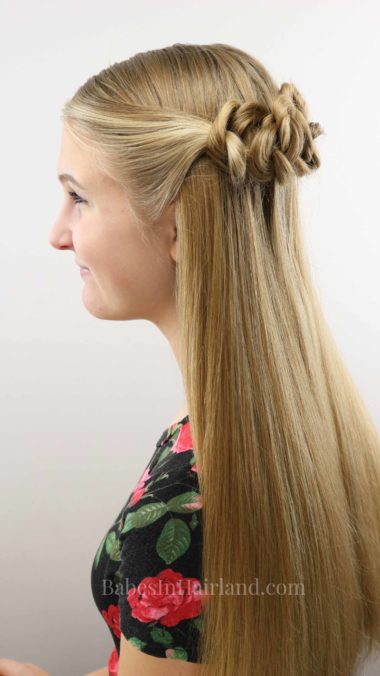
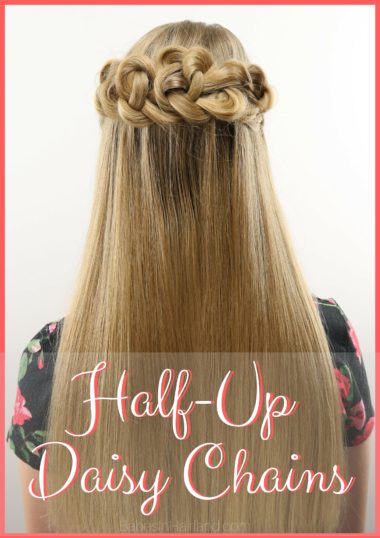
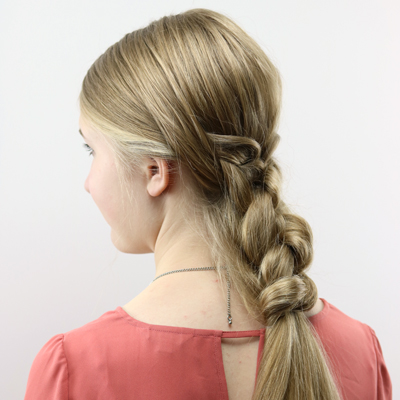
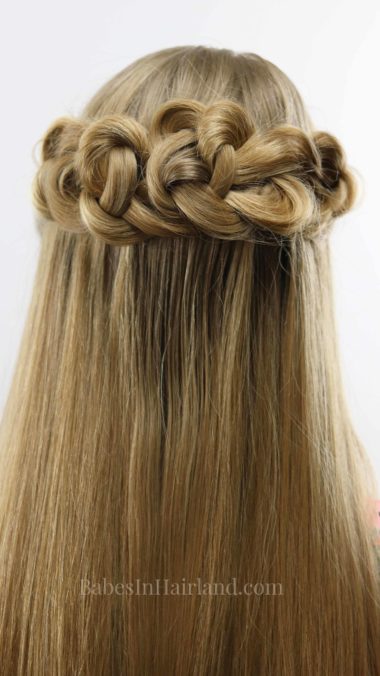
I just love when I’m “experimenting” with the girl’s hair and it turns into a gorgeous hairstyle! After I showed my husband how I did this, he said, “Oh, that’s a daisy chain knot.” He was a boy scout once, so I’ll take his word on it! When I think of a daisy chain I think of, well … literally a chain of daisies. I picture a cute little girl with a crown of flowers around her head! This definitely creates a pretty crown on your head, but there are no daisies involved. Regardless of the name, this turns into a beautiful half-up daisy chain hairstyle.
The local high schools here are getting close to prom season, and this gorgeous daisy chain style would be perfect for any formal dance, or even a wedding. Add some curls in the hair that remains, and it dresses the hairstyle up even more. You could even add a gorgeous hair accessory or small fresh flowers (like little daisies!) and it would look amazing.
We think you’re going to love this one! Be sure to check out all of our other updos and hairstyles that are perfect for prom or formal occasions HERE. Here’s our quick video showing how it’s done. If you have issues viewing it here on our blog, go HERE to our YouTube channel to watch it. While you’re there, be sure you’ve subscribed so you don’t miss a single tutorial!
1- Starting on the left side of the head, divide out a section of the hair near the temple and down to the left ear.
2- With your left hand palm facing up, use your right hand to wrap this section of hair around 3 fingers on your left hand so it forms a loop.
3- Pass this loop to your right hand. Begin to pull the end of the knot partially up through the loop. This will create another loop.
4- Place your index and middle finger through the new made loop. With those 2 fingers, pull the tail of the hair partially through so it creates a 3rd loop.
5- Don’t pull the tail completely through this 3rd loop. Direct the remaining tails/ends of the hair so they can be tucked under the loops/knots you’ve been creating. Keep things rather loose and don’t pull things overly tight!
6- Secure the knot on the left side of the head with bobby pins as needed.
Notice in the video, with one bobby pin, the knot stays in place. Well, obviously you probably should use more than one to really hold things in place, but with a regular bobby pin, that wouldn’t have stayed in place at all. I use THESE bobby pins by Marianna and they are THE BEST! Grab yours today HERE.
7- Move to the right side of the head. Section out hair near the right temple and ear.
8- Repeat Step 2-6 with this section of hair. You will now have a daisy chained knotted section on the left and right side of the head.
9- Next, move to the center back of the head. Create another daisy chained knot section next to the one on the left.
10- As you bobby pin this one in place, make sure it over laps a bit with the first one you made on the left side.
11- Make another daisy chained knot section if needed, next to the one you just finished. This makes a total of 4 knotted sections.
12- Gently pull and adjust the daisy chained knots to hide bobby pins and make everything blend nicely together. The goal is to not be able to tell where one starts and another one stops!
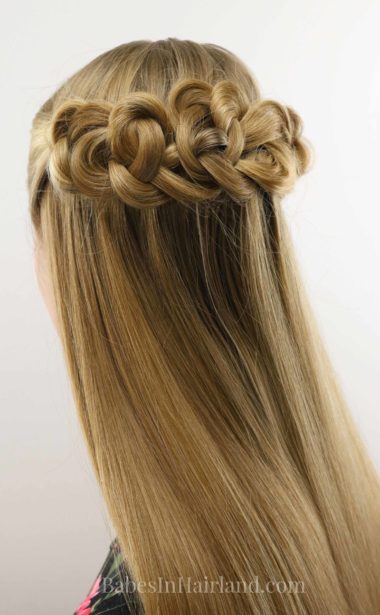
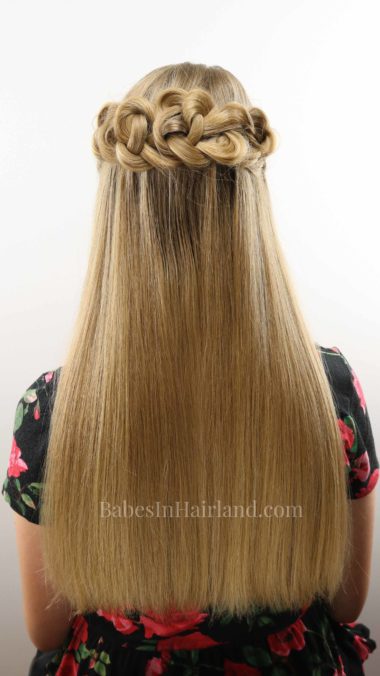
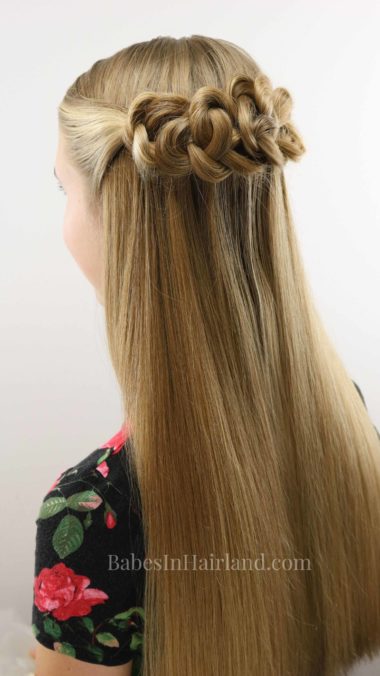
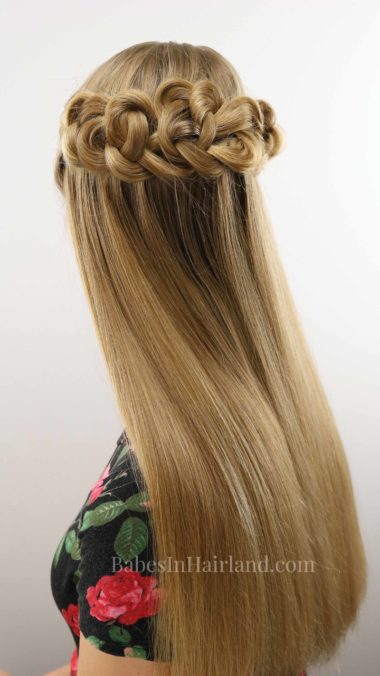
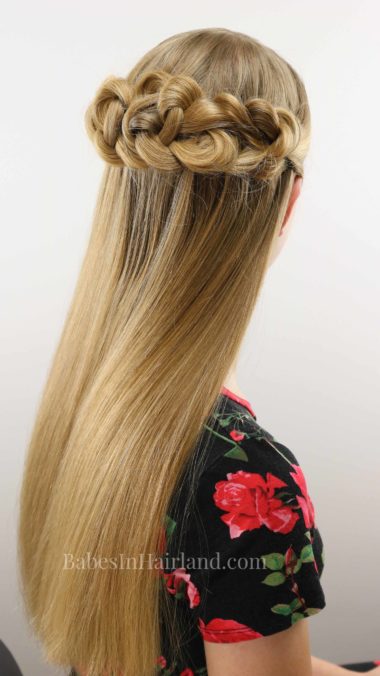
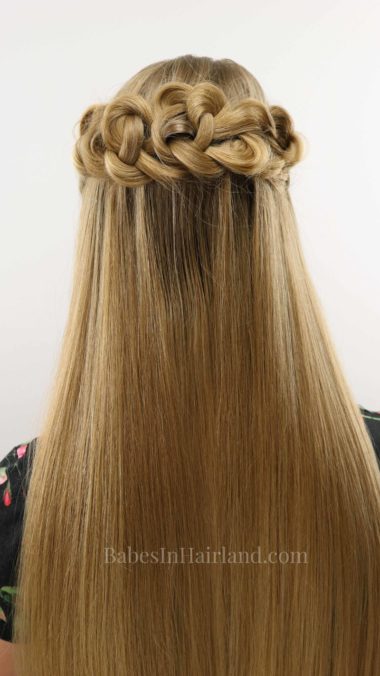
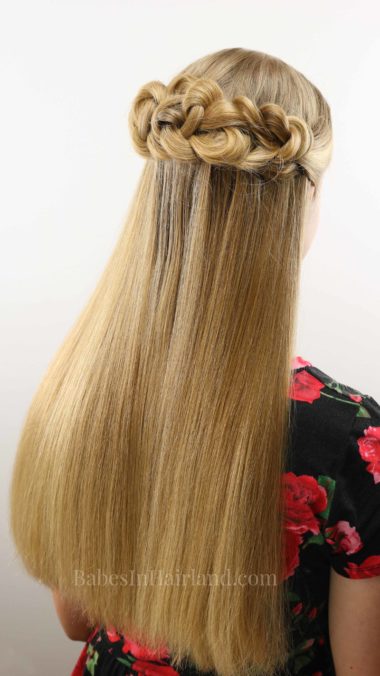
FINISHED HALF-UP DAISY CHAINS!
Here’s a little more up-close look at the “chains” as they weave across the back of the head. I love that you can’t tell where one stops and the other one stops!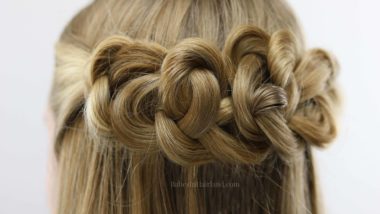
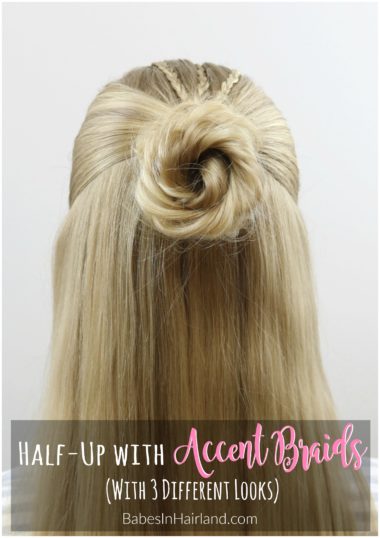
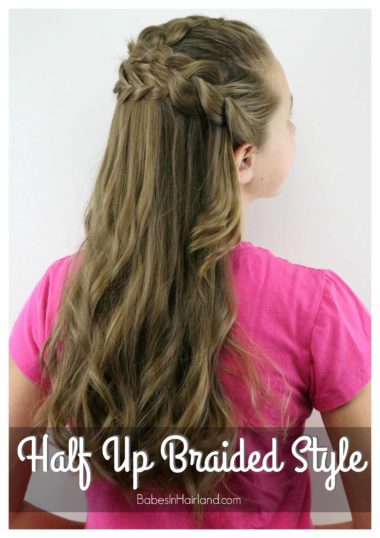
Looking for more half-up hairstyles? Check THESE out:
Don’t forget to PIN & SHARE today’s beautiful hairstyle! Tag us in your pictures on FB or Instagram when you recreate this!
