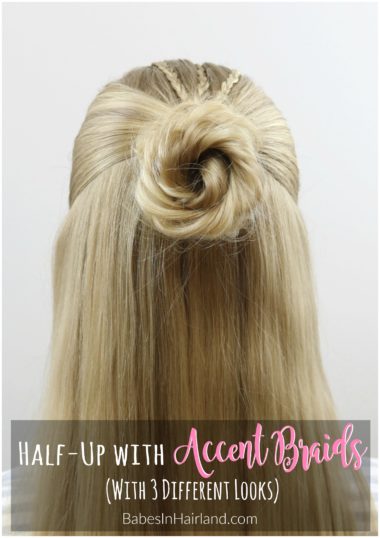
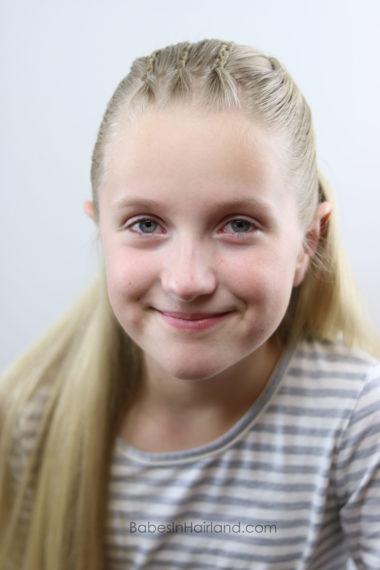
 We are loving this hairstyle today, with a few different braiding techniques you can create 3 beautiful and different looks. Technically, I guess you really could get countless other versions, but we know you don’t have all day! Depending on how much time you have, you can keep things simple, or take it a few steps further to create an even fancier style.
Also, just a reminder, if you missed my daughter’s Easy 4 Twist Pullback tutorial we shared last week, be sure to take a look. She’s wanting to put together a Q&A video soon and needs to hear from you to know what questions you might have for her.
You will ned a few elastics for this style, and if you create the 3rd look, you’ll also need bobby pins.
Here’s our short video, and below are more instructions & pictures. If you’re not seeing the video, you can watch it HERE.
Step 1 – Divide out a narrow rectangle section of hair with the hair along the center of the forehead
Step 2 – Divide that section into 3 even sections
Step 3 – Create regular 3 strand braids with each of those sections. The braids should be long enough that they will reach to the middle of the back of the head. Our braids were probably about 6 inches long. Temporarily secure the ends of the braids.
Step 4 – Draw hair back from the left and right sides of the head to create a half pony. Don’t part the hair from ear to ear though – you just want hair from near the front of the face.
Step 5 – Secure the hair from the left and right sides together in the center back of the head, and include the 3 braids as well
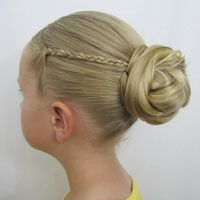
That’s all you need to do to create the basic 1st look for this style. I just love hoe the 3 accent braids stand out against the straight hair!
LOOK #1: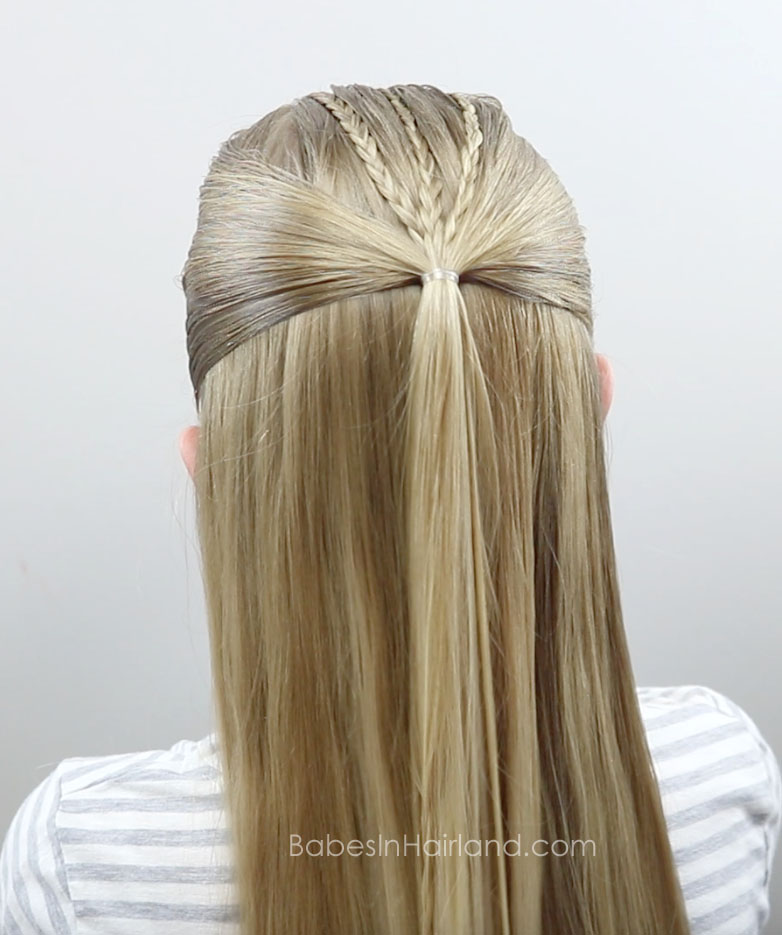
Step 6 – Create a fishtail/fishbone braid with the hair in the ponytail & secure the end with an elastic
Watch our fishbone braid video, if you need a refresher course on how they are made. You really could put any type of braid or twist at this point, but we wanted a fishtail braid.
LOOK #2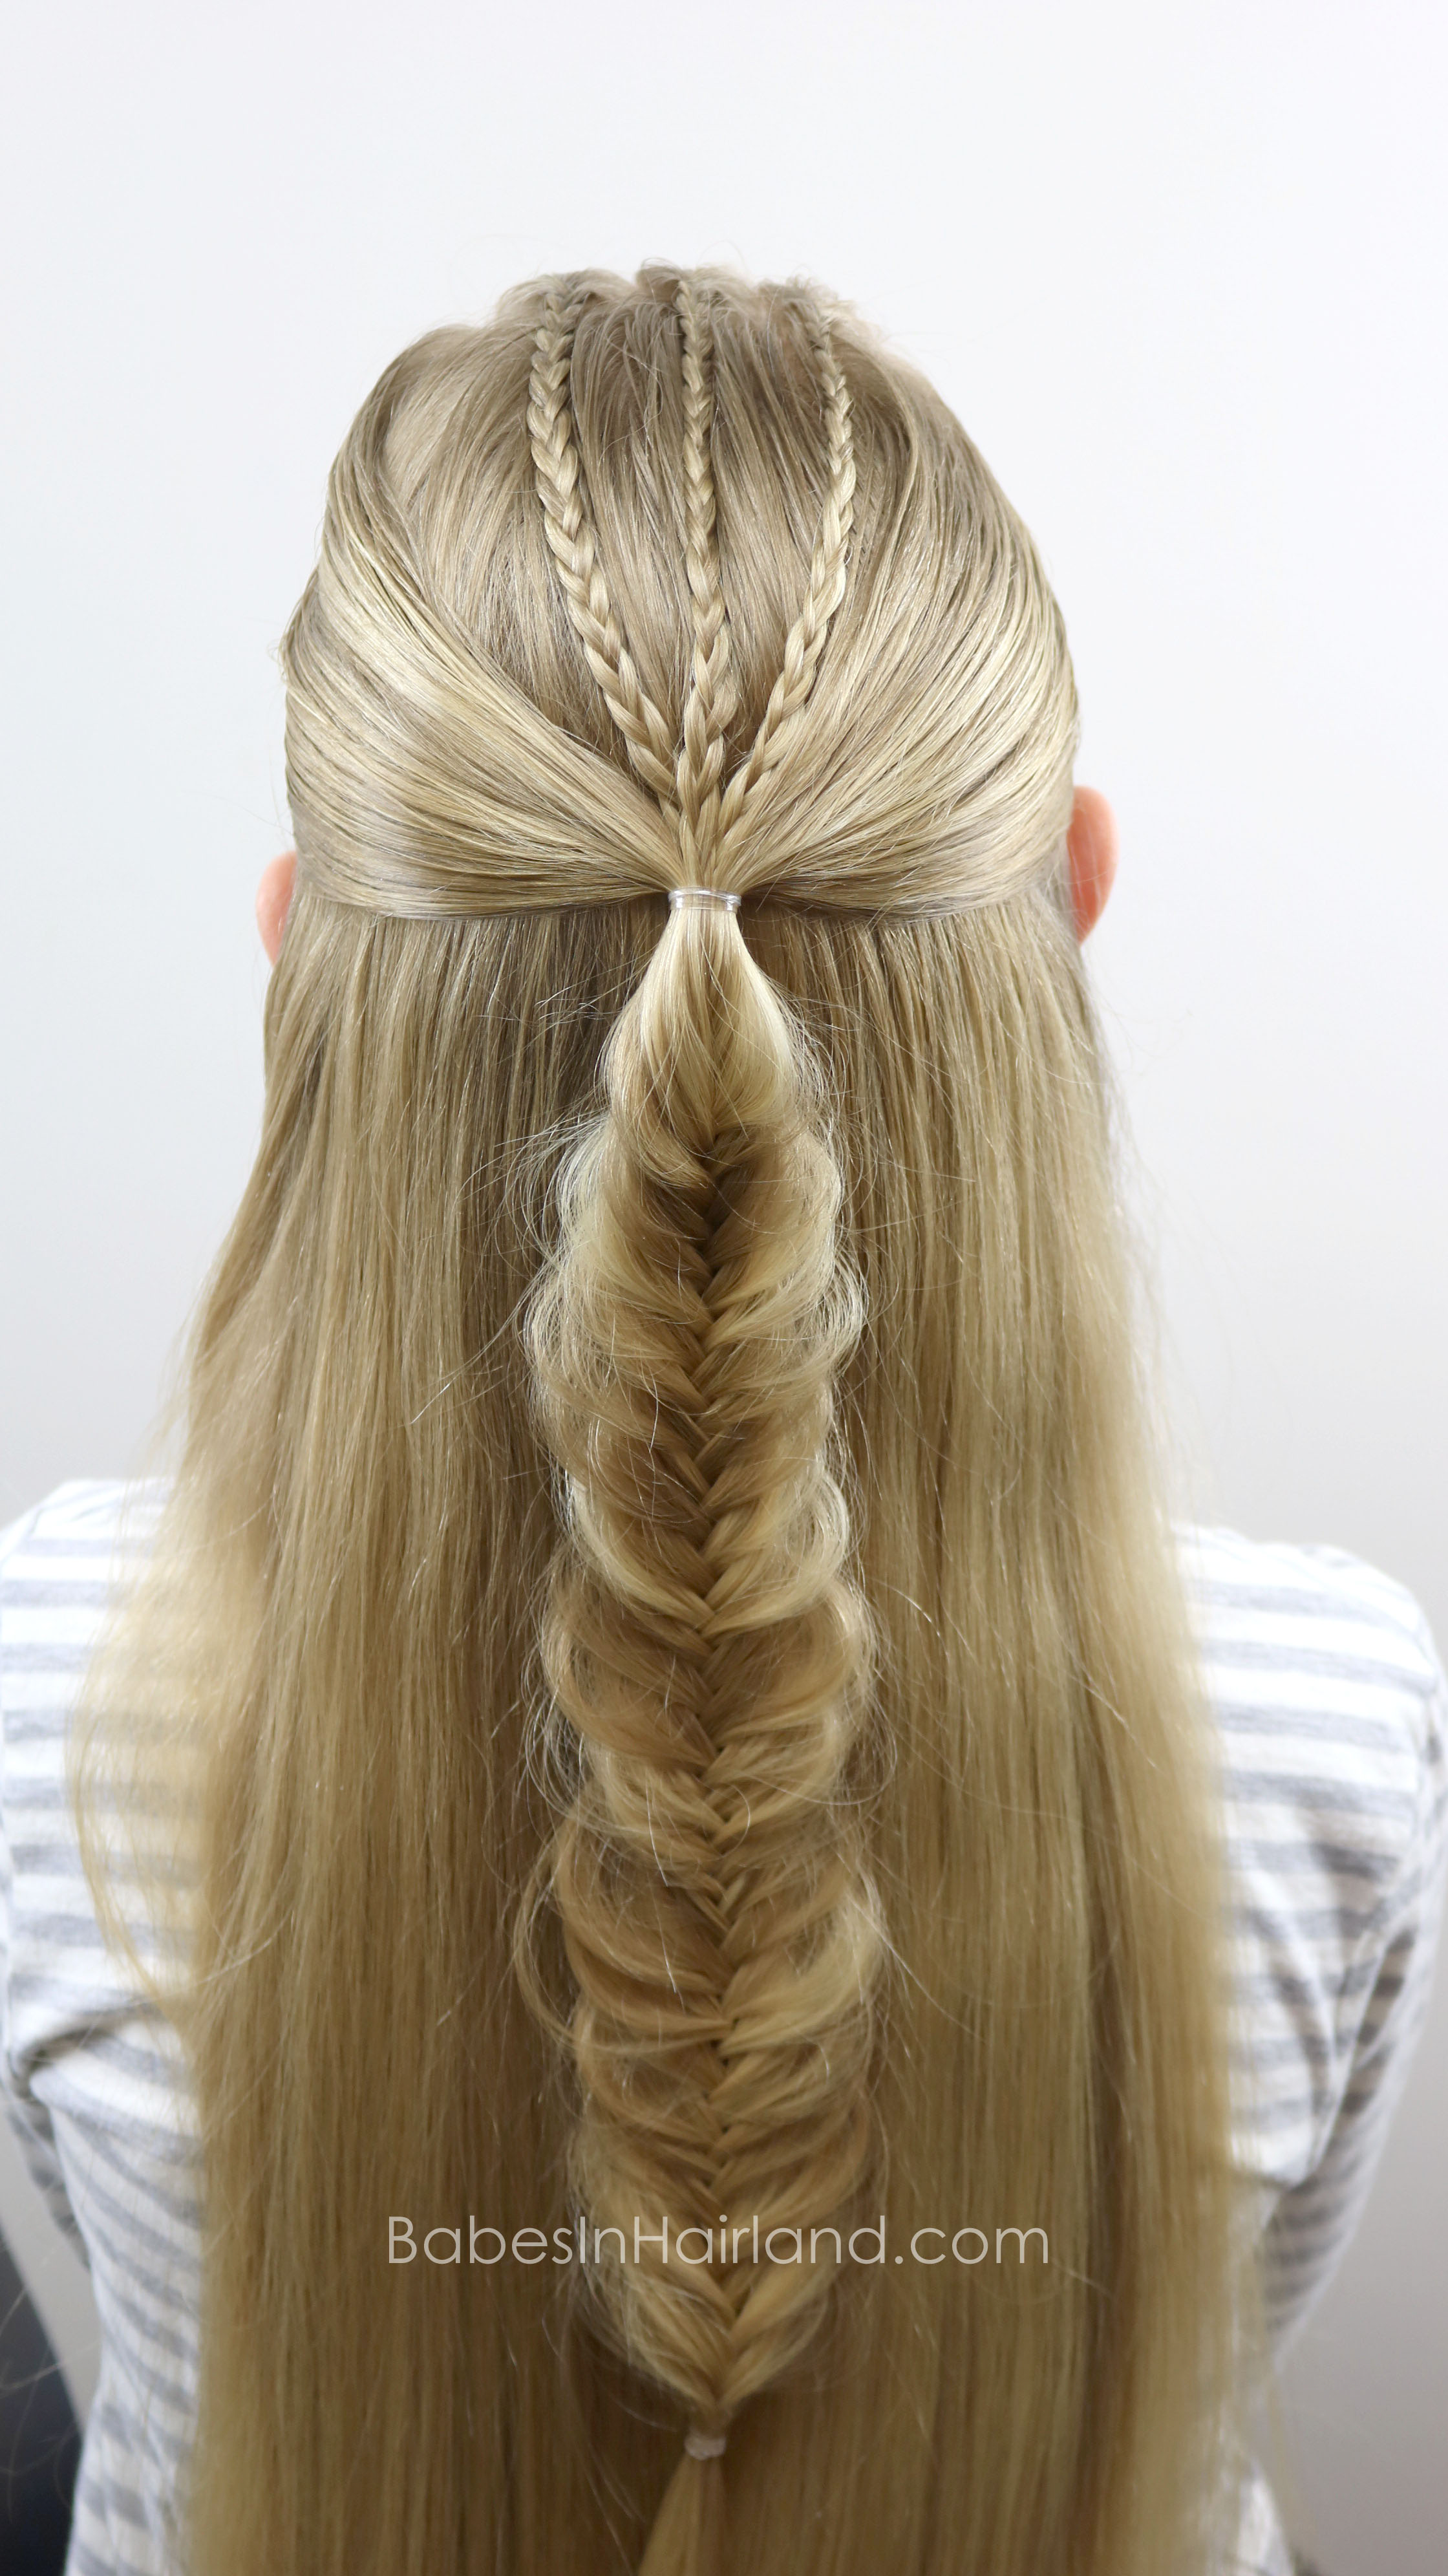
And for the last and final step to create the 3rd look (which is my favorite btw!), be sure to have a few bobby pins on hand!
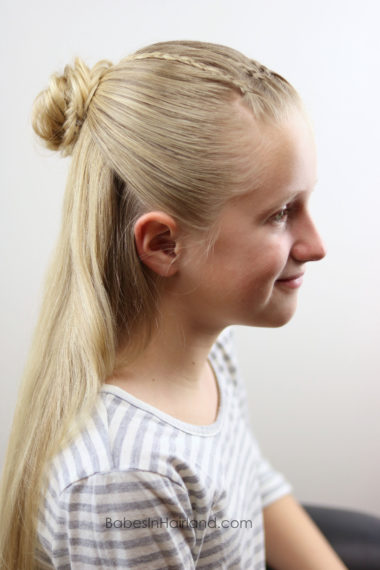
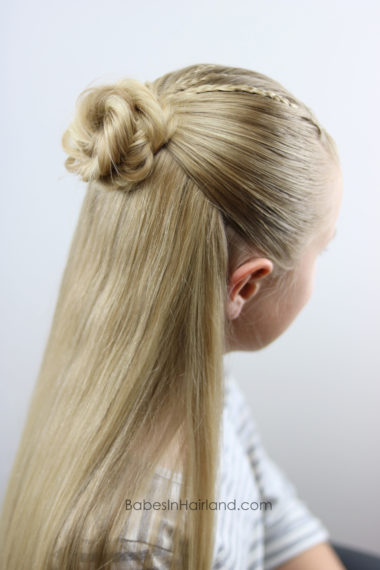
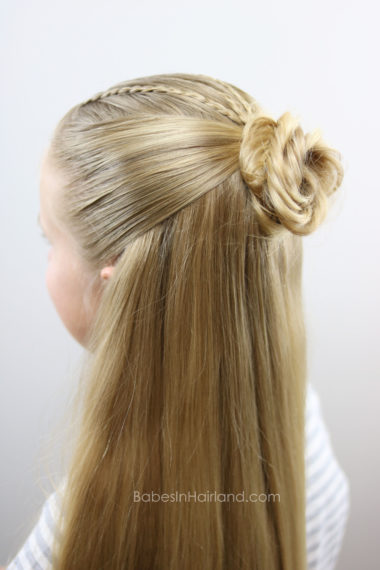
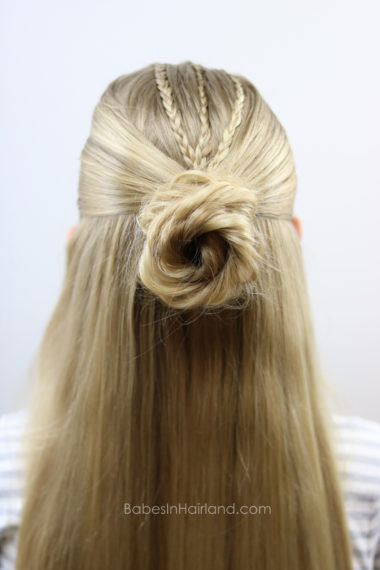
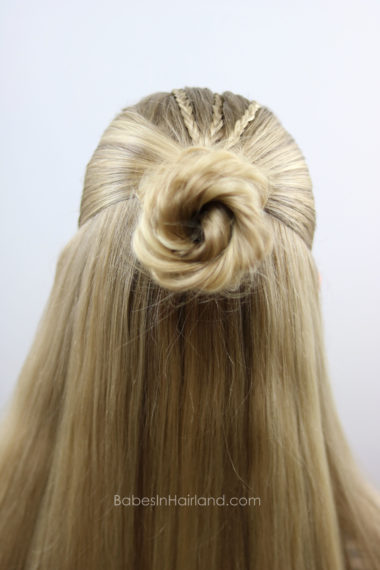
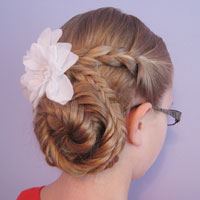
Step 7 – Wrap fishtail/fishbone braid in a circular fashion to create a bun. Don’t wrap too tightly as to maintain a hole in the middle which gives your bun more of a “flower” appearance.
Step 8 – Once bun is the size and shape you want, secure with bobby pins as needed
LOOK #3: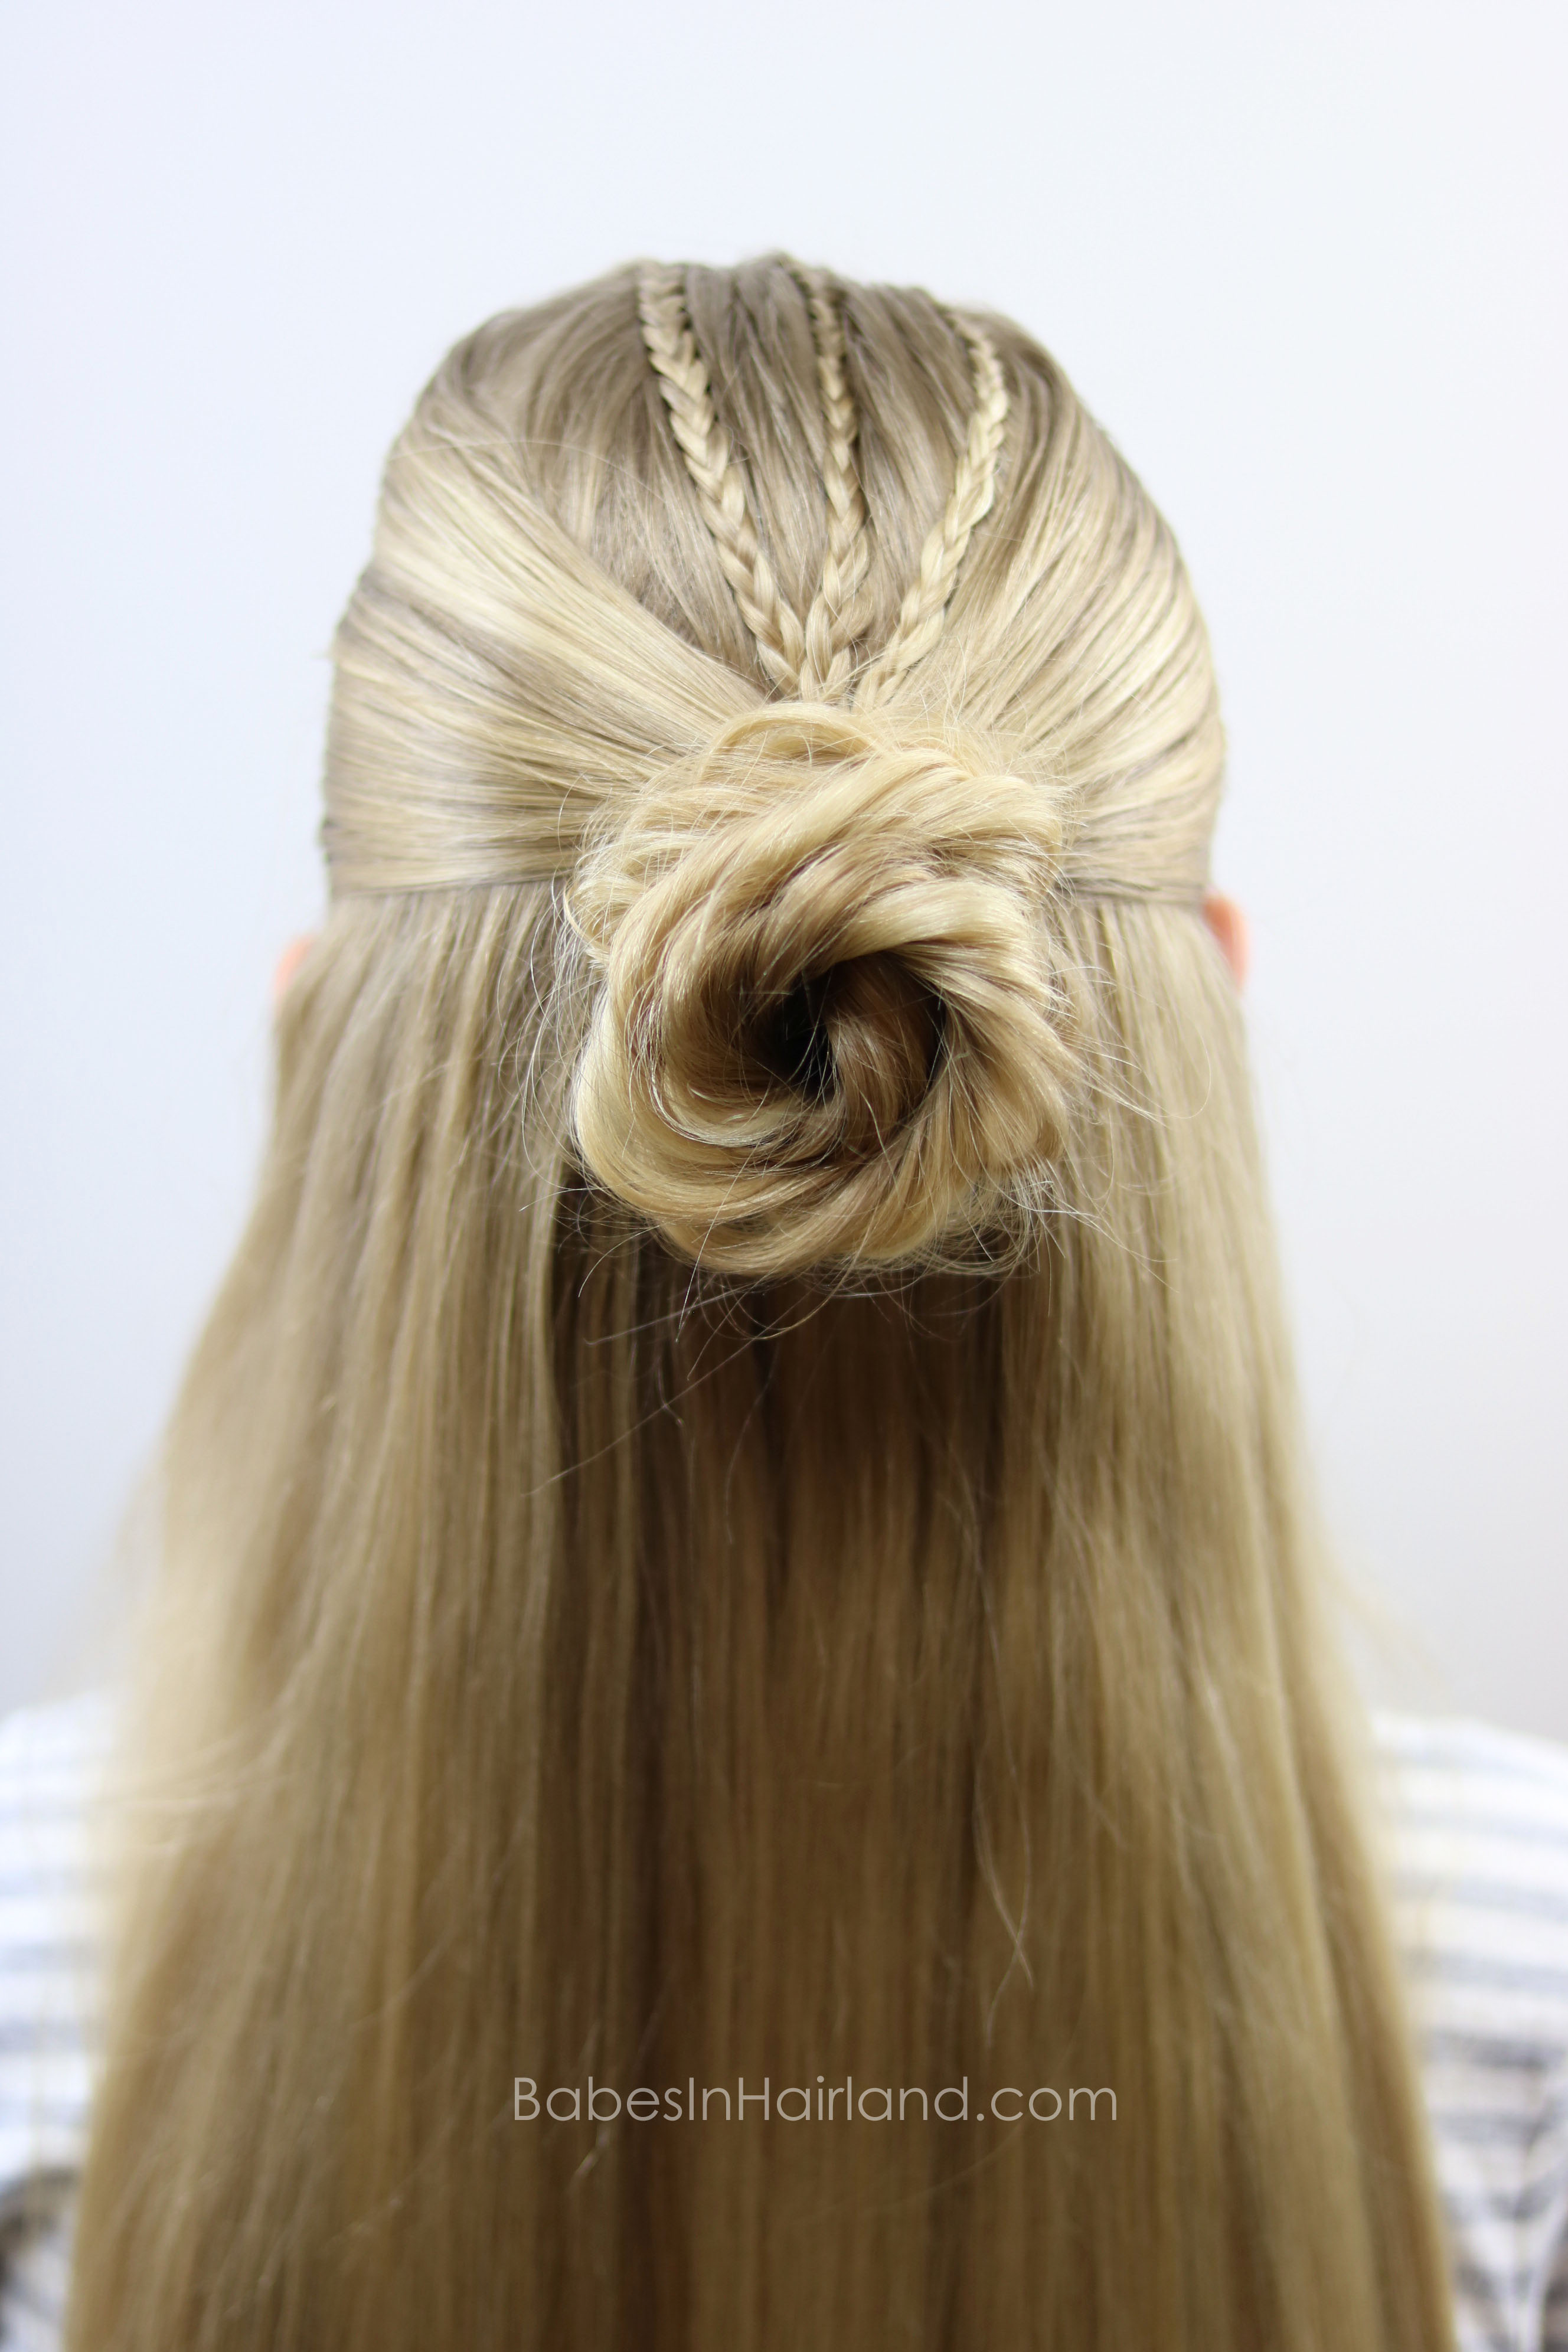
That’s it! Not hard – just maybe a bit more time consuming depending on how fast you can braid! The great thing about this hairstyle is if you want it to be more casual, leave it as hairstyle look #1, but if you are wanting a more elegant hairstyle, add the fishtail braid and bun like hairstyle look #3. Here’s several more pics so you can see things from more angles!
FINISHED HAIRSTYLE!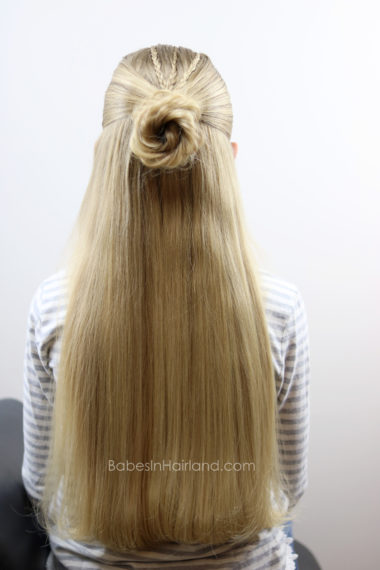
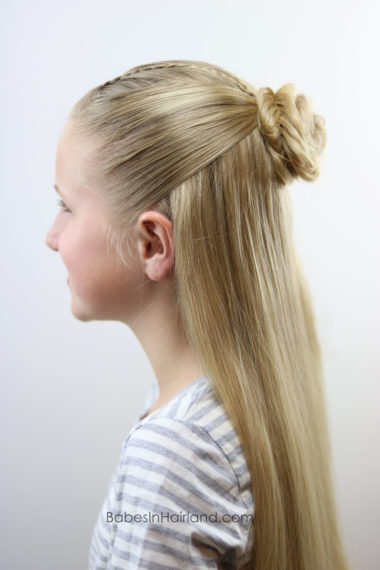
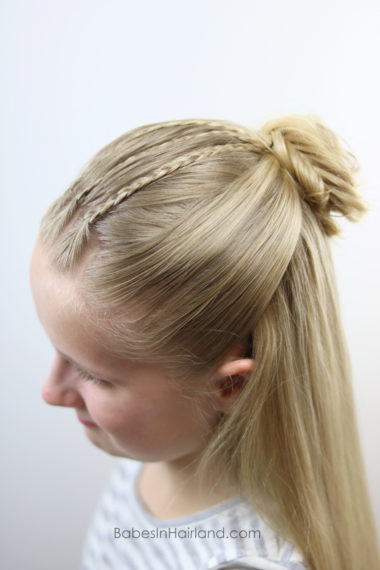
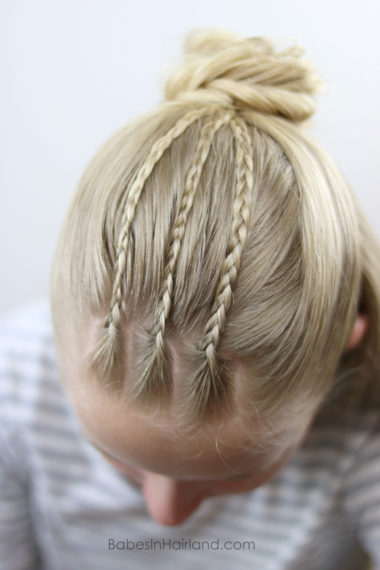
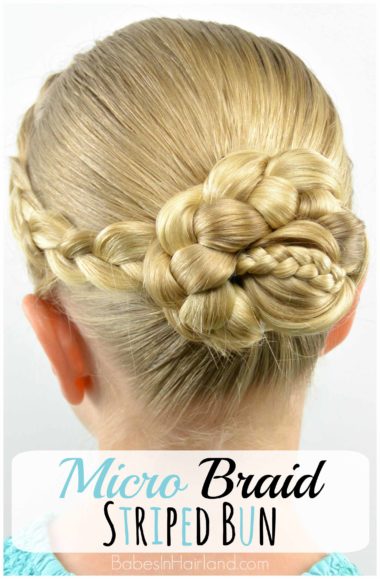
If you love accent braids (aka micro braids) here’s a few others from our archives:
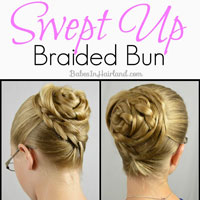
Be sure to share these and today’s style(s) by pinning it for later!
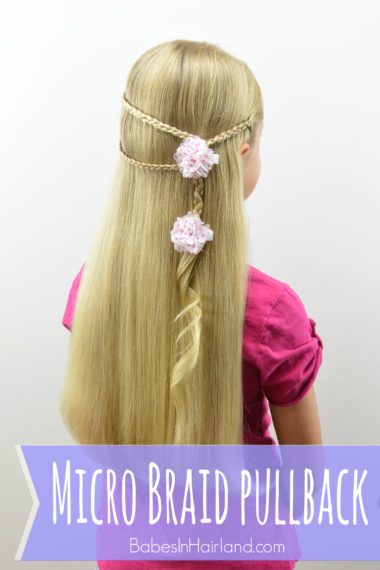
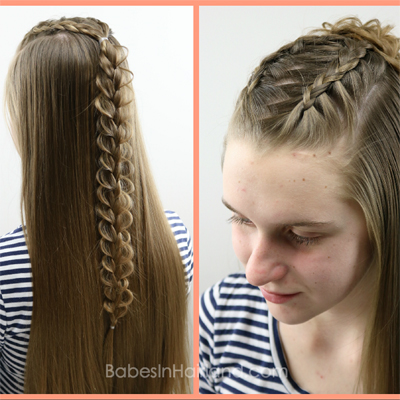
Micro Braid Pullback, my daughter was love this style so much and she said. I look like a princess, mom!
Micro Braid Pullback, my daughter was love this style so much and she said. I look like a princess, mom!
That is so cute! So glad she liked the styles you tried on her! Thank you for telling us!