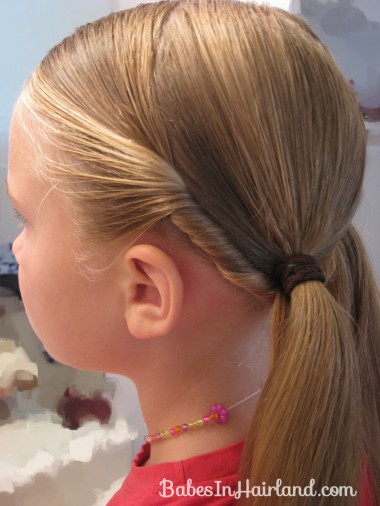
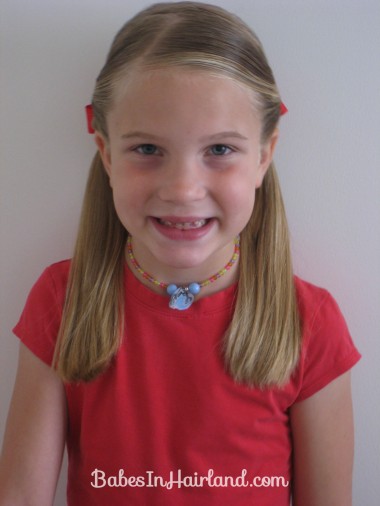
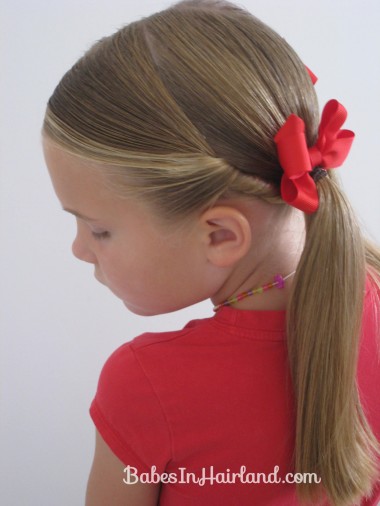
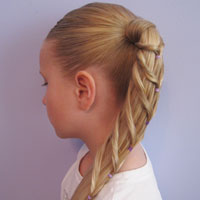
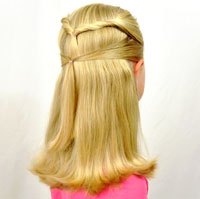
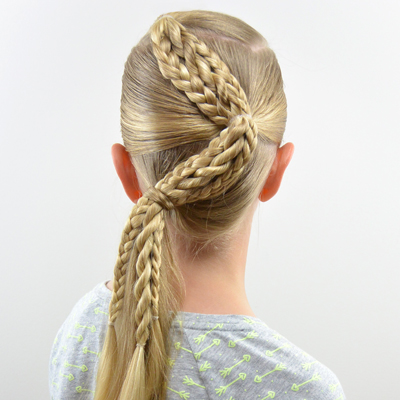
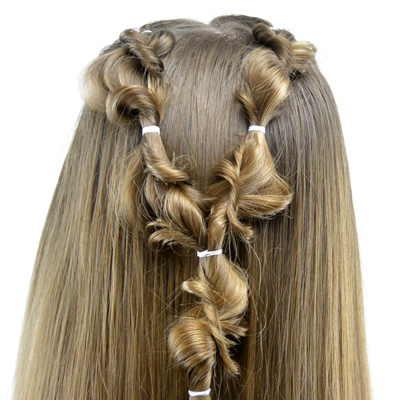
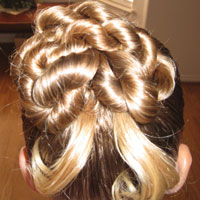
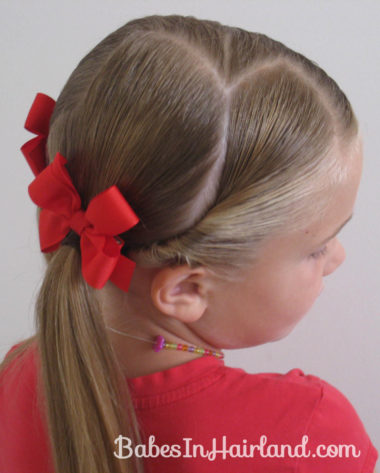
 This is something quick & easy we did recently – that’s just a step up from plain old pig tails.
You can part things however you prefer when you do pig tails! But this is how I did it.
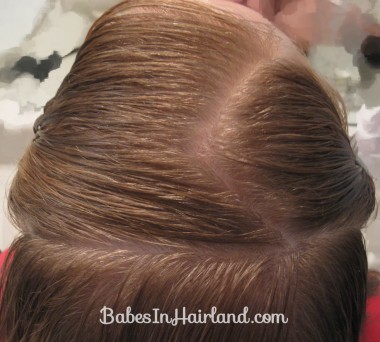
Make a part that is off set to the right (mine was zig-zag-ish!) Then part from ear to ear.
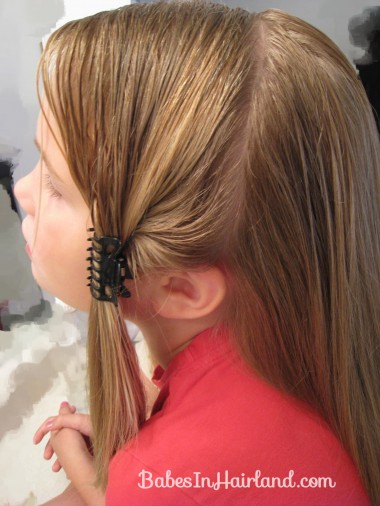
Hold those sections of hair separate with clips for now.
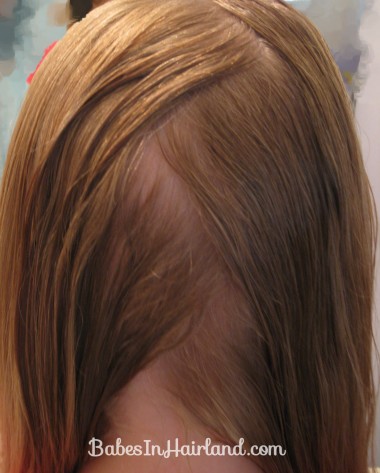
With the hair that remains in the back, part it down the back of the head. I did a zig-zag part.
Make a pig tail with each side & secure them with a rubber band.
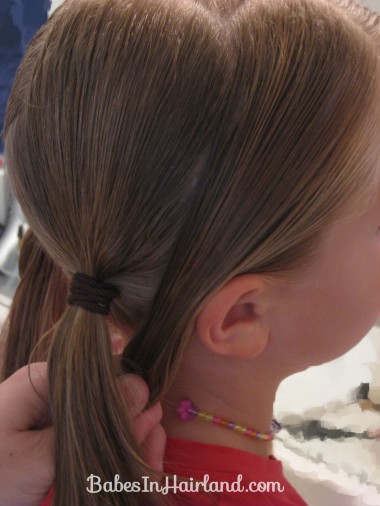
Now take the hair from in front of the ear on the right side …
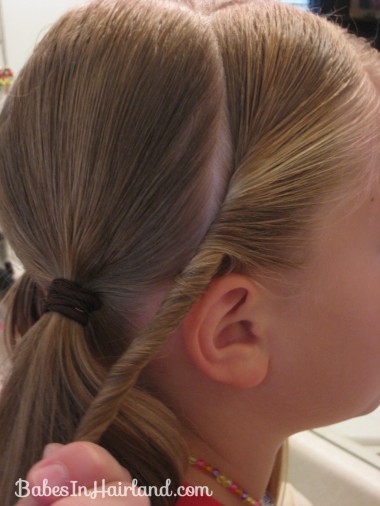
Twist the hair inwards – towards the head. Make sure the hair is damp for this – it helps keep everything looking tidy.
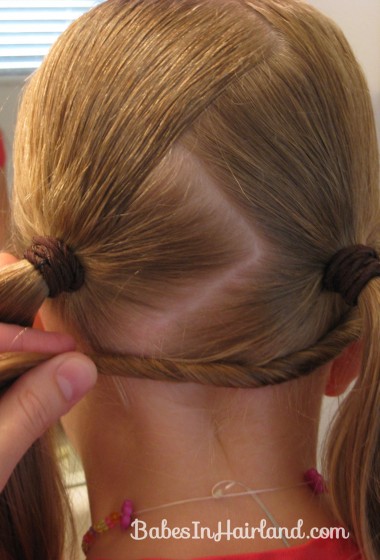
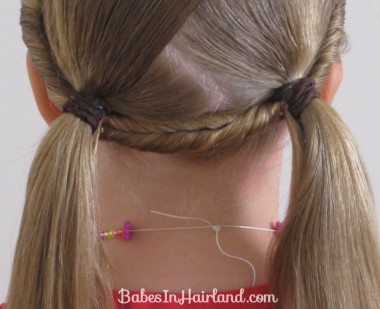
Pull the twisted hair underneath the right ponytail across to the left ponytail. Using another rubber band, secure the twist underneath the left ponytail.
Putting it underneath allows those shorter hairs to blend into the pig tail on the under side of it, rather than sticking off on top of the pig tail.
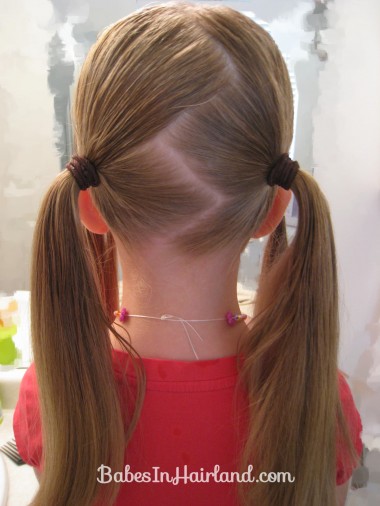
Repeat to the left side – pulling that twist under the left pig tail and across to the under side of the right ponytail.
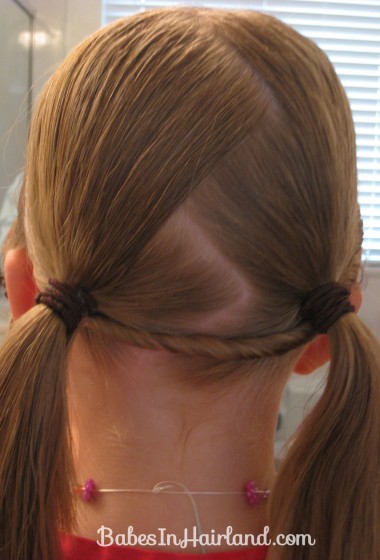
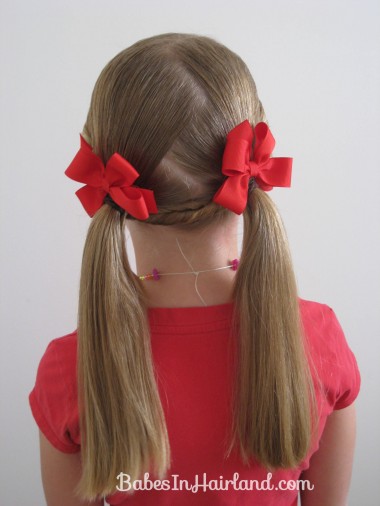
This is how it’ll look in back between the pig tails.
Add a few bows on top of the pig tails if you like (sorry this picture is a bit crooked!) The bows are from All Things Ribbon.
And DON’T FORGET — If you want to enter the Curlformers Giveaway — Keep scrolling for all the juicy details! DO NOT ENTER THE GIVEAWAY IN THIS NEXT POST!!!
