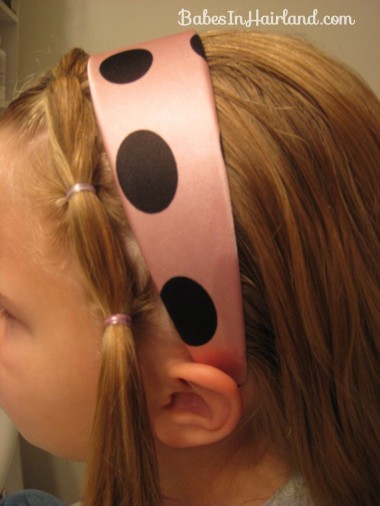
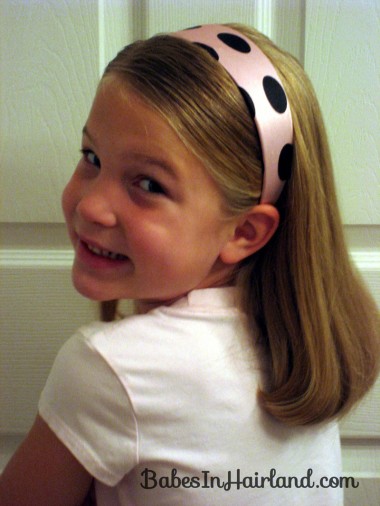
 Ok, to be truthful I bought this headband at the same time as the headband scarf – just because I thought it was so cute. And I’d planned on just posting the above picture with her wearing the polka-dot headband just so I could give one away … basically … well, just because!! Then Goose saw what I did on Bug with the white one to keep it in place and was all bummed that I didn’t do that one on her. She wanted me to do the lattice on this polka-dot one and of course I couldn’t because it would cover up the design on the headband. So she informed me, that I needed to come up with some way to keep this one in place too! Nice!
Anyway, this is nothing necessarily wonderful to write home about, but it does work. I must also note that the morning I did this Goose was actually not feeling well (so our lives have seemed to go lately) and she was trying to decide if she was going to stay home from school or not and we were rather short on time as it was and the pix didn’t turn out that great … anyway if she appears unhappy it’s because of not feeling well – not because she was unhappy with the hairdo!
Start the same way as on the scarf headband. Position the headband where you want it & make a part from one side of the head to the other on the front side of the headband.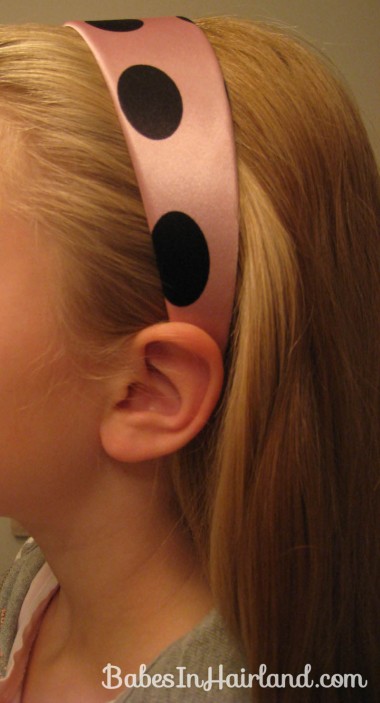
But do it neater than this picture looks!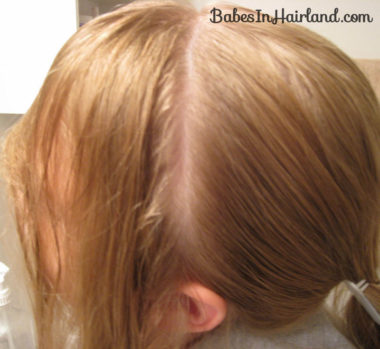
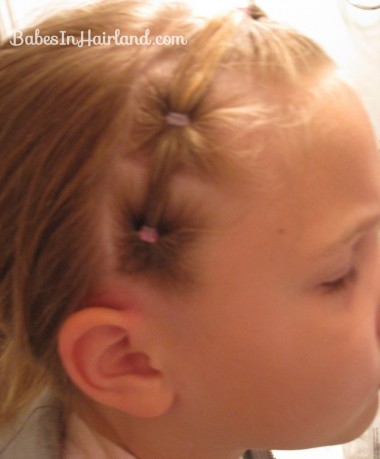
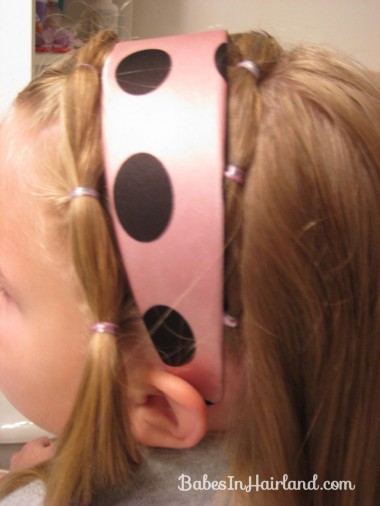
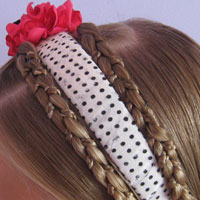
Then make your typical puffy braid headband from one ear over to the other. Make as many sections as you want – I made 6 – 2 on each side & 2 on top. This was the right side.
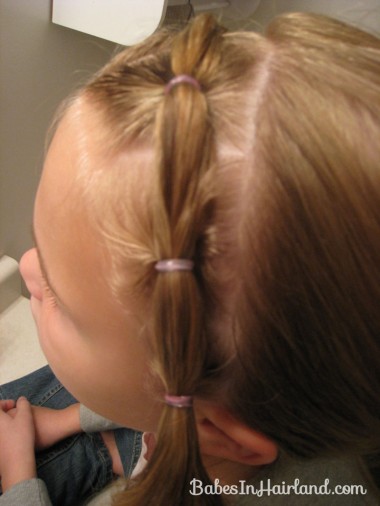
This is the left side with the remaining puffy braid/ponytail hanging down.
Now section off a part of hair behind the headband from one side of the head to the other. You can do this as thick or as thin as you like.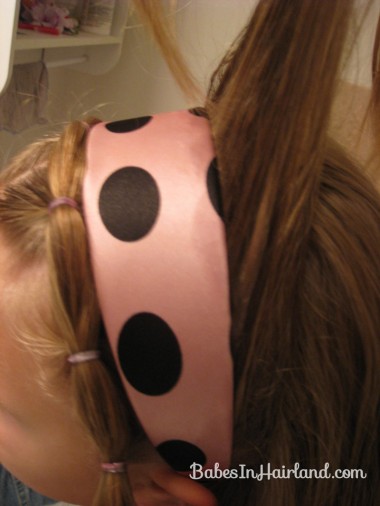
Start the puffy braid on the opposite side from where you started the first one. So, my puffy braid in front of the headband started from right to left. So the one I did behind the headband when from left to right. So when you are done with your puffy braids you have a “remaining ponytail” on each side.
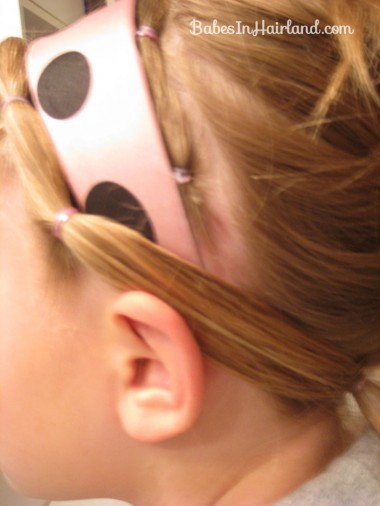
Now you need to connect the 2 ponytails underneath the back of the hair. Because you have a pony tail that is in front of the headband just pull it backwards on top (or over) the headband like this:
Here’s what the other side looks like – there is no hair coming over the headband.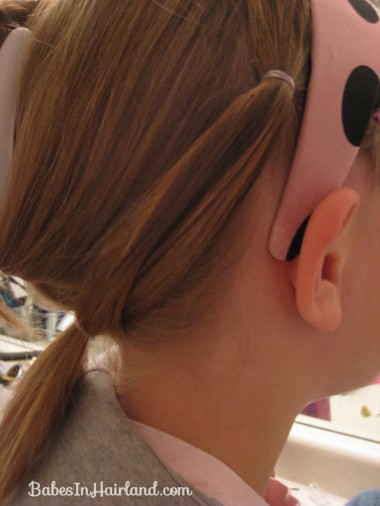
So make sure you join the 2 ends underneath the hair on the back of the head with a rubberband.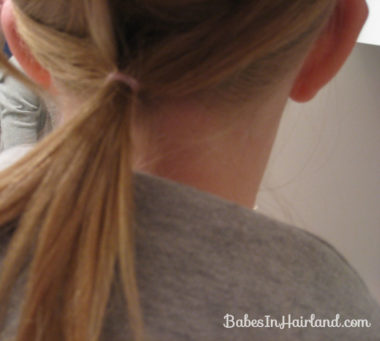
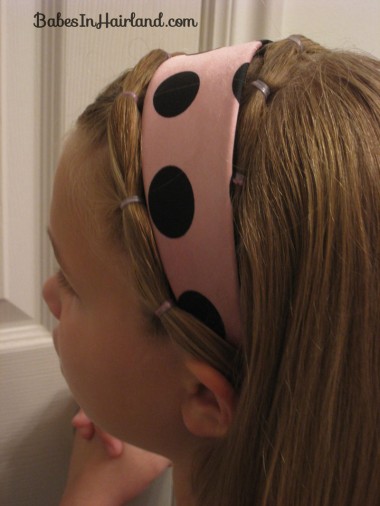
So here’s the finished product from the side…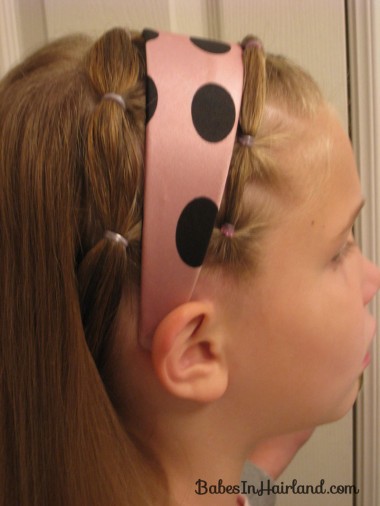
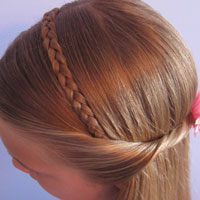
And from above. So I guess you technically have 3 headbands here! It stayed in all day & didn’t move back & forth & she didn’t try take it out (unlike the day she wore it in the very 1st picture at the start of this post.) This way you don’t have to cover up the design of your headband but it still isn’t going to go anywhere. As with the other headband hairdo, this could be a variety of ways with braids/twists going across the head instead of just puffy braids.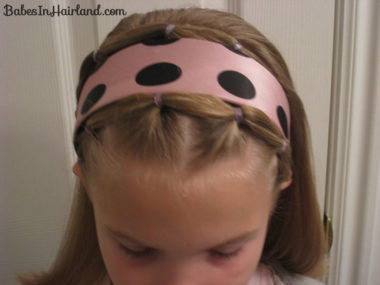
There you have it. A 2nd way to secure a headband. Like I said, nothing much to right home about, but an excuse to give away a cute headband!
