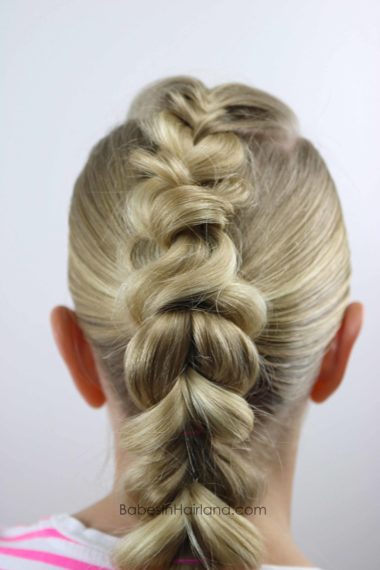
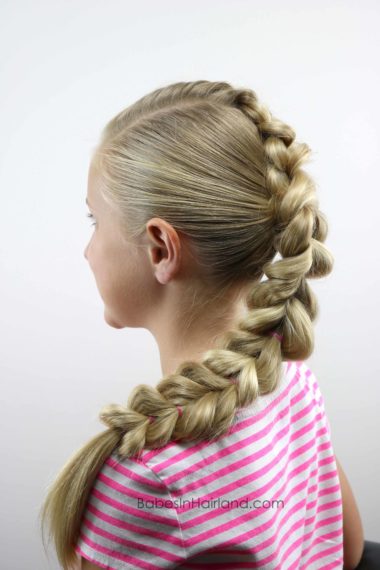
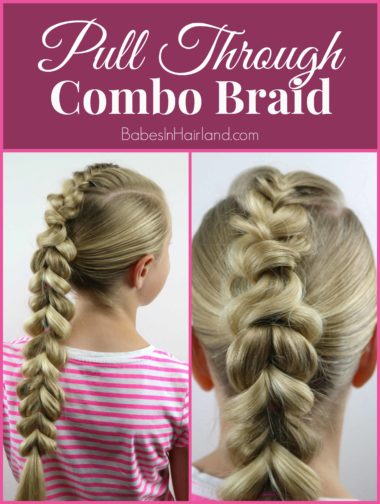
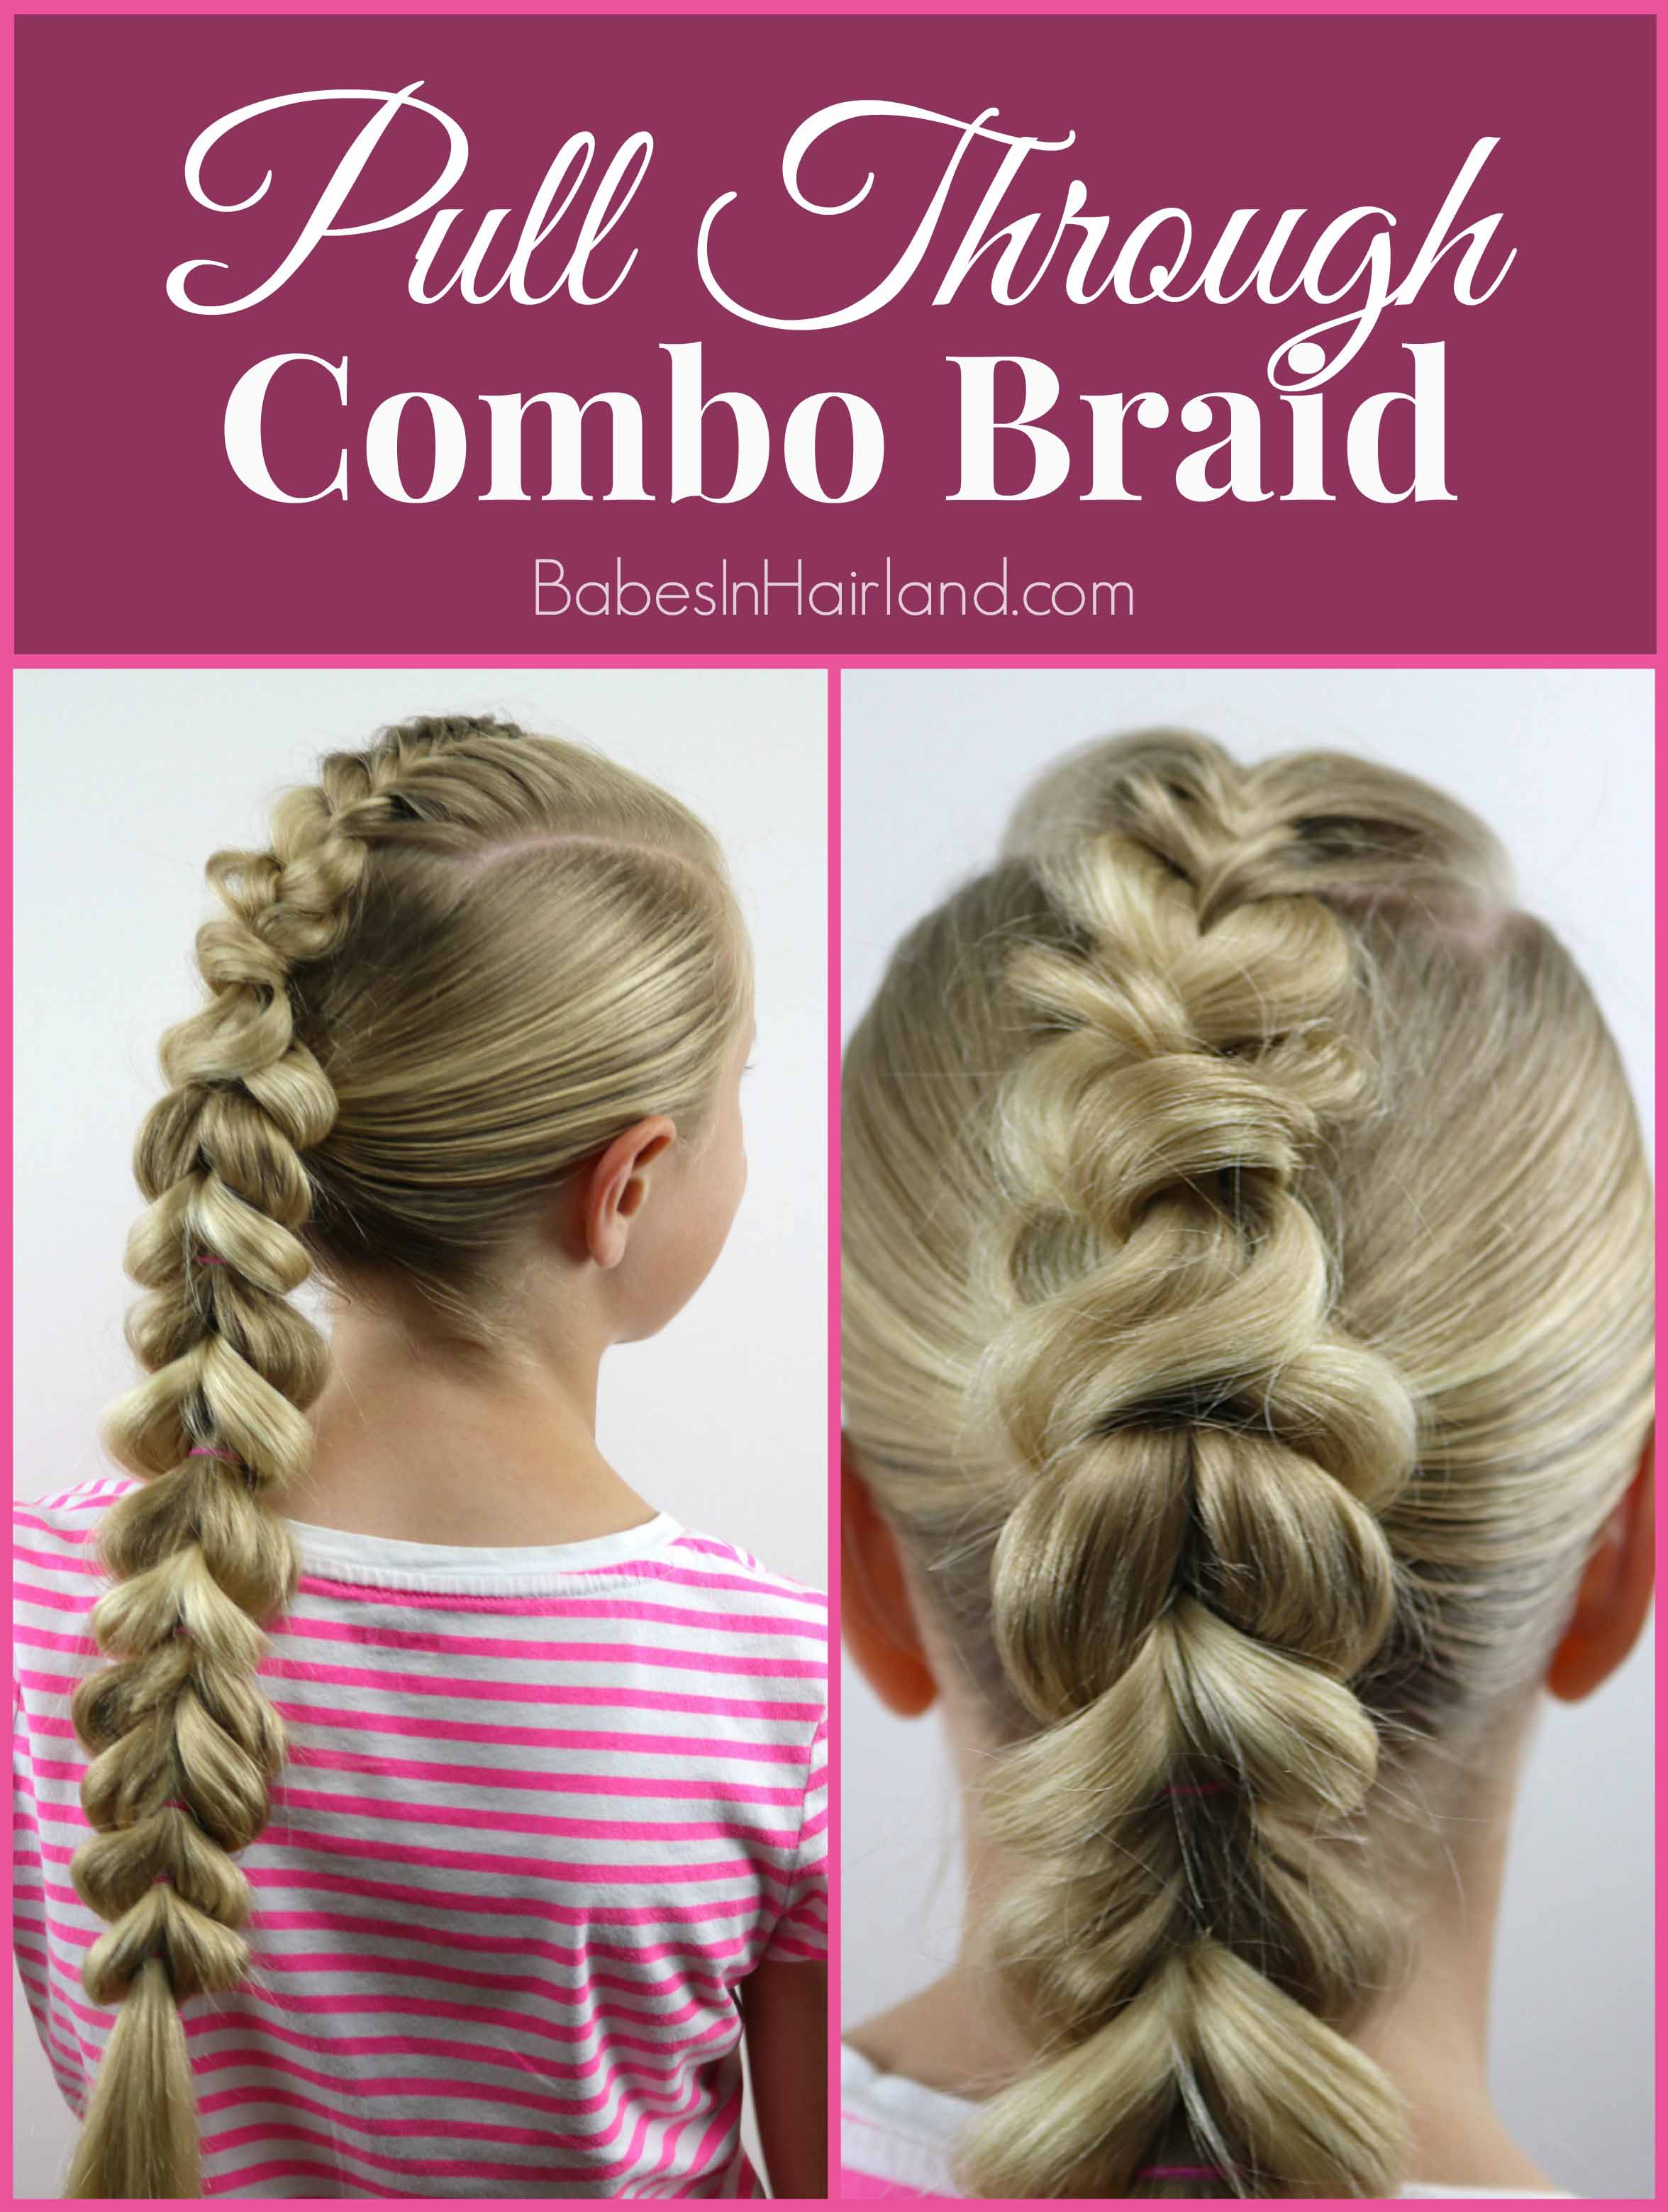
 This week we’ve combined a few braiding techniques to create this beautiful style. As the weather has started turning cooler, our winds pick up and can wreak havoc on our hairstyles, so this one is great for keeping her hair contained and tangle free.
But before the tutorial, we’ve picked a winner for the 3 Style & Shine Brushes with Tourmaline Technology from Hair Flair. Our winner is Rachel Le Grand. If you could please e-mail us asap with your mailing address so we can get you those brushes! Congrats Rachel, and thanks to everyone who entered! For more info on Style & Shine Brushes with Tourmaline Technology from Hair Flair go HERE, or you can read our review HERE.
Here’s our video tutorial and below are more pictures and step-by-step instructions. Be sure to watch the whole video for a few tips/tricks we share for this style!
Step 1 – Divide out a rectangle section of hair on the top of the head from the temples back to the crown & clip out of the way temporarily
Step 2 – Gather all remaining hair from sides and back into a ponytail in the middle back of the head & secure with an elastic
Step 3 – With the hair from Step 1, create a French Fishbone/Fishtail
Near the forehead, part out a small amount of hair and divide into 2 even sections. Then take a small amount from the right side and pass it over to the left side. Next, take a small amount of hair from the left side and pass it over to the right side. Take another small amount of hair from the right side and pass it to the left. Then take a small amount of hair that is below the hair you’re working with and add it to your braid, passing it also to the left side. Back on the left side, take a small amount of hair and pass it to the right side. Then take a small amount of hair that is below the hair you’re working with and add it into your braid, passing it to the right side. Continue this pattern, adding hair as you go until you reach the crown and there is no more hair to add.
Step 4 – When you run out of hair to add into your French fishbone/fishtail, divide the end of the fishtail into 3 sections
Step 5 – Begin a regular 3 strand braid with that hair
Step 6 – Braid down until the braid reaches just past the base of the ponytail
Step 7 – Gently pull on the edges of the braid to make it wide and flat
Step 8 – Combine 2 of the 3 sections of your braid and lay them on the left of the base of the ponytail and the single section of your braid on the right of the ponytail.
Step 9 – Combine them with an elastic underneath the ponytail – this will be the bottom section of your pull braid
Step 10 – Begin a pull-through braid with thicker ponytail on top
Divide the top ponytail in 2 pieces so there is a left and right section. Bring the ponytail from Step 9 up past the 2 sections of hair. Clip (or have your daughter hold) that section up and out of the way. Bring the 2 pieces of the ponytail back together and secure under the pony from Step 9 with an elastic.
Step 11 – Flip the hair back down and divide the hair that is now sitting on top of the ponytail into a left and right section
Step 12 – Draw the hair from below up and between those 2 sections of hair and hold up on top of the head (or clip) out of the way
Step 13 – Bring the 2 pieces of hair from Step 11 together underneath the hair from Step 12 and secure with another clear elastic
Step 14 – Gently pull on the outside edges of the right and left sections to make them as wide as desired
Step 15 – Continue pull through braid technique down as far as desired
FINISHED!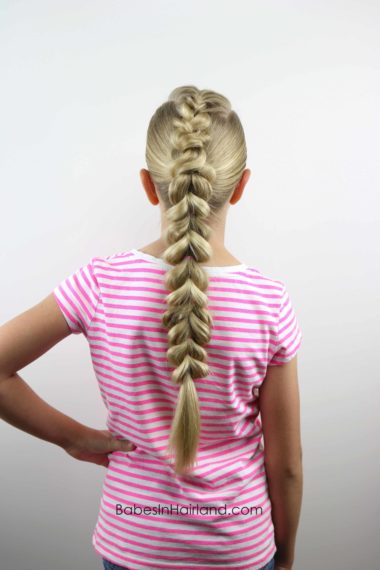
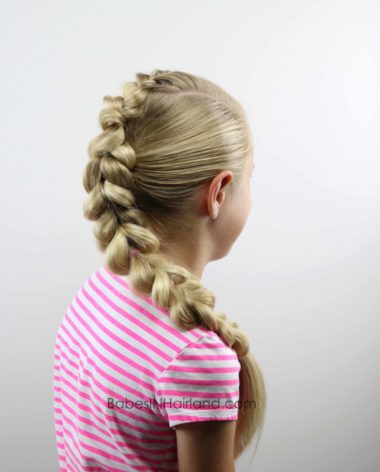
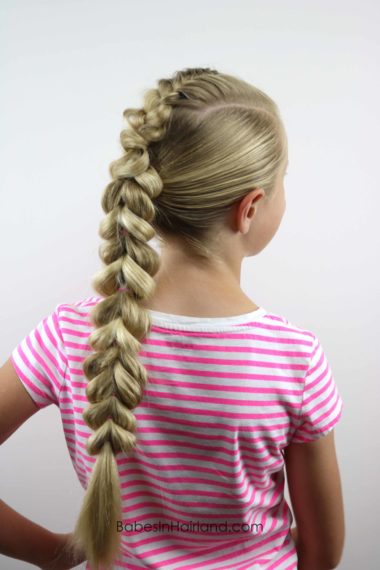
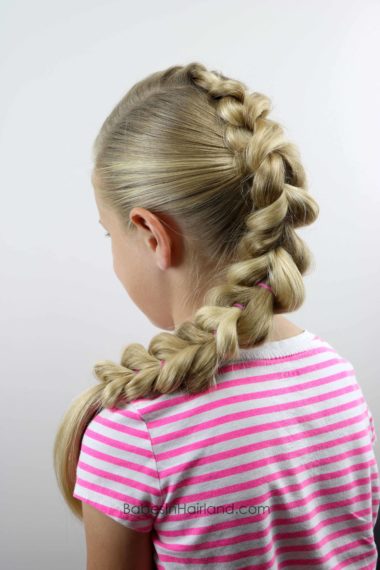

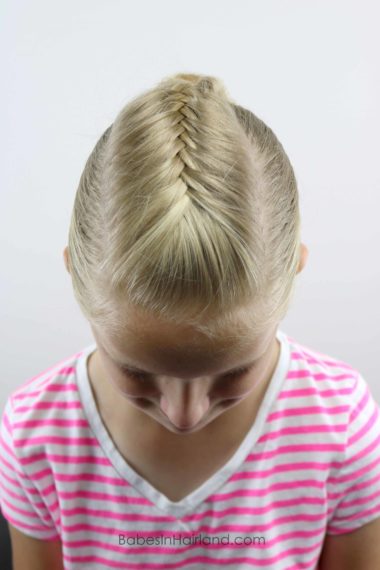
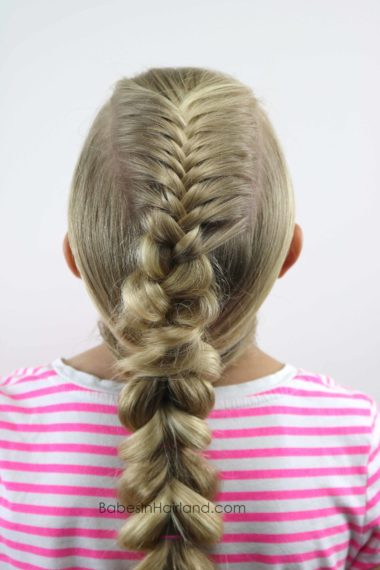
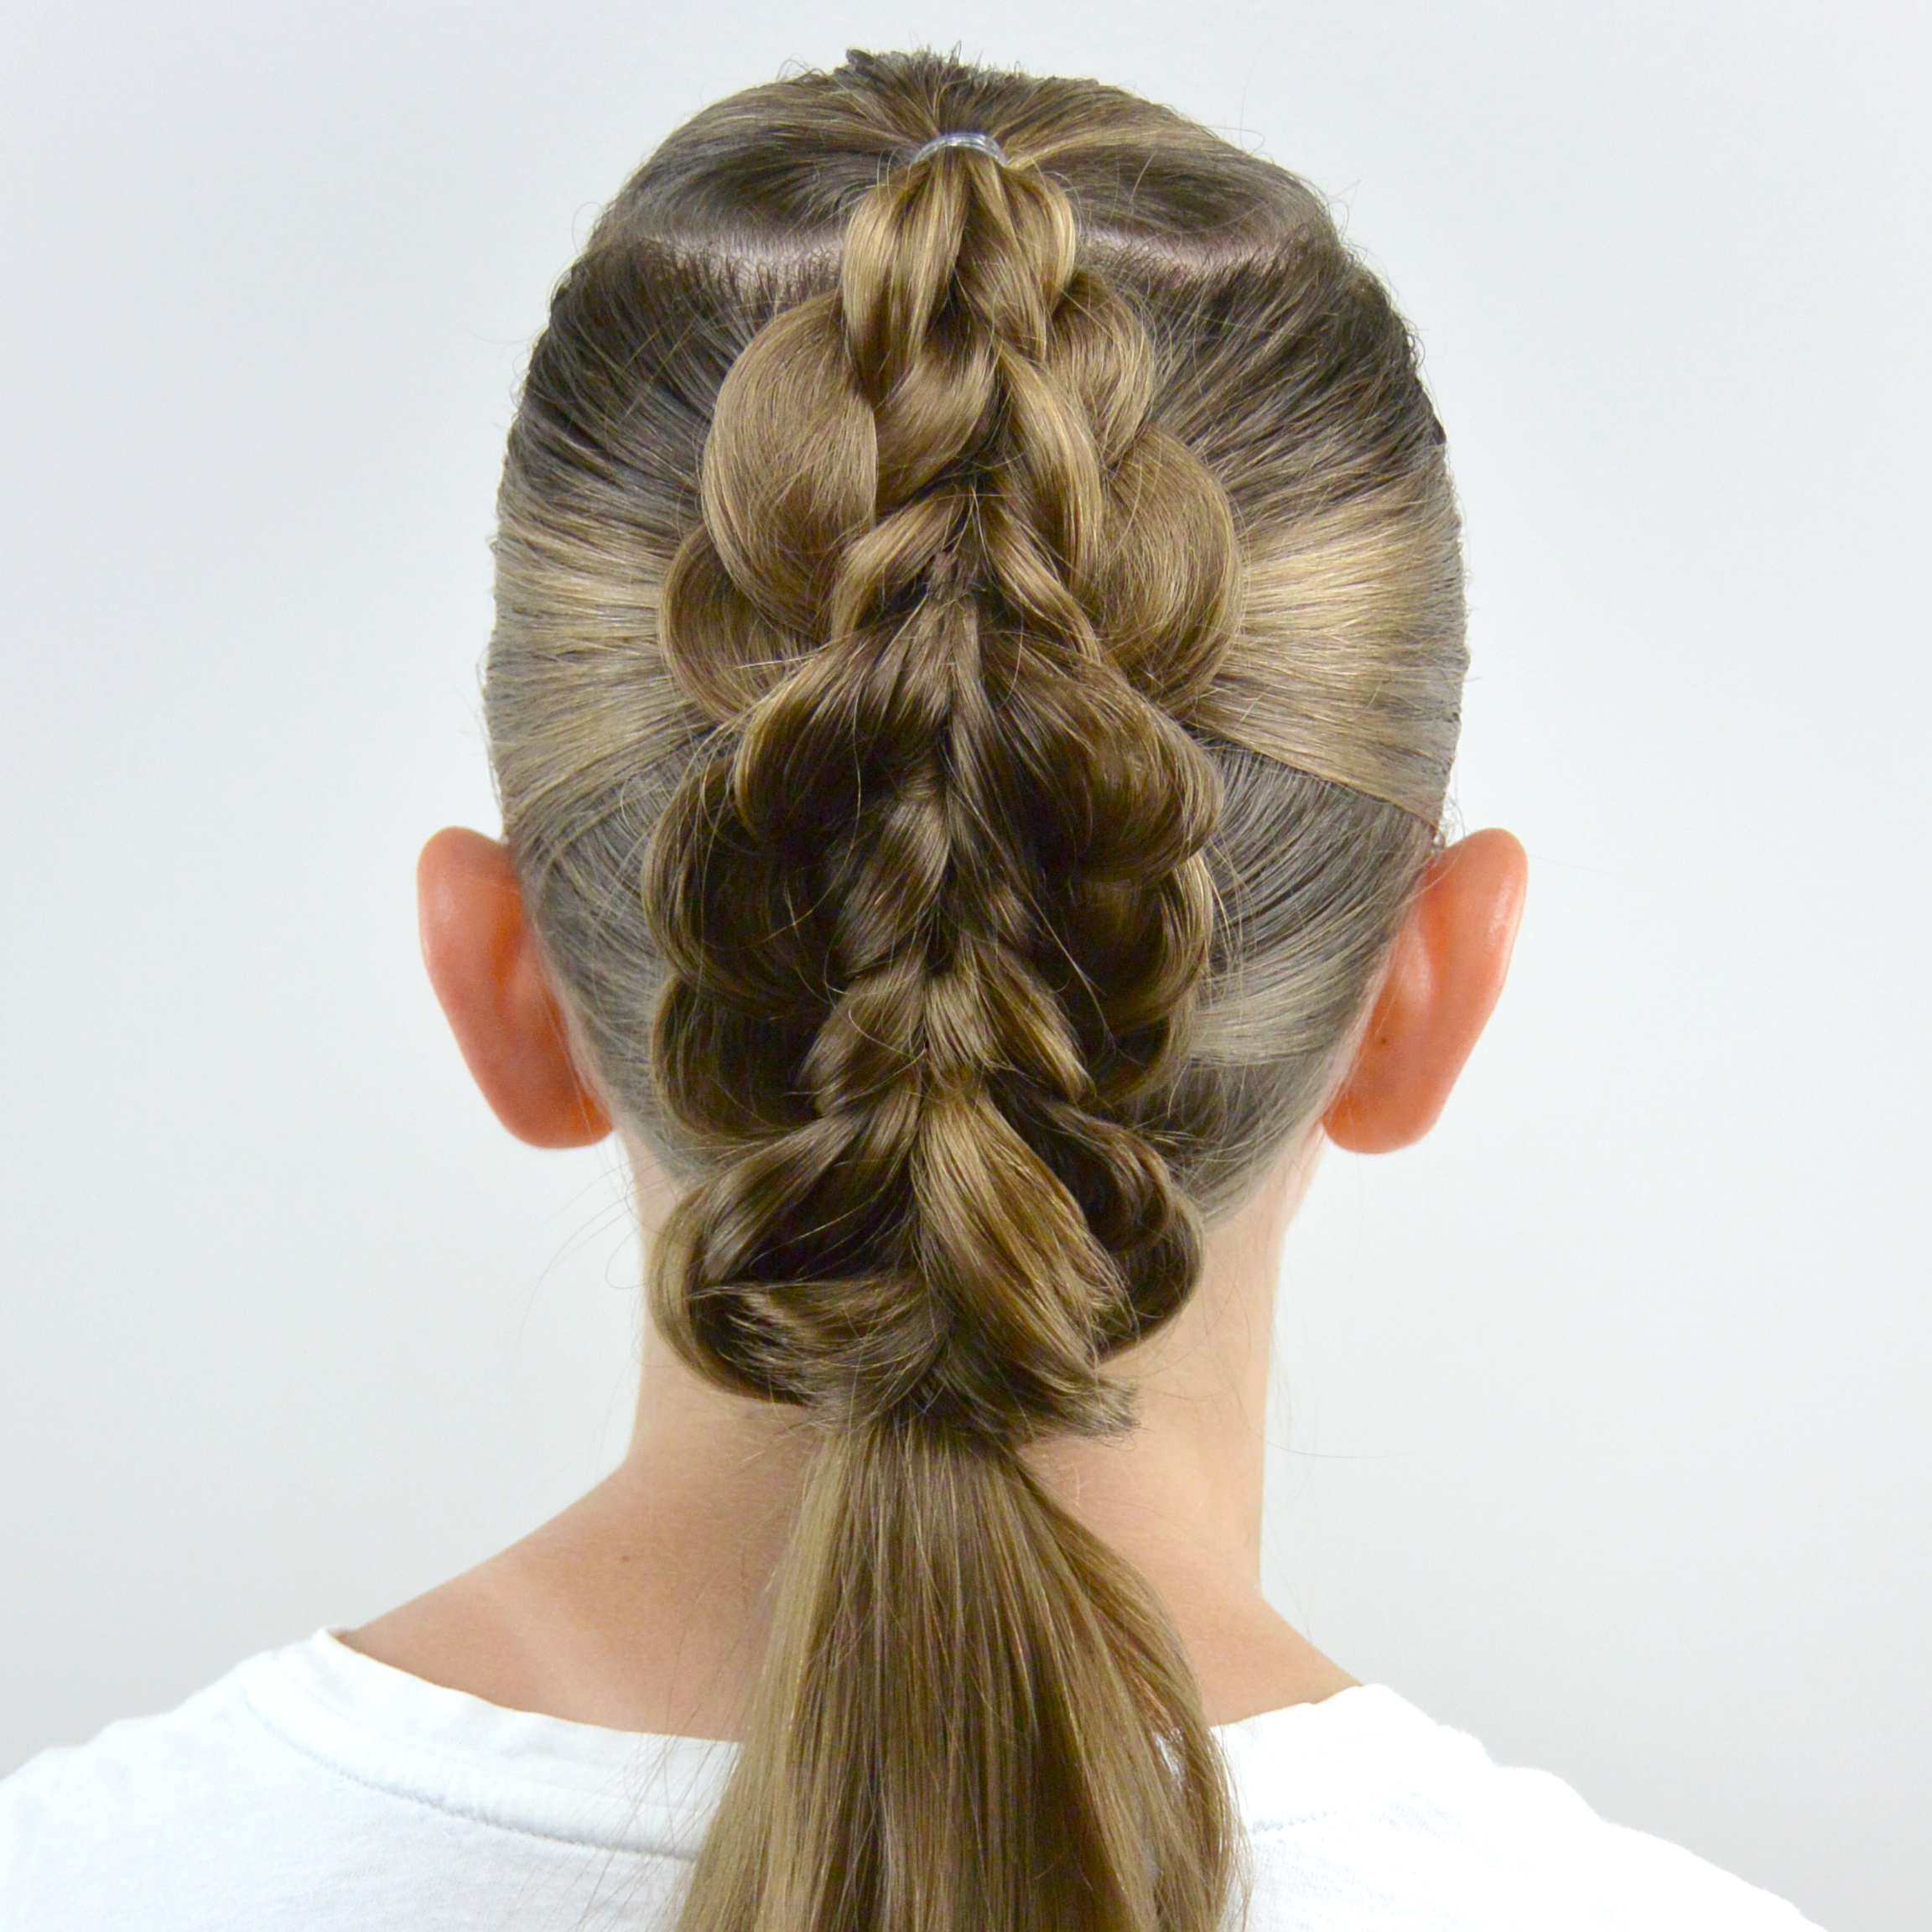
Here’s a more up close look at the transition from fishtail/fishbone to regular braid, then to the pull through braid. I love how the regular 3 strand braid twists a bit making it a bit harder to see if it’s a twist or a braid before the pull through braid starts.
Comment & let us know what your favorite technique is from today’s tutorial!
