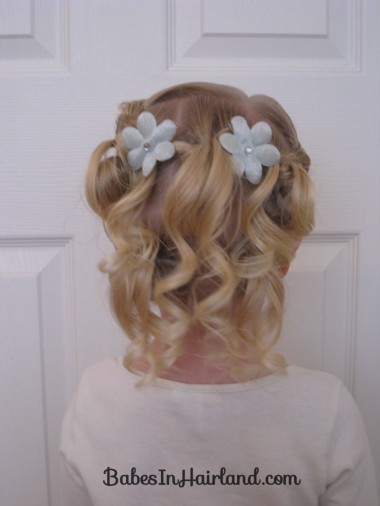
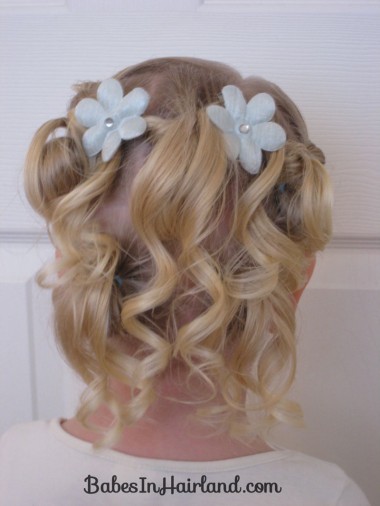
First off, you should know that I had no idea where I was going with this when I did this months ago, and secondly, I seriously think Bee had ants in her pants, because I took countless pictures, and had to delete the majority of them because they were all a total blur. So please pardon the quality of some of the pictures! Oh, and thirdly, I had no idea what to call this, so work with me here! 🙂 (And yes, I realize the flowers look like eyes or something on the back of her head. She seriously wouldn’t hold still to let me anchor them where I’d really wanted. Ah, the joys of an almost 3 year old!)
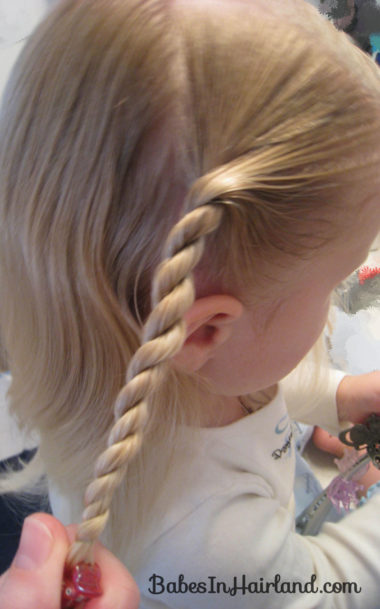
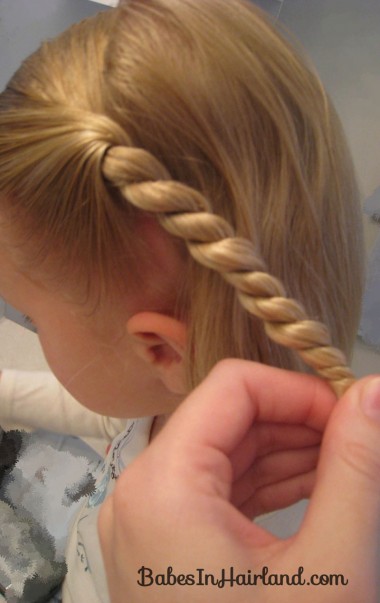
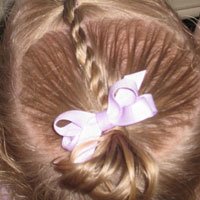
Part the hair off center on the top of the head. Then part from ear to ear. On the right side of the head make a rope/twist braid and secure with a clip temporarily.
Repeat on the left side, and temporarily secure it with a clippy or rubber band. Let the twists hang out of the way for now.
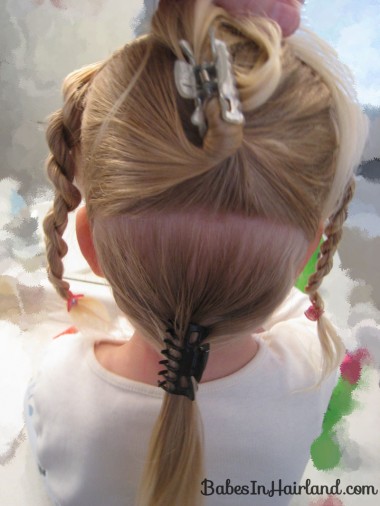
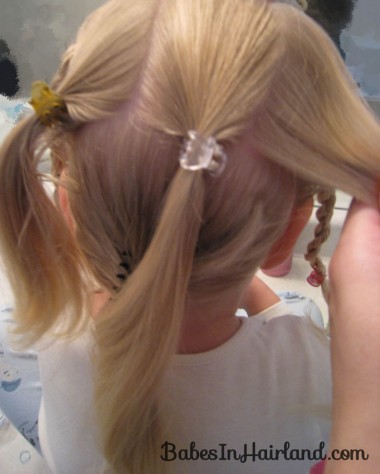
With the rest of the hair hanging down in back, part it about half way down the head – again from ear to ear – but this time horizontally. Secure each part of hair with a clip to keep the sections of hair apart.
Leave the bottom section secured with a clip. With the top section of hair, divide it into 3 smaller sections and temporarily hold them with clips.
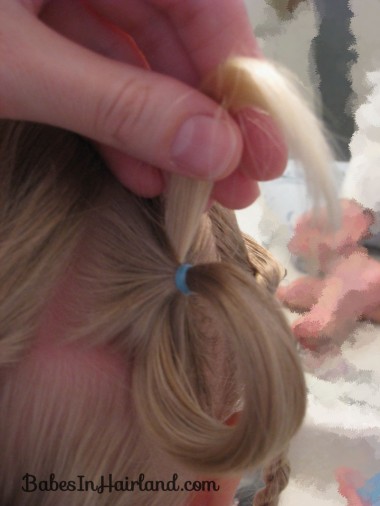
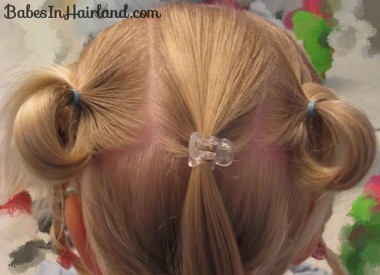
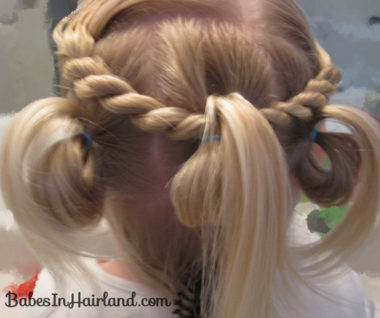
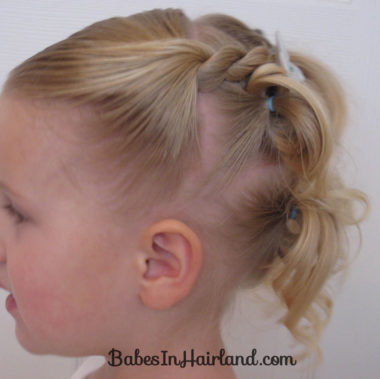
With the far right section make a ponytail, and then do a partial pull-through (coming from underneath the ponytail.) Don’t pull it all the way through. Leave a loop, and have the “tail” coming out on top of the ponytail.
Repeat on the left side – forming a bit of a loop. Cinch the hair tight at the base of the rubber band (as you would if it were just a pony tail & you wanted to cinch the ponytail tighter) to help secure your semi-pulled through hair.
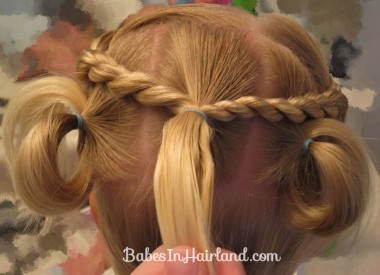
Now, take your rope/twist braid that have been hanging down in front and pull them back towards the middle back section you have parted out. If you need to, twist them a bit again to ensure they are tightly twisted, as they sort of relax when not totally secured to anything. Secure the 2 twists with the middle back section of hair with a rubber band, making a ponytail.
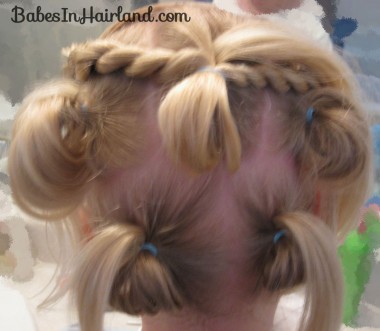
Take the ponytail and make another pull through – coming from the bottom up through the top of the hair.
This is where we encountered major “ants in pants syndrome” and pictures had to be deleted because they were total blurs! So sorry there’s a few pictures missing! Once you’ve finished the pull throughs up top, take the bottom section of hair that’s been held separate with a clip and divide it into 2 sections. Make 2 more ponytails, and flip them with pull throughs – again leaving loops and not pulling the hair completely through.
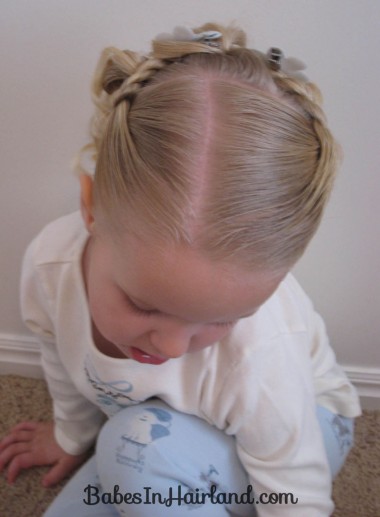
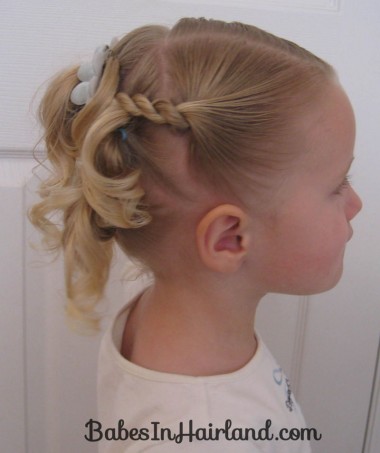
And again, after this, I just have “finished hairdo” pictures. But with all the loose tails that are flipped over the top of the ponytails, curl them all nicely and arrange the curls to cover the parts, etc. You can secure them with a few bobby pins, here & there if you need to. I was hoping this would make Bee look like she had more hair than she did, and had she been less wiggly on this day, it might have seemed like it, but I’m afraid, this style didn’t do that for us! I still liked it though, just didn’t do what I was hoping for!
So nice that she finally held still for me to take pictures … of the top of her head!
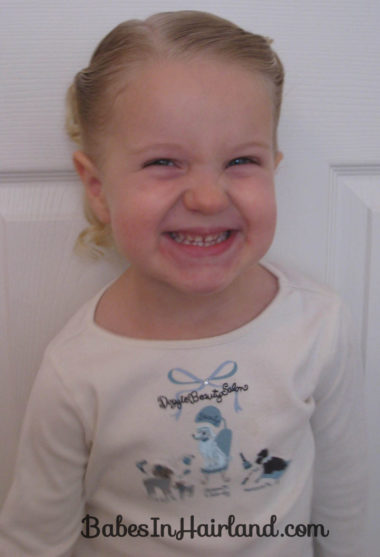
And a mischievous -evil grin for the finishing touch!
