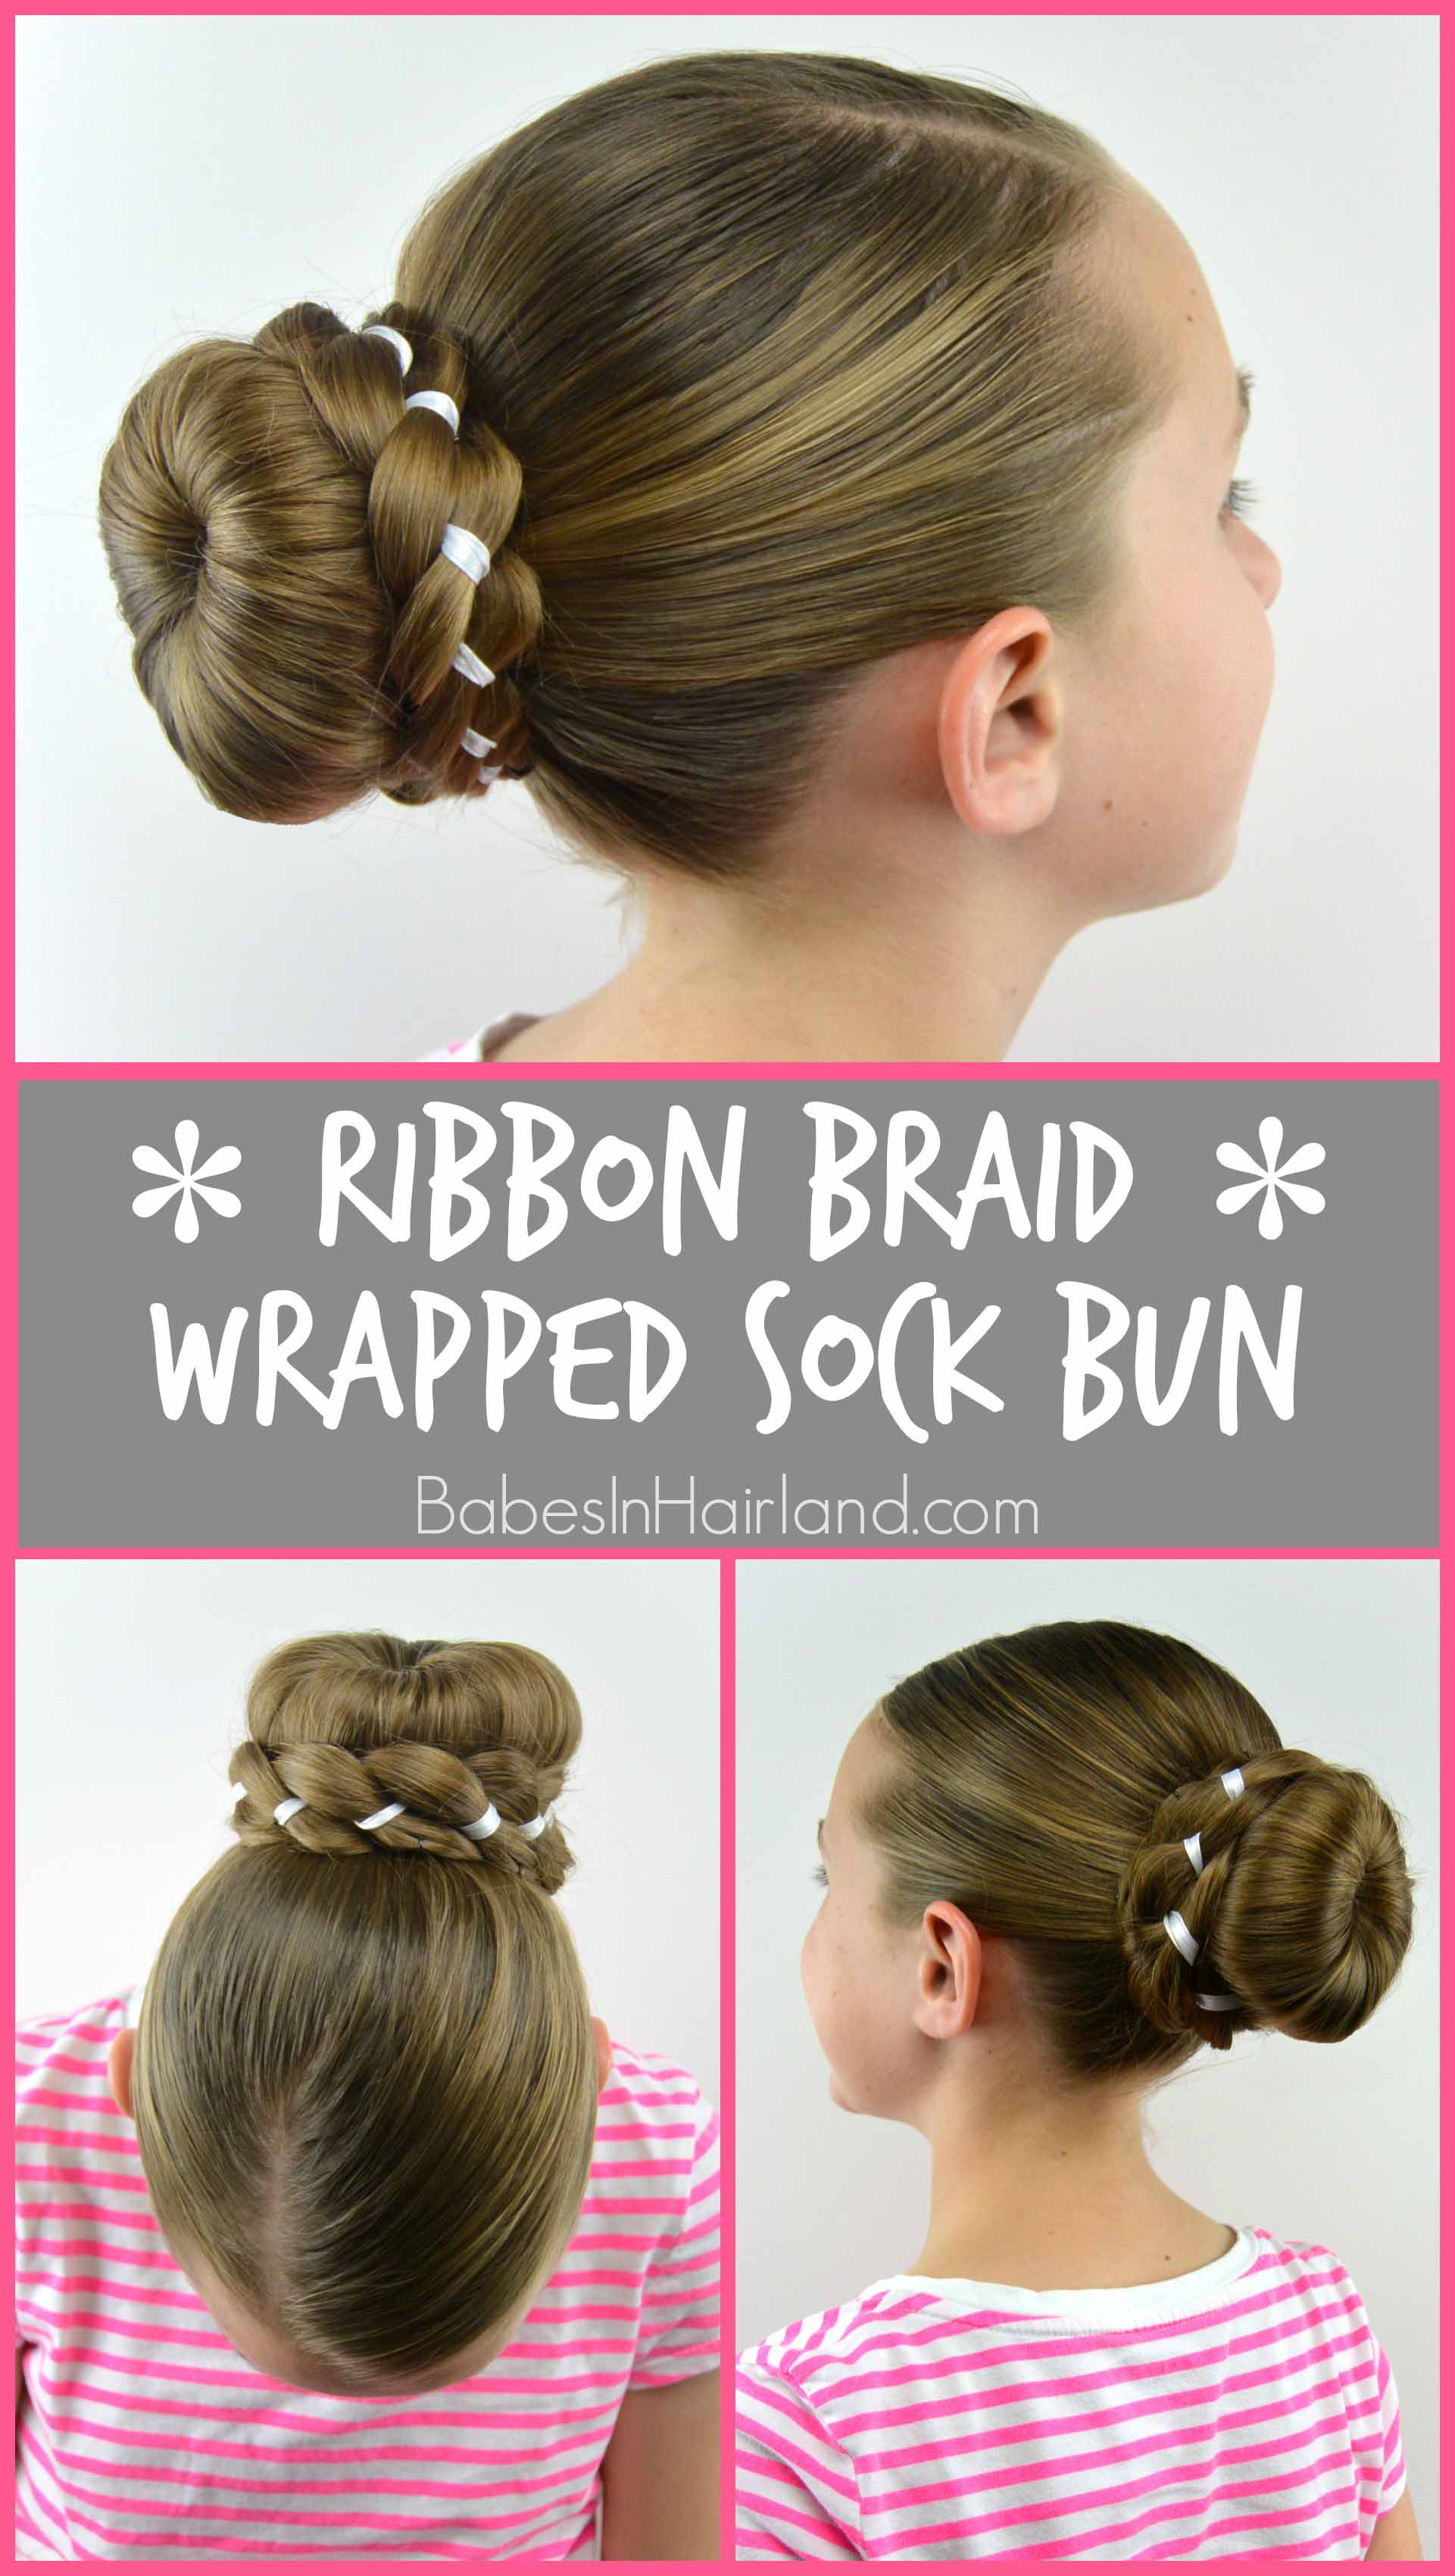
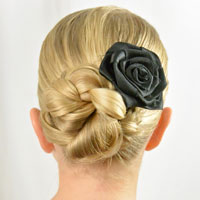
Happy cinco de Mayo to everyone! We’re celebrating because a year ago today we submitted the final manuscript of our book to our publisher. It’s crazy how time flies and now our book Amazing Hairstyles: from Easy to Elegant is a reality! Dreams really do come true! 🙂 Anyway, for our style today we’ve got a gorgeous bun tutorial. If you’ve followed us for a while, you know I’ve got an issue with what I call “knobby buns!” I don’t know why, I just do! So for that reason, I’ve not been one to ever really post sock bun tutorials or even use a bun maker. But I’ve found I like them if we do more with the sock bun, than just the bun itself!
So despite not being a huge fan of sock buns, I’m really loving this one. I like them much more if I wrap the bun with a braid, twist, or something else to hide the “gap” between the head and the bun itself I like them much better, and so do the girls! For this sock bun, we used the medium spongy “donut” like is pictured below. We bought ours from Pick Your Plum as a set of 3 brown ones, but they aren’t always available. You can also cut the toe off a sock and roll it up and it’ll do the same thing, but these are nice because you can stick bobby pins into them without issues. You can get a set of Goody Bun Makers HERE and it also has all 3 sizes. Make sure you get one that is close to your hair color so it doesn’t show through your hair as much.
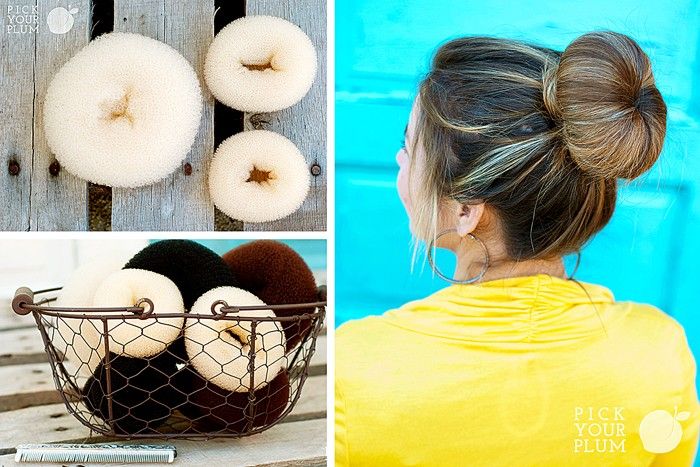 So enough about the bun makers! Here’s the video tutorial, or follow the instructions below.
For this style you will need:
*A Bun Maker or sock that is rolled up to resemble one, ribbon a bit longer than the ponytail, elastics, bobby pins, hairspray or other hair product of your choice, and of course a brush or comb.
Step 1 – Make a ponytail
Step 2 – Pull the ponytail through the center of the bun maker so it covers the base of the ponytail and is right against the head
Step 3 – Bend your head down and spread all the hair out so it covers the bun maker
Step 4 – Slip an elastic over the bun maker so it cinches the hair around the bun maker making it nice and smooth
Step 5 – Bring all the hair back down so it hangs out below the bottom of the bun maker
Step 6 – On the bottom of the bun, slip the end of your ribbon through the elastic
Step 7 – Divide the hair into 3 even sections
Step 8 – Create a 4 strand braid and secure the end with an elastic
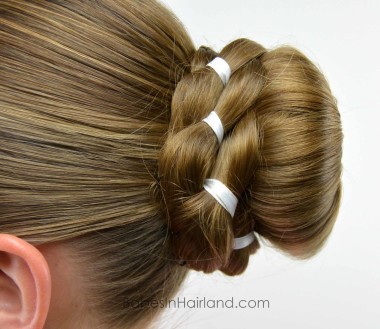
Watch our 4 strand braid video that shows a bit slower how to do this. Be sure the ribbon is the 2nd strand from the left. You will always pass the far right strand over then under. Then the far left strand goes under then over. This keeps the ribbon running right down the middle of the braid.
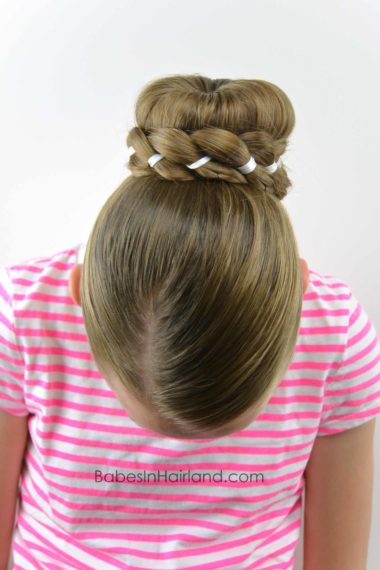
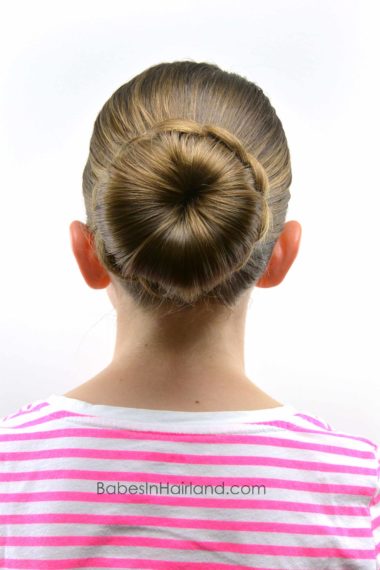
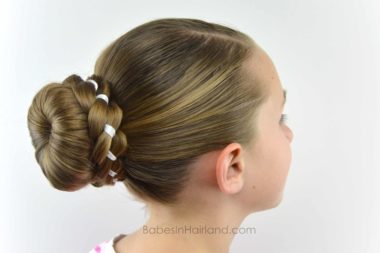
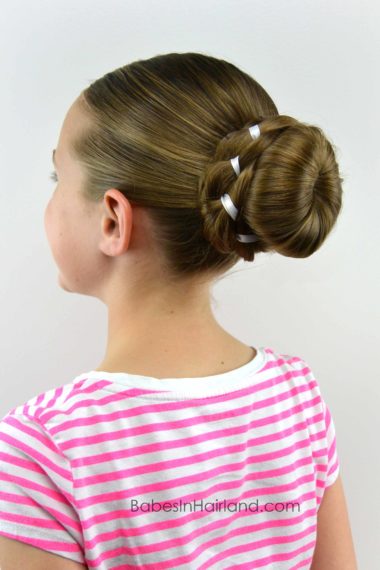
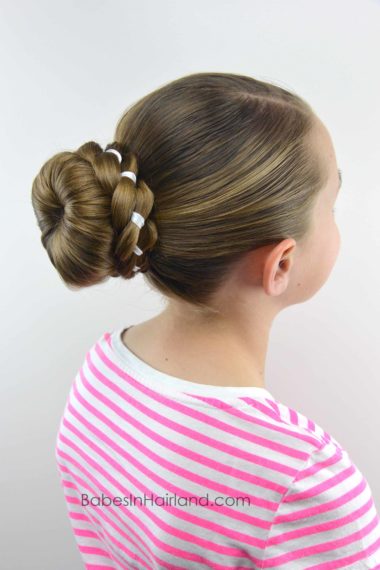
Step 9 – Gently wrap the ribbon braid around the bun so it sits between the bun and the head
Step 10 – Secure with bobby pins as needed
We use Marianna Bobby Pins and they seriously are THE best ever. They are what I show in my Bang Twist Video, and they grip like no other bobby pin you’ll find. We’ve used them for years and I’ll never go back! They’re not just ones from a card you can buy at the dollar store, these are seriously supreme!
FINISHED!
So I’d love to hear your vote. How do you feel about sock buns? Love ’em or hate ’em?! 🙂 Honestly, these are growing on me as long as we “dress” them up a bit! And remember you can get a set of Bun Makers HERE if you don’t have any yet. Comment below and let us know your thoughts on sock buns!
Love It!! it looks soooo pretty