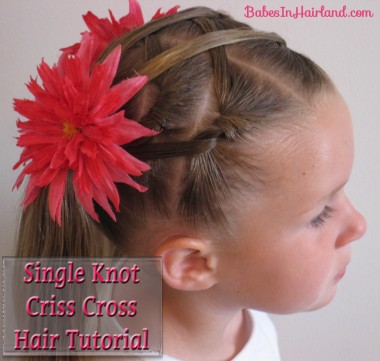
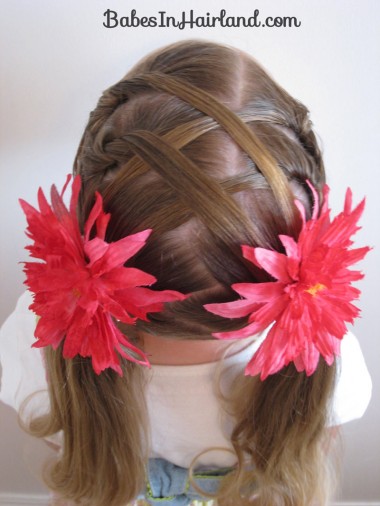
 I fell in love with the simplicity of Girly Do’s Single Knot & piggies and have done that do several times. But then of course, as it’s in my nature, I have to try it different ways, and so I decided to make it a little more involved — not by much though! So thanks Jenn for helping make the rusty wheels spin in my head!
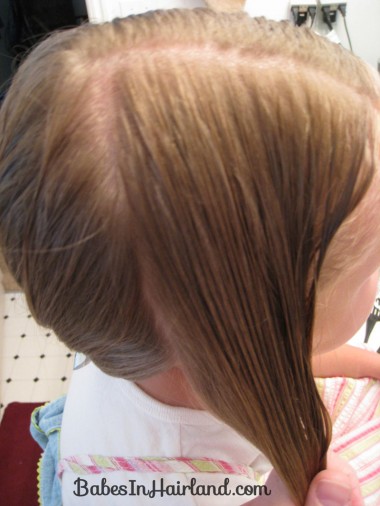
You can part the hair smack down the middle of the head if you want total even sides, but I prefer the side part – so my part on the top of the head is off to the right side of her head. So part the hair in the middle or on the side of the top of the head. Then branching off that part, part down to the ear. Oh, and having very damp hair for this whole knot process makes things much nicer & smooth looking! So don’t forget to have the spray bottle handy!
Then divide that section into 2 sections. Secure the back section of hair with a little clip so it’s out of the way for now.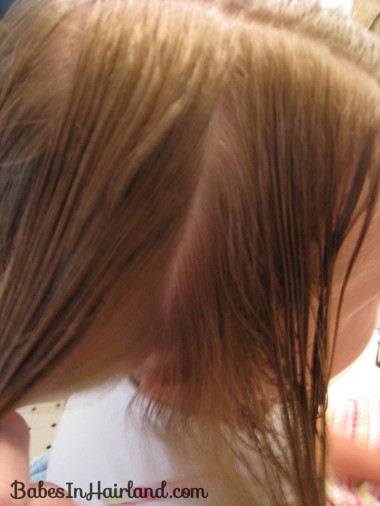
With the front section of the hair, divide it into 2, to make a knot – just a simple shoe lace knot like you make when you begin to tie your shoe. Right over left, and through the hole.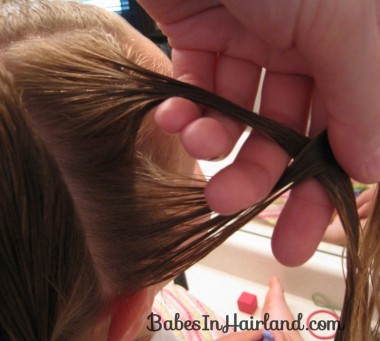
Here’s what it’ll look like before you pull it tight to the head.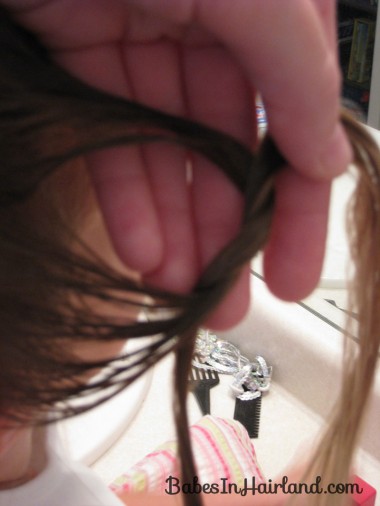
Once you’ve pulled it tight, secure it with a little claw clip. You’re going to be making 4 of these knots & you don’t want them pulling loose during the working of this do!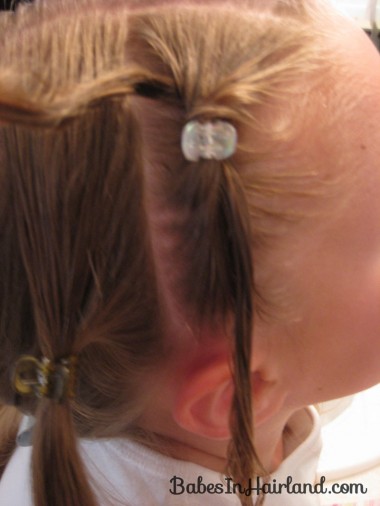
Repeat the knot on the section behind that first one & secure with claw clip.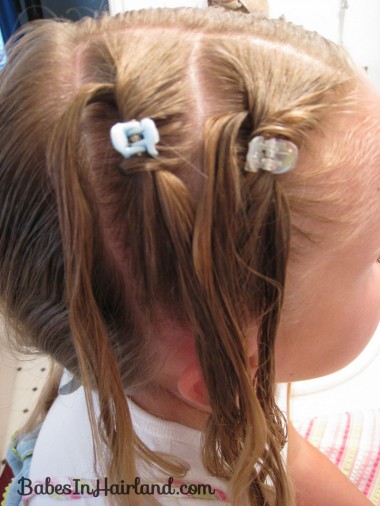
Repeat to the left side of the head. These knots are a bit thicker since I parted her hair off on the right side of her head. If you part smack down the middle, your knots will be more even. Whatever you prefer!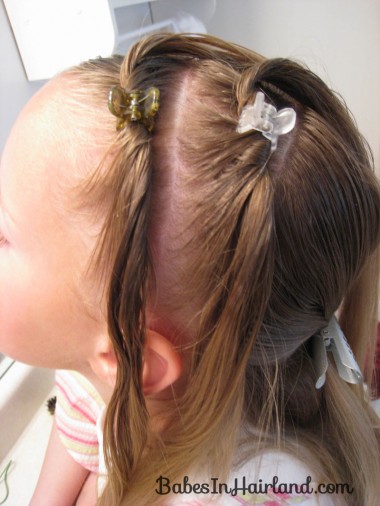
Once you’ve got all 4 knots done you should have 8 different little tails of hair hanging around! Don’t let that confuse you! Just be sure to leave the claw clips in until you are completely done. (Unless your DD’s hair holds a simple shoestring knot well on its own – which mine does not!)
Now, take the left “tails” from the right knots and pull them sort of on an angle towards the left side of the head. Just lay them there for now.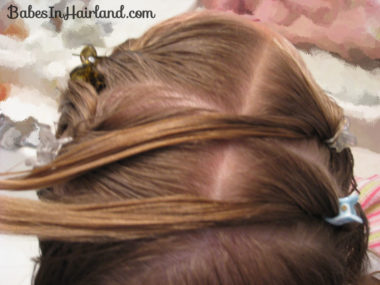
Now take the right “tails” of hair from the left knots and bring them on an angle sort of backwards and to the right side of the head.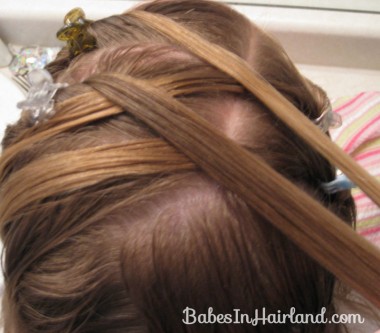
I forgot a picture of the next step — but you’ll need to part the hair down the back of the head to prepare to make pig tails. You can do a straight part or whatever – but I did a zigzag one.
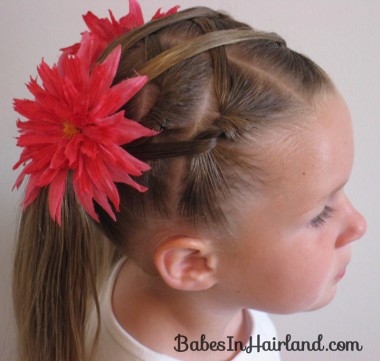
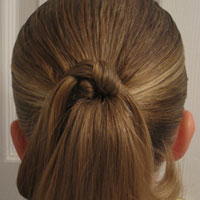
Once you’ve parted the hair down the back of the head, starting on the right side of the head, combine all the hair to the right of the part to make a pig tail. You will be including the 2 “tails” from the left knots, and 2 “tails” from the knots on the right, and then the hair that had been hanging down in back until now to make the pig tails. Geez, does that make sense? Hopefully you can see what I mean from this picture.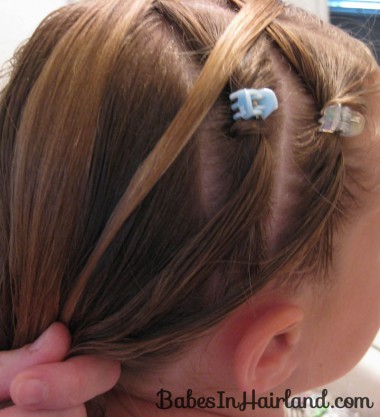
Repeat to the left side of the head. Each pigtail should have 4 “tails” from the knots included – just 2 from the opposite side, and 2 from the side you are making the pig tail.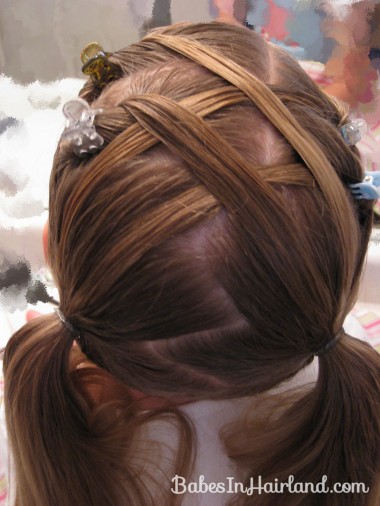
Once you are to this point – with both pig tails made – you can safely remove your claw clips.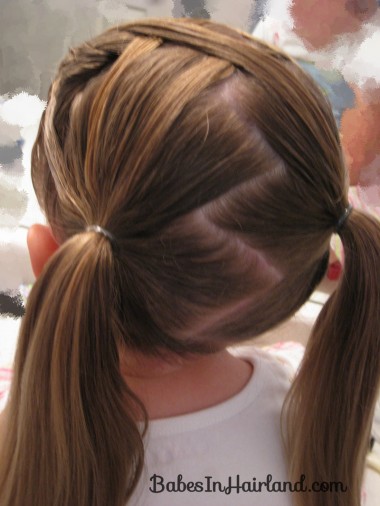
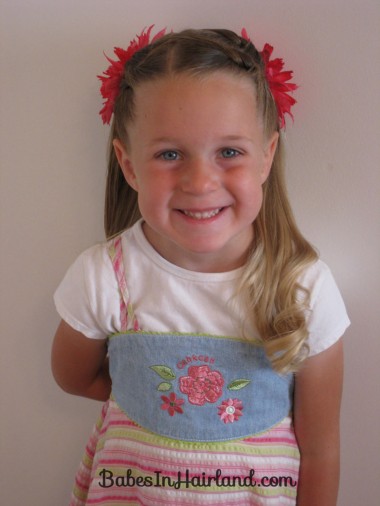
Add some flowers or bows of your choice, curl the ponies if you want & you’re done. We had tons of compliments on this one & I’ve done it multiple times. It’s sure to be a hit – and the coolest part is it’s only held together with 2 rubber bands! 🙂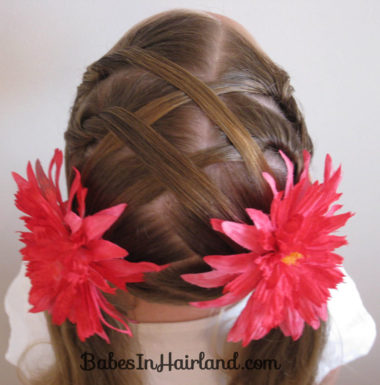
From the front with her head down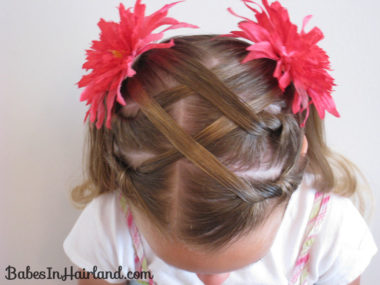 And the happy little smile. Just an FYI, the day I did this was a Sunday, and it was slicker than anything to just redo this the next day since everything was parted out already. I just redid a side at a time & off we went.