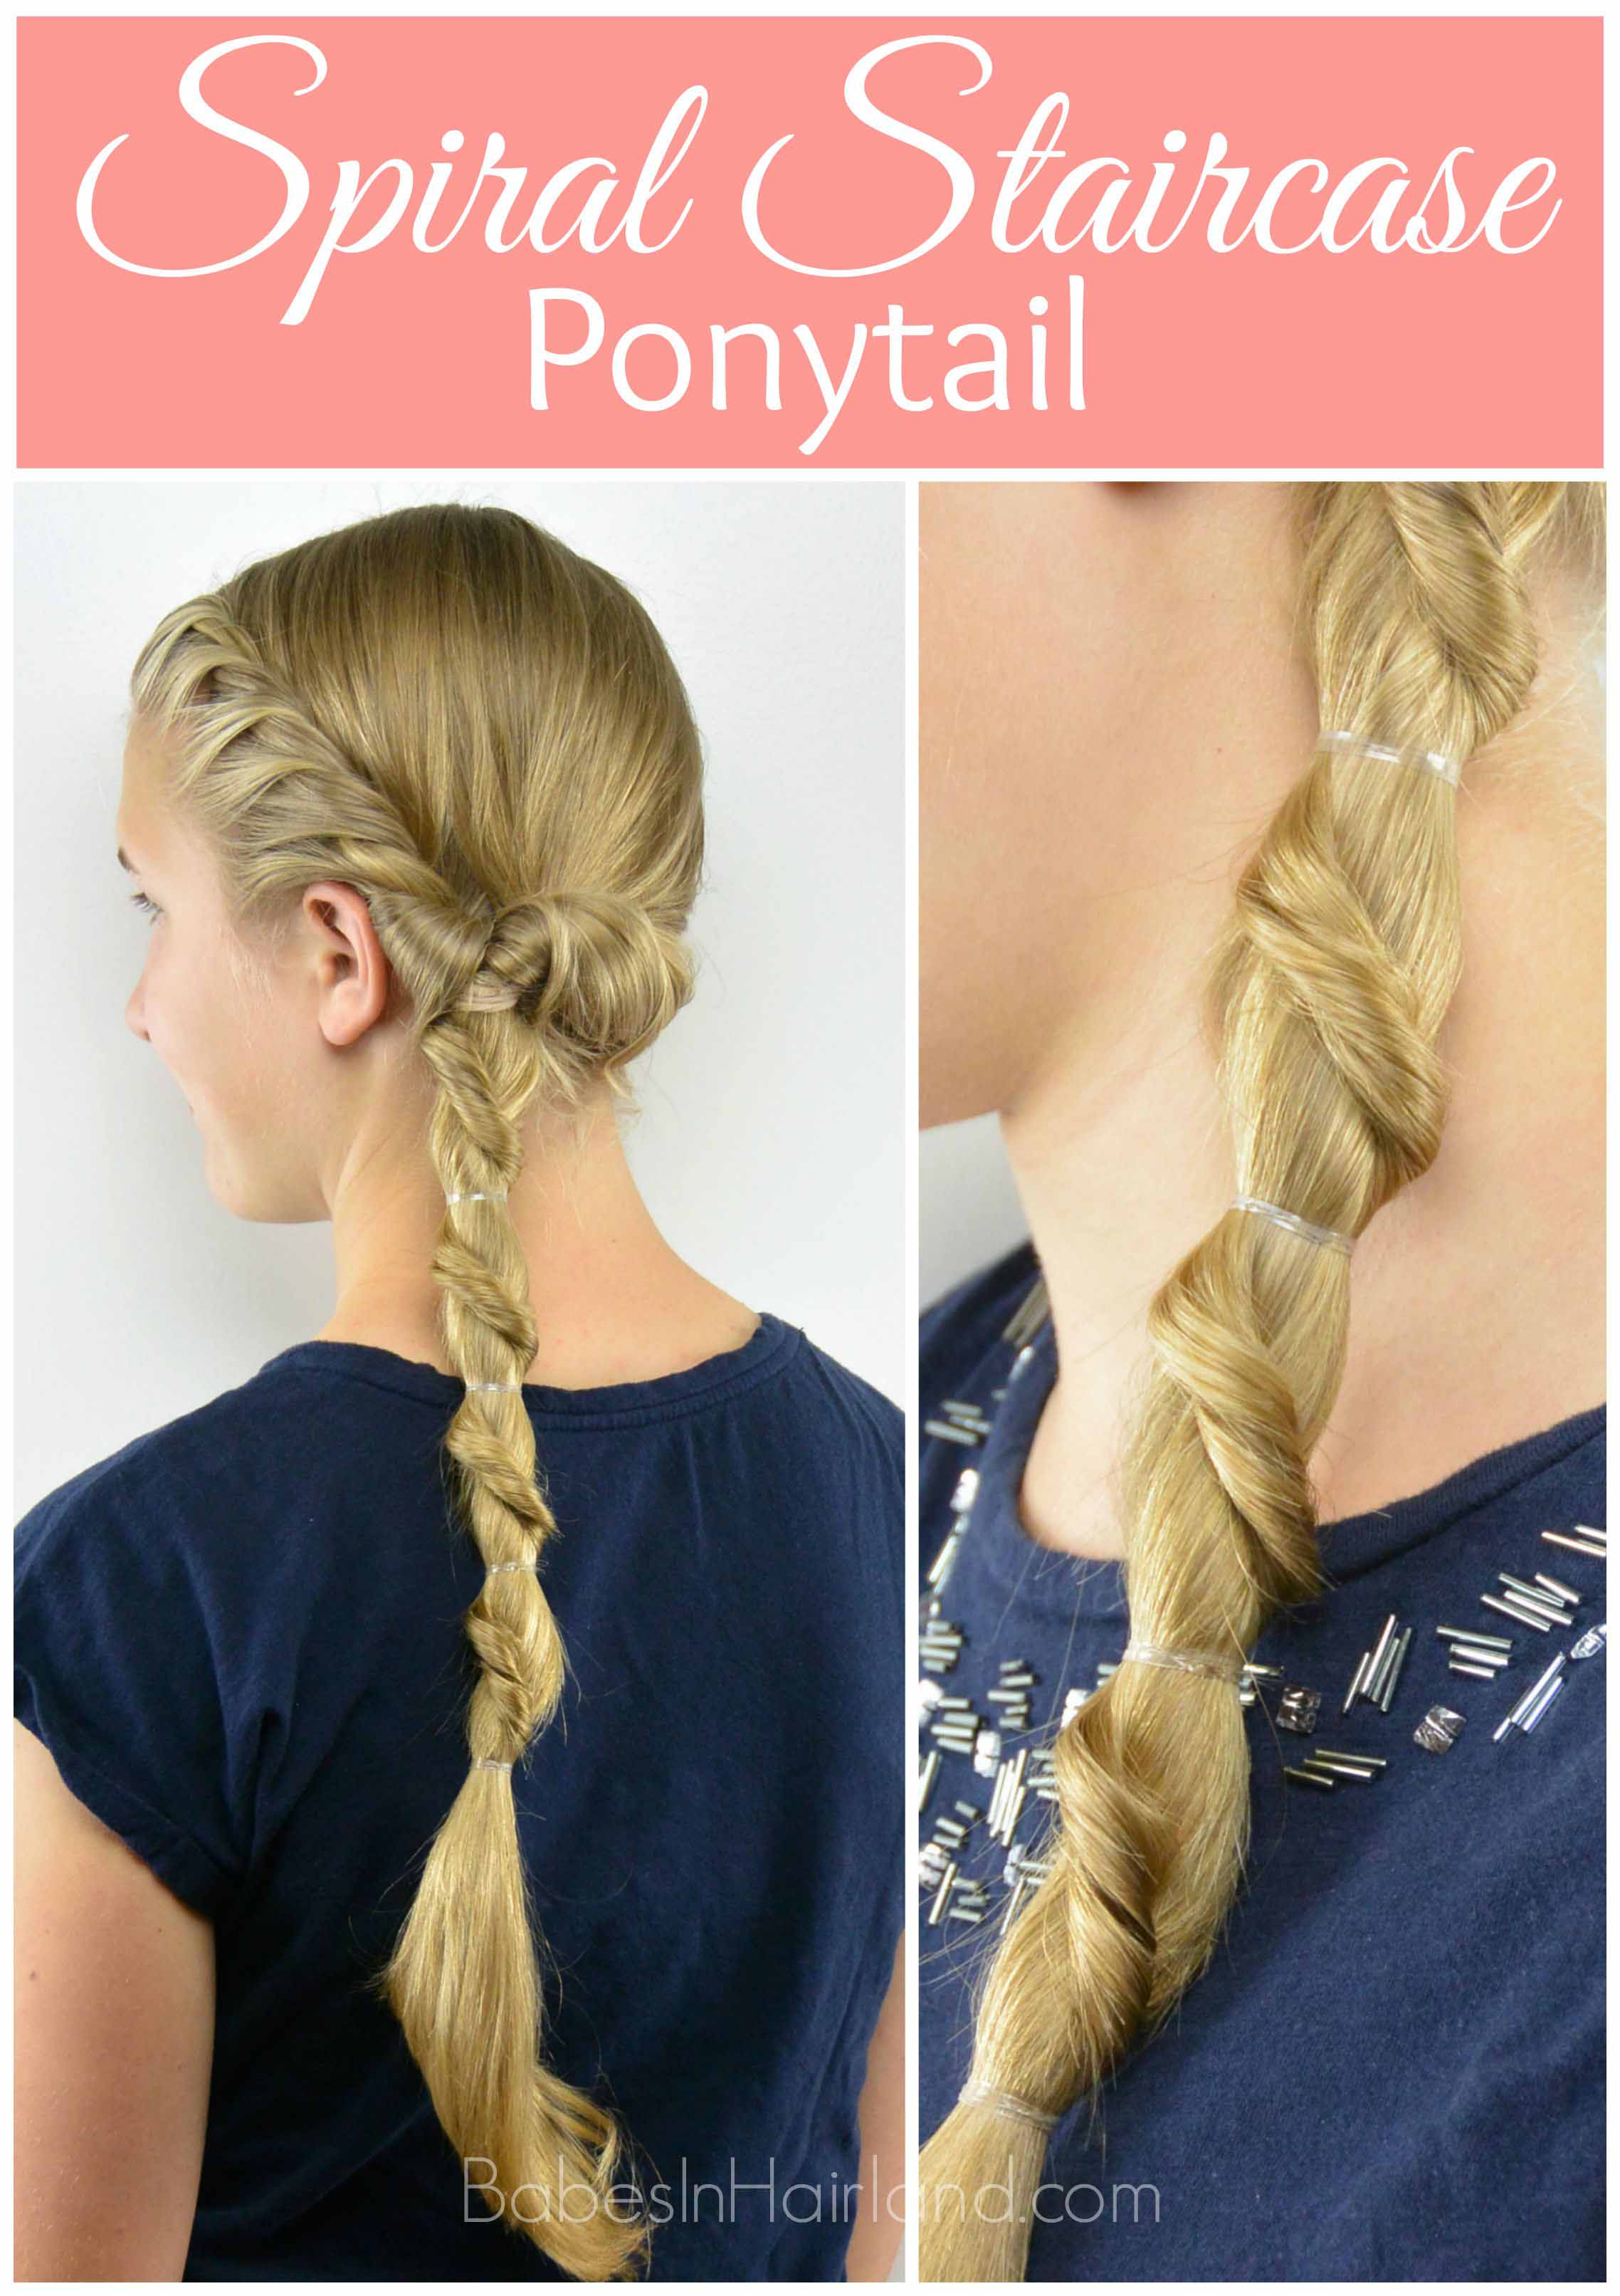
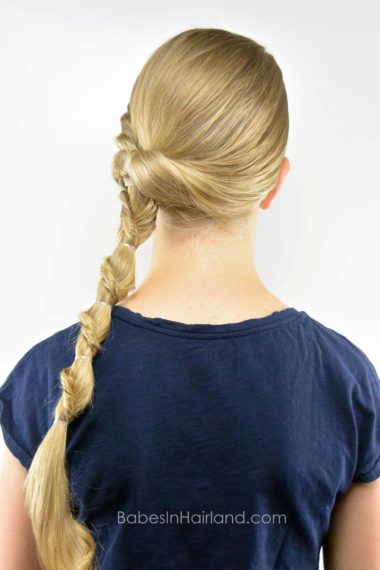
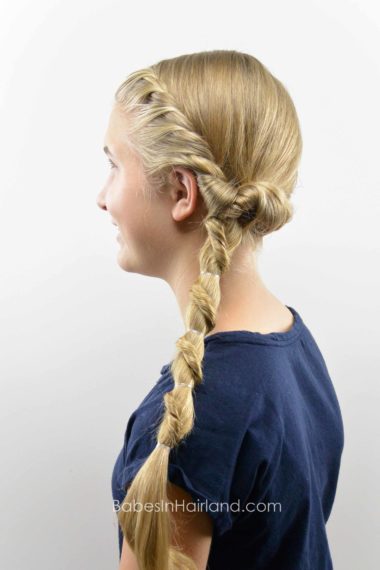
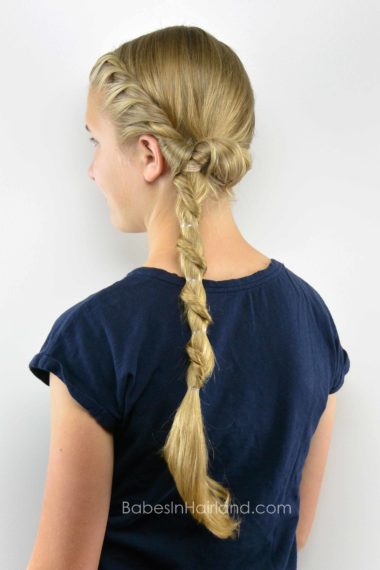
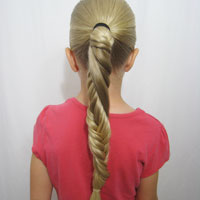
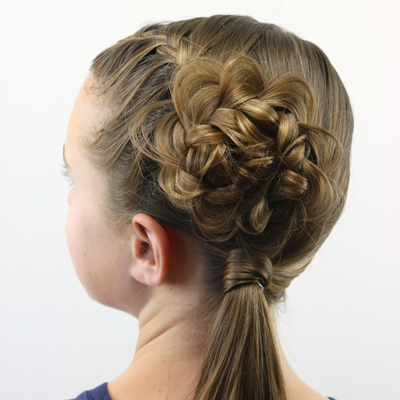
This pretty style is a great way to dress up a ponytail and give it a different look. There are other “spiral staircase” styles out there, but they involve a braid that wraps around the ponytail. This is different than those, and you’ll find this is quite easy!
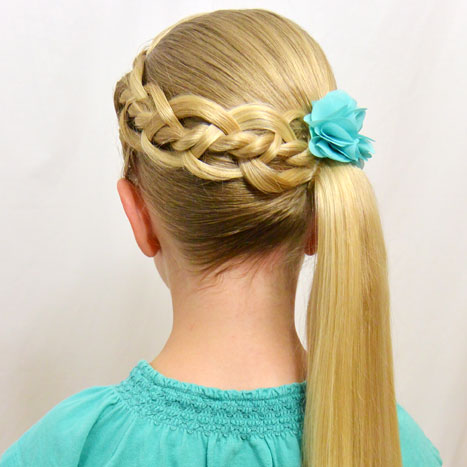
This tutorial is just to show you how we did the spiral look on the ponytail, and if you don’t have the time, you can just make the ponytail. However, we wanted to add a little something more along her face, so we created a French rope twist and brought all the hair into a side swept ponytail near the left ear. Then using our Topsy Tail, (Get your Topsy Tail Kit HERE), we flipped the ponytail under before we started all the fun in the ponytail! Watch our short video to see how easy this is!
Step 1 – Gather all the hair into a ponytail & secure with an elastic
Step 2 – About 2″ below the base of your ponytail wrap a clear elastic around the hair
We use THESE Goody Clear Elastics and they are nice and strong and come in 3 different sizes.
Step 3 – In the hair between the elastics, poke a hole through the hair with your fingers. DO NOT go through the middle, but instead, poke your fingers through more to the left side.
If you make the hole in the center between the elastics, it will turn out more like a “fake fishbone braid” or the pull-through braids that are so popular right now. You can do this with a topsy tail if you want, but this part I find easy enough to do with my fingers. Just be sure before you flip the hair, the section on the left is small compared to that on the right.
Step 4 – Flip the rest of the ponytail up and through that hole and pull it back down again
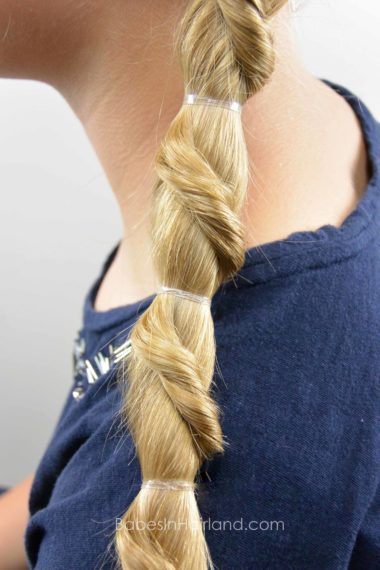
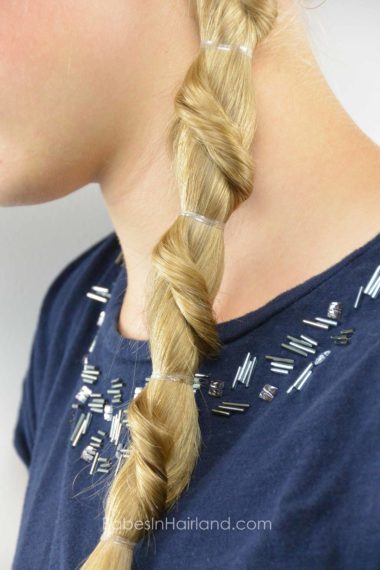
Once you’ve flipped the hair through, you will have a small twisted section of hair that runs diagonally across your ponytail giving that “winding or spiral staircase” look we’re going for here. This is the reason you want to make the hole off center so you have a small section & a thick section as you pull the ponytail through.
Step 5 – Gently pull on the small diagonal section of hair to loosen it up a little
Step 6 – Add another elastic about 2″ below the last one
Step 7 – Repeat Steps 3-6 down the remainder of the ponytail
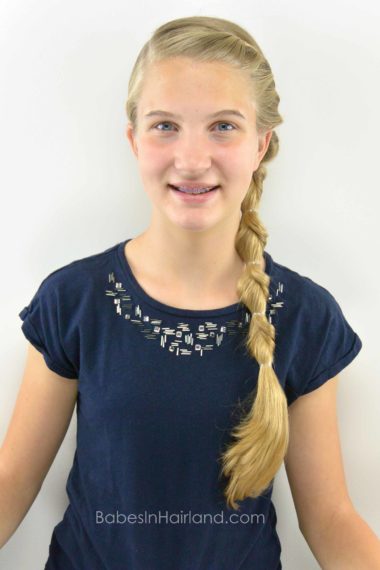
FINISHED!
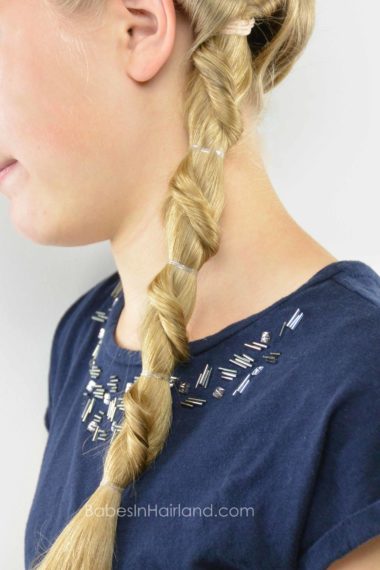
Here’s a few pictures more up close of the finished ponytail. Looks pretty cool, right?!
Like I mentioned in the beginning of the post, you don’t need to do more than the ponytail to start this style. But if you do, you can totally do whatever you want with the rest of the hair leading into the ponytail. Make it your own & have fun with it!
Tell us what you think of this one! What other fun things do you like to do in your ponytails? Be sure to pin this for later & share it with your friends using the social media buttons below!
