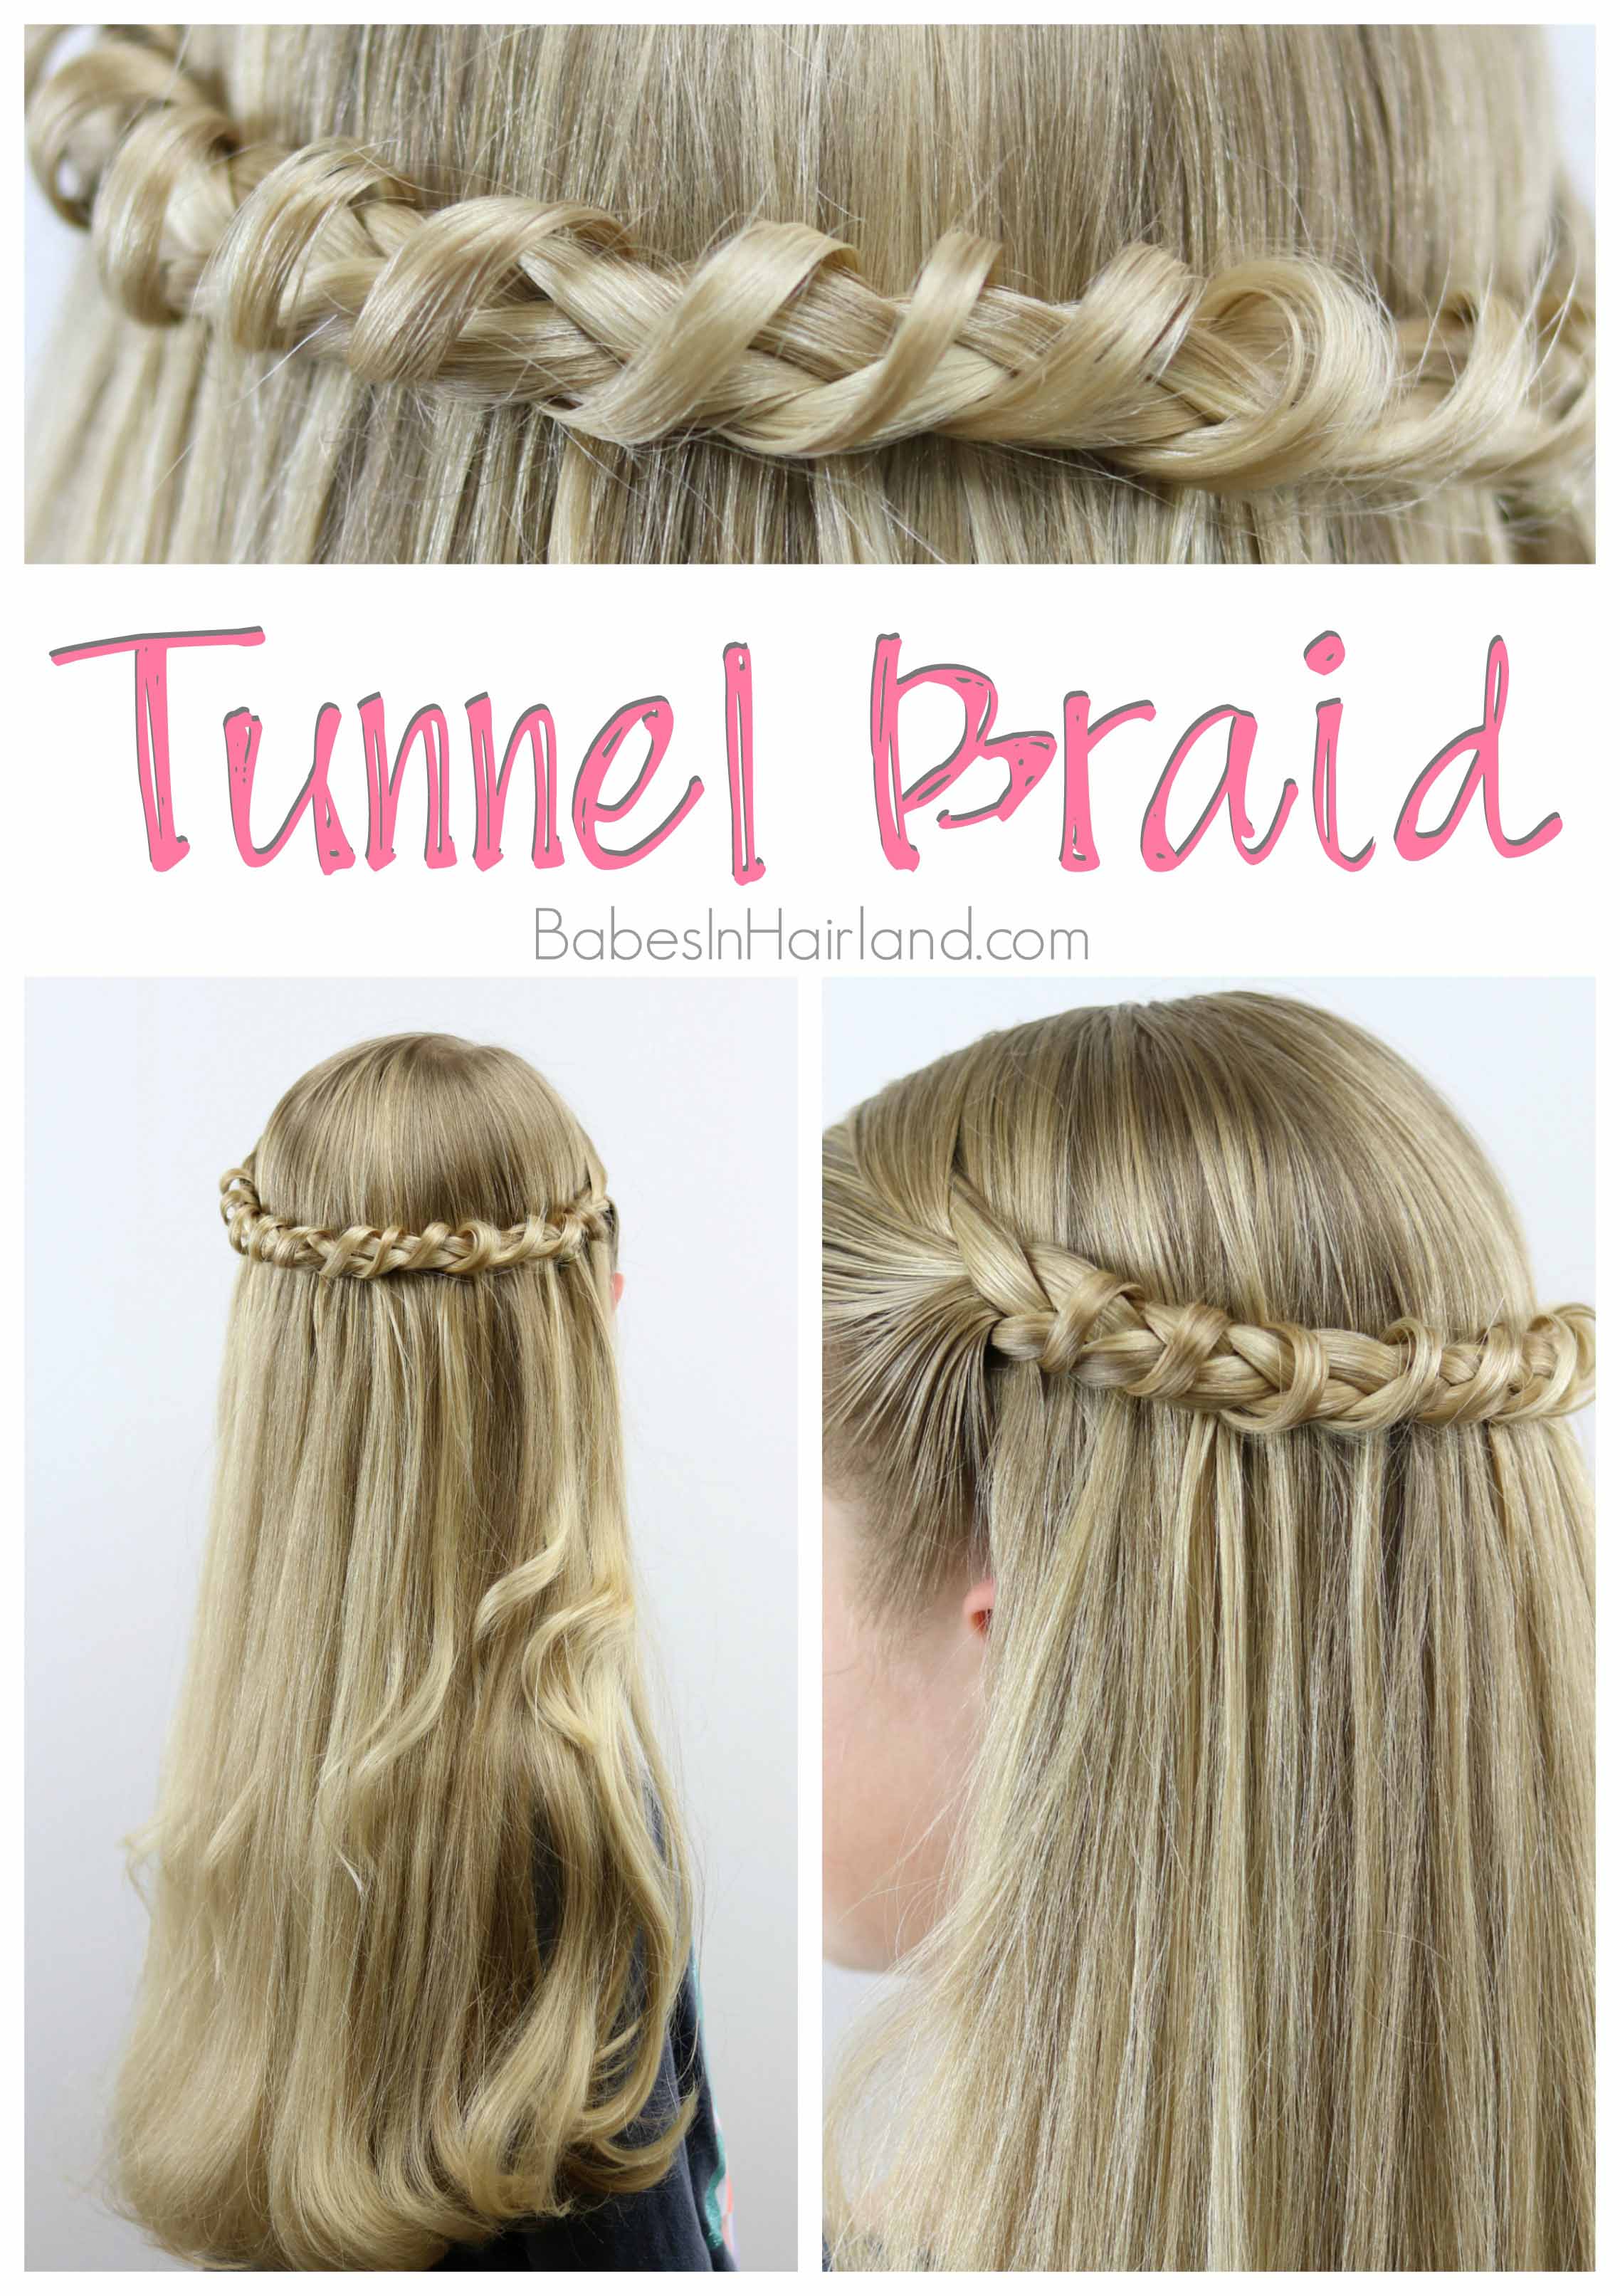
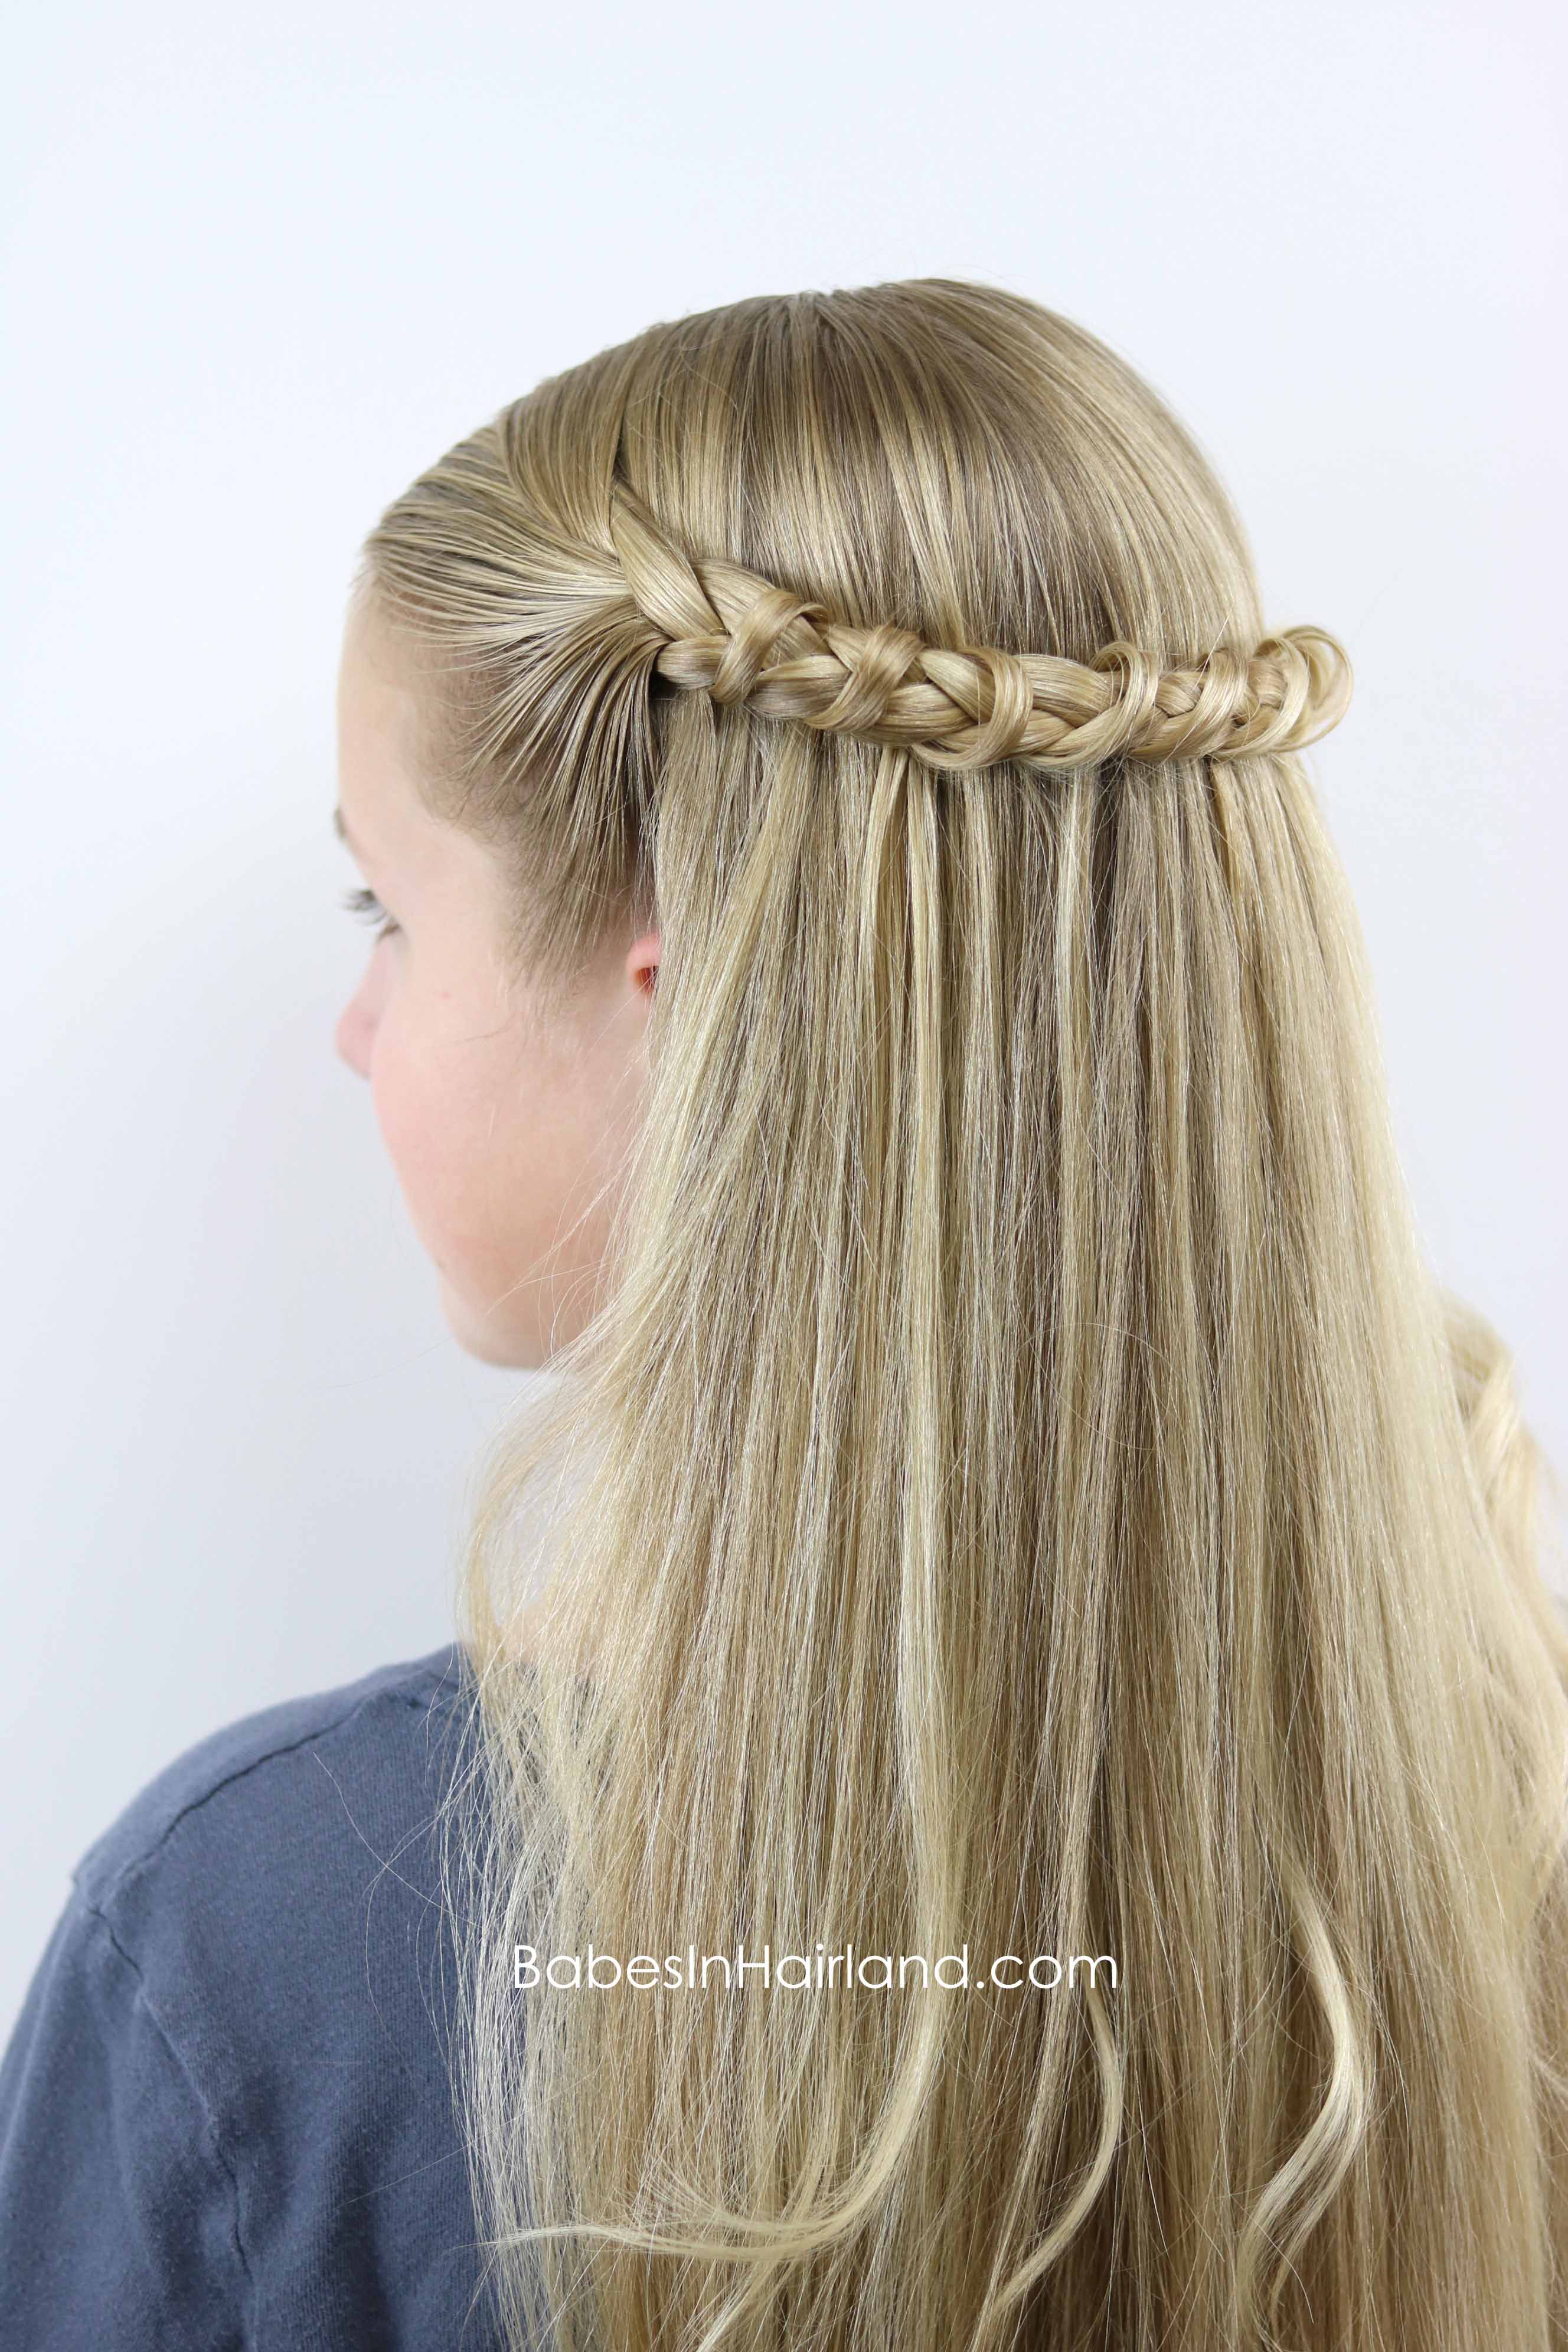
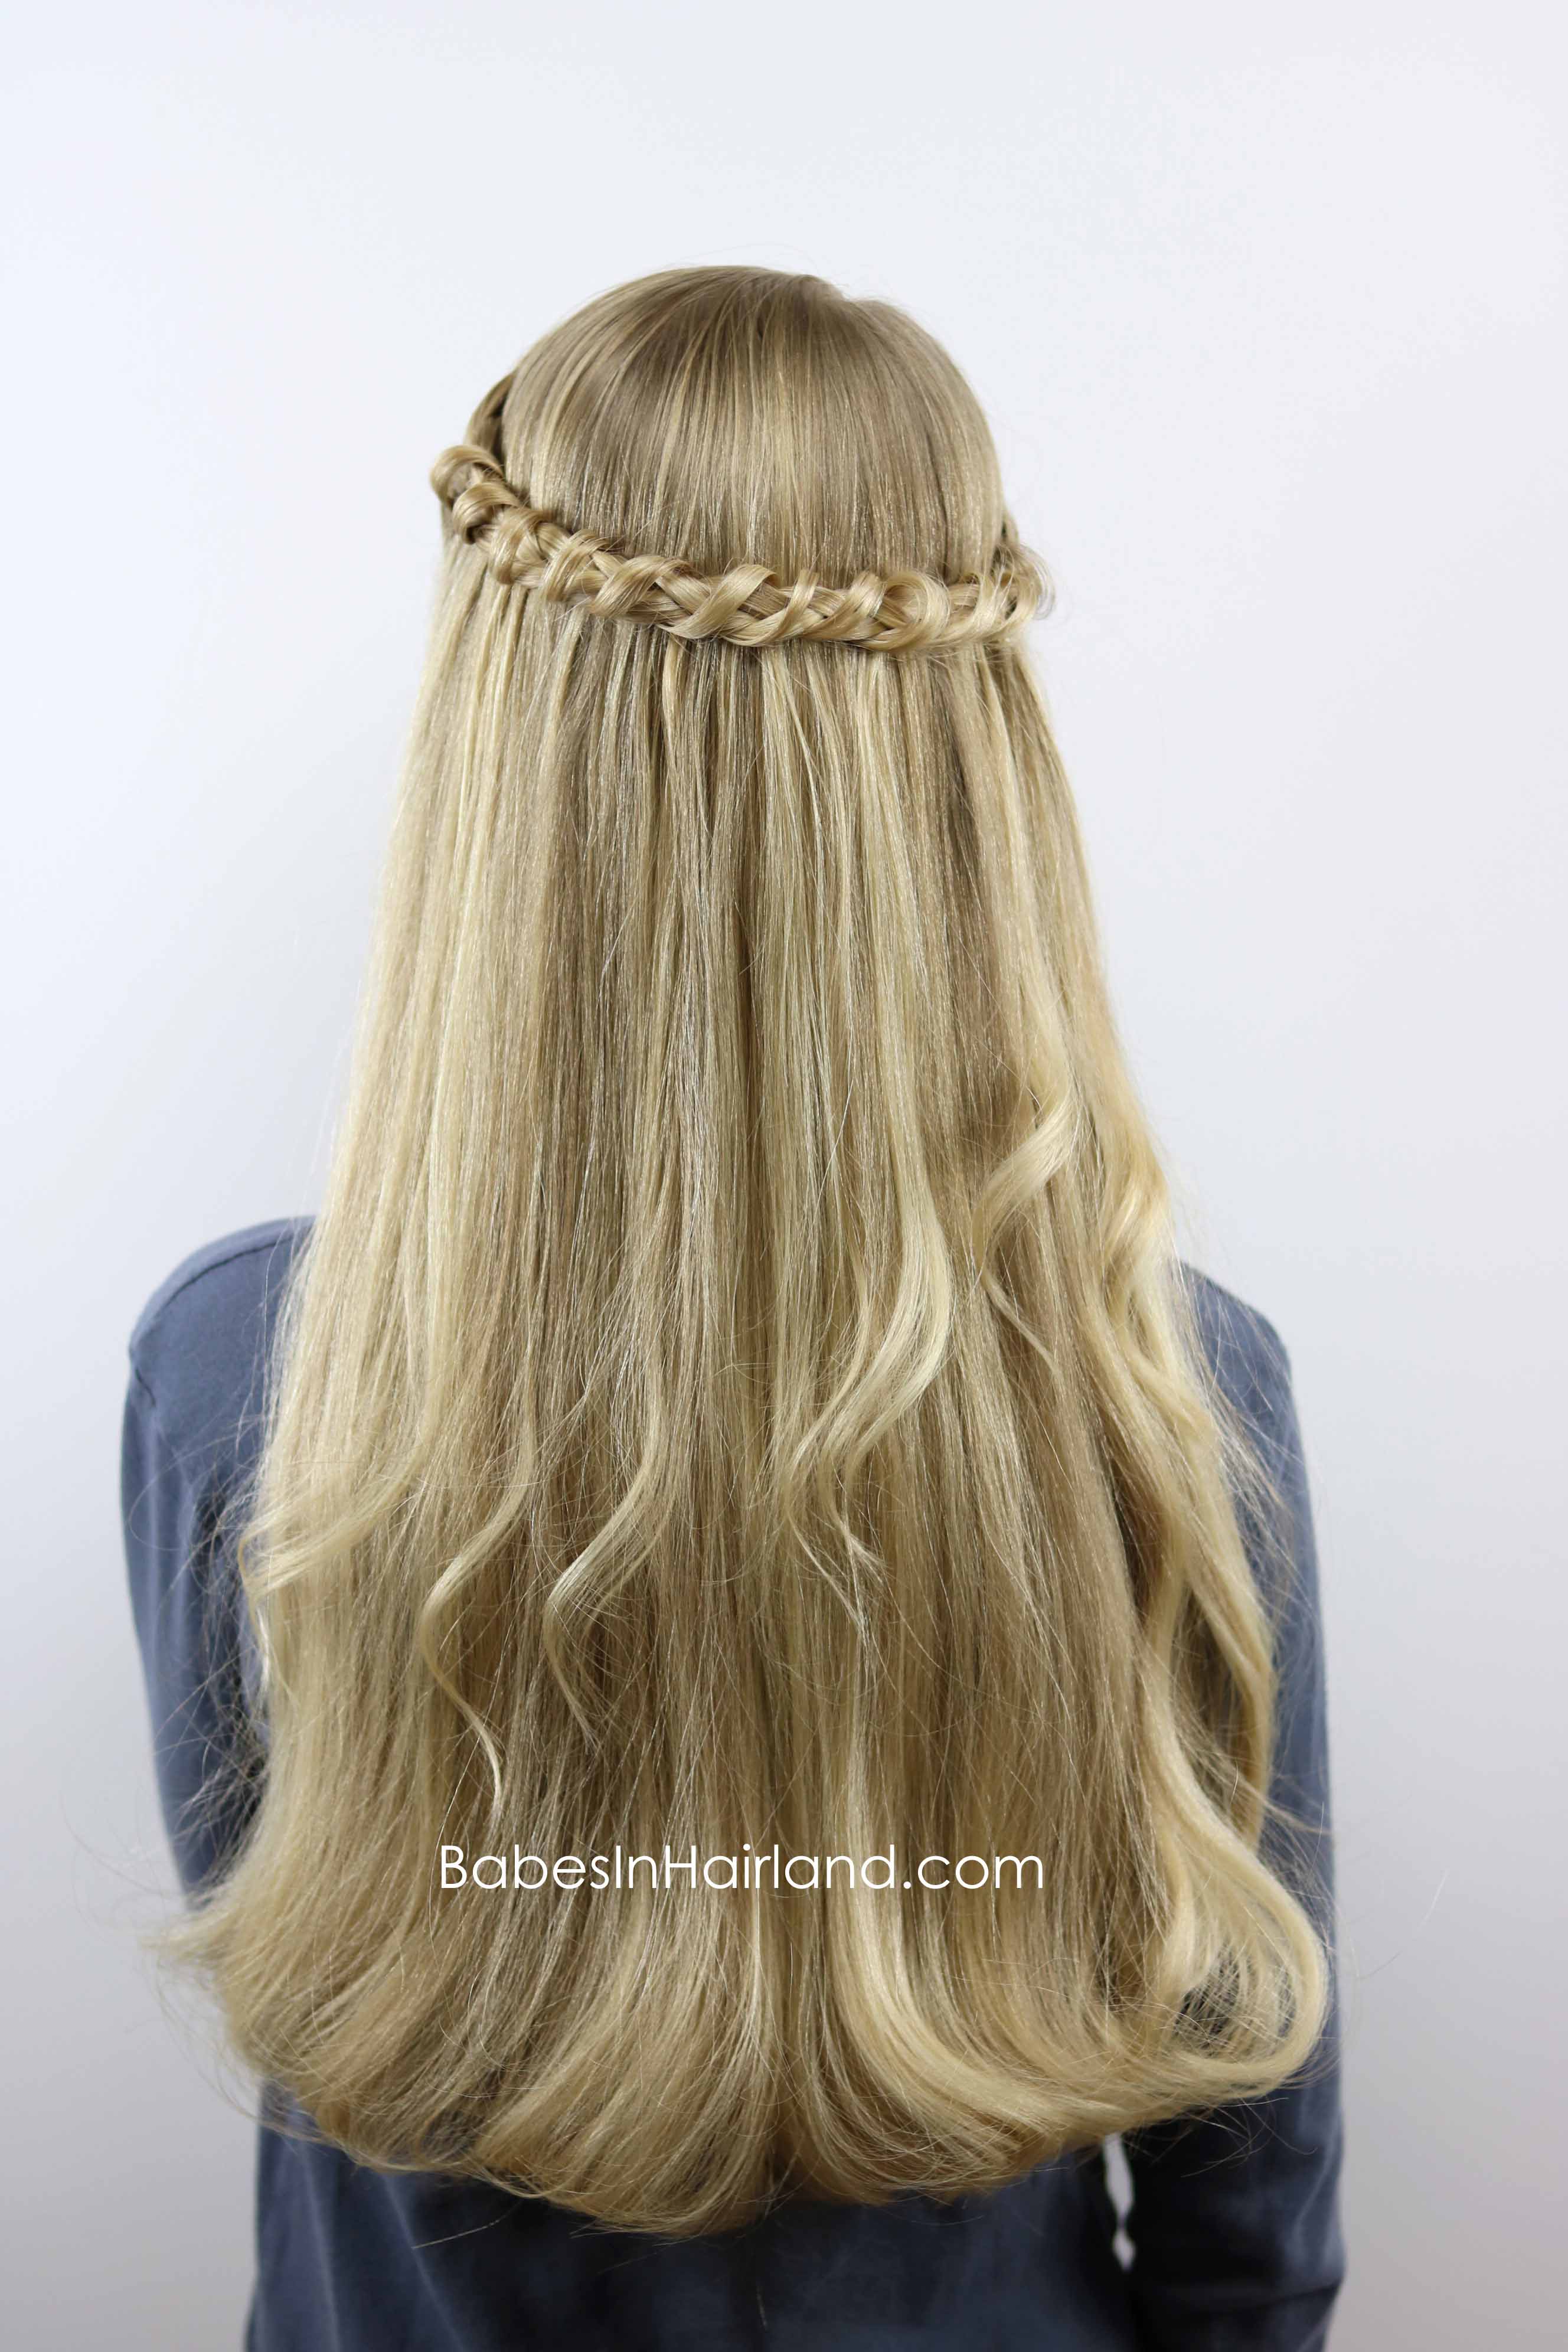
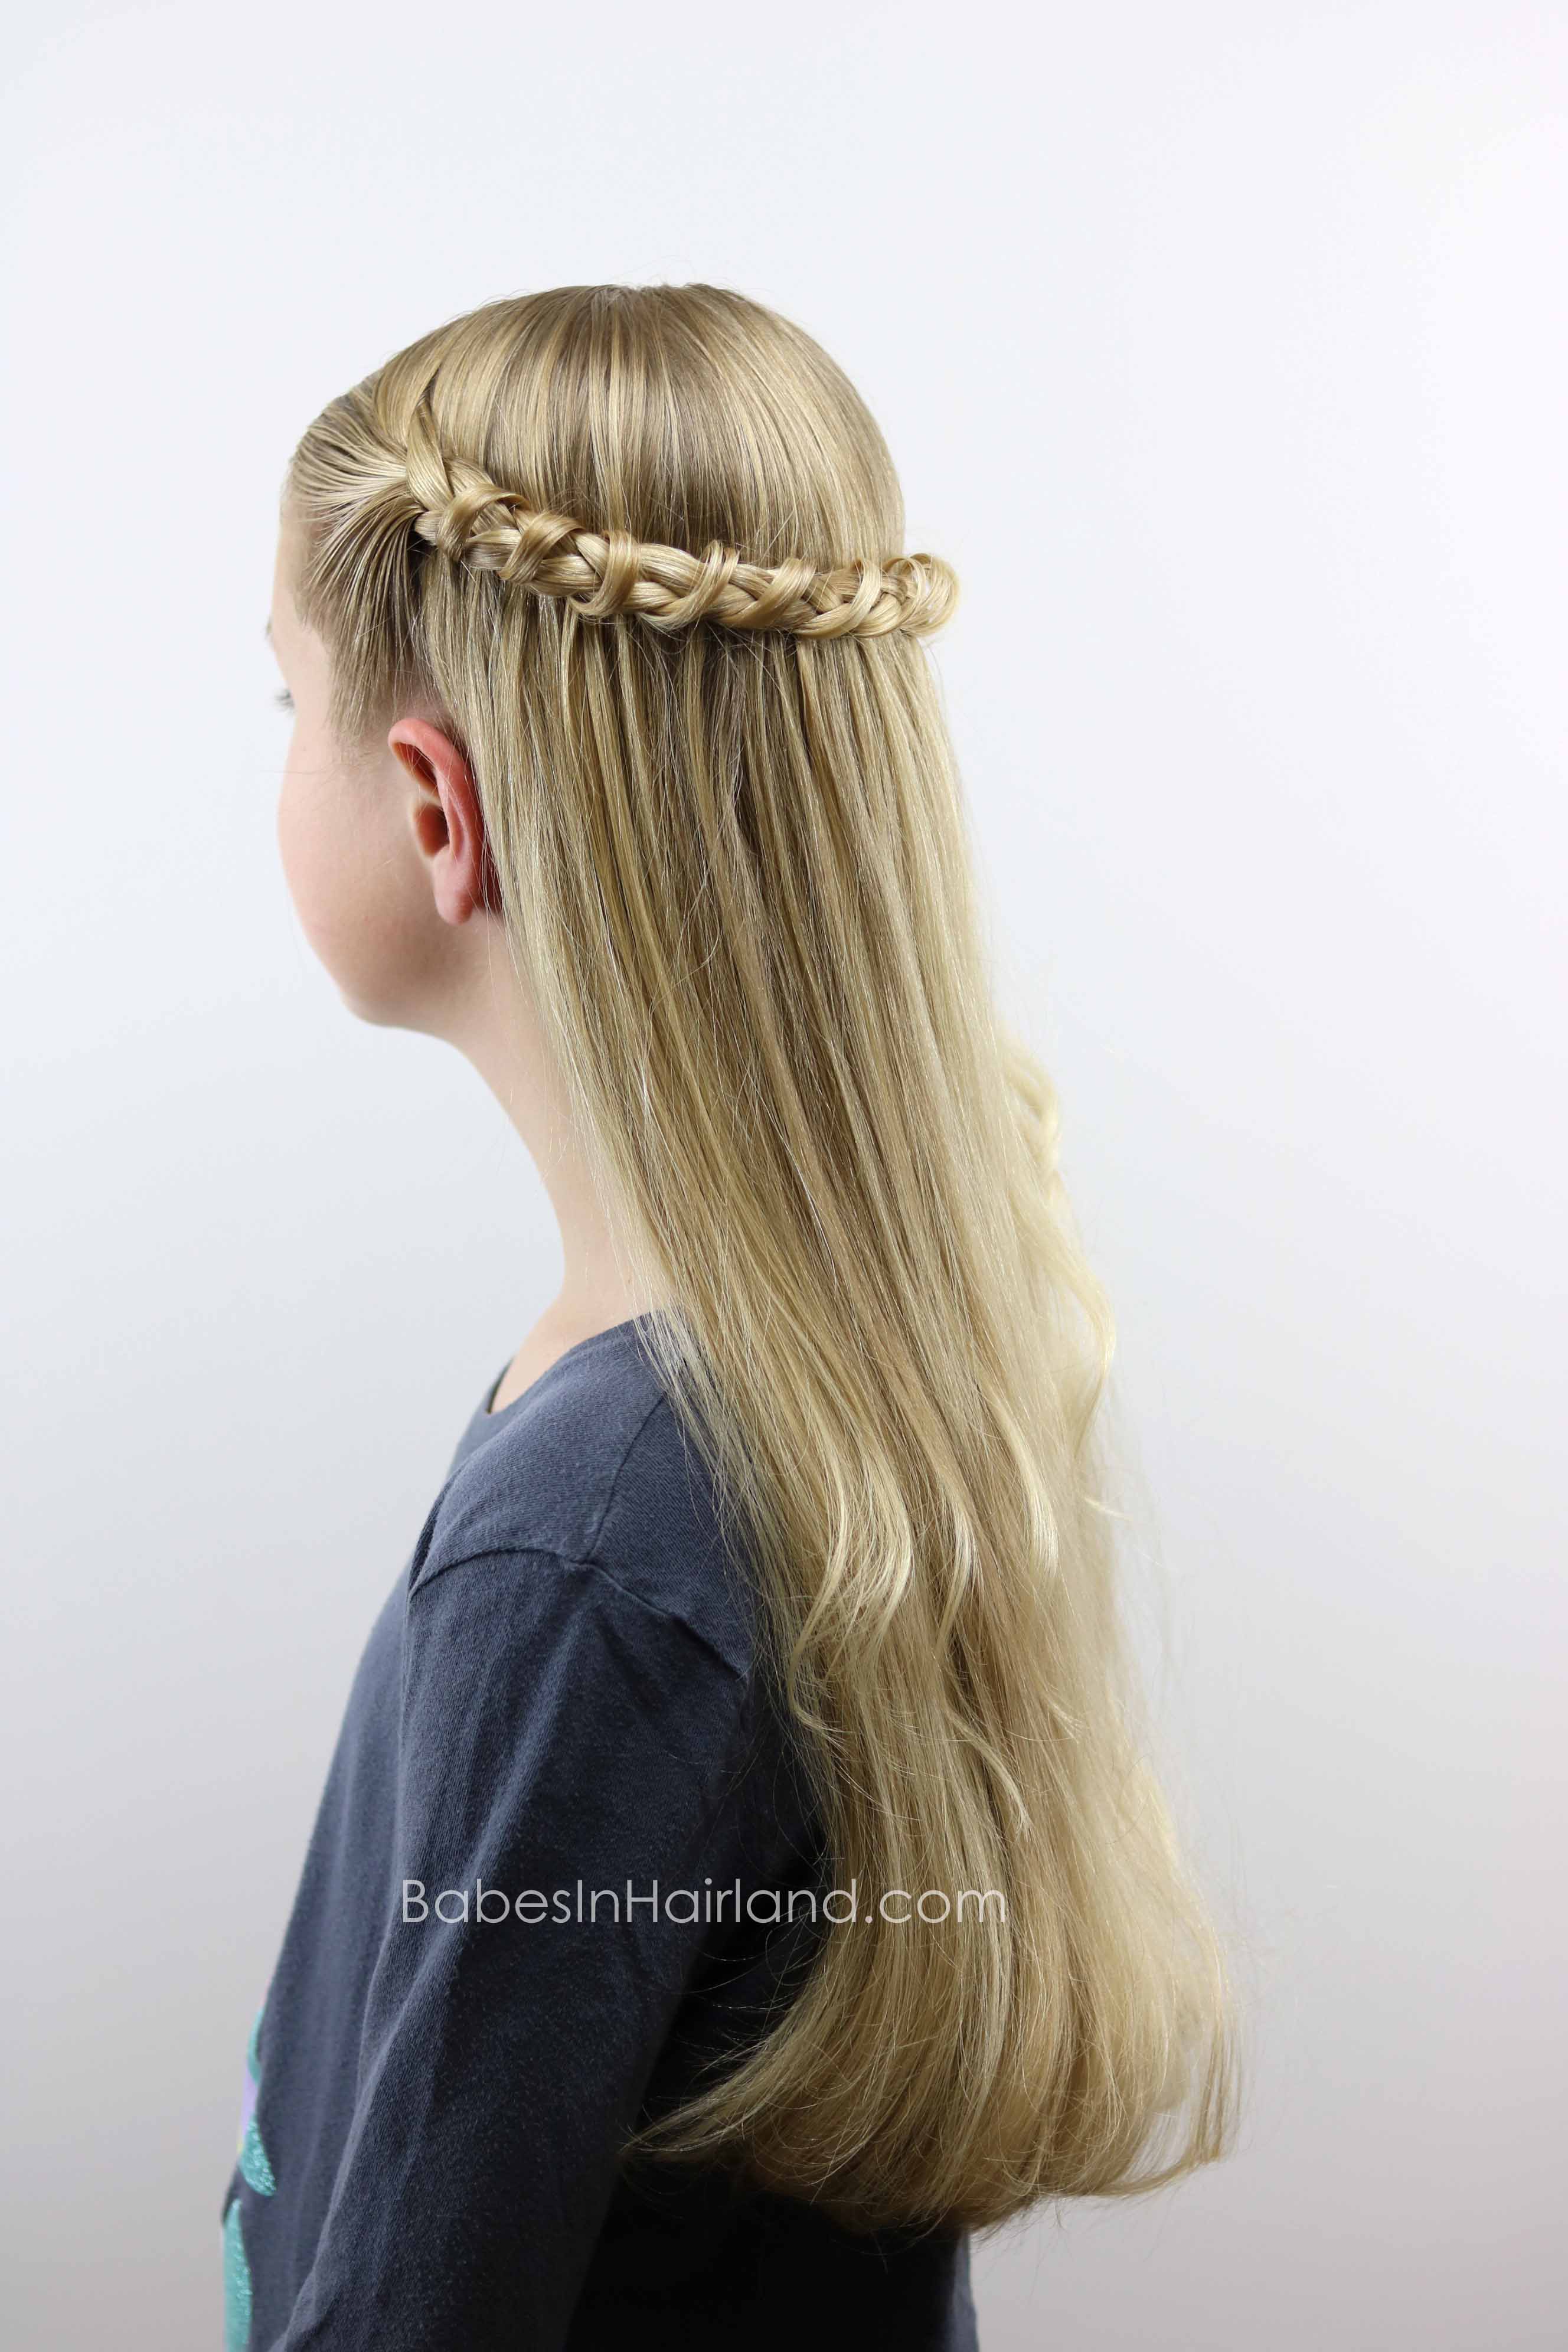
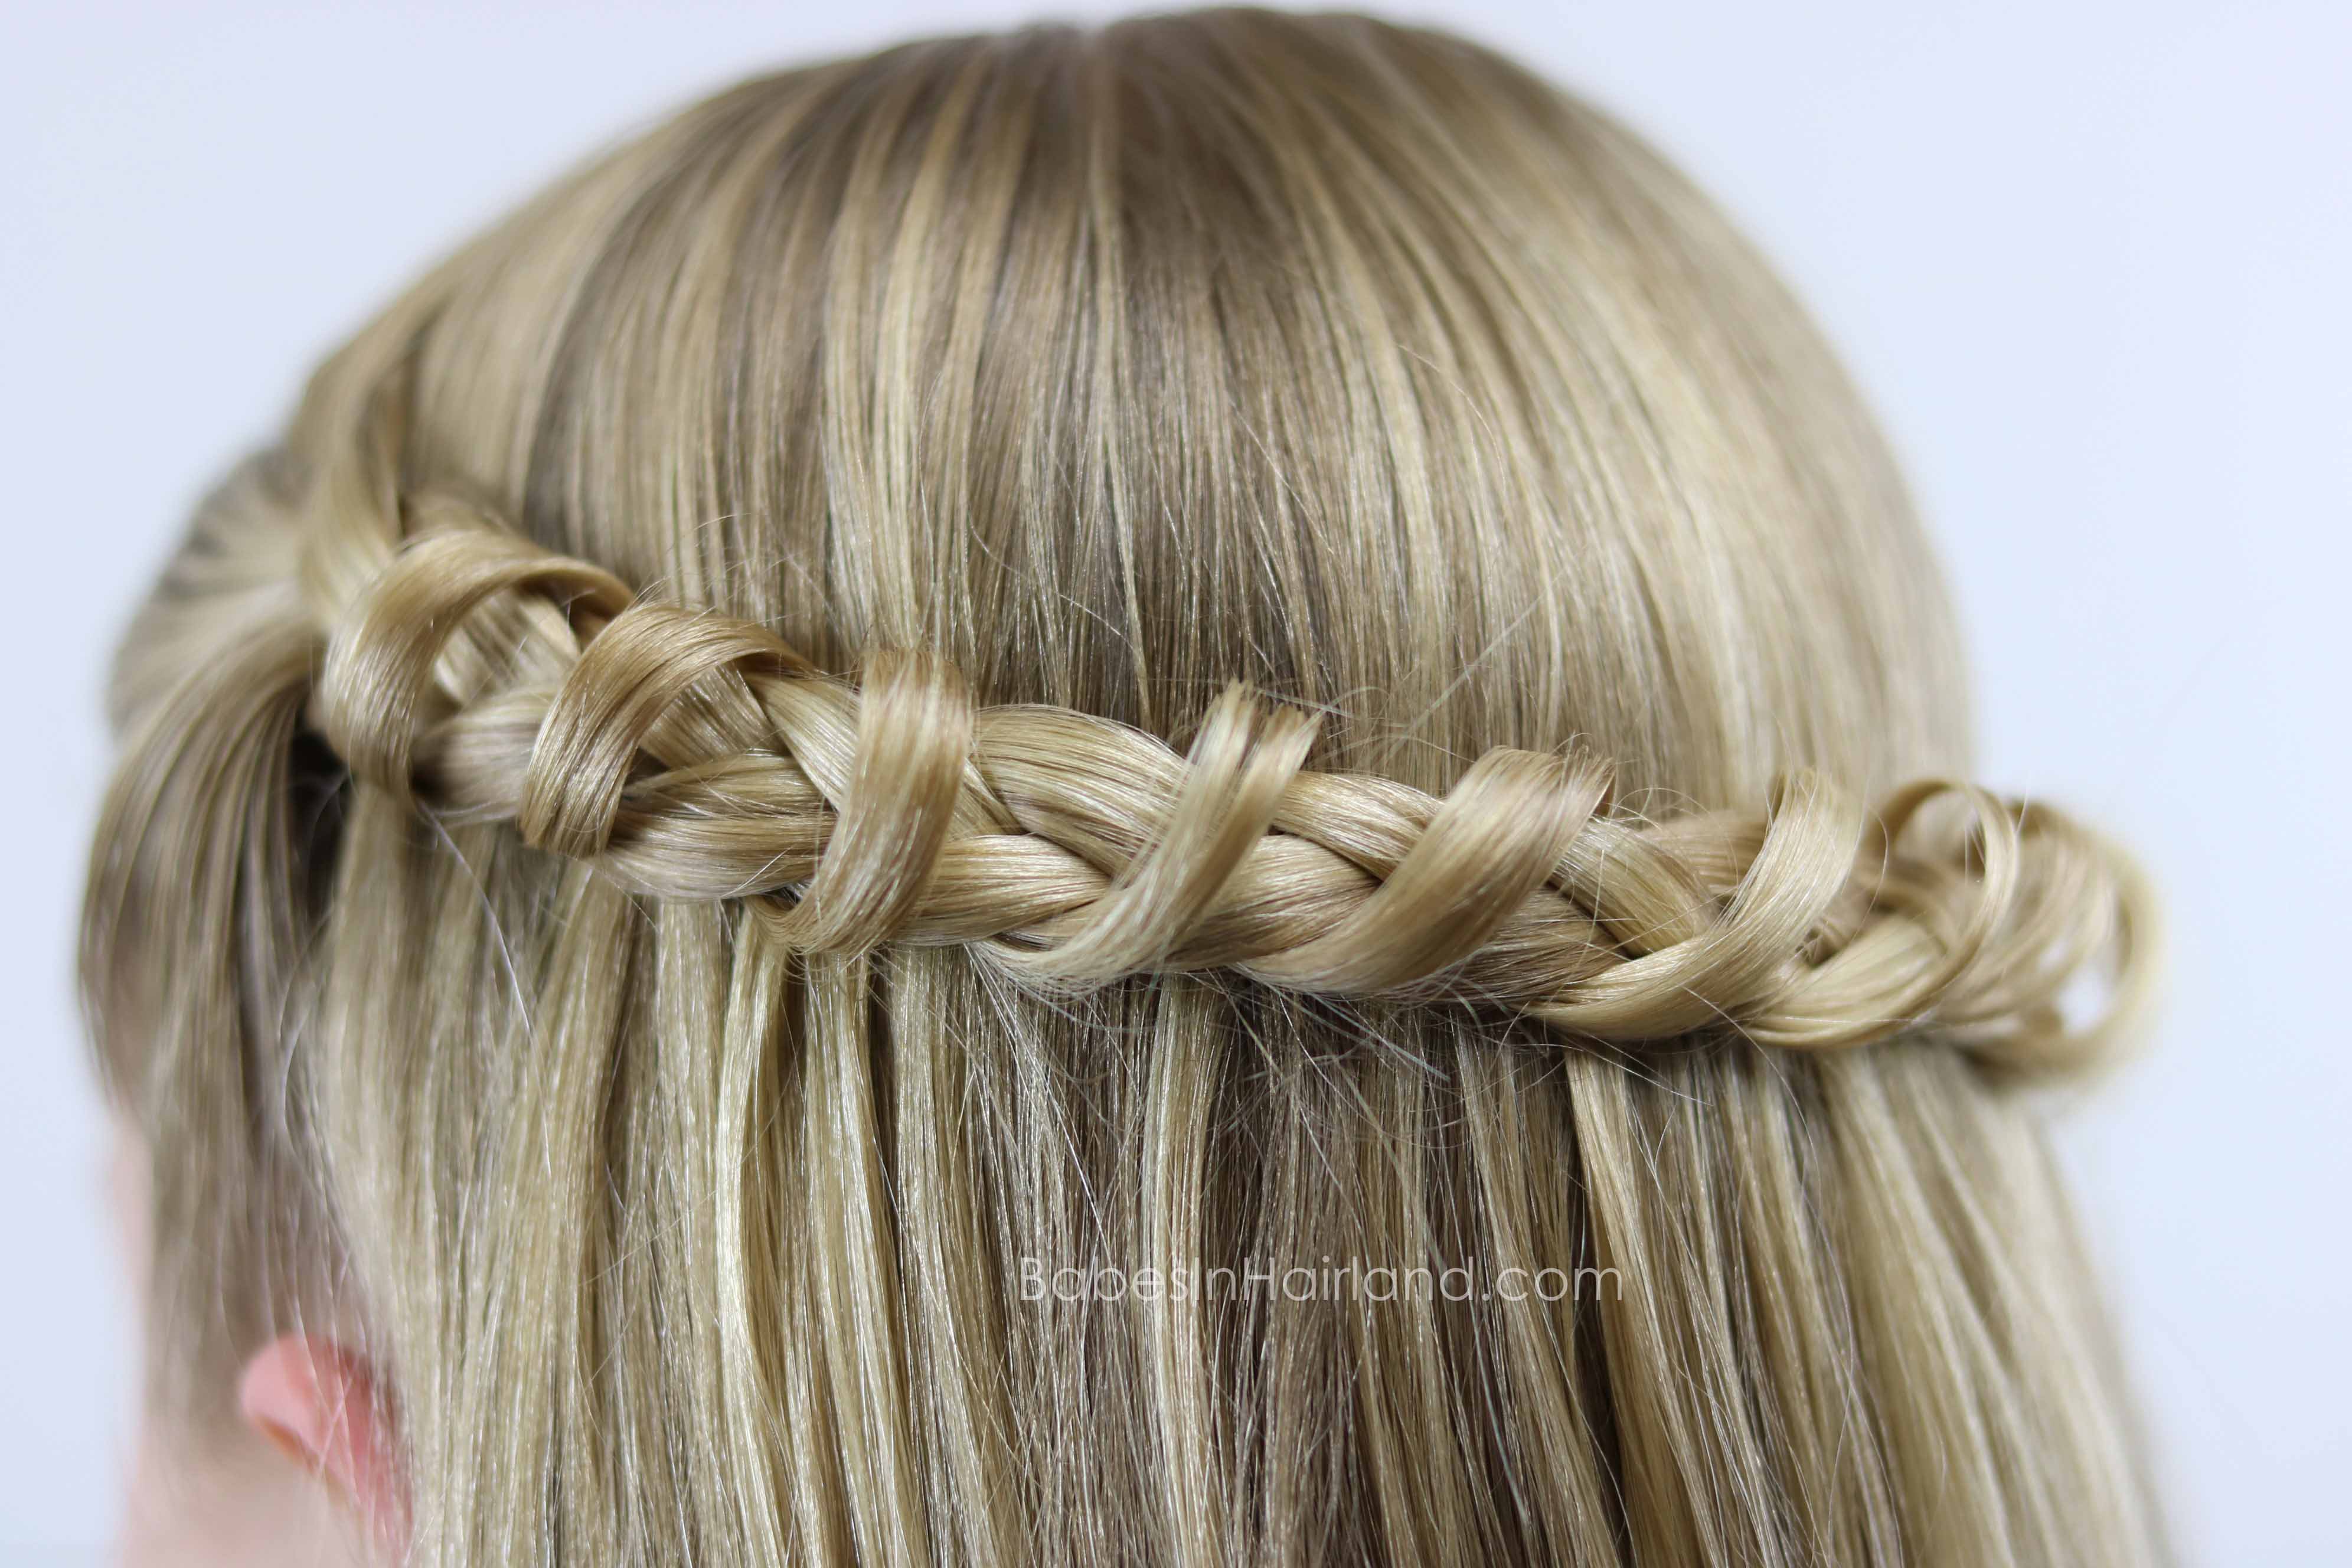
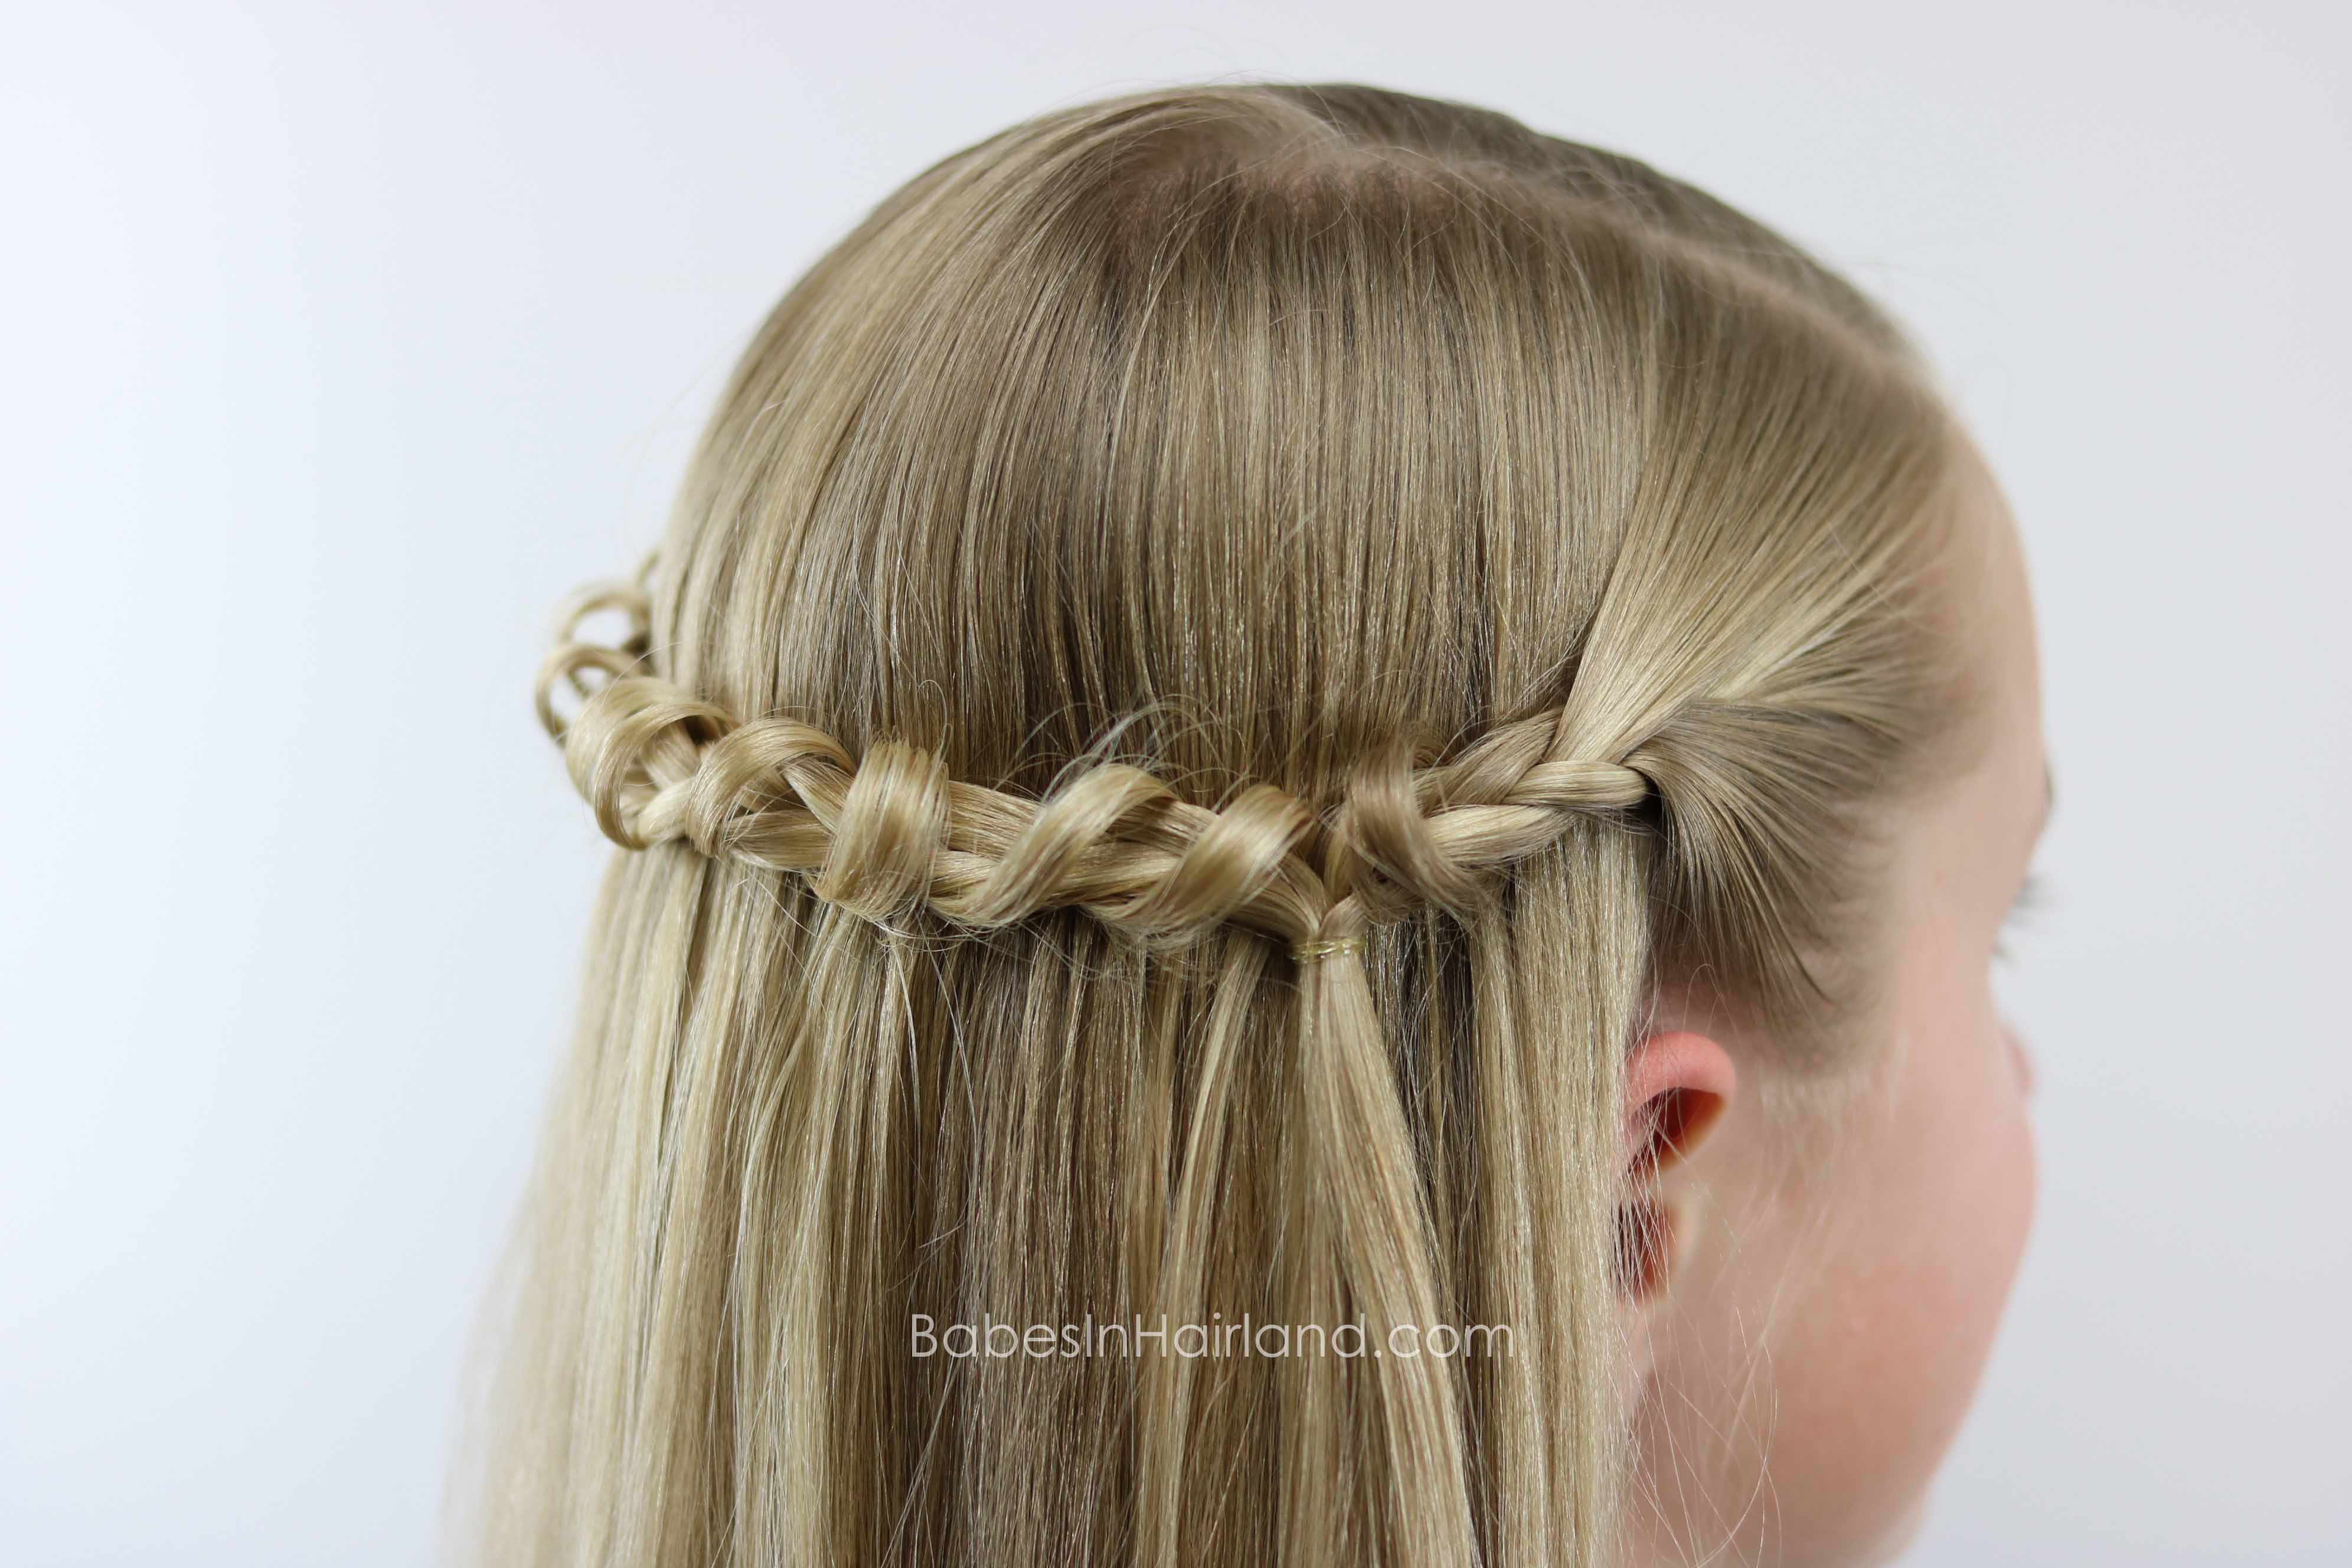
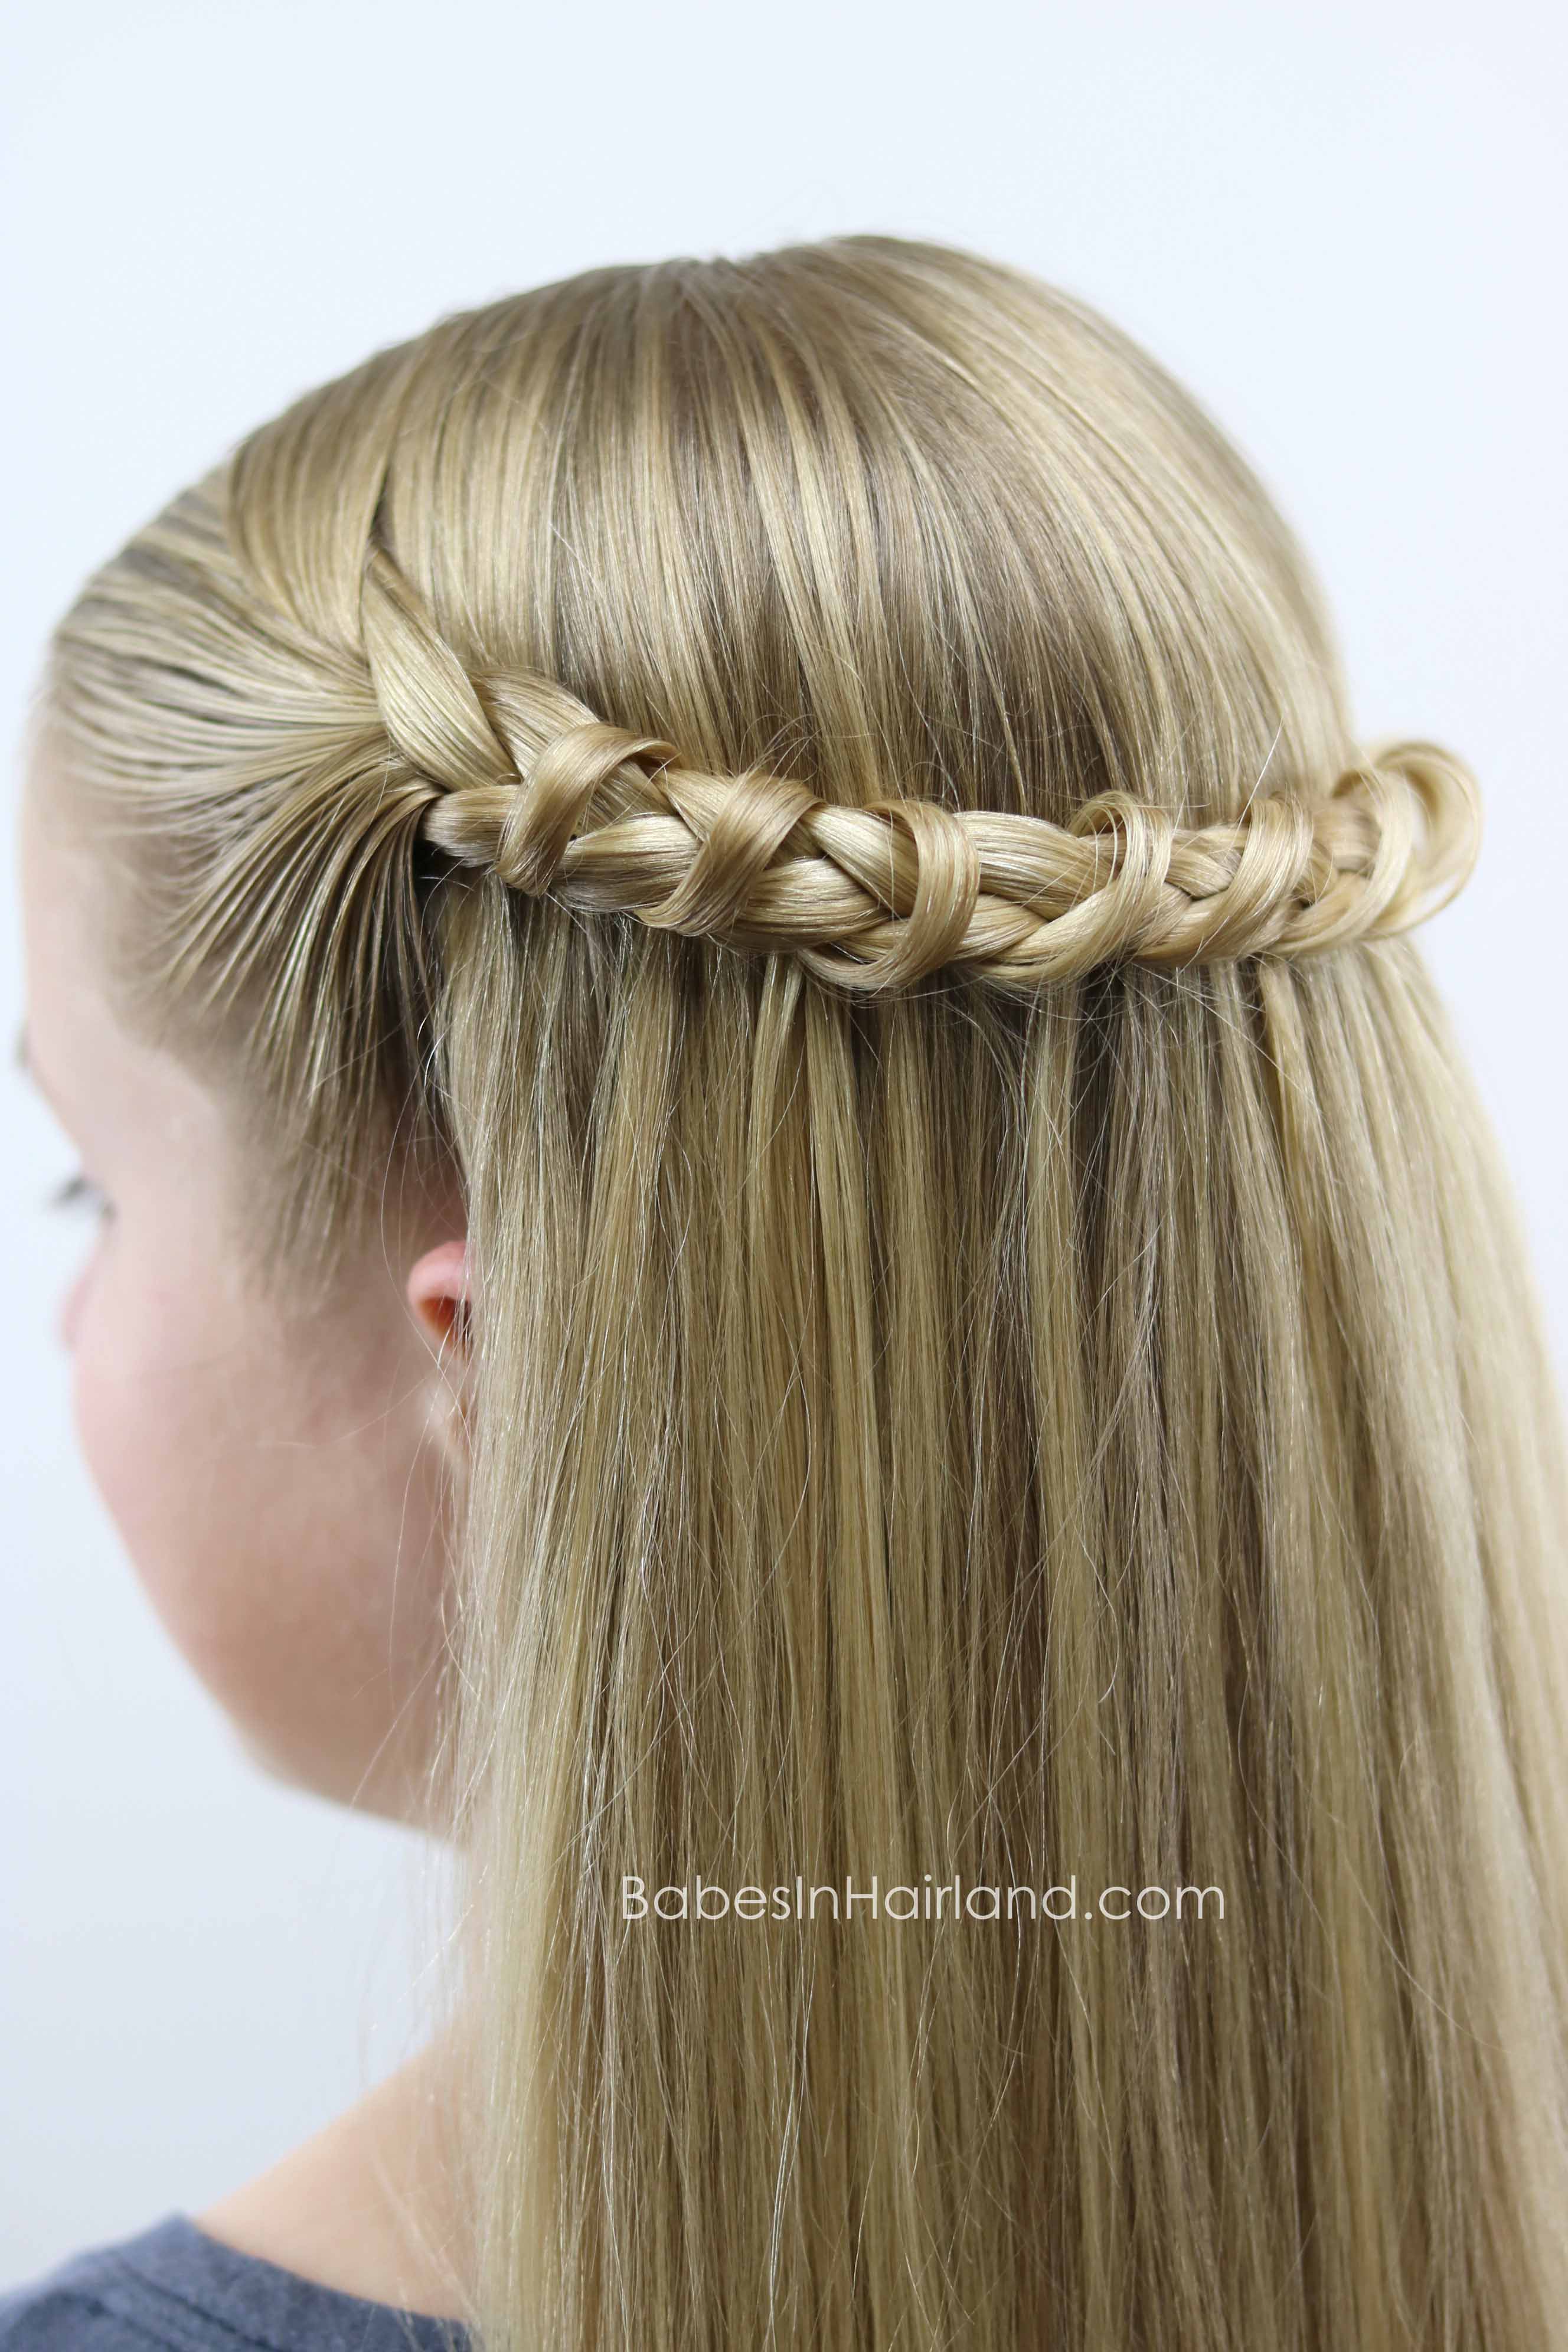
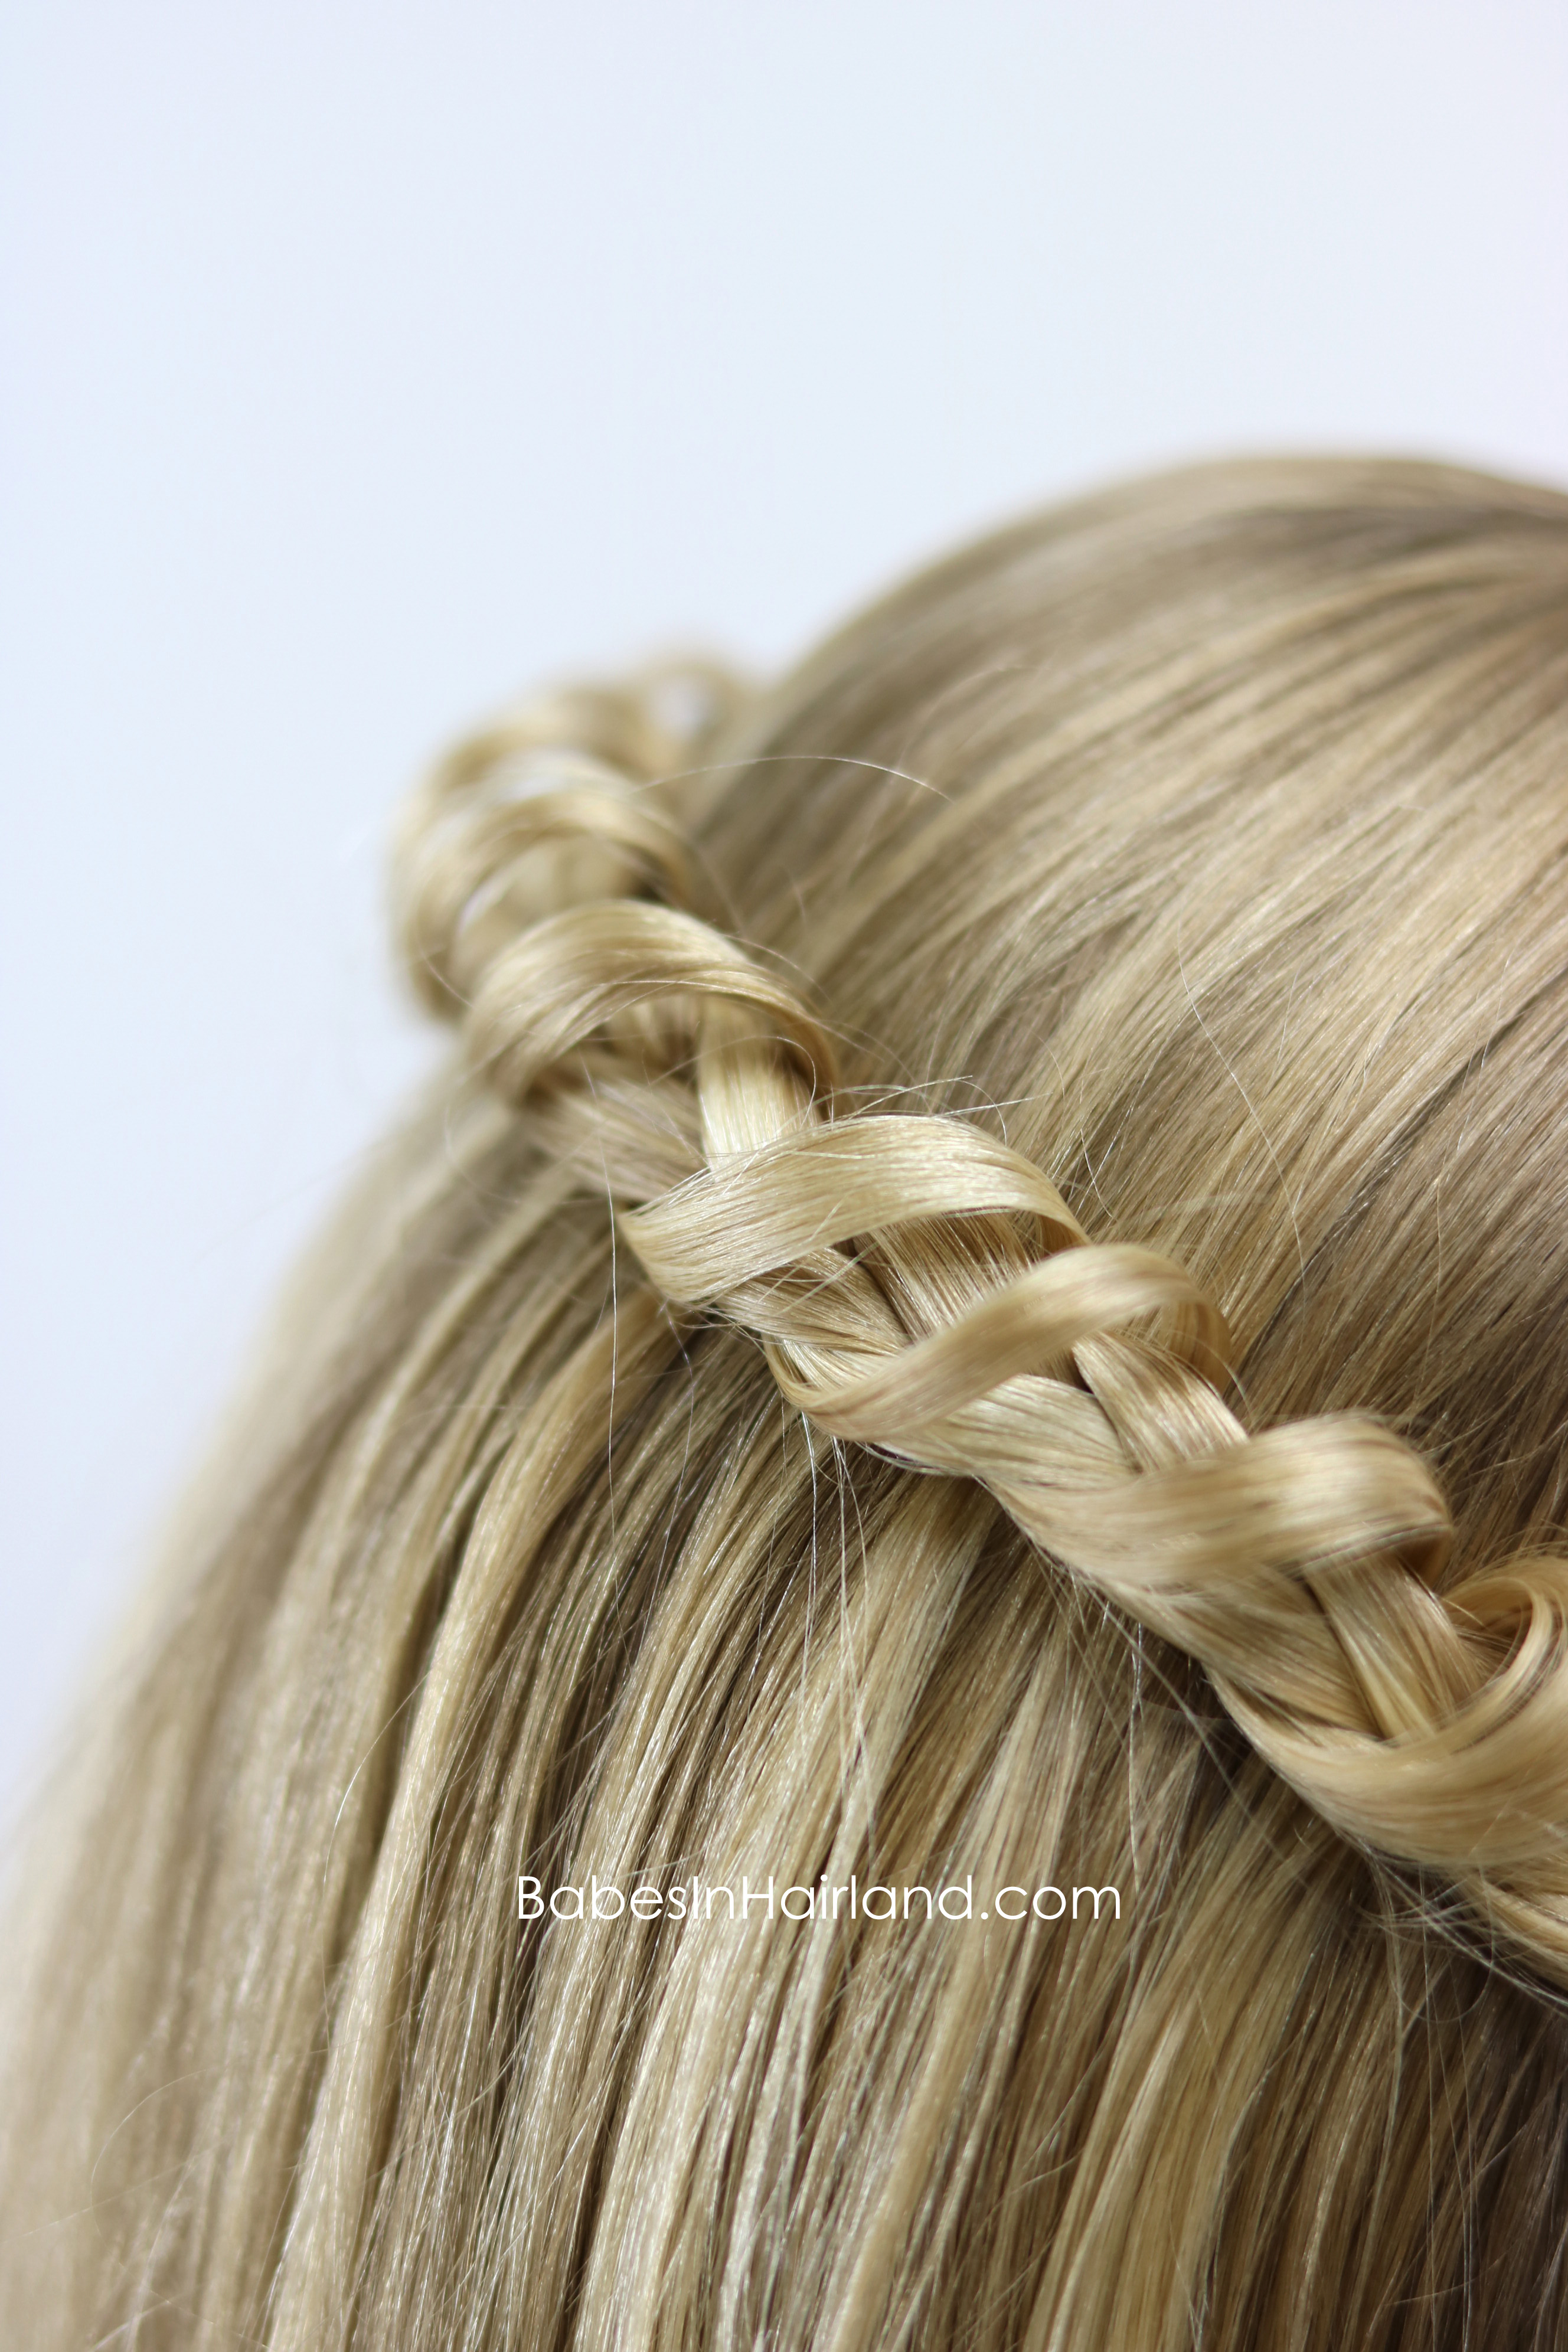
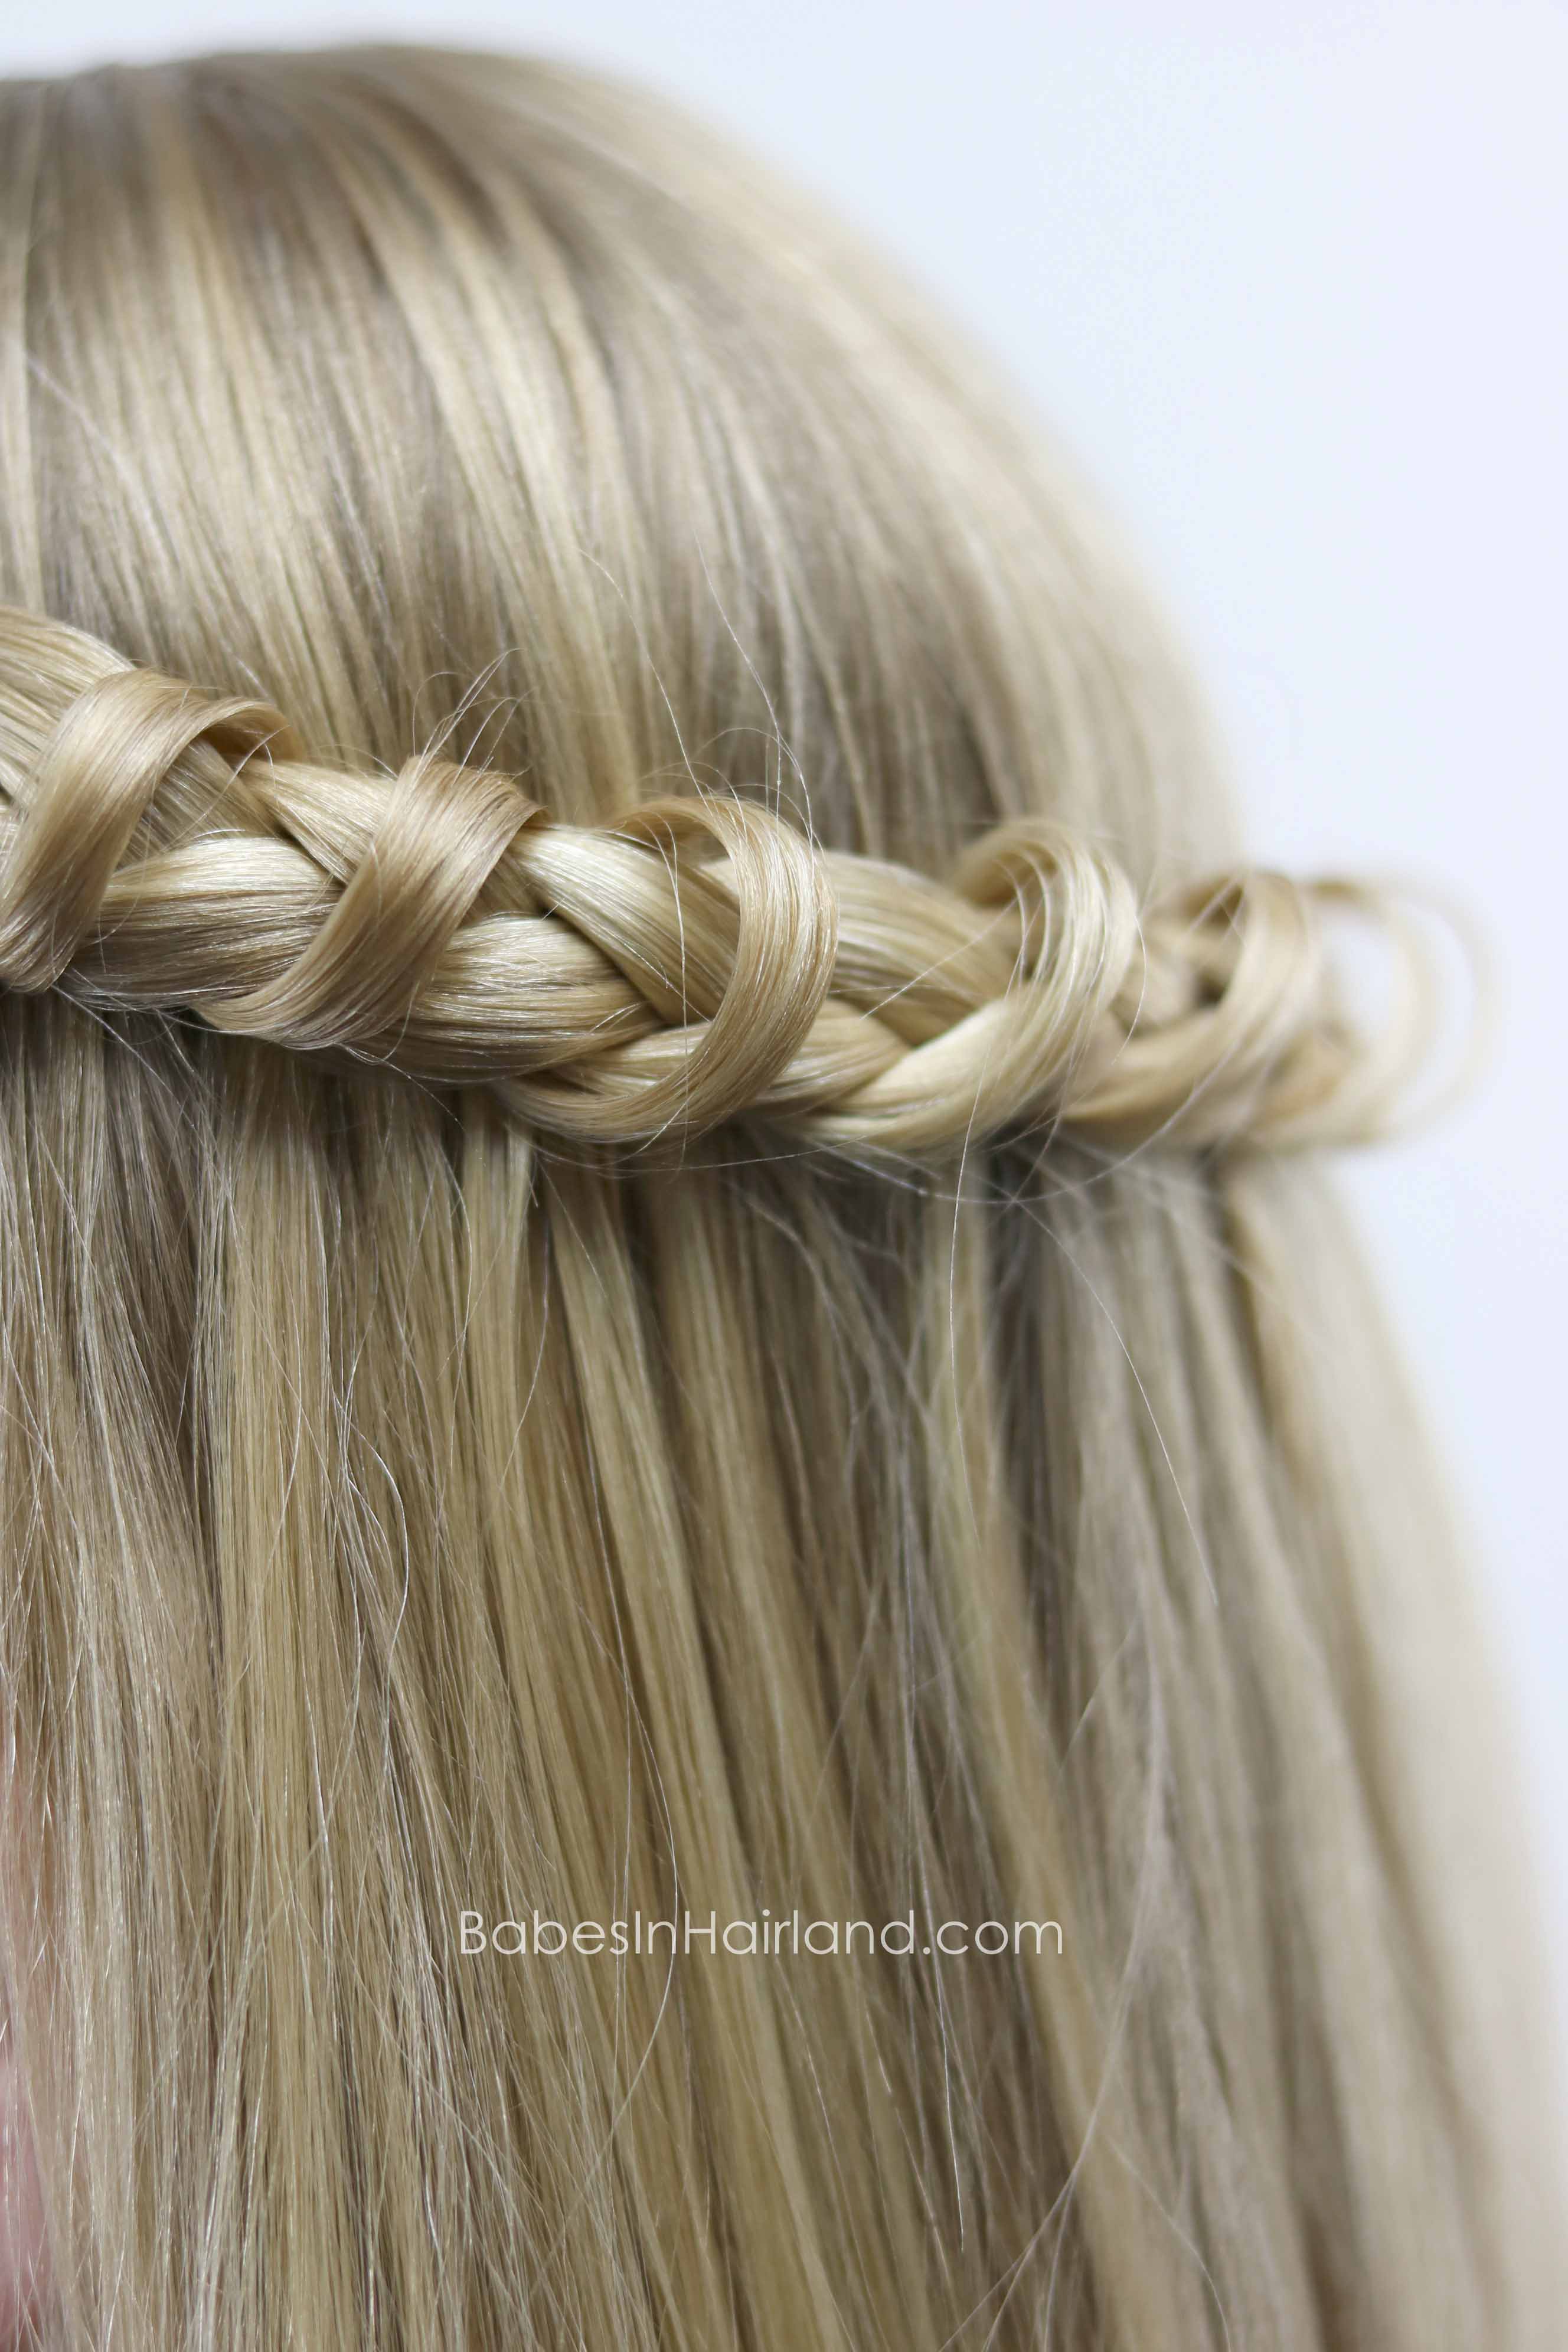
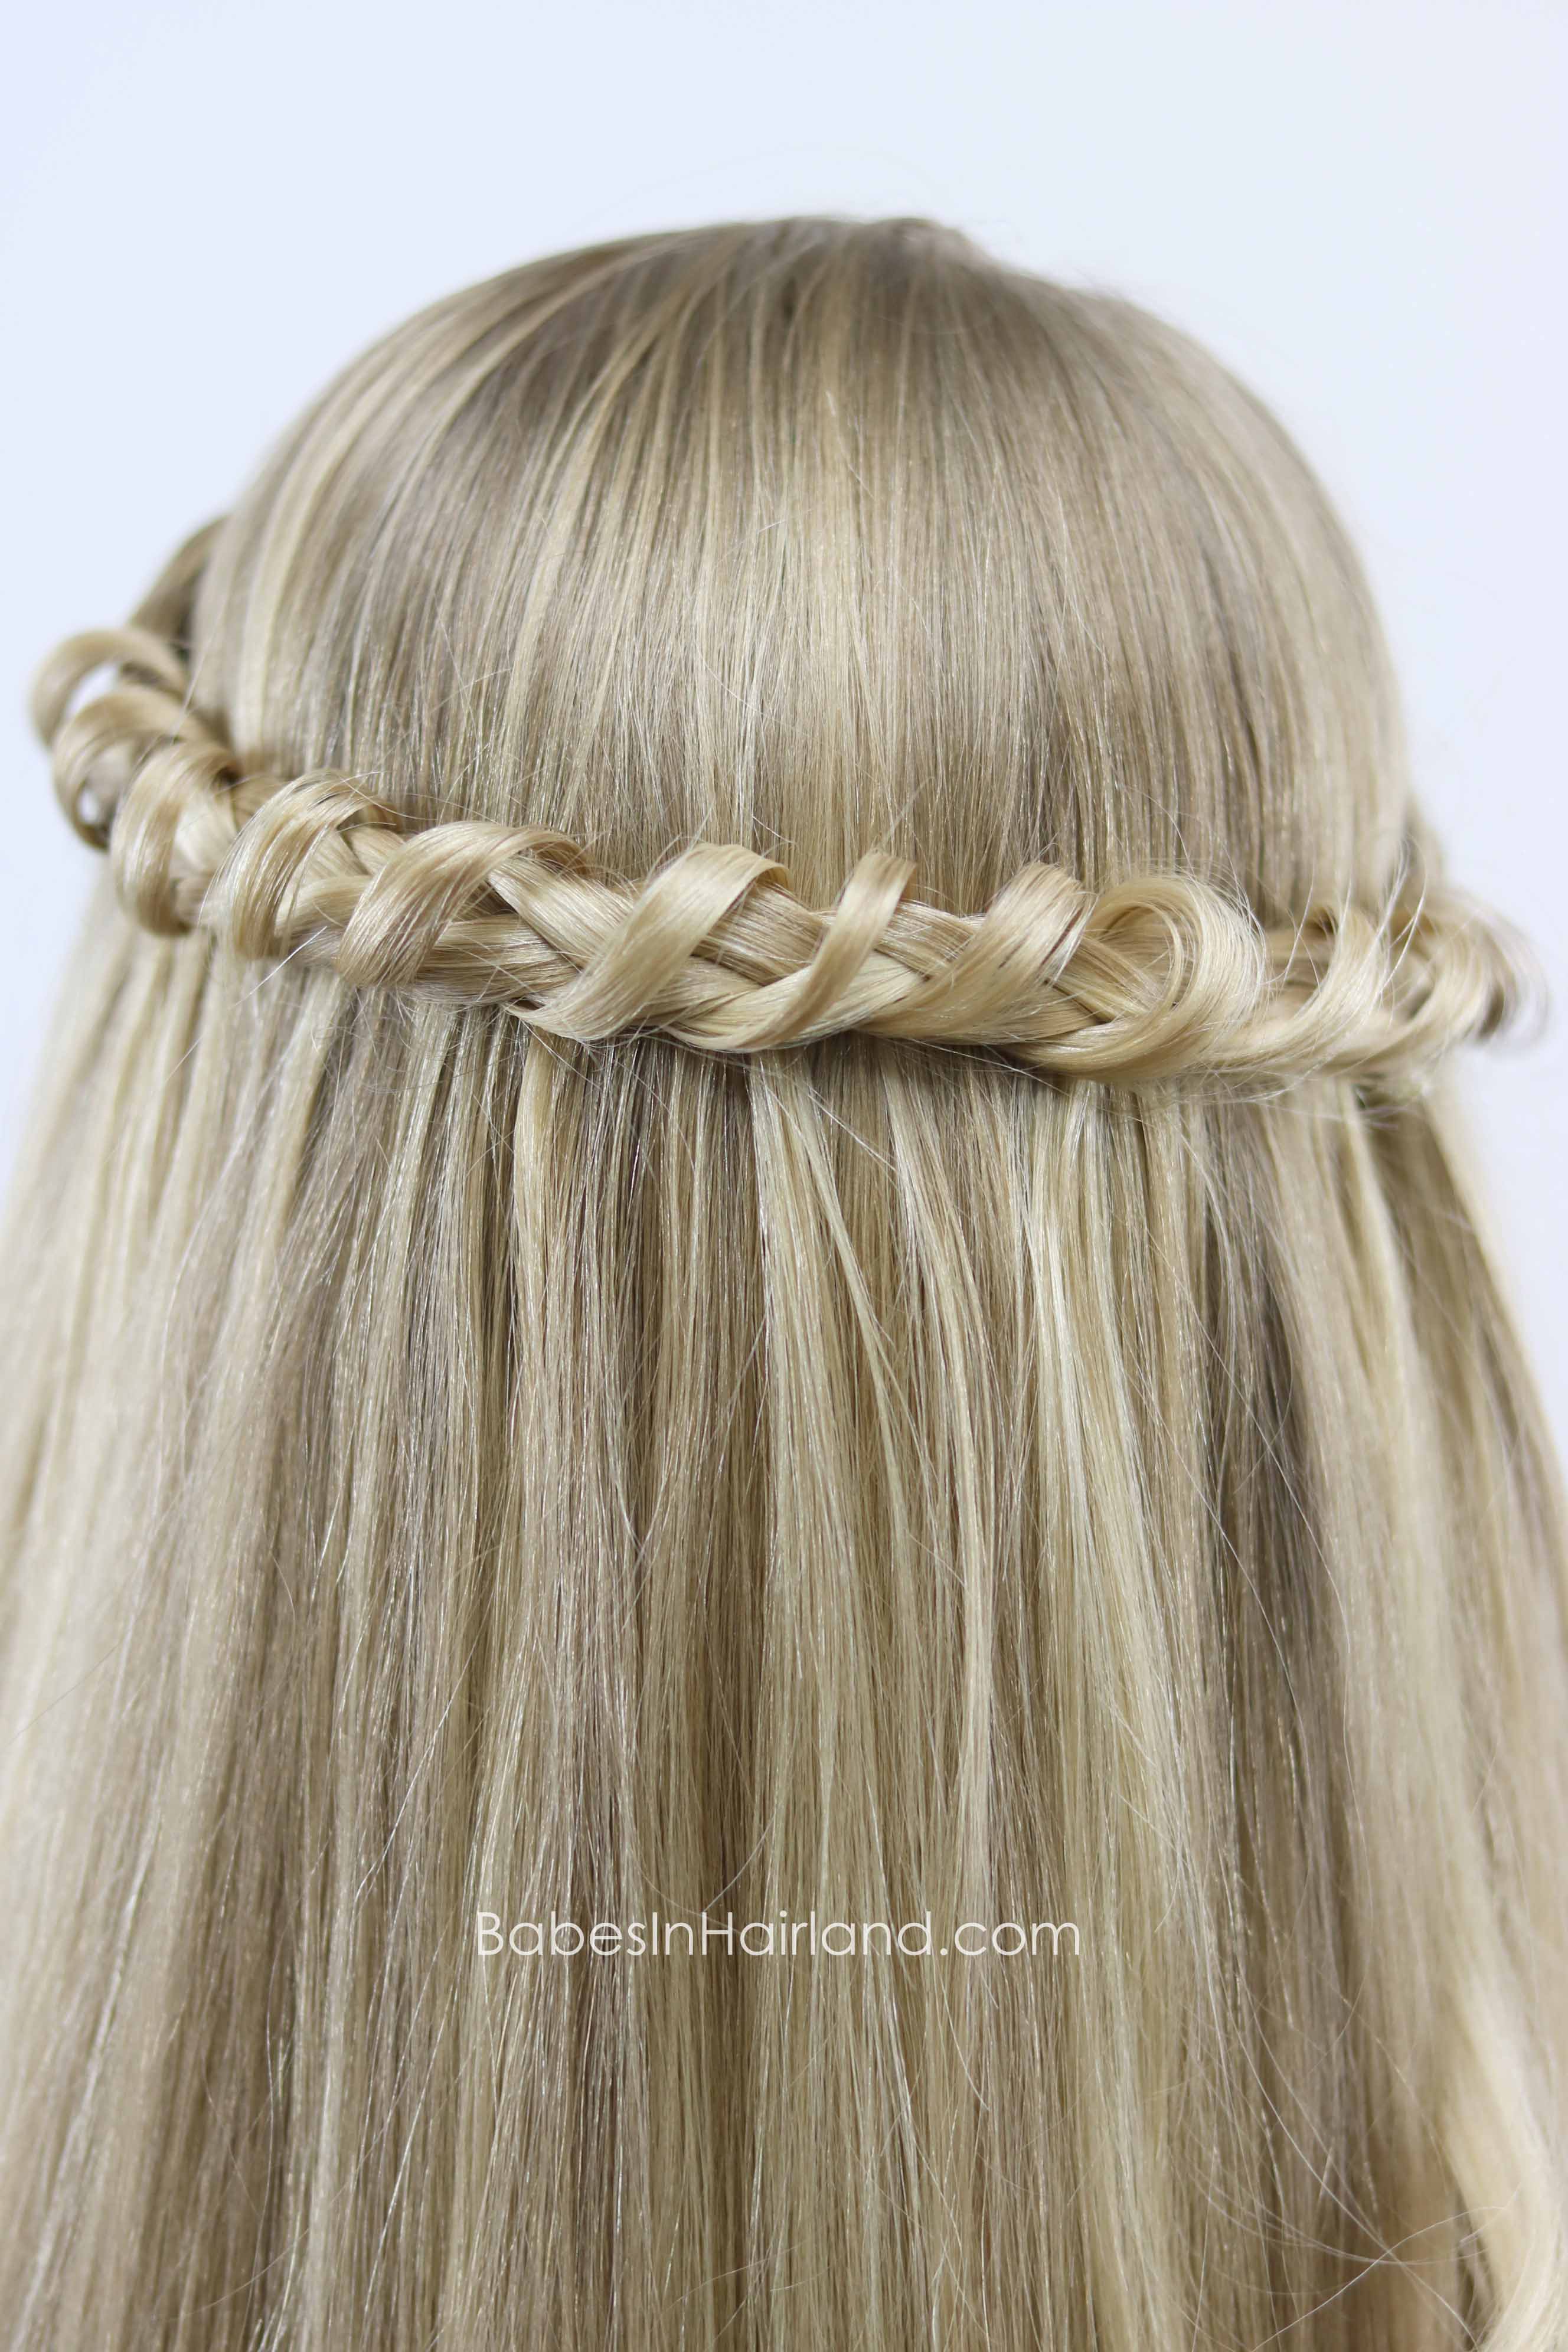
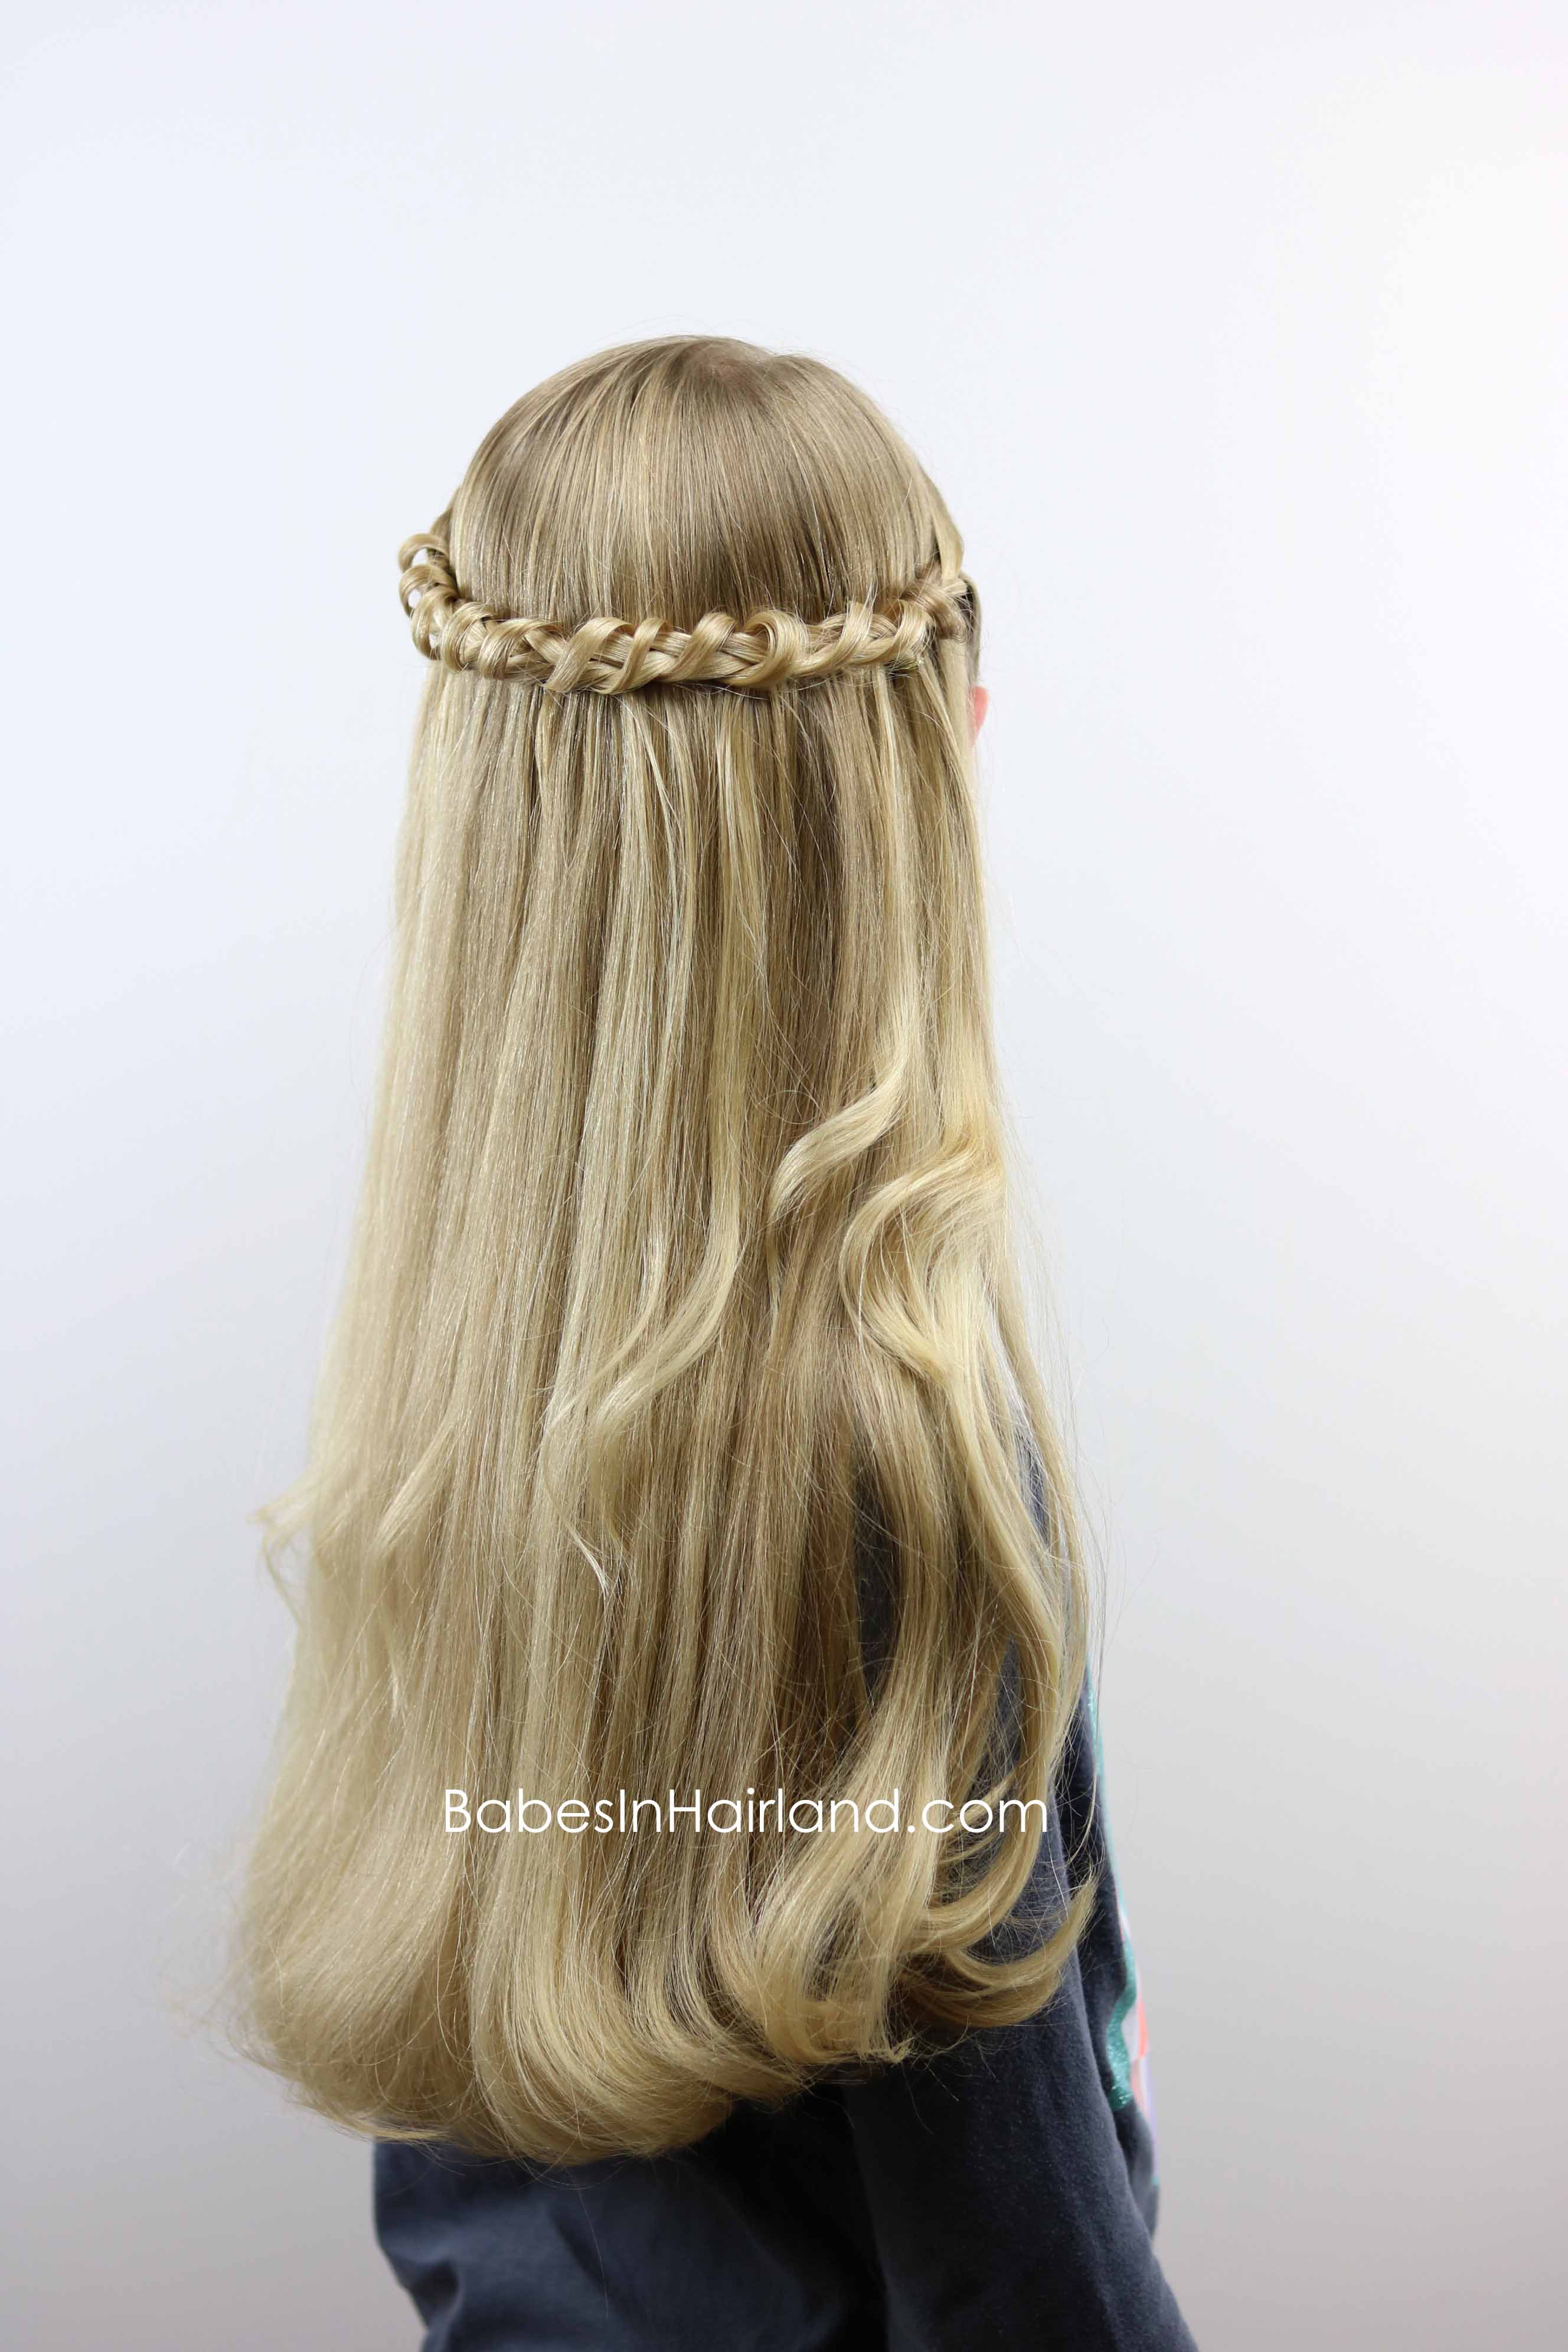
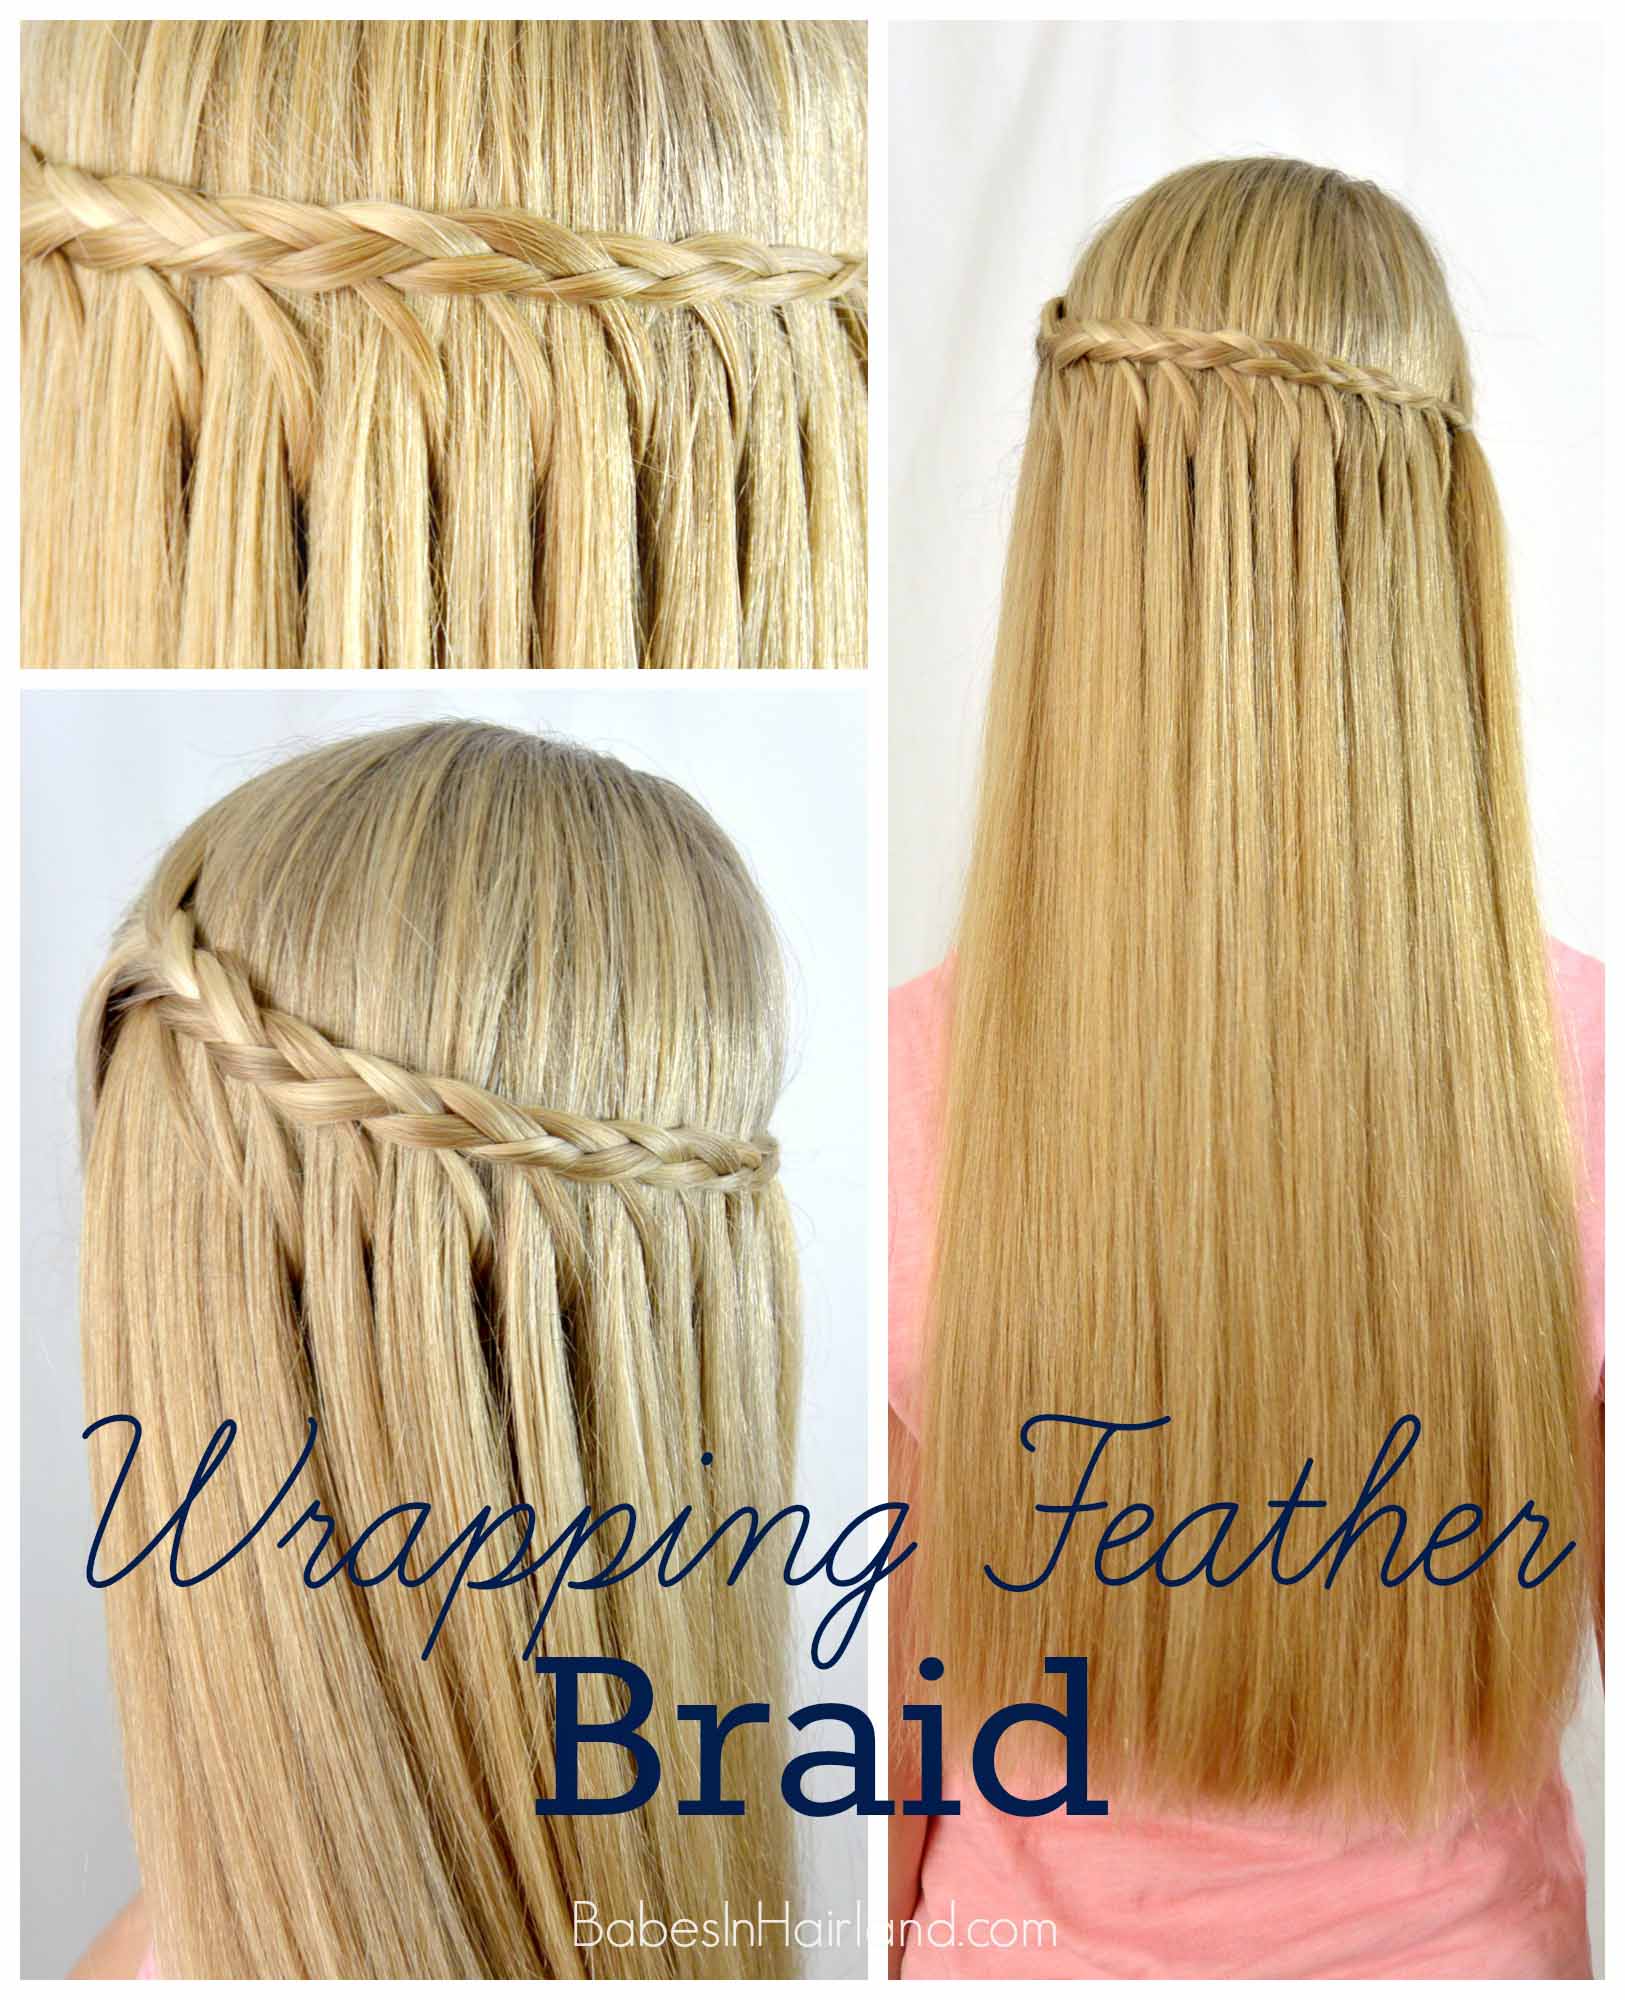
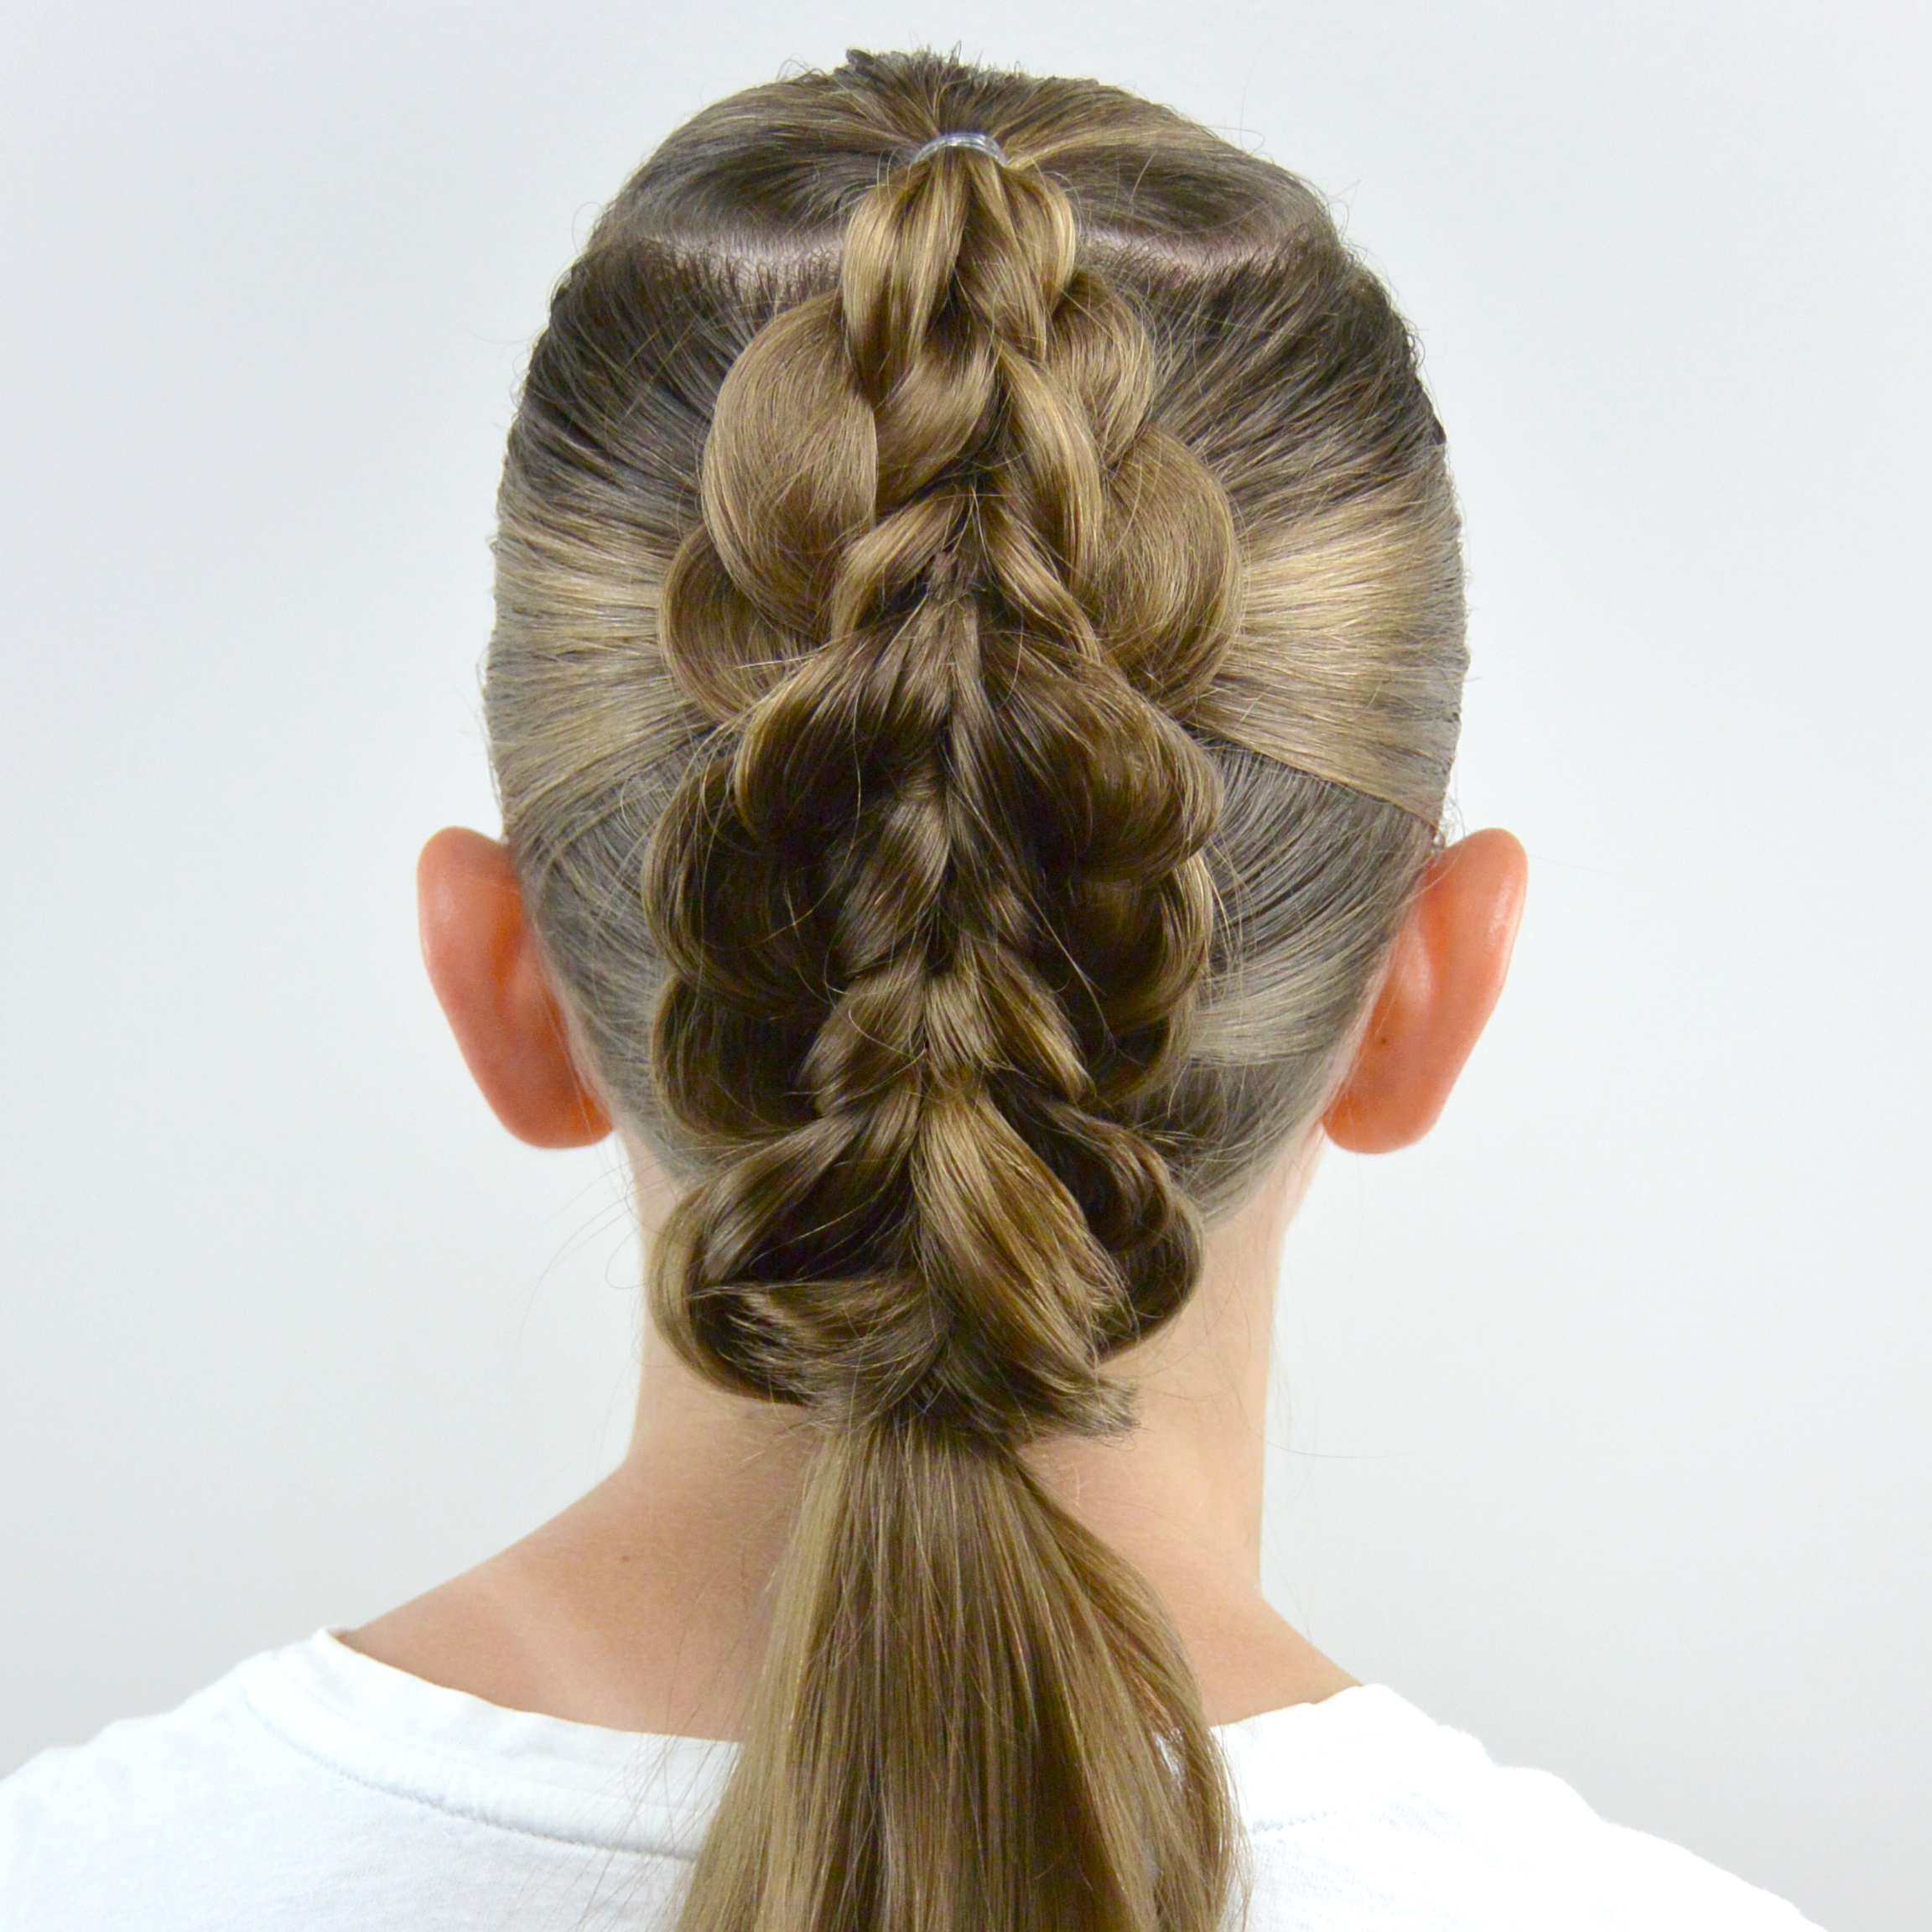
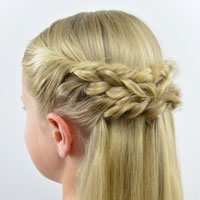
There are certain styles that look so amazing in person, but then are hard to capture how fantastic they look in video and picture. This is one of those! Because it’s more of a 3D style, I had to take pictures from so many angles to try showcase how great it looks! You’ll have to try it to get a full appreciation for it I guess! 🙂 This style is inspired from our Wrapping Feather Braid style we posted several years ago. It isn’t hard, but to create the “tunnel” around your braid, you’ll need a few things.
For this style having a Rat Tail Comb, a Topsy Tail
, and a good holding hairspray or pomade on hand will make the style easier to create. We used Kenra Volume Spray 25 Super Hold Finishing Spray
and it works fabulously to make the hair stiff like we wanted. Watch our video to see how we create this unique braid, and below are step-by-step instructions and more pictures so keep scrolling!
Step 1 – Make an off-center part on the right side of the head
Step 2 – From the off-center part, section out hair, making a vertical part down to the tip of the left ear
Step 3 – With that section of hair start a regular 3 strand braid and do 1 full rotation of a braid
Step 4 – Begin to feather the braid
For a refresher on how to feather a braid – watch our Feather Braid video. However, you will only want to create “feathers” on the bottom or left side of the braid.
Step 5 – Continue the feather braid until it can reach around to the right ear & temporarily secure the end with a clip
Step 6 – On the right side , part out a small amount of hair near the face and make a few rotations of a regular 3 strand braid.
Step 7 – Draw it backward and join it together with the feather braid from the left side
Step 7 – Secure them together with a clear elastic on the right side of the head
Step 8 – Back on the left side, find the first 2 feathers and draw them away from the head and mist a couple inches with hairspray
Using your rat tail comb to help lift the braid up and find the “feathers” is helpful for this step. It helps create as many bumps and issues w/the style, as you need to use a gentle touch with this one!
**Note: You only want to spray hairspray on a couple inches on the upper portion of the “feather” that is closest to the braid. You want that part to be stiff so it stands out around the braid. The rest of the “feather” you want to blend back in with the hair down in back, so be careful not to use too much hairspray or pomade.
Step 9 – Place your Topsy Tail against the head behind the braid near the feathers you are working with
Step 10 – Draw the ends of the feathers through the Topsy Tail and gently pull the Topsy Tail behind the braid and through
Step 11 – This will cause the feathers to create a loop or “tunnel” around the braid
You can have the loops be tight or loose around the braid depending on the look you are going for. Our tunnel was big enough that I could stick my finger through it.
Step 12- Repeat steps 8-11 with remaining feathers so each of them wraps up and around the braid completing the “tunnel.”
FINISHED!
This picture that is extremely up close, hopefully gives you a better idea of how cool it really looks!
If you like feather braids, we’ve got several other pretty styles to try. Search all our Feather Braid Hairstyles HERE, or check out two of my favs below!
