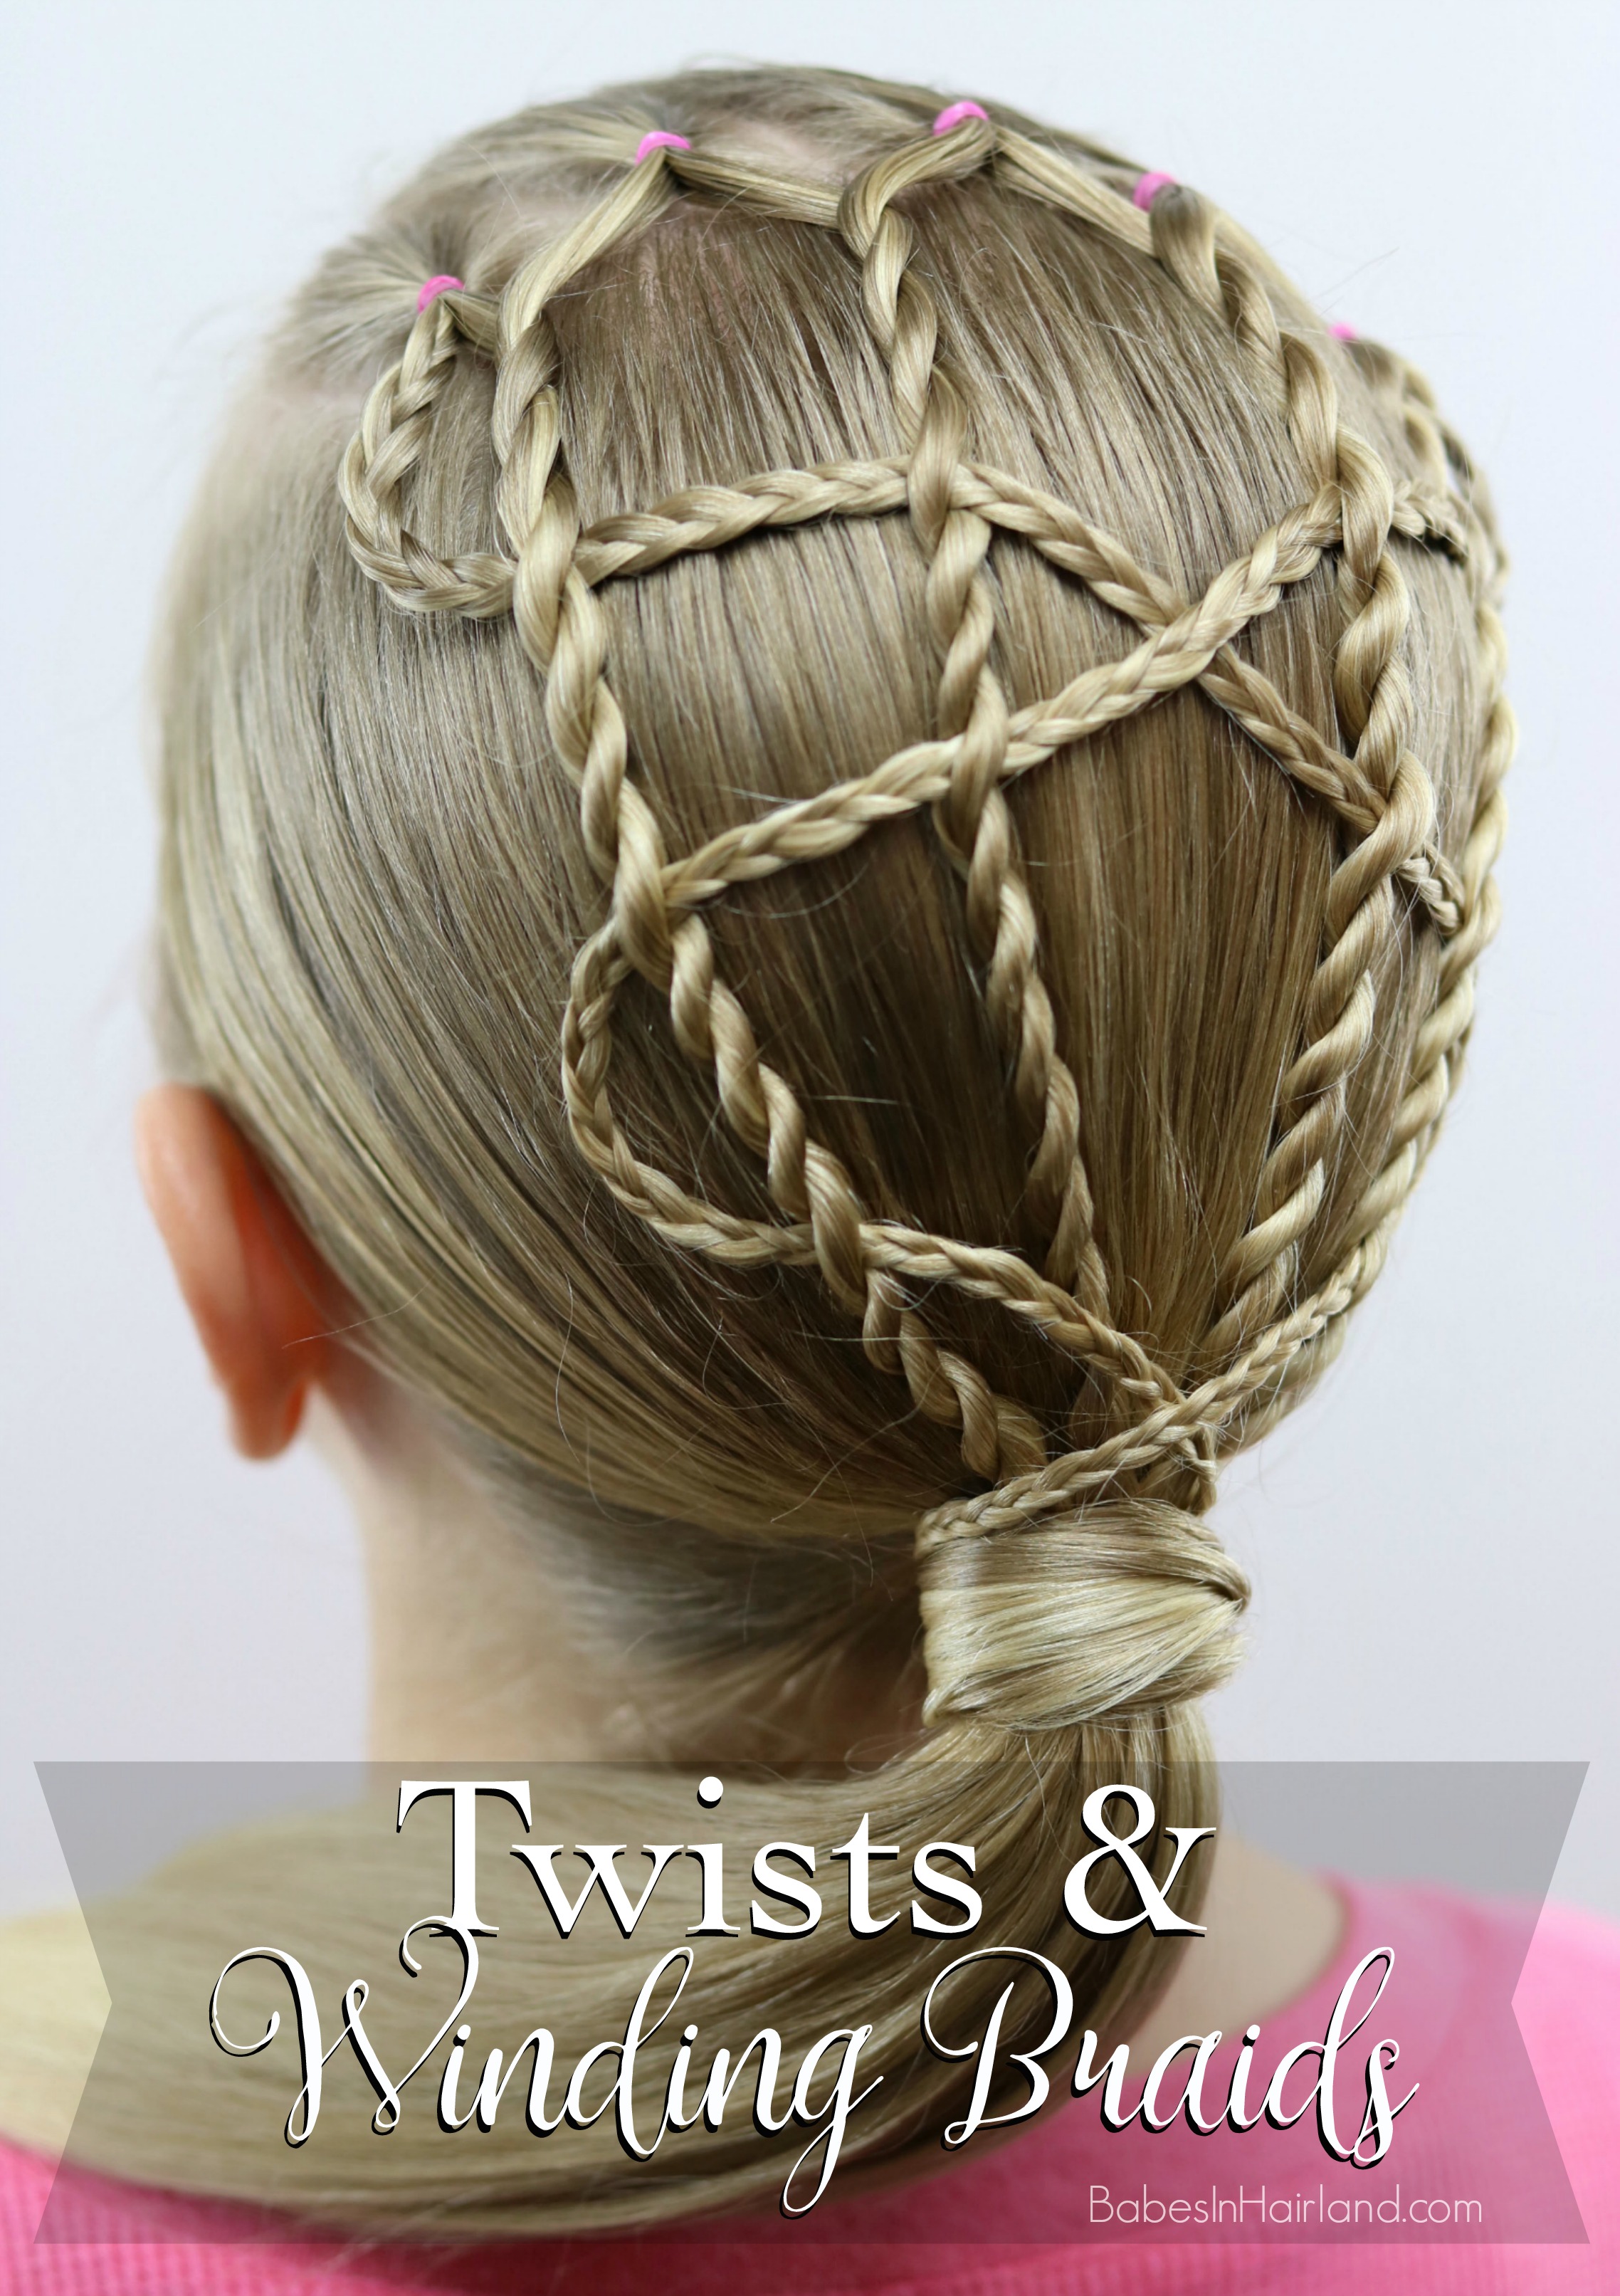
 If you are on Instagram or Pinterest, you know there are so many amazing hairstyles that are created every day by extremely talented people. This style happens to be inspired by Pr3ttygirl79 on Instagram. I am amazed at all the gorgeous styles she creates. This style isn’t overly hard, but how fast you braid and twist will determine how long it will take to create this.
We found a Topsy Tail is extremely helpful for this style, so if you still need one, you can buy a Topsy Tail HERE.
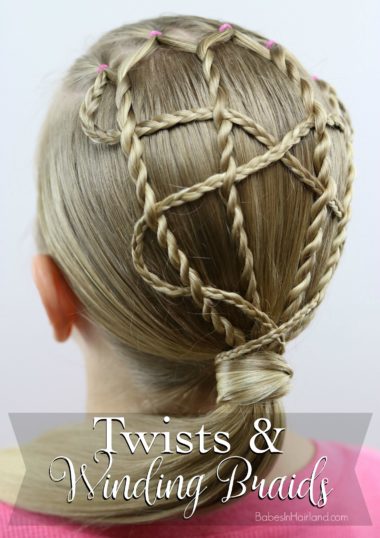
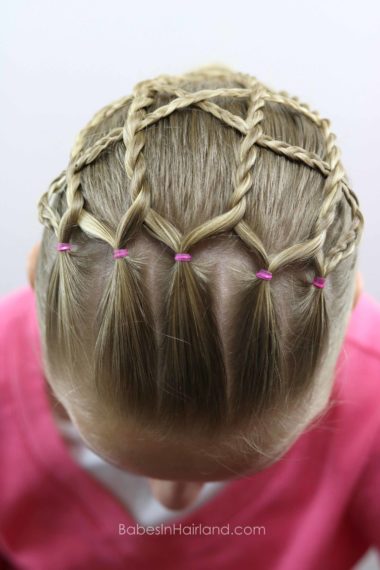
Step 1 – Part out 5 rectangular sections of hair about 2-2.5″ long from the forehead back.
Step 2 – Secure each section with a colored elastic to create 5 little ponytails
To make it easier to describe in my instructions, starting on the left I will number the ponytails 1 through 5. Meaning the far left ponytail is ponytail #1, the top center ponytail is #3, and the far right ponytail is #5.
Step 3 – Gather all remaining hair into a low ponytail near the nape of the neck
Step 4 – Divide ponytail #3 (top center ponytail) into 2 pieces, creating a left and right section
Step 5 – Divide ponytail #4 into 2 pieces, creating a left and right section
Step 6 – Combine the right section of ponytail #3 and the left section of ponytail #4 and create a rope braid/twist
Step 7 – Twist until it reaches the ponytail at the nape of the neck & temporarily clip it to that ponytail so it won’t unwind
Step 8 – Moving to ponytail #5 (on the far right), divide it into 2 pieces, creating a left & right section
Step 9 – Combine the right section of ponytail #4 and the left section of ponytail #5 to create another rope braid/twist and temporarily secure to the ponytail at the nape of the neck so it also won’t unwind
Step 10 – With the remaining right section of ponytail #5, create a regular 3 strand braid. Braid down as far as you can and secure with a clear elastic.
Step 11 – Repeat the above steps with ponytails #1 and #2. With the far left section of ponytail #1, create a regular 3 strand braid and secure with a clear elastic.
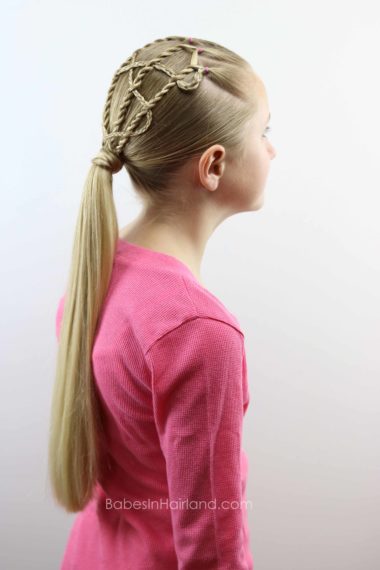
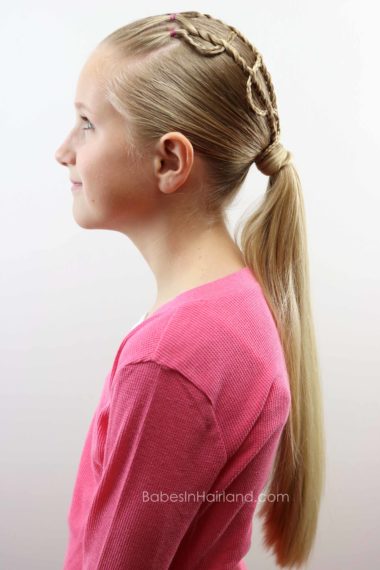
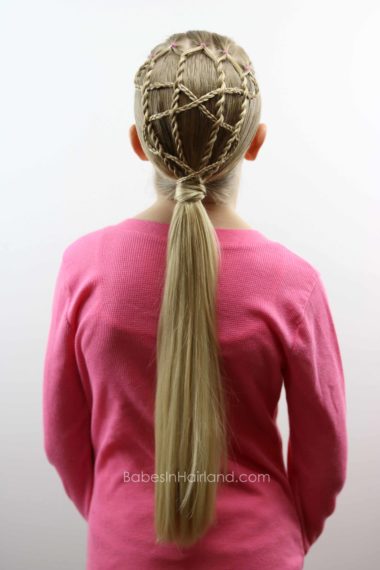
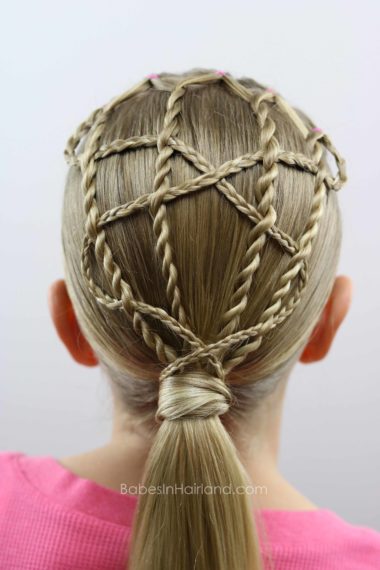
At this point going from right to left, you will have 1 micro braid, 4 rope twists/braids & 1 micro braid.
Step 12 – With a clear elastic secure the 4 rope twists/braids to the base of the ponytail at the nape of the neck
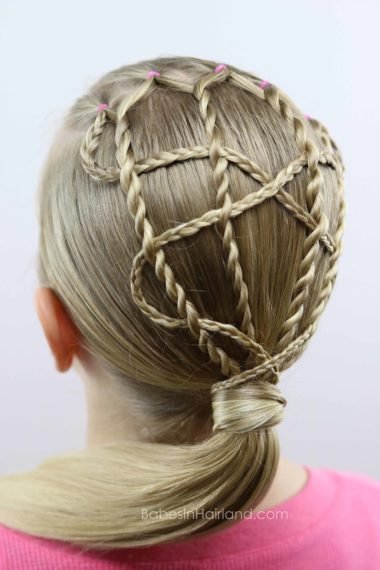
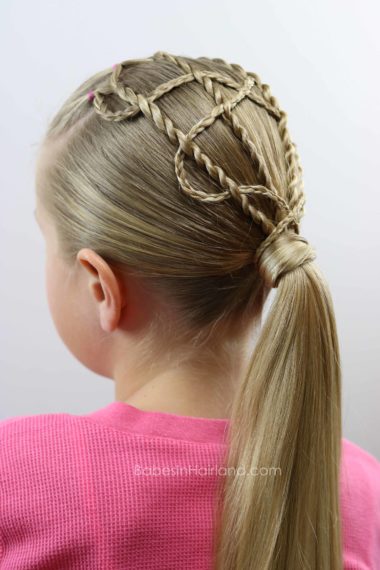
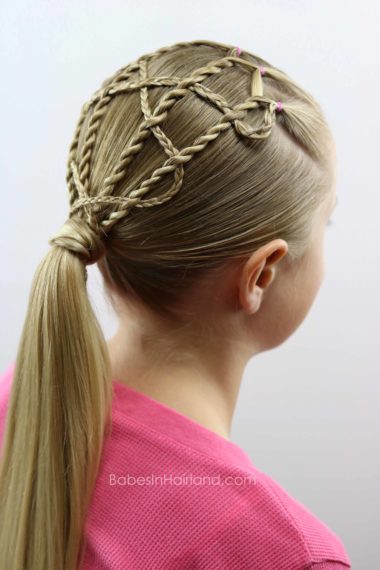
Step 13 – Using a Topsy Tail, weave the micro braids through the twists to create the desired design of your choosing
This is where you get to be creative! If you watch our video you can see how I weave the braids through the twists, but this part really is up to you. You can even just weave the braids over and under the twists but I felt like pulling them through the twists with my Topsy Tail would keep them in place better. Still need a Topsy Tail? You can buy a Topsy Tail HERE.
Step 14 – Wind the braids so they eventually meet back at the ponytail at the nape of the neck and secure them with a clear elastic under that ponytail.
FINISHED!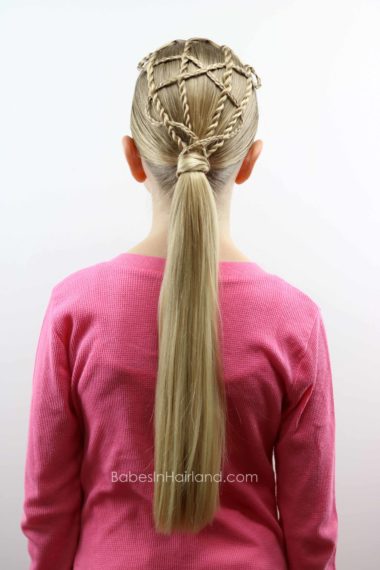

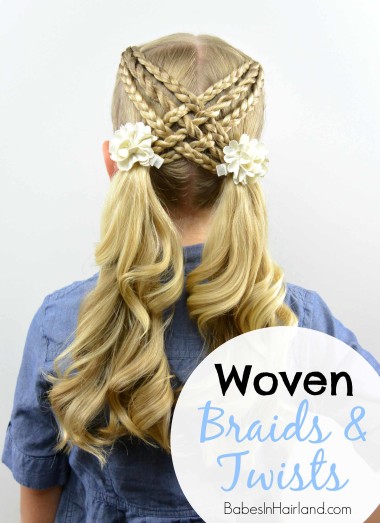
And if you love braids & twists, here’s another one of my favorites that includes both! Go HERE for our Woven Braids & Twists Hairstyle.
As always, please pin & share if you like this one!
