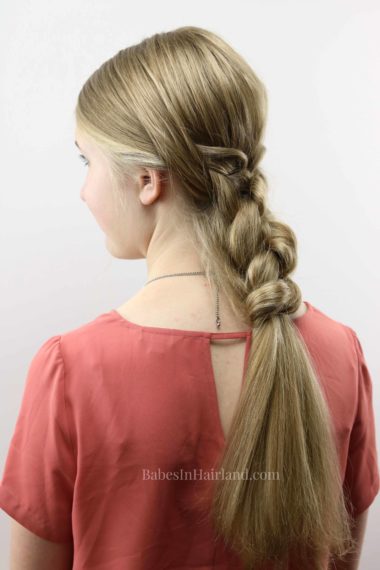
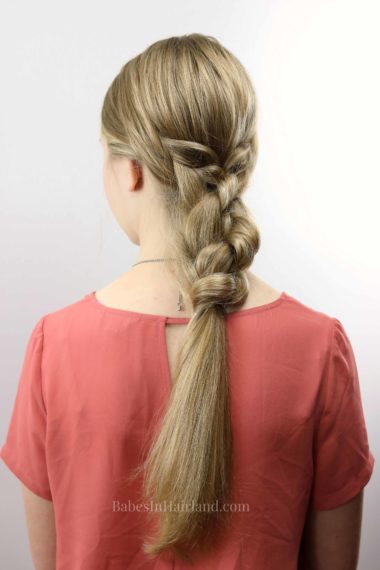
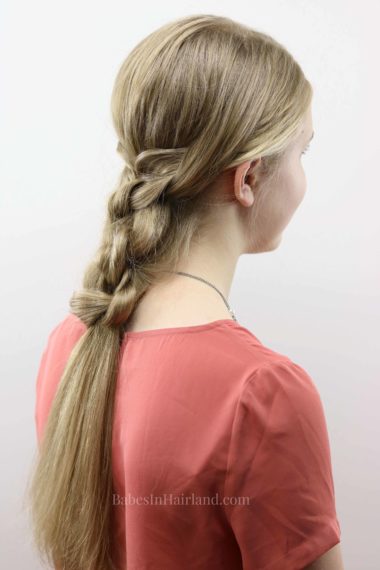
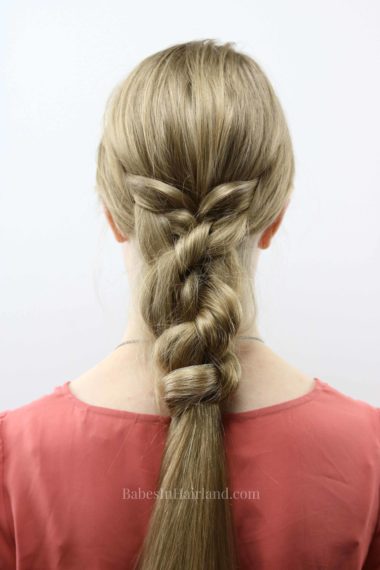
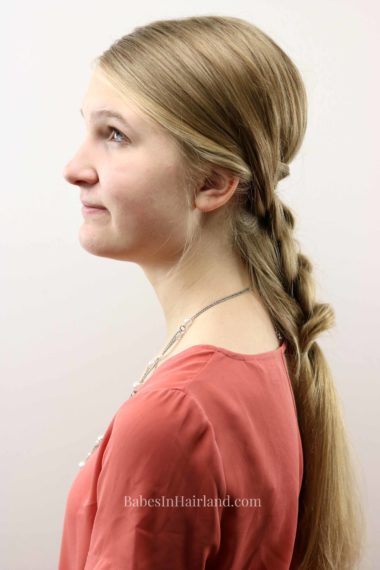
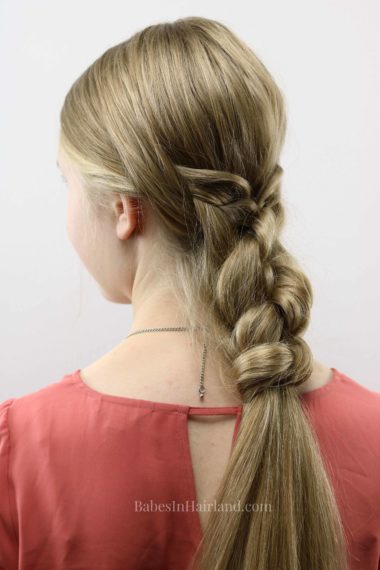
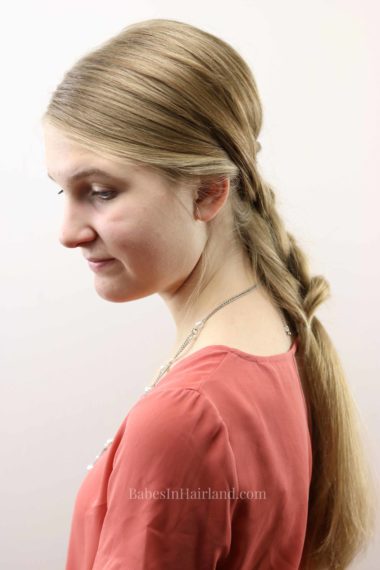
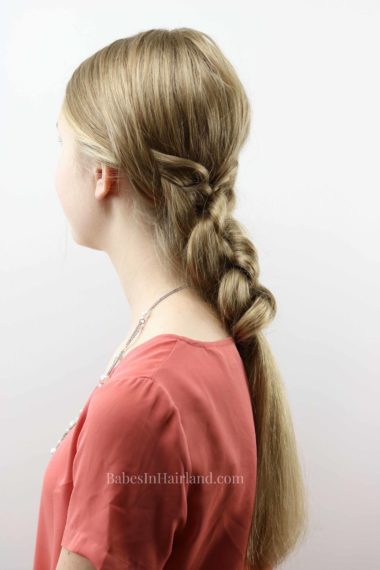
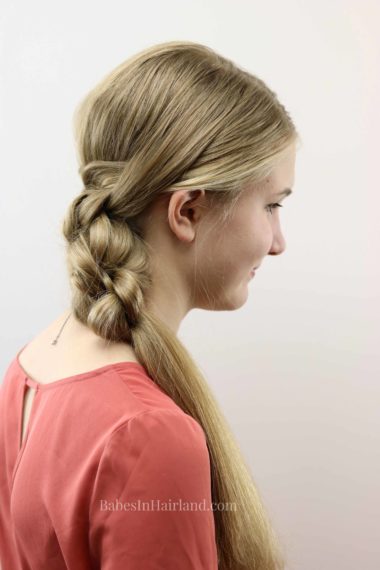
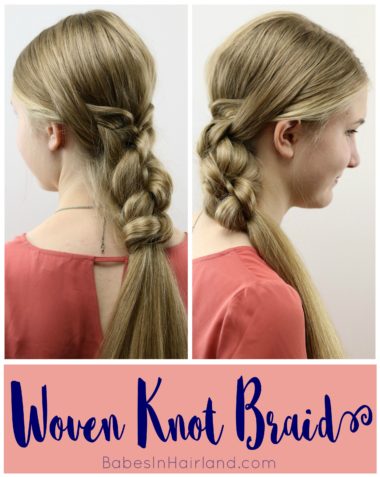
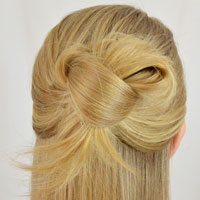
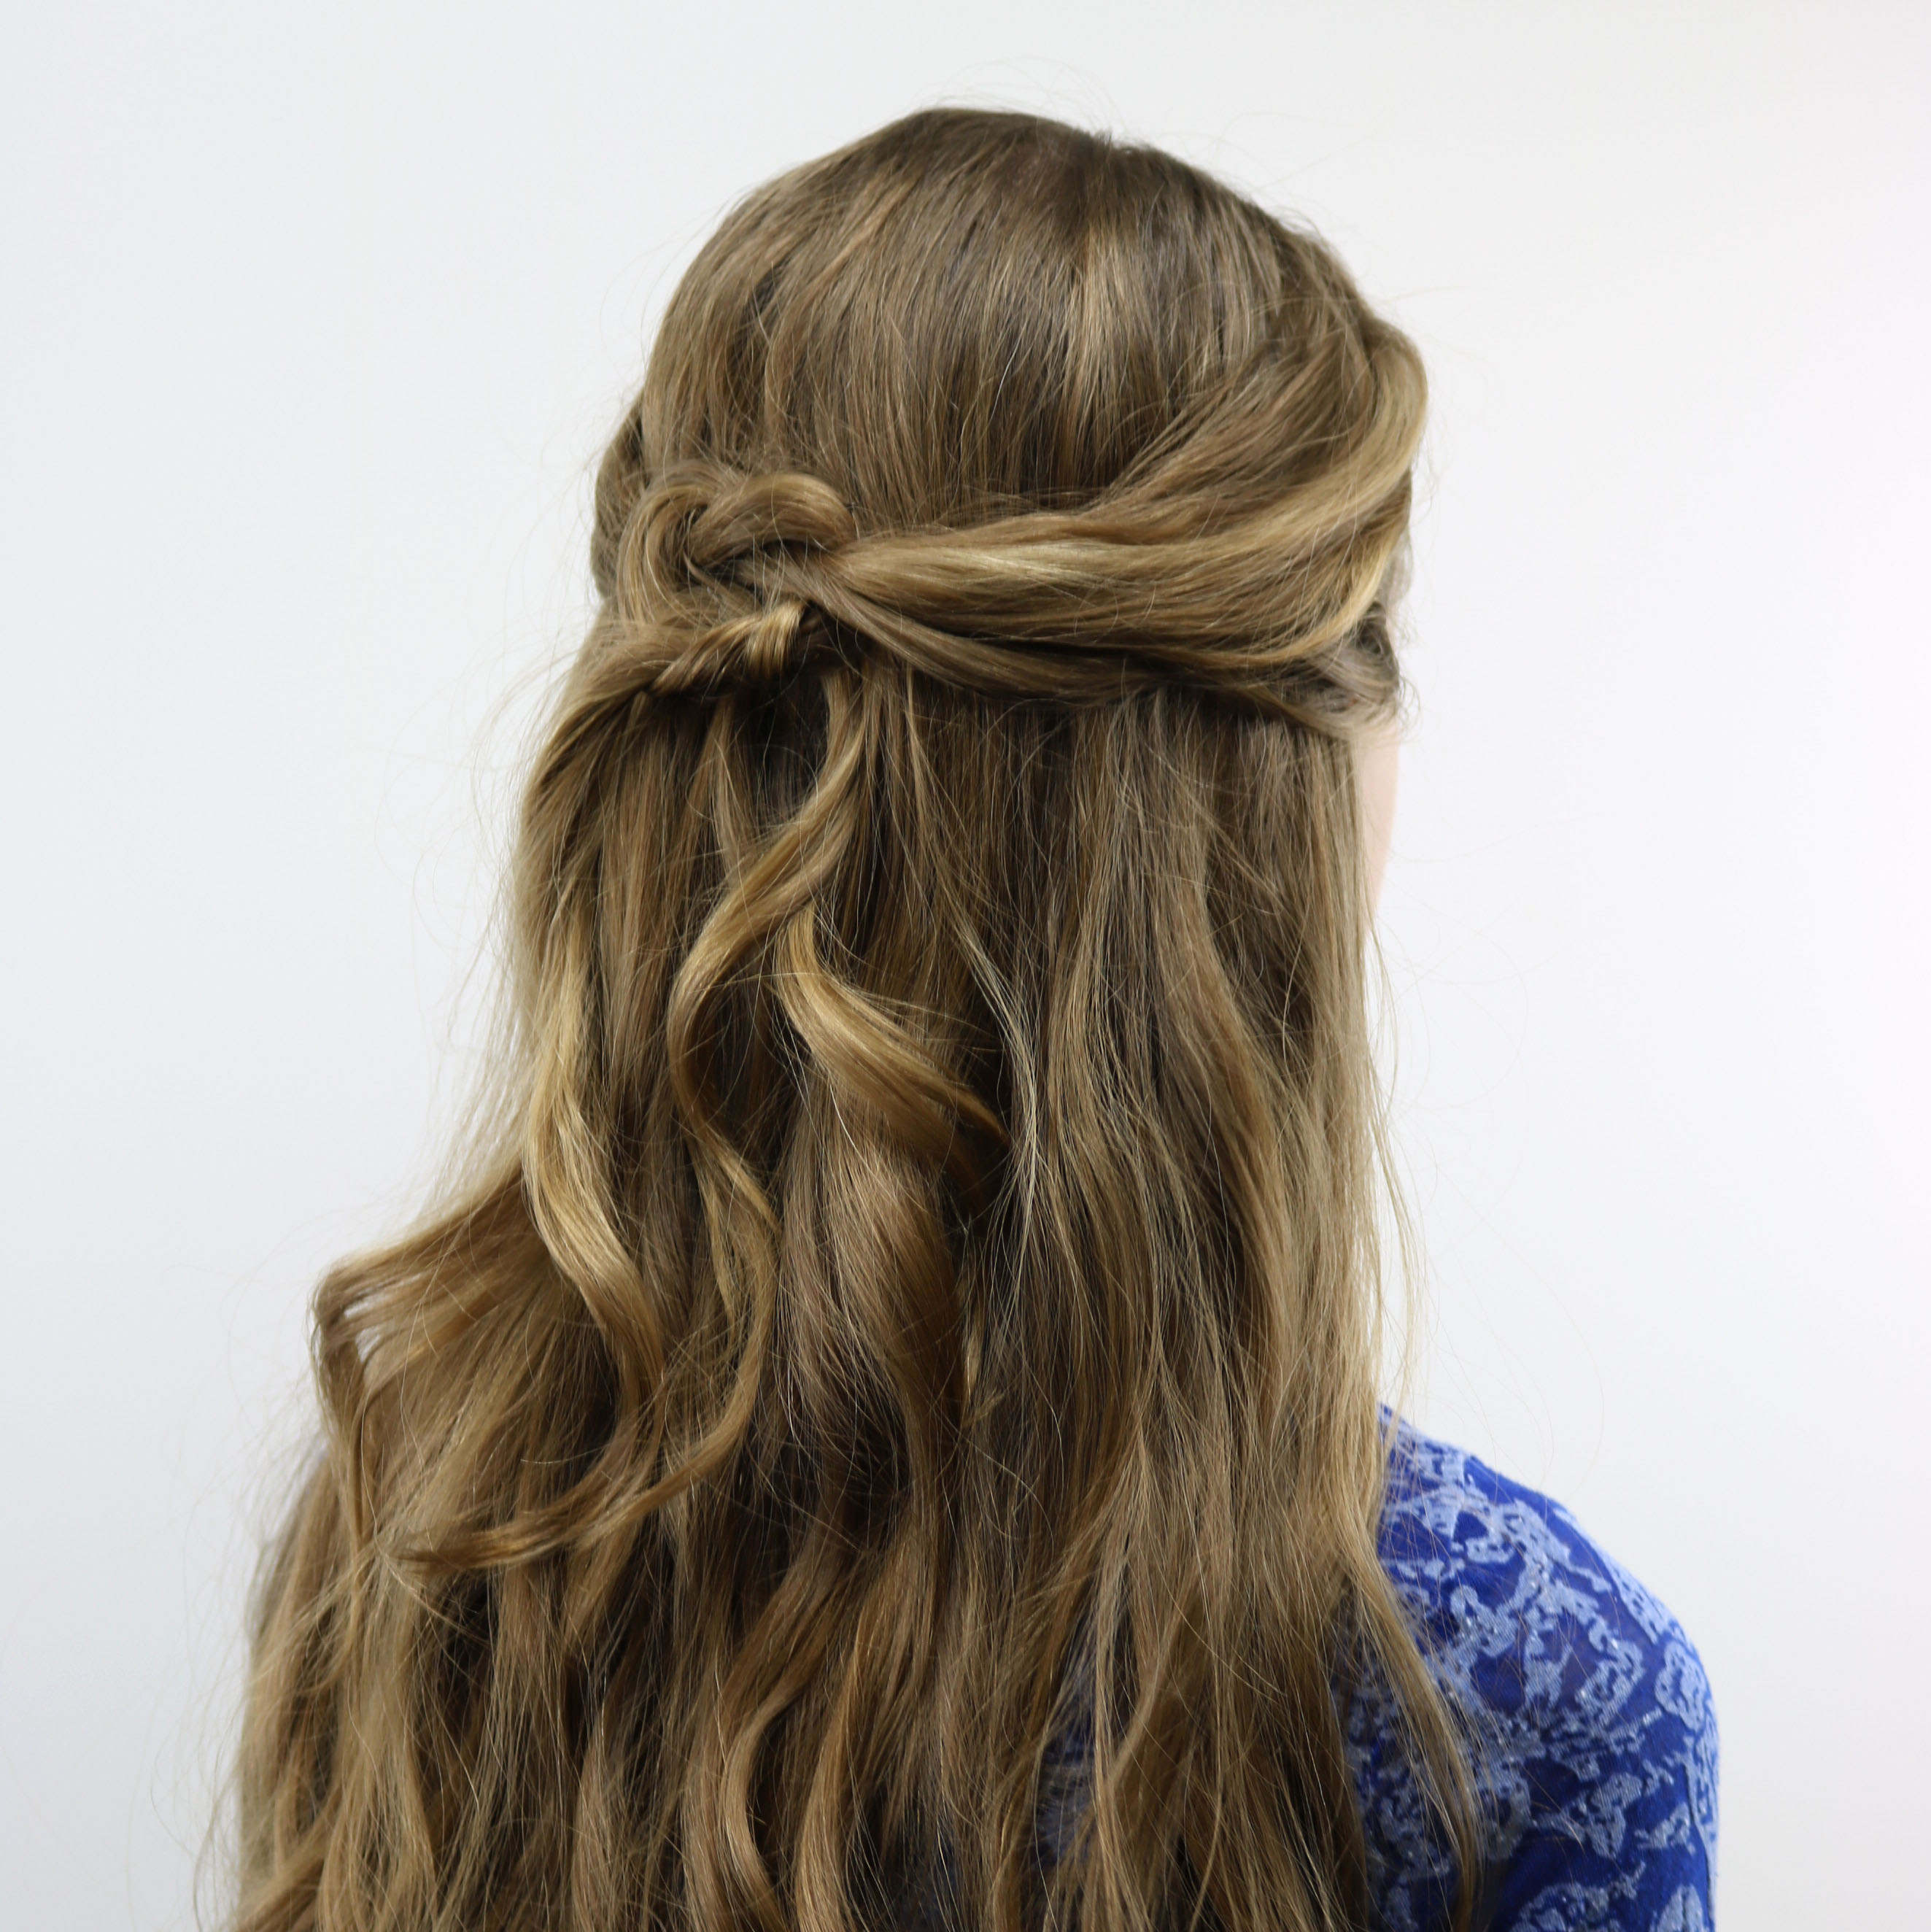
Today’s hairstyle we are sharing turned out so pretty and is such an easy hairstyle. It’s sort of a combination of a couple different techniques and it might be hard to tell exactly is involved. But all that matters is this woven knot braid looks beautiful and it’s perfect for a special occasion or even for Easter this Sunday. My favorite part is this hairstyle took me about 5 minutes to create and it’s a very easy style. But first, if you missed our last video, be sure to check it out. My oldest daughter answered a bunch of questions from our followers. Some come get to know her a little better in her first ever Q&A Video.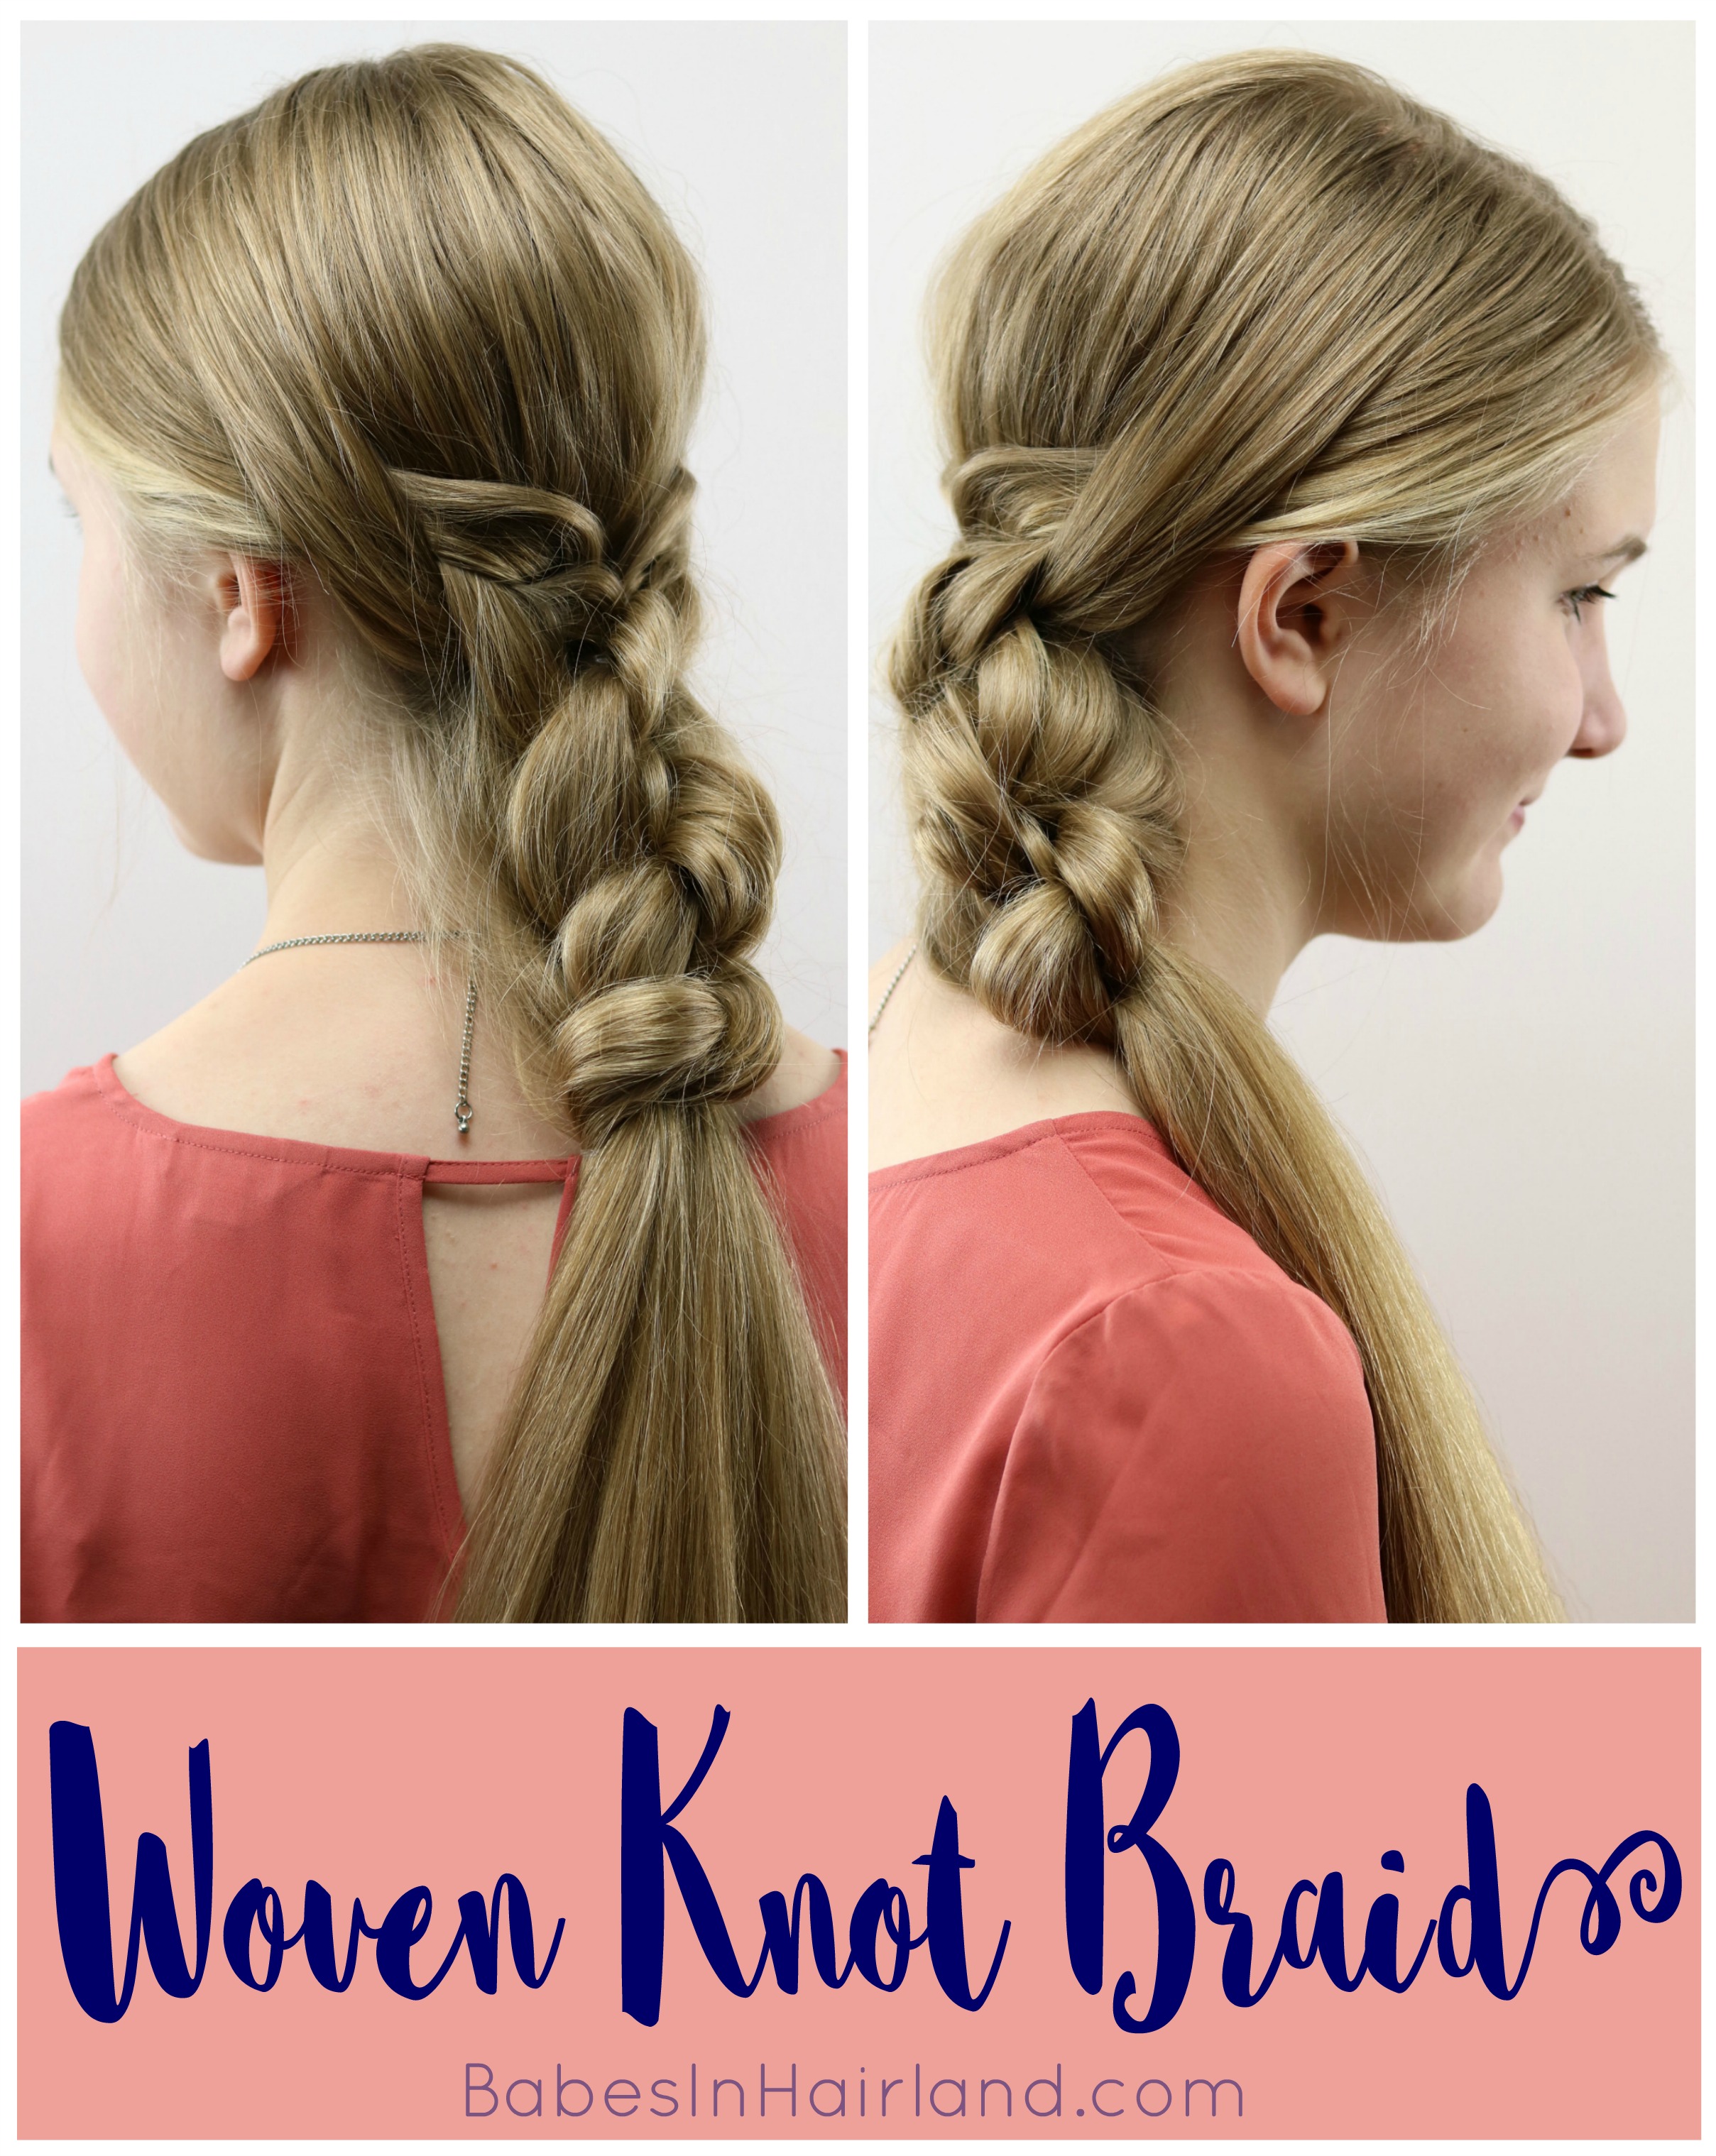
If you can tie your shoe, you can create this hairstyle! Yes, it’s that simple! If you can’t see the video, you can watch it HERE. Below are the step-by-step instructions and more pictures of the beautiful finished product.
1- Divide out sections of hair on the left & right sides of the head near the face and above the ear.
2 – Draw these 2 sections of hair backward so they meet in the middle back of the head. Secure these sections of hair together with a clear elastic.
3 – Just behind the left ear divide out some hair and draw it upward toward the hair you pulled back in the previous step
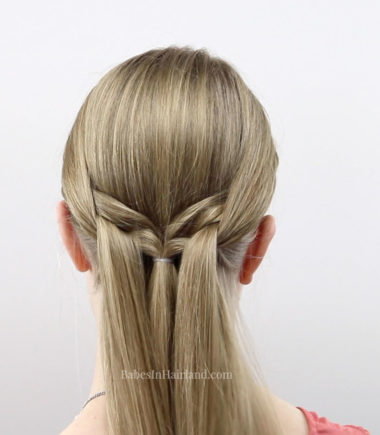
4- Make a hole with your fingers through the hair you pulled back in Step 2 and pull this hair up and through the hole. The hair will now drape over and hang down over some of the hair from Step 2.
5 – Repeat the same thing on the right side, making a hole in the hair pulled back in Step 2. Draw hair from behind the right hair up and through that hole so it also drapes over and hangs down. It should look similar to this at this point.
6 – Next take the 2 sections of hair hanging down on the left and right of the elastic and cross the left over the right and pull through like you’re starting to tie your shoe. Temporarily place a small claw clip in the center of the knot so it doesn’t loosen. The knot should cover the clear elastic.
7- Grab some hair on the left side near the neck, and add it to the hair that is to the left of the elastic. Do the same thing on the right side. You are sort of creating a “French” knot.
8 – Once again, pass the left under the right section of hair and pass it up and through the hole it creates. This will make another knot, but don’t cinch it tight.
9 – Repeat this process one more time, however, don’t add hair to the knot this time. Simply pass the left under the right section and make another half knot.
10 – Draw the tails of the knots under the remaining hair down in back. Secure the ends underneath the ponytail with a clear elastic.
11 – Gently work your way up through the knots and loosen them and make things blend together as desired. Gently pull hair up on the crown area as well to create a bit of volume.
FINISHED WOVEN KNOT BRAID!
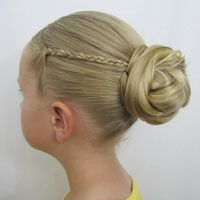
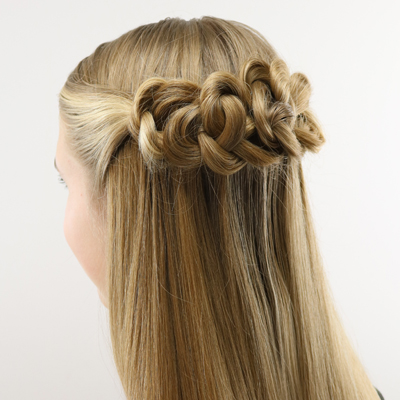
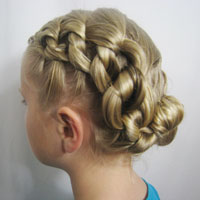
See? It is so pretty, and so easy! I just love how this hairstyle turned out! If you love knots, be sure to check out a few of these favs as well!
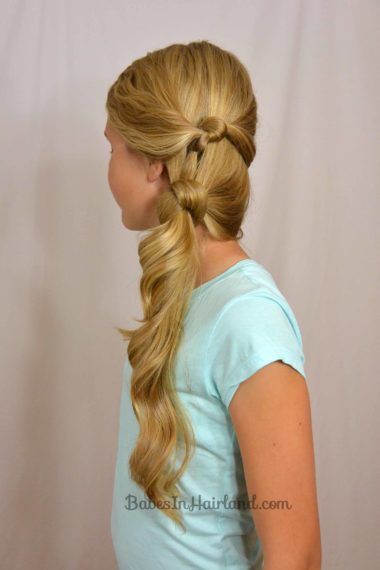
Side Swept Double Knot Hairstyle
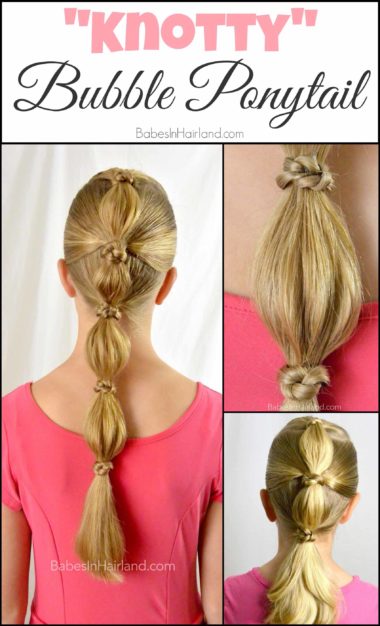
Or for a bit tighter knot, try our Knotty Bubble Ponytail.
