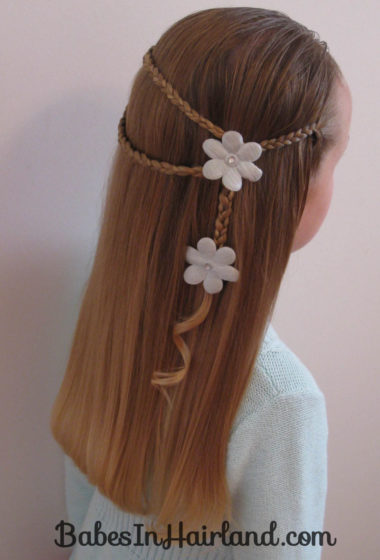
 We did this yesterday for church & then I changed it just a little today. Hopefully it’s pretty obvious what I did, because yesterday when I did it, I had no idea what I was doing until it was done (that happens all too often), and today we were in a hurry to get to the dentist so I spaced grabbing the camera. Either way, this was a quick & easy one, and we had lots of compliments on it at church as well as the dentist office. Longer hair is most likely needed on this one to get the braids to reach around the back of the head. Hopefully this all makes sense. Let me know if you have questions.
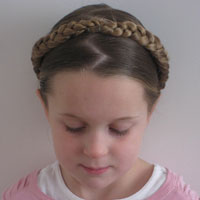
First make a rather angled/diagonal part on the right side of the head – angling off to the left. Then I took a small section of hair by the left temple and braided it as far down as I could. (Don’t take all the hair clear down to the ear.)I used a little claw clip to hold it temporarily.
Then I took the rest of the hair above the ear (below the first braid) and sectioned it out to make another small braid. Braid it all the way to the end and tie it off temporarily.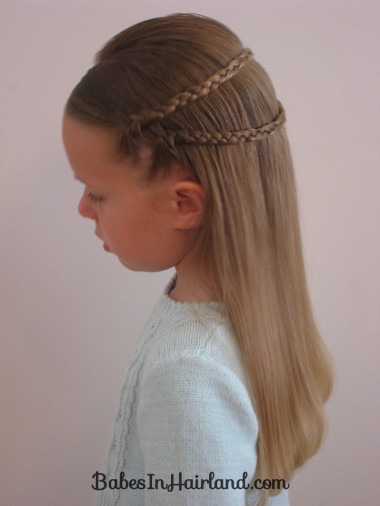
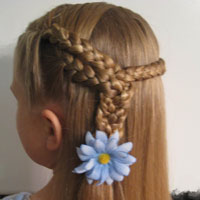
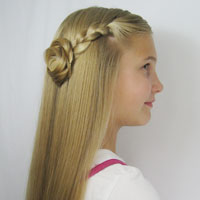
Then on the right side of the head – take the hair by the right temple & section a small portion off to make another little braid. Start braiding and once you’ve braided down a couple inches, grab the top braid from the left side of the head and wrap it across the back of the head and join it into the braid on the right side of the head. Just add it into whatever strand of the braid (I did it into the middle strand) and keep on braiding (be sure to pull the clip o out that you had in there to keep it from coming undone once you’ve added it into the right side braid.) Braid down a little bit further, and then pull the bottom braid from the left side over to add to the right side braid. Add it into the braid and keep on braiding.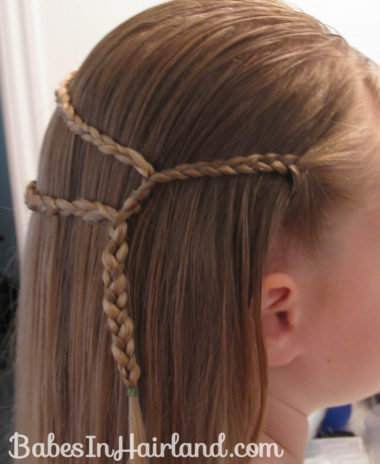
I didn’t braid it all the way to the end because I wanted to curl that little strand of hair once I was done.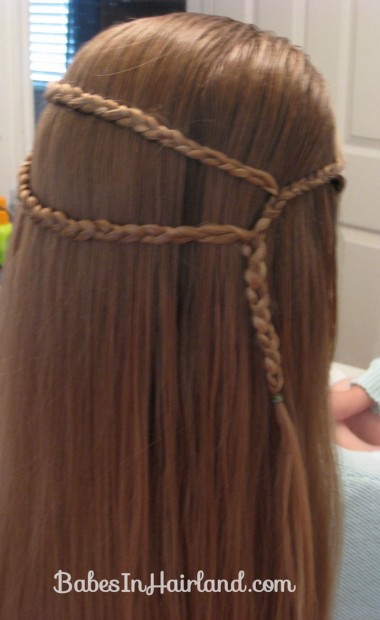
I added 2 little flower clips & spiral curled the end of the braid. Then I turned the ends of the rest of her hair under with my flat iron. And Voila!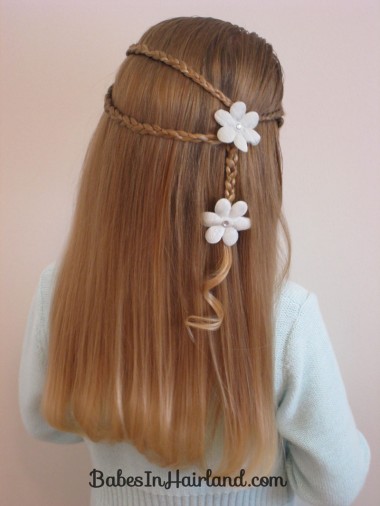
Or – for a slight variation :
I added the left bottom braid in first to the braid on the right. And then added the top left braid in second – making it form an X on the back of her head instead of just wrapping straight across.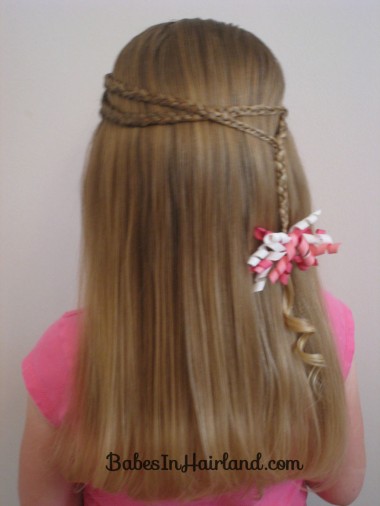
Here’s a look at the right side where I added them in: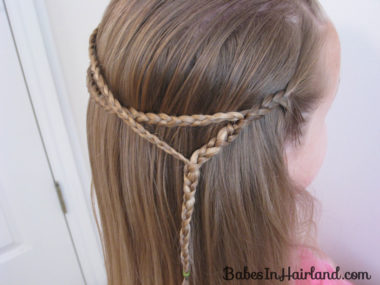
And the finished product with them crossed in back.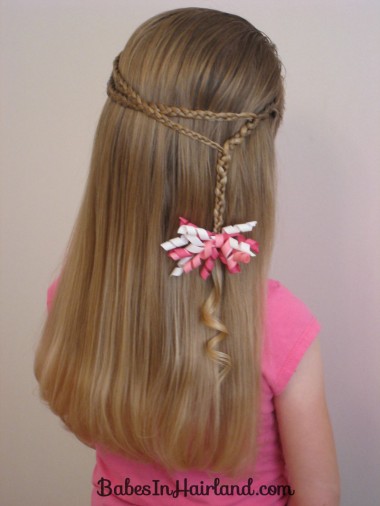
There you have it. I really like this one. Be sure to spray the hair on the top of her head well so it stays laying smooth & neat looking.
Very simple, very pretty. Love the white flowers.
This is really one of my all time favorites. And those flowers were just some I picked up at Target but they worked perfectly!