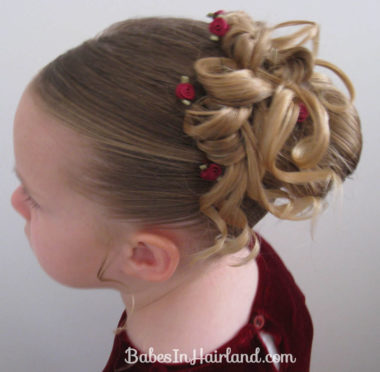
 Sorry it’s been longer than I’d hoped to get a post done. With birthday’s and me getting sick again, my time at the computer has been limited.
First off — don’t forget the deadline for The Bad Haircut Contest is 3/25 – a week from today is the last day for sending me your pictures. I’ve got about 10 entries so far (which means better odds for those guys! …. And there are some doozies! 🙂 I’ve got a few ideas for the prize – which I hope to post w/in a few days so send those pictures my way if you want a chance to win!
So, on to the hairdo. Pay no mind to the Christmas looking dress. Until this week, it’s been too cold for any type of Easter/spring like dresses, so we’ve been still wearing the winter stuff. But that doesn’t affect the fanciness of the do, right?!
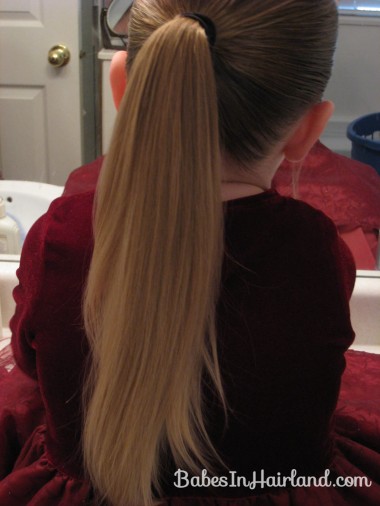
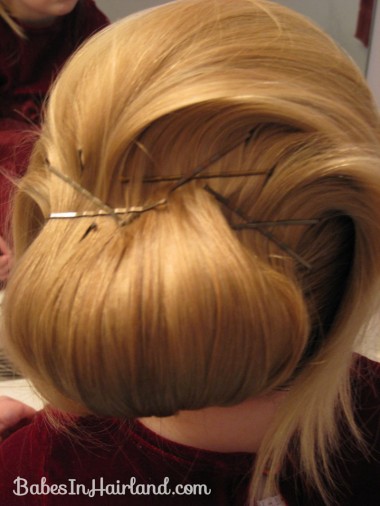
Then pull the ponytail up towards the front of her face. This works best if your DD puts her chin/head way down/forward – or even maybe have her face you and put her head in her lap. The hair needs to fall forward so you can bobby pin the heck out of it like this: (remember making X’s helps majorly in the anchoring department.)
Here’s a view from underneath if that helps you see how it should be bobby pinned up out of the way & it sort of makes a silly little bun look. That’s what all the loops & curls will be perched on top of.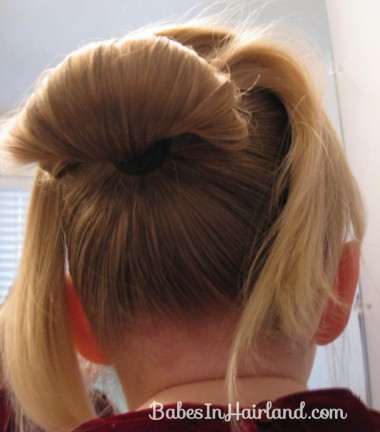
Once you’ve got all the hair securely fastened flip the hair back down. This reminds me of this oldy but goody waterfall ponytail.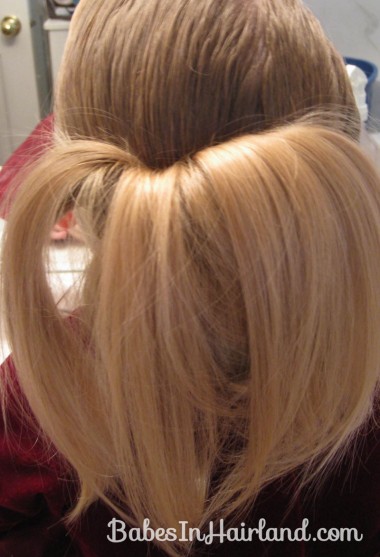
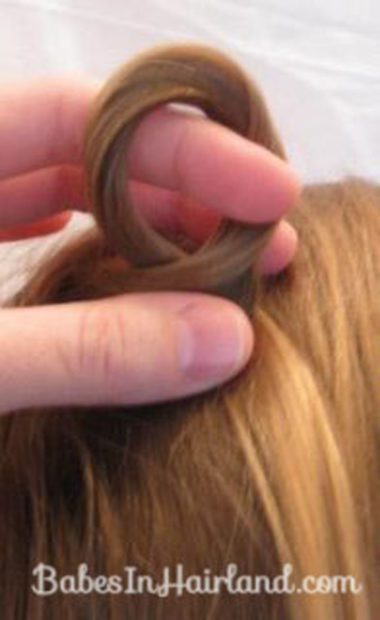
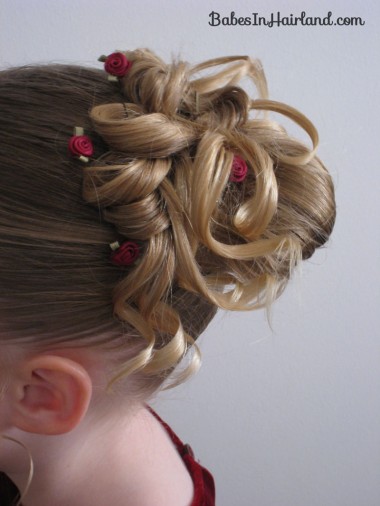
Anyway – then start taking small sections and make loops – leaving the tails hanging out. Make a loop & then secure it with a bobby pin. The small bobbypins for fine hair work nicely for these if you like. These are the same kind of loops that I did from my Fancy Schmancy Princess hairdo from months back. I really love these!
To help the loop hold it’s smooth look, mist the hair with some hairspray. You can do them wet too, but once they dry they tend to fall apart I think. So the hairspray helps. Just make the loop & then put it down on the head & fasten with a bobbypin through the loop so the tail of the hair sticks out below.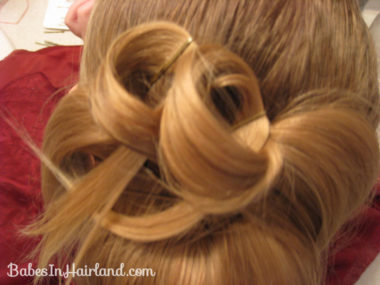
I sort of worked from the middle and to the left side & then finished up on the right side. See all the tails hanging down? Those are what you’ll eventually curl w/a little curling iron.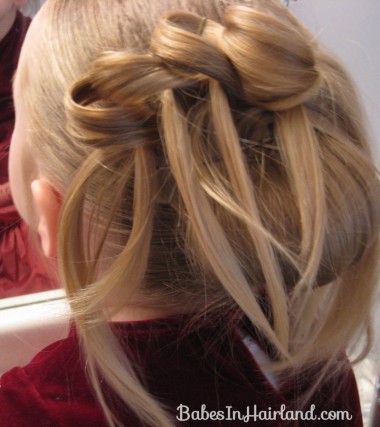
It seems with these updo’s there is no exactness to them — just put as many loops up there as you can. I tried to leave a little hair that I didn’t loop up on both sides of the “bun” type thing, to be sure I had some little curls hanging down on the sides.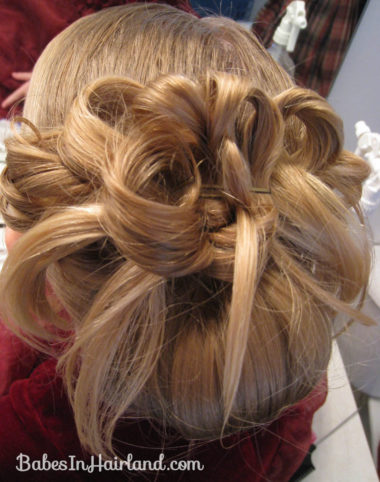
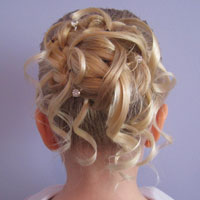
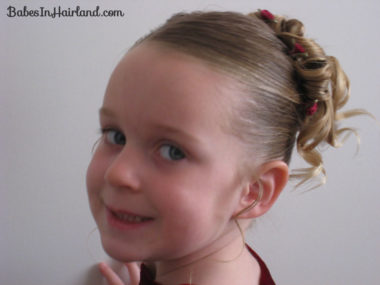
Once you have all the loops arranged how you want them, simply curl all the “tails” that are hanging down & around with a little curling iron. Then I added some bobbypins I had put little rosette’s on years ago for a finishing touch.
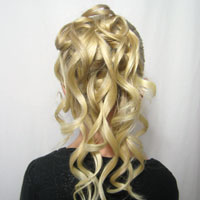
I’d first done this back in January – and not taken step by step pix, but just of the finished product. These next 2 are from then. I didn’t put in as many loops and didn’t curl it as much & it didn’t have as “fancy” of a look. It still was very pretty, but adding more loops & curls definitely fancy’s it up a lot.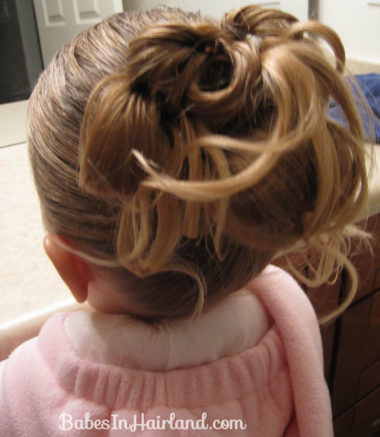
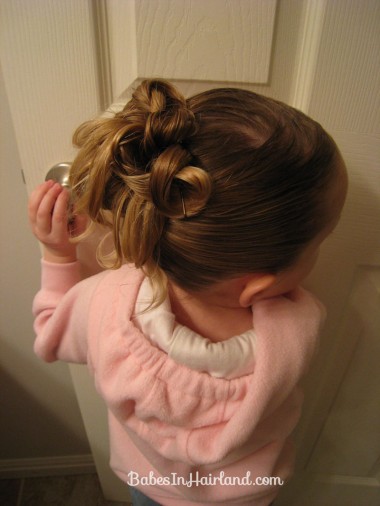 January’s (above) vs. a couple weeks ago (below) – depending on how dressed up you want it.
Here’s from straight on in the back. I think I got things a bit shifted to the left & it’s hard to see really how it looks from this angle I think.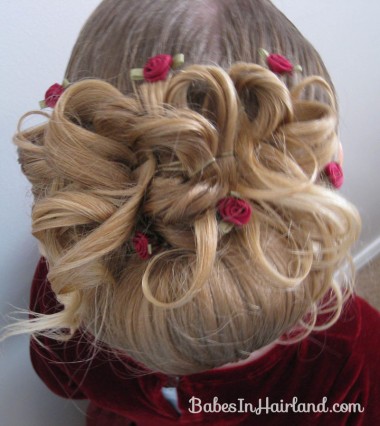
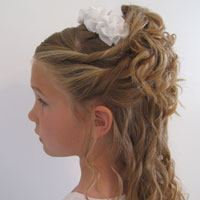
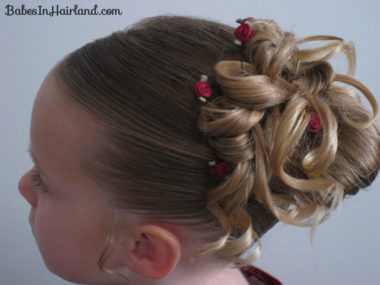 I also left little strands of hair out up front by her ears to add little ringlets. Kinda think it tied it all together with all the curls. And she was being a turkey for pictures from the front, so you get a nice smirk from her today!
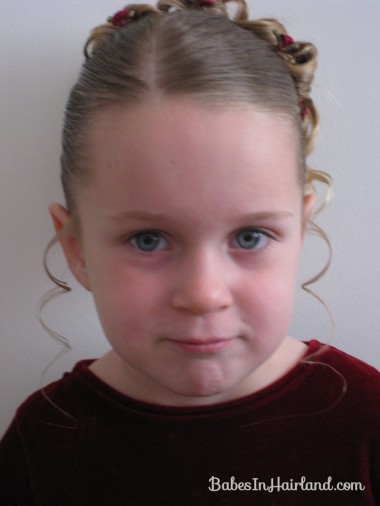 And a forced smile over the shoulder! She called this her princess hair & so did several other people at church the day she sported this one!
Just add some sparkly hair coils or bobby pins – or little spring like flowers to this & you’re set for a beautiful spring updo.
