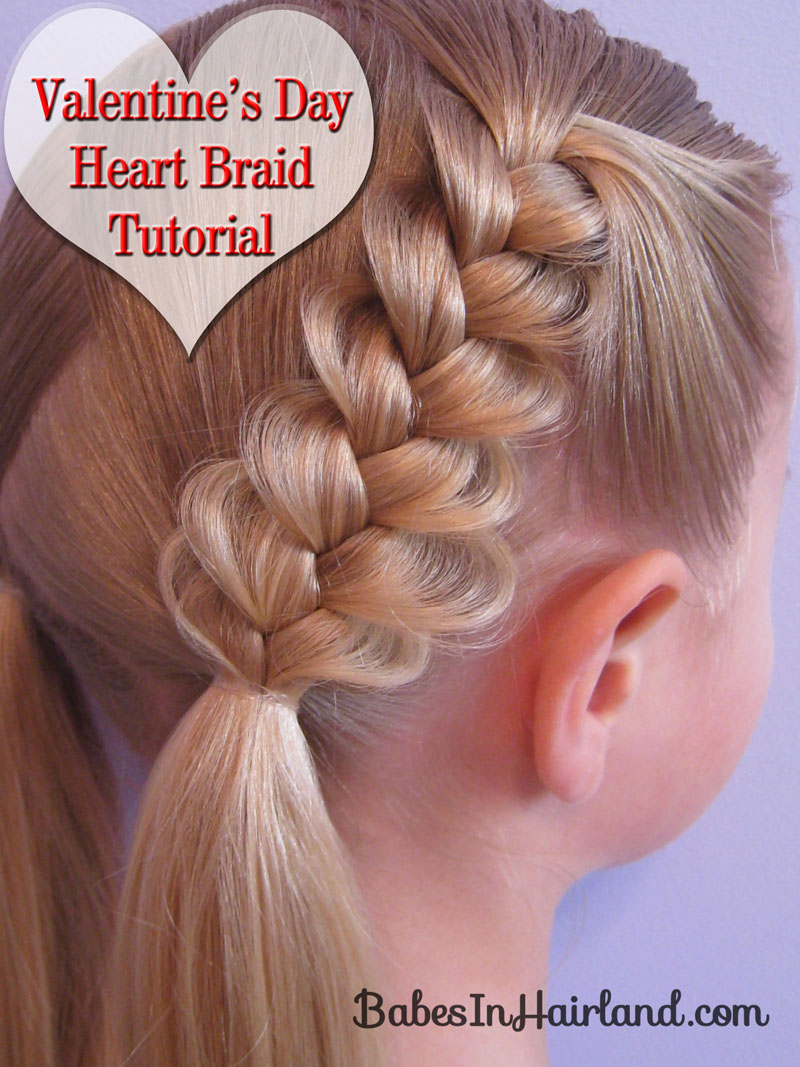
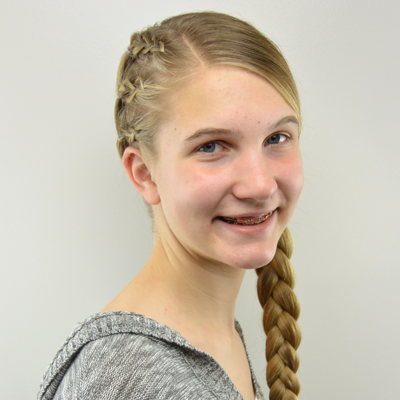
If you watched our Valentine’s Day hairdo segment we did last week on The Daily Dish, this is the style that Bug was wearing and that I briefly demonstrated on Goose. If you didn’t catch it, you can watch the clip in our previous post. I’ve done this on Bee’s hair a couple times and I just love it. I did the tutorial on her since sometimes it’s easier to see things in her lighter hair I think.
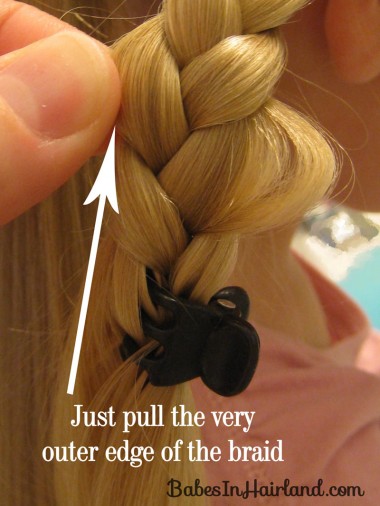
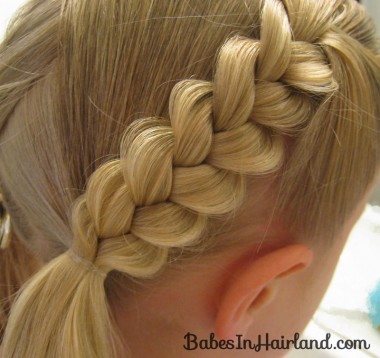
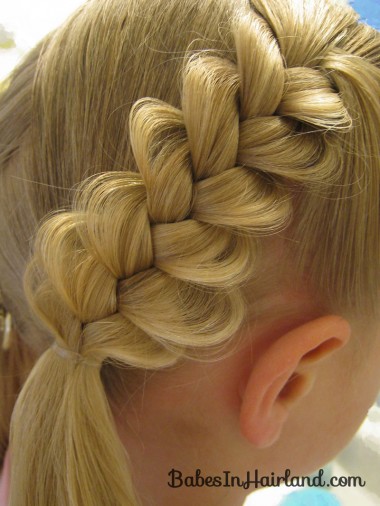
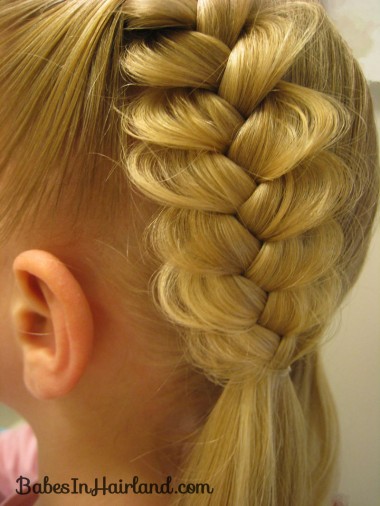
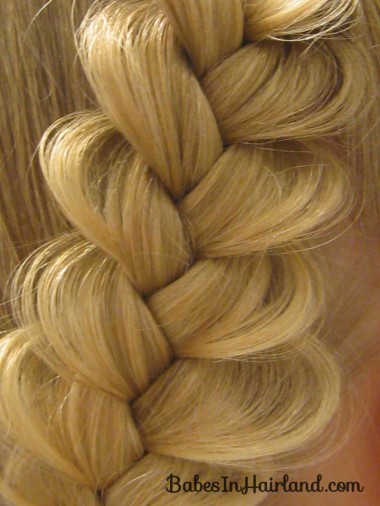
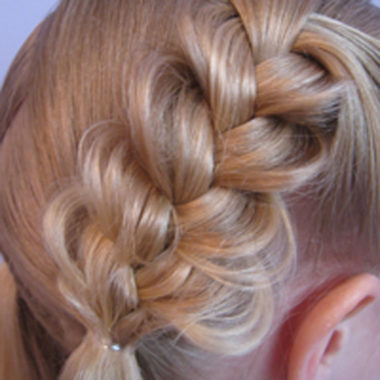
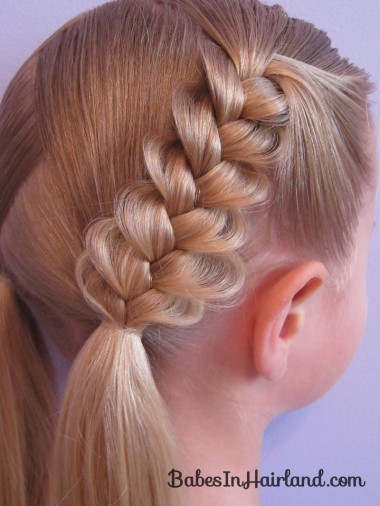
I think it might have been sort of hard to see what I was doing on Goose on TV, so hopefully these pictures will help. The key to getting the braids to look like hearts is to just pull the very outside part or edge of each plait of the braid. If you pull the entire plait it ends out just flattening it out and making it like the “flat” or “pancake” braids that are so popular right now – which isn’t bad, but then they just don’t look as much like hearts! I’ve done this a couple times on Bee and I took pictures each time, so the pictures are the best from each time! This style was inspired by one from here.
The style I did was quick & easy, it’s just the shaping of the braids that will take you a minute or two more.
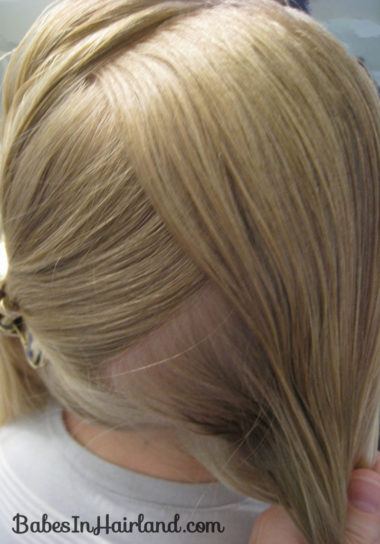
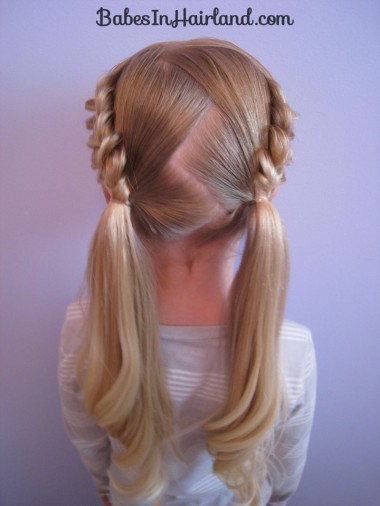
Step 1 – Part the hair into 2 sections.
I parted her hair right down the middle on the top of her head, and then in back I did a zig-zag part.
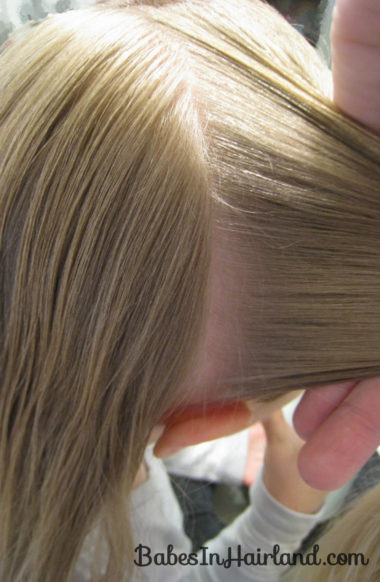
Step 2 – Part the hair down to each ear
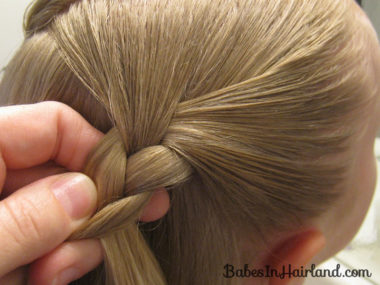
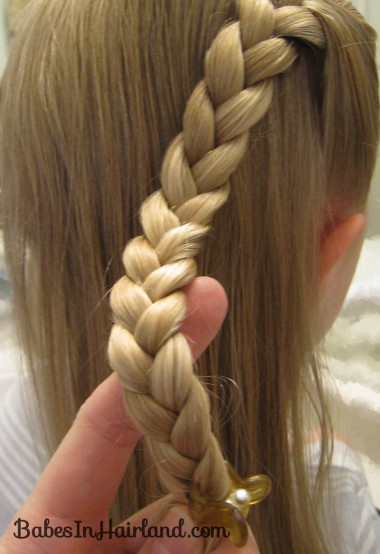
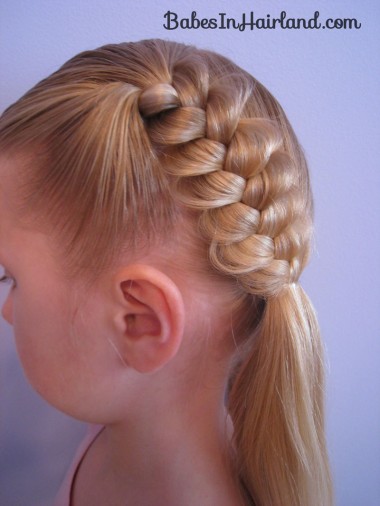
Step 3 – Make a regular 3 strand braid with the front section of hair
Braid down most of the way and temporarily secure with a clip or rubber band.
Step 4: Starting at the bottom, gently tug on the edge of the plaits of braid
Like I mentioned in the beginning of the post, if you don’t just pull on the edge of the braid, it loosens the entire braid up a bit too much & then just ends out looking like a flat or pancake braid.
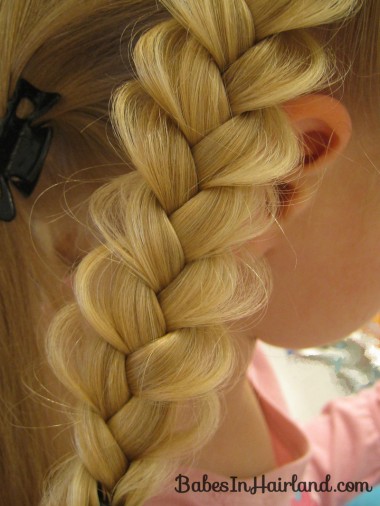
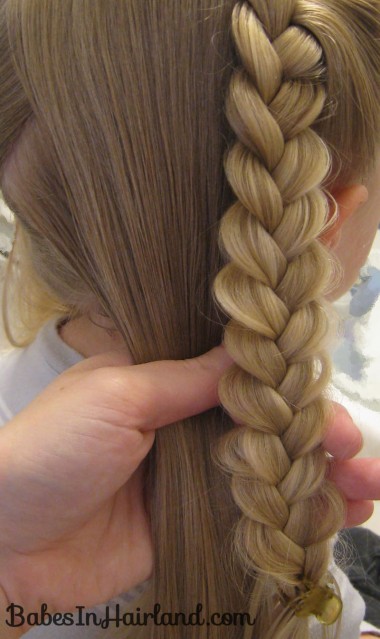
Work your way up the entire braid, gently tugging out the edges. Don’t worry about it not completely being shaped how you want it yet, as you’ll do a bit more tugging once you secure the braid to the rest of the hair. By just pulling the edges of the braid it almost “outlines” the rest of the plait, making the heart shape.
Step 5 – Add the braid into the remaining hair in back
Secure the braid with a rubber band into the hair in back & make a ponytail. I’d braided too far down, so I just undid the braid below the rubber band. Don’t worry if they don’t take shape quite yet. There’s more to do!
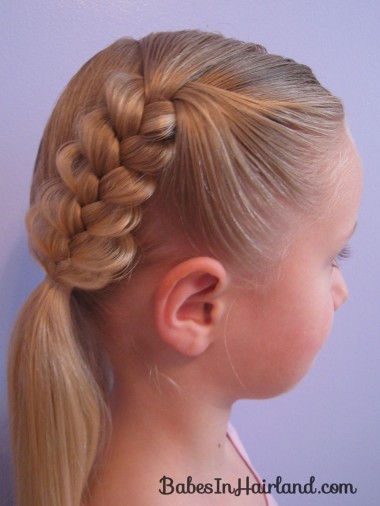
** Step 6 – Gently tug the edges to loosen more hair and get more of a heart shape
Step 7 – Repeat the process on the left side of the head
Here’s from another time I did it – they were a bit chunkier and messy. Do whatever works best for you.
Top off the ponies with some cute Valentine’s Day ribbons or bows & it’ll even make it more festive! You could do this “Pocahontas braid” style too. These braids are perfect for any age or really any time of year, they are just great for Valentine’s Day!
That’s it! Rather simple, but very cute & festive for Valentine’s Day! We hope you have a wonderful holiday! Be sure to share with us your Valentine’s Day hairstyles over on our Facebook Page!

So cute! Looks beautiful with those shiny golden locks
Thanks so much! Sometimes I wish I had her hair!
SO SWEET ! ! ! <3
So cute! When I first saw this on the SNAP blog, I thought it was going to be complicated. So simple though! Thanks for sharing.