Vera, the same fabulous reader who wrote to me about how much she loves Spin Pins, recently wrote to tell me of a fun and easy bow holder she’d made recently – and she was kind enough to share it with me to pass on to all of you!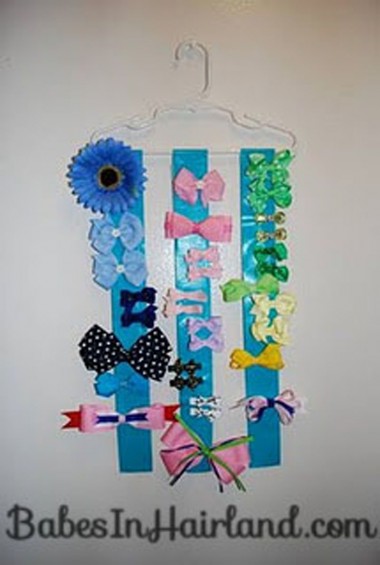
I’m sure you’ve all seen bow holders that have ribbon hanging down from some cute hook or something of that nature. Well, Vera was in need of a new bow holder & was going to just tie different lengths of ribbon to a hanger but the ribbon slid all over on the hanger and depending on the bow, they’d slide down the ribbon. So she came up with this ingenious idea to use duct tape — yes -duct tape. Did you know you can buy colored duct tape now? Yup – I guess the man world of duct tape makers finally branched out from their grey/silver stuff and entered the craft world! It comes in countless colors & can be bought at most craft stores.
So – following is Vera’s tutorial:
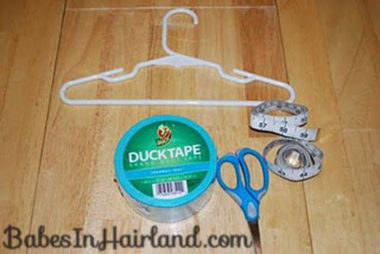
For this project you will need:
-Duct tape (this comes in a variety of colors at any craft store like Michael’s or JoAnn’s)
-Scissors (though duct tape can usually be torn, the edges are neater when cut)
-Something for measuring (I used a sewing tape measure, but any ruler will do as well)
-Child size hanger (you could probably use adult size too, I just used what I had)
Step 1:
Decide the length of tail (tape) you want to use, I like it to be about 18 inches, because too much longer can get a little precarious to work with.
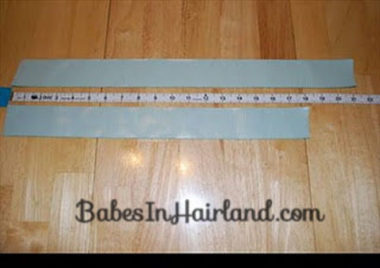
Cut two lengths of tape, keep the sticky side UP so they don’t stick to the table.
First length is how long you want it to be (mine is 18 inches)
The second is 3 inches longer than the first (mine is 21 inches)
Step 2:
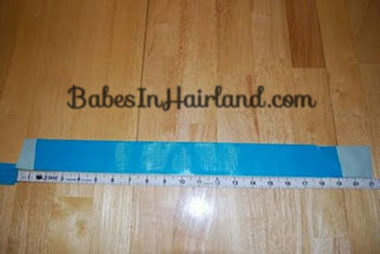
This part gets tricky. You are going to stick the shorter piece on top of the longer piece, leaving two inches at one end, and one inch at the other. They will be sticky side to sticky side. If it helps, the way I do it is to hold the shorter piece at the ends, then while holding it up I rest my wrists on the edges of the longer piece, this holds it in place while I line up the shorter piece. Where ever your tape sticks first you’re stuck with, so it might take a few tries of lining it up to get it right. Don’t get frustrated, everybody screws up with duct tape!
This is what it should look like.
Mine had a little bit of a fold at one end, but the rest came out fine so I didn’t worry about it. If you’re obsessive duct tape can be very difficult, in the end this will be the back so it won’t even show.
Step 3:
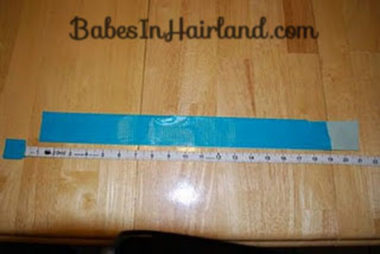
You now have one inch of sticky left on one side and two inches of sticky left on the other.
Fold the one inch of sticky up onto itself to make a neat bottom seam. That is the sole purpose of this step….so again, it doesn’t have to be perfect you’re just making a neat clean bottom seam. Here’s what it should look like:
You now have only the two inches of sticky left on the other end.
Step 4:
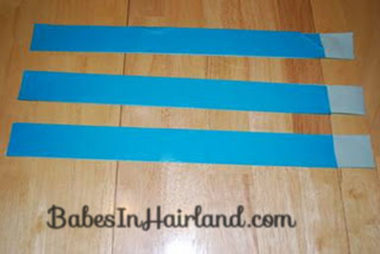
Leaving this piece alone and make two more just like it. So you will have three pieces which will all have their neat bottom and two inches of sticky left at the top. Like this:
I use three on each hanger because I am using a child size hanger, if you use an adult size hanger you might be able to fit more like four rows (or tails as we call them)
Step 5:
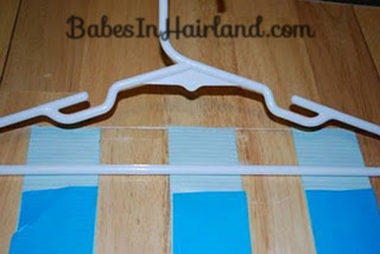
Place the hanger over the tape in preparation for taping the tails to the hanger. VERY IMPORTANT: do not place the hanger in the middle of the two inches of sticky left. You need more sticky above the bar of the hanger, to go over and cover the sticky on the other side. You should place your hanger something like this:
Step 6:
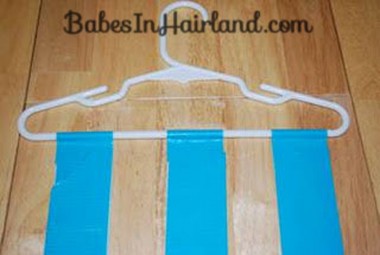
This is obvious I’m sure, but the final step is to fold the tape over the hanger back onto itself, creating three neat tails hanging from your hanger, which are now ready to have bows and clips clipped on them.
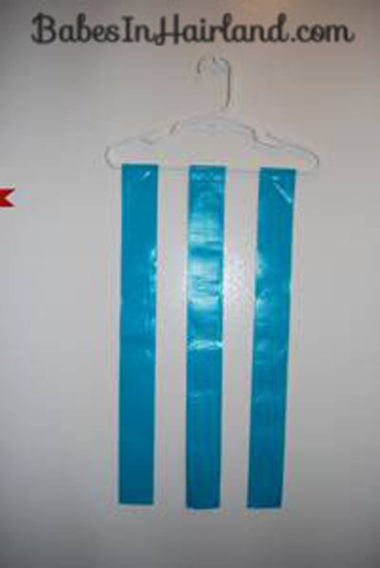
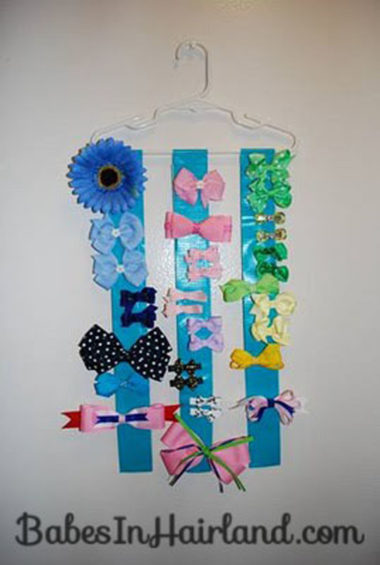
Now the point of putting the tails on a hanger is so that you can now hang this hanger anywhere in your house. You could hang it in a closet, or on the towel rack in the bathroom. I personally have a large empty wall in my bathroom and I simply put a tack in the wall and hang the hanger on it, they are lovely to look at with all the bows hanging on them, quite colorful, and then I can take it down easily for my girls to pick a bow, but they aren’t able to reach and pull on them. I hope this works as well for you as it has for us! Again, here’s what it looks like all covered in bows! (I actually have three of these hangers on the wall each covered in bows….we have a slight bow obsession and three girlies to wear them all!)
So there you have it – an awesome bow holder! Who’d have guessed those blue strips weren’t ribbon?! Best part is, those bows aren’t going to slip and the “tails” won’t slide around on the hanger. Thanks so much Vera for sharing this fun & creative bow holder with us! If you have a great hair related craft or idea, feel free to let me know & we can pass on your creativeness to the rest of bloggy land!
