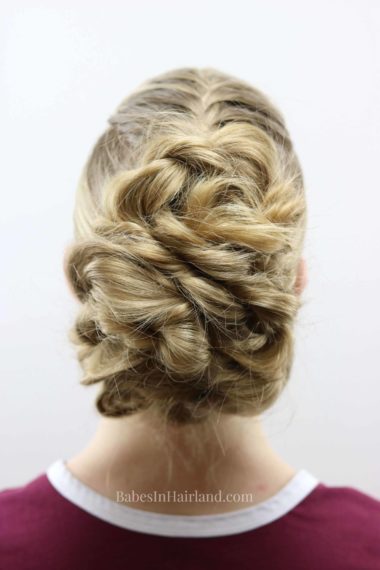
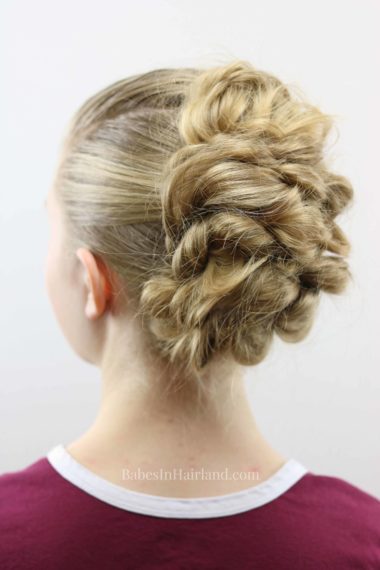
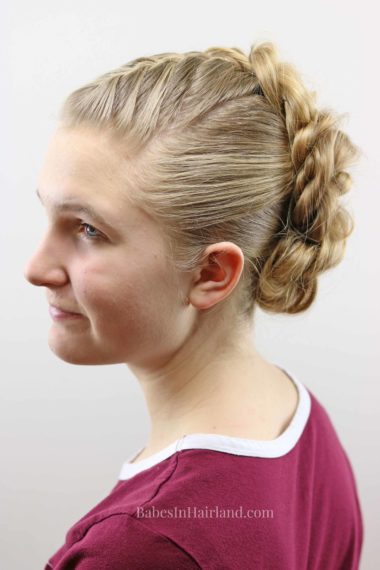
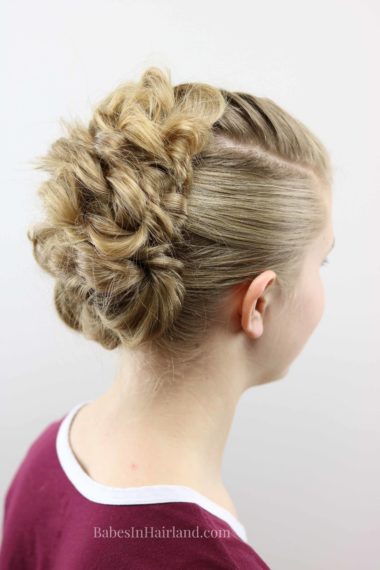
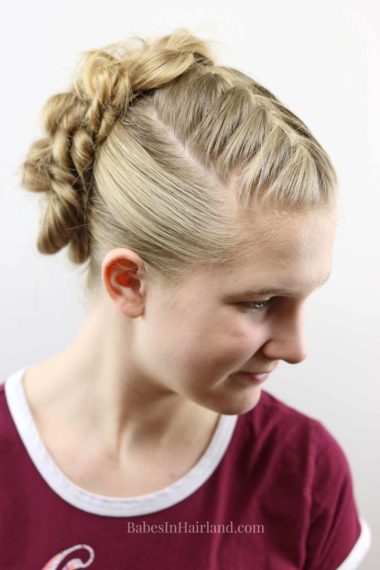
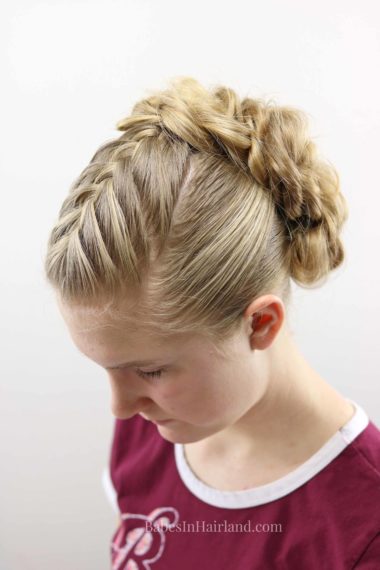
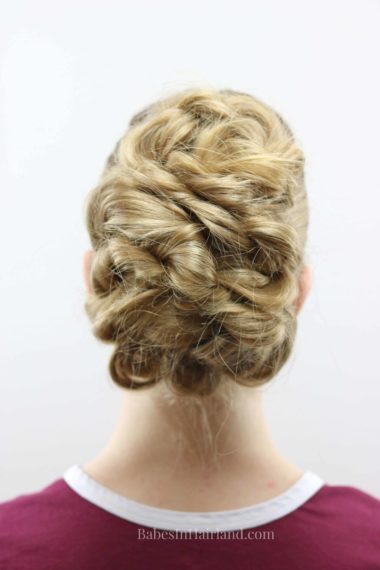
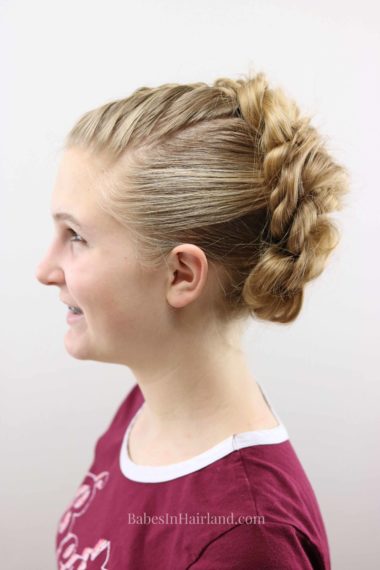
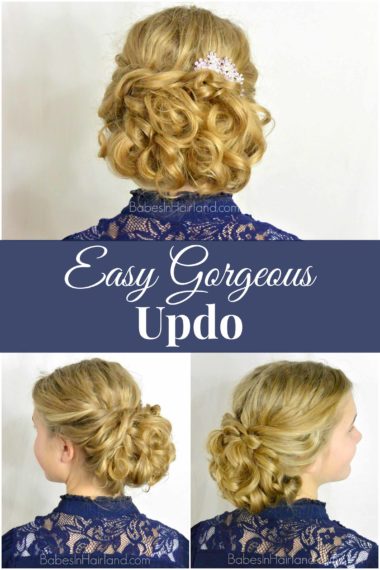
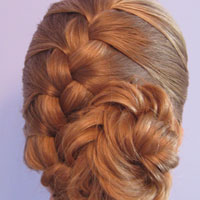
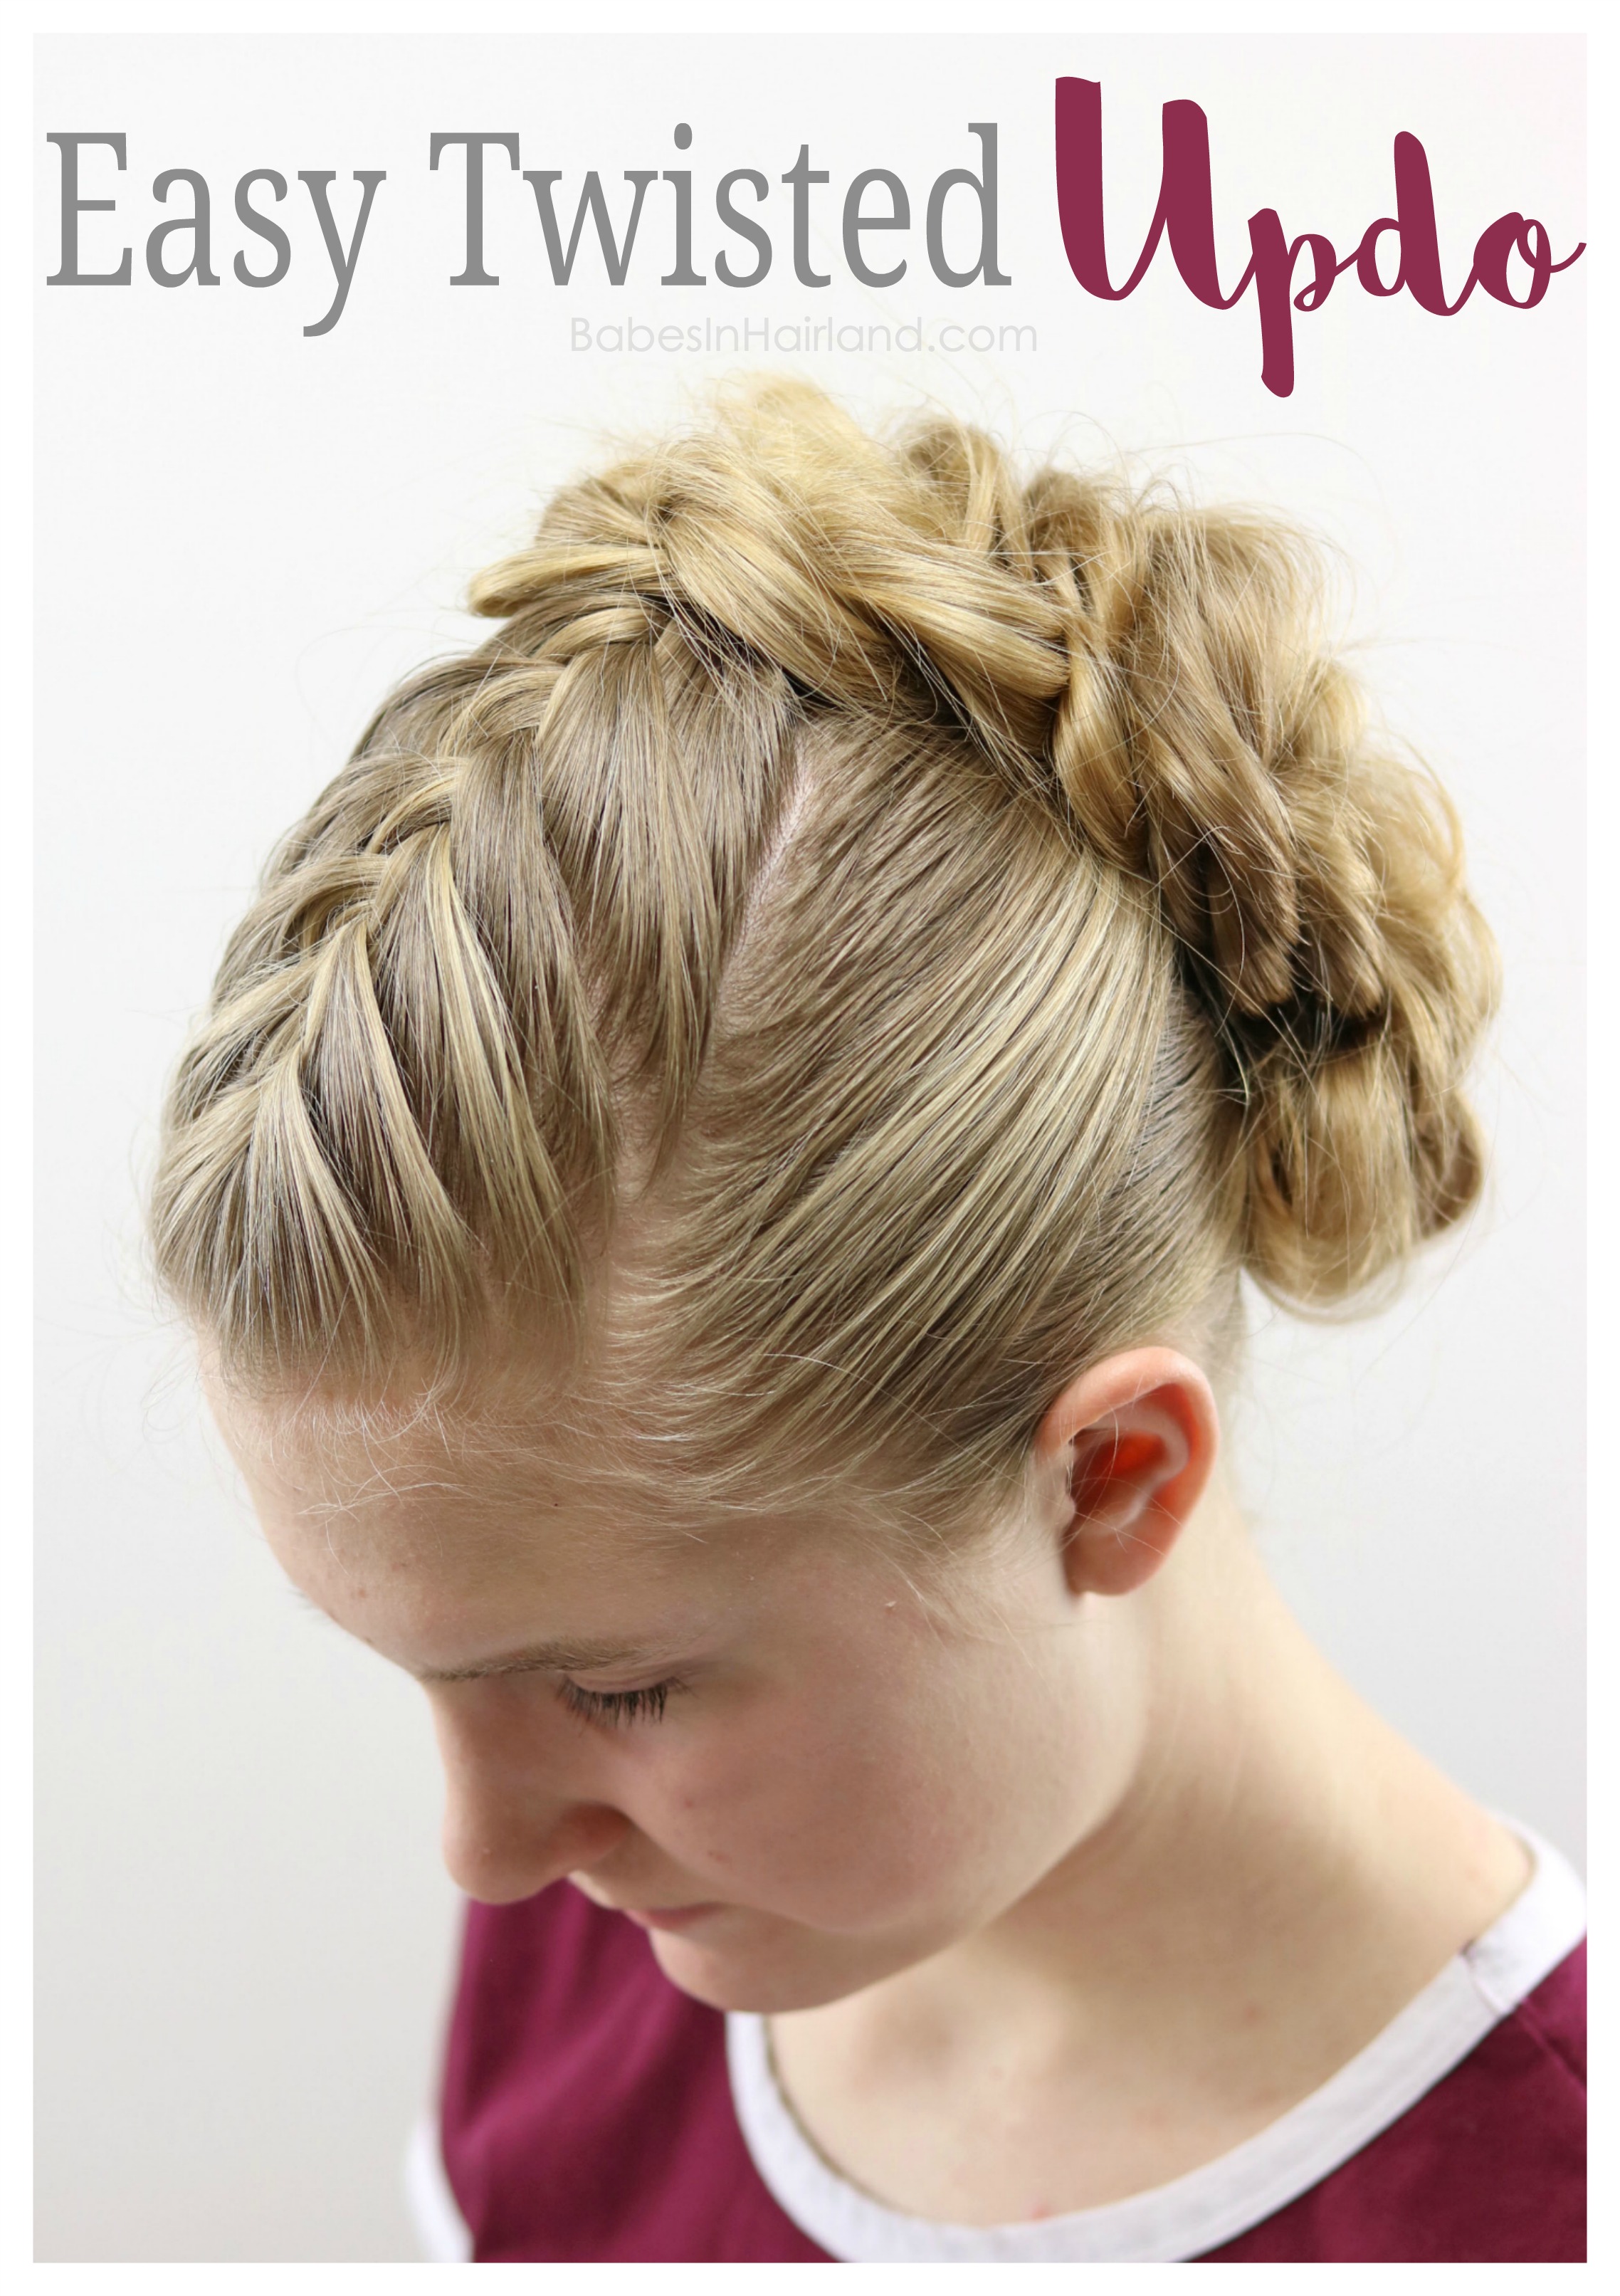
 The schools in our area have started having their proms, which always means beautiful hairstyles. Over the years I’ve had the opportunity to do many updos and hairstyles for school dances. This year was no exception. I just love a beautiful updo! I got looking back through our tutorials, and realized it had been quite a long time since I had shared an updo. So today’s hairstyle is in honor of proms and even for wedding season that’s just around the corner!
To create this updo, we used Goody’s Clear Elastics, and Supreme Bobby Pins by Marianna
. If you want, add any accessory you wish to the finished updo.
Watch our quick video and then check out more pictures below. If you can’t see the video, watch it HERE.
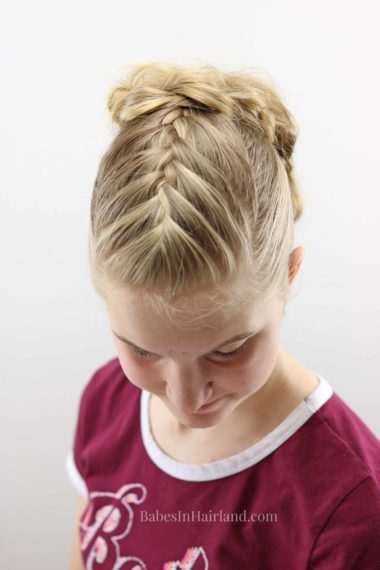
1 – Part out a rectangular section of hair on top of the head and make a French braid with this section
2 – Once you reach the crown, stop braiding and secure the braid with a clear elastic
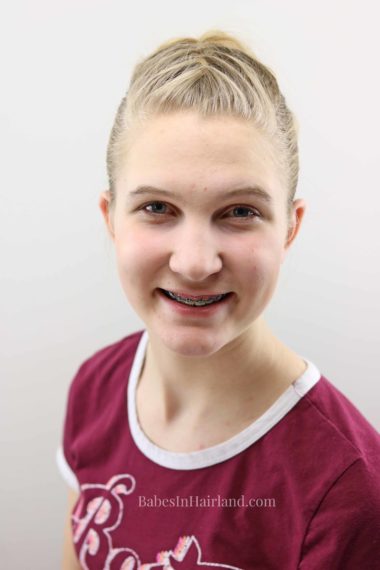
The braid on top is entirely optional, but it adds so much to this style. You could do a twist, 2 French braids, a Dutch braid, or whatever you prefer in this section of hair. It just is nice when updos have something beautiful and visual from the front as well as the back. If you opt to skip the braid on top, be sure to create a ponytail near the crown with this rectangular section of hair.
3 – With remaining hair down in back, part from ear to ear and create 2 more ponytails, one right below the other
4 – Starting with the top ponytail, divide it into 2 pieces, and create a rope braid/twist
5 – As you twist, every so often, go back up and pinch and pull the edges of the twist to mess it up and make it thicker. You don’t want it to look like a regular rope twist!
6 – Once you reach the end of the hair & you’ve pinch and pulled the twist apart, secure the end with an elastic
7 – With the middle ponytail, divide it into 2 sections. Create 2 rope twist/braids with each of these sections. Pinch and pull on them as well to mess them up and make them thicker and wider
8 – Repeat the above process with the bottom ponytail near the neck
9 – You will now have 4 twists that have been pulled on and don’t look a whole lot like a skinny rope twist/braid
10 – Starting at the top twist, loosely wind it around in an oval shape and start securing with bobby pins
Don’t wrap the twists up in a circular fashion to create a regular bun. You don’t want a “faux-hawk” and you don’t want this to be tightly wound.
11- Work your way down the head, snaking the twists around until they lay nicely. Secure as needed with bobby pins
12 – Optional – add an accessory to dress up your updo even more
FINISHED UPDO!
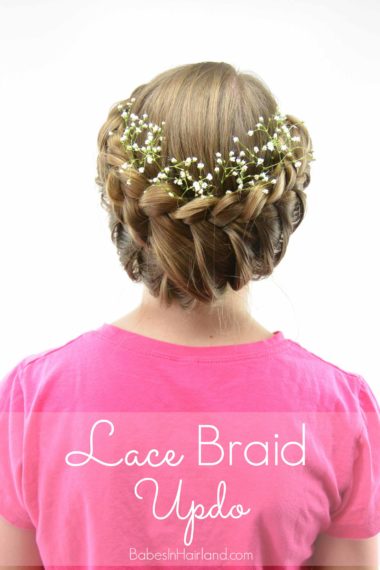
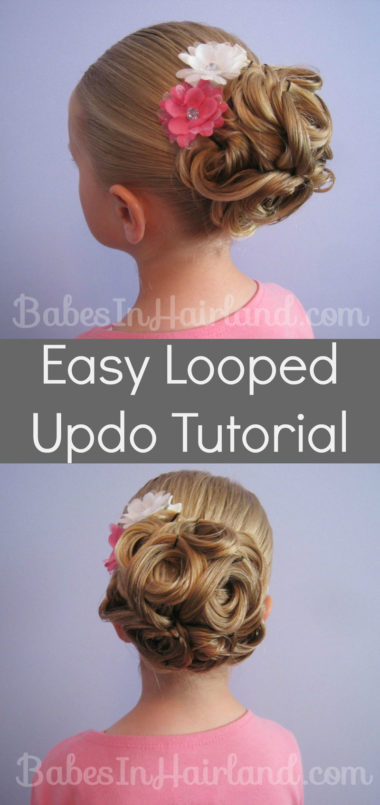
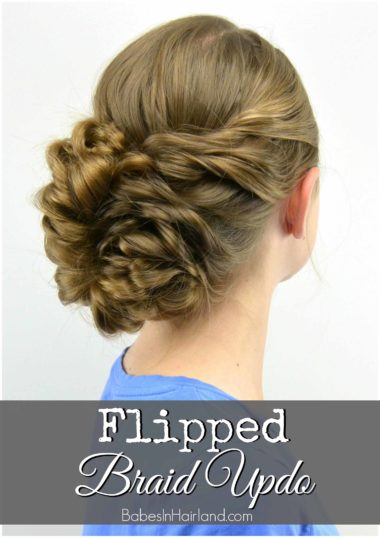
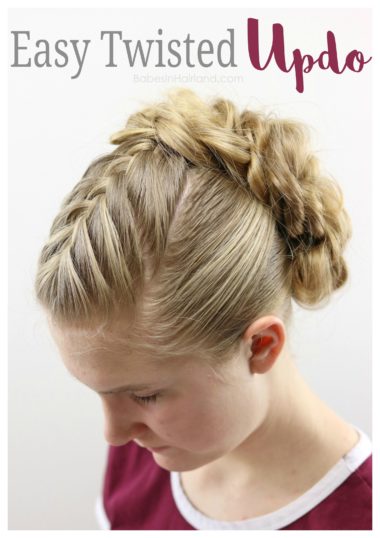
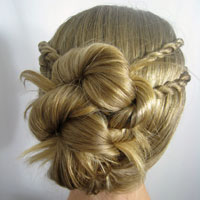
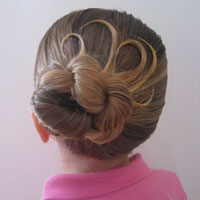
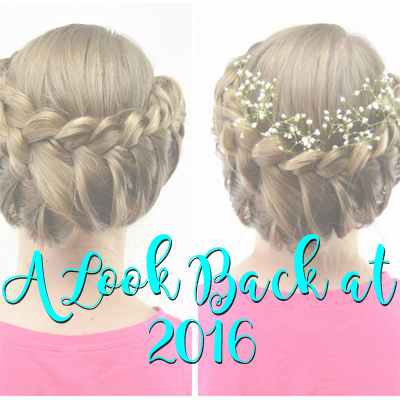
If you’re looking for other more updos for a special occasion, click HERE. Below are a few of my favorites.
Don’t forget to PIN THIS updo and share with your friends! We know they’ll love it!
