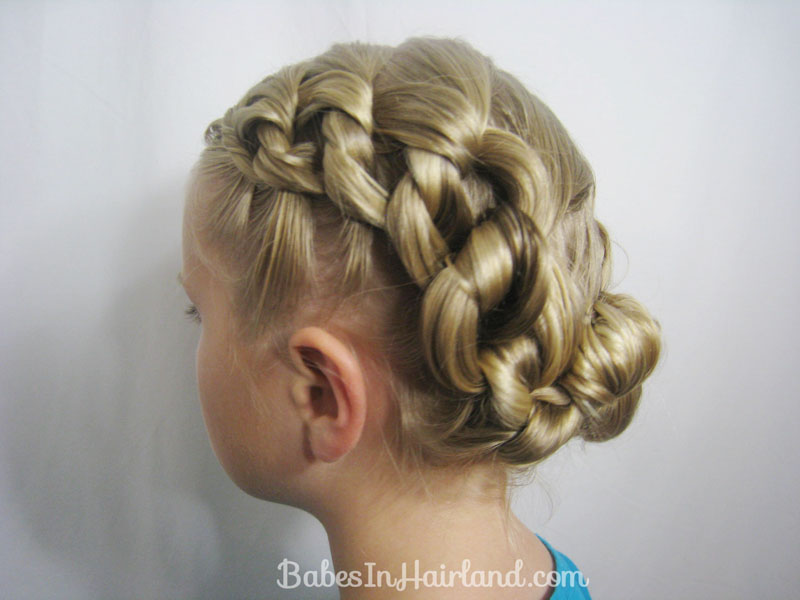
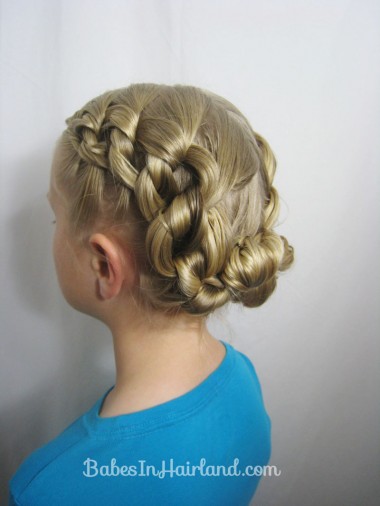
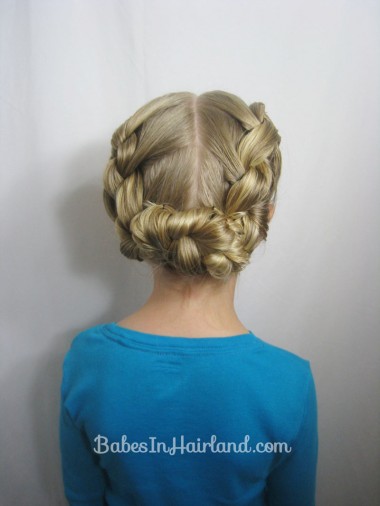
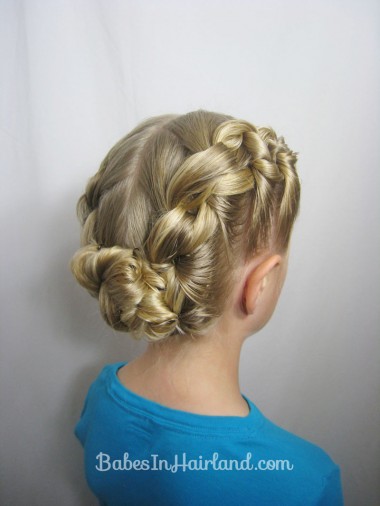
For today’s tutorial, we are adding on to our style from last week. What’s better than getting 2 hairstyles out of 1?! The Chunky Knotted Style from last week could be for a school day, and today’s style could be for a fancier occasion.
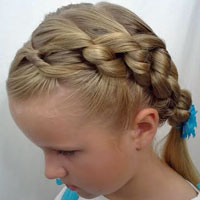
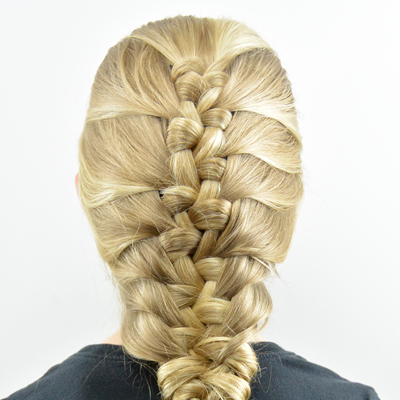
But backing up a little, I assume you saw our style from last week? If not, below is quick reminder! If you want to see how we did it, you can head over to watch that video HERE. You’ll need to know how to do last week’s style to be able to make today’s style!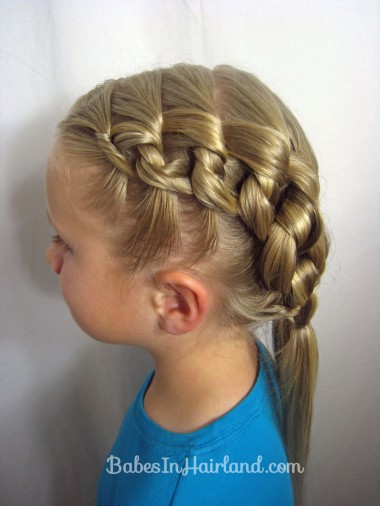
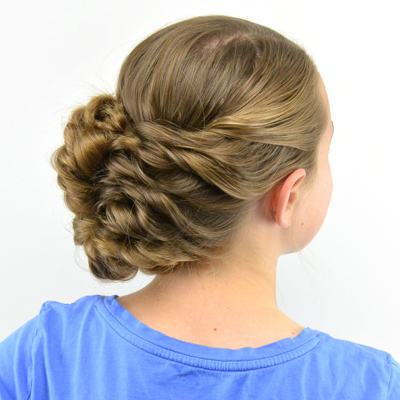
So we basically added one more step to the process and turned the above pictured style into an updo. Here’s our video on how it’s done.
Here are the basic steps for the entire style (not just what’s shown in the video.)
Step 1 – Part the hair down the middle
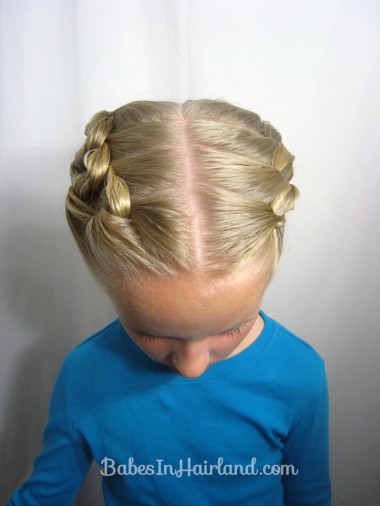
As you can see by the pictures in this post, we’ve parted it straight, and for a different look we zig-zagged it too, so whatever you prefer. Having very damp hair for this style is extremely helpful.
Step 2 – Start on the left side & part out small triangle
Step 3 – Divide that section of hair in half
Step 4 – Make a half knot
Just like when you’re tying your shoe – pass the left one under the right, then over, and through the hole. Pull it tight to the scalp.
Step 5 – Secure with small claw clip
Step 6 – Part out section of hair right behind your knot
Step 7 – Divide that section of hair in half
Step 8 – Incorporate “tails” from the first knot into this section
Step 9 – Make another half knot & pull tight
Step 10 – Temporarily secure with a claw clip
Step 11 – Repeat steps 6-10 until you run out of hair to add
Step 12 – Secure at the nape of the neck with an elastic
Step 13 – Take the 2 ponytails & join them together & start making knots
Make knots until you run out of hair & secure with an elastic.
Hi Princess Bee!!! You look fab!!! Beautiful style, great job Mom!!!