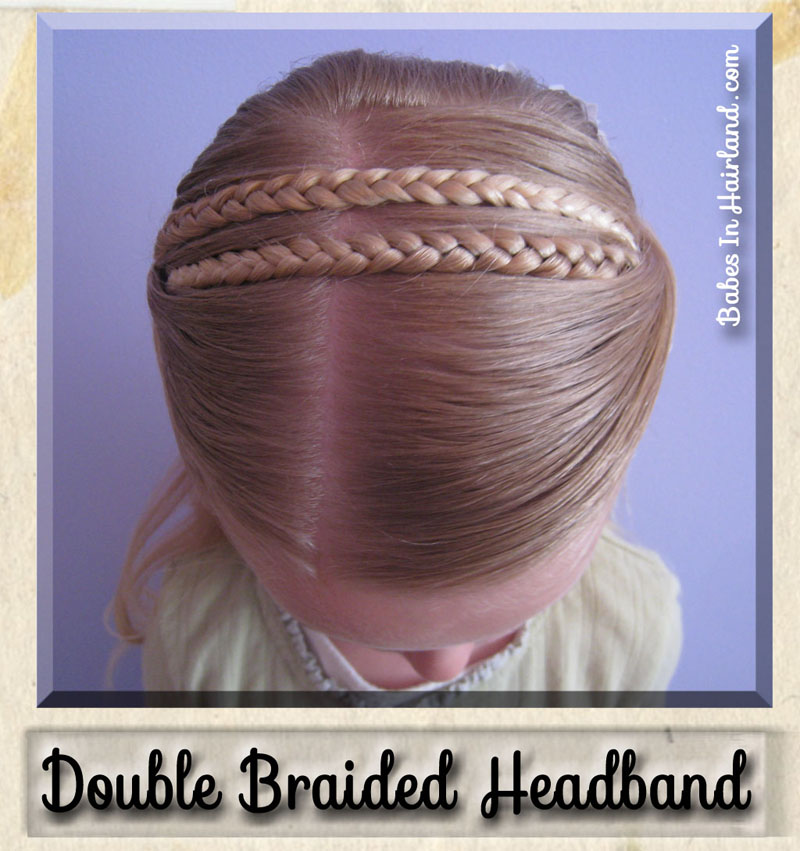
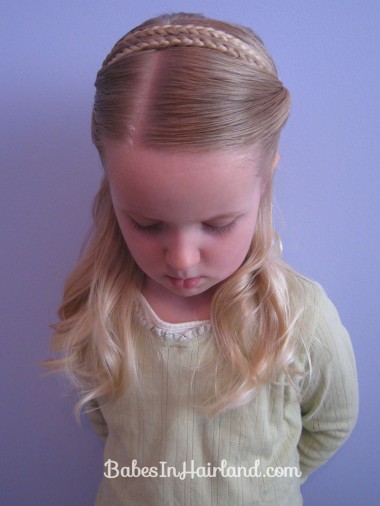
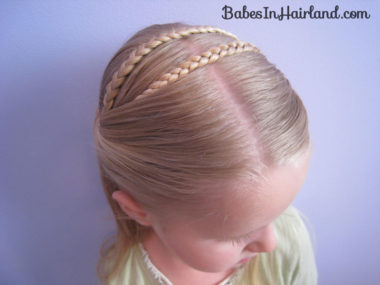
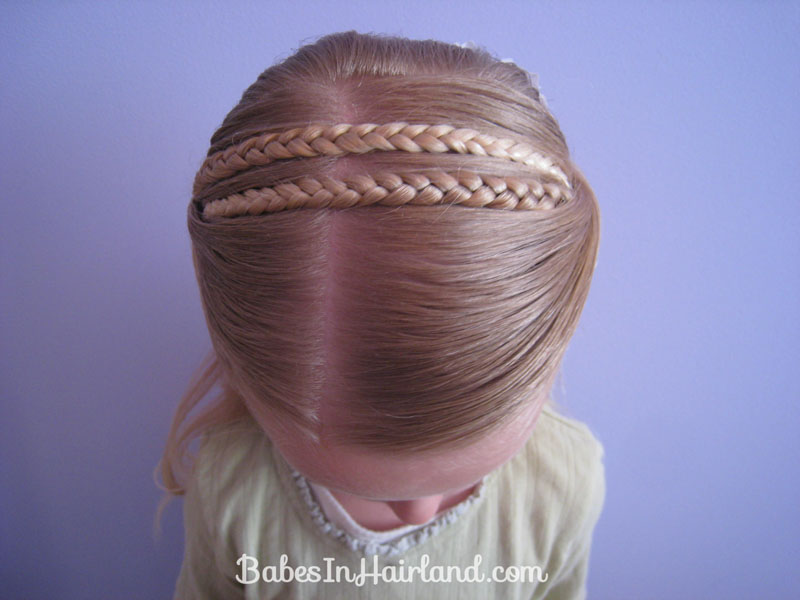
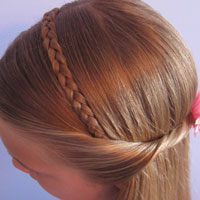
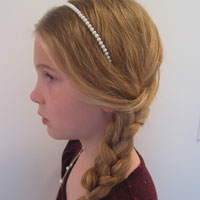
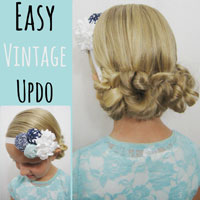
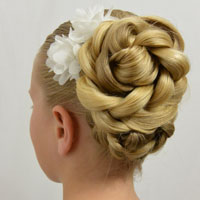
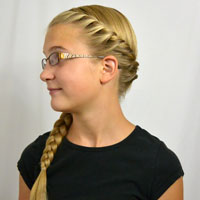
After I did the braided headband that I posted the other day, I kept wanting to try it with 2 braids instead of just the one. Since Bee was the only girl home at the time, she was the “lucky” recipient of this version of the style. I loved it just as much, if not more than the style sporting the 1 braid.
I did it the exact same way as I did in the post for a Braided Headband for Any Age but did a braid on both the left and right sides. You’ll have to refer back to that post for the step-by-step pictures. Bee’s hair gets rather thin at the end of her braids and her hair barely reached over to where I needed it. So it’s a good thing I do the twists with the front “bang” area to cover it all up! You’d never know there were bobby pins holding things down and rubber bands hiding in there.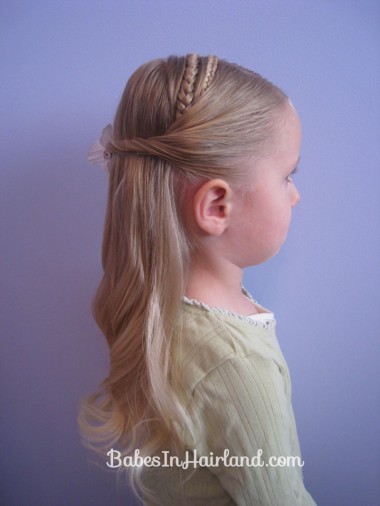
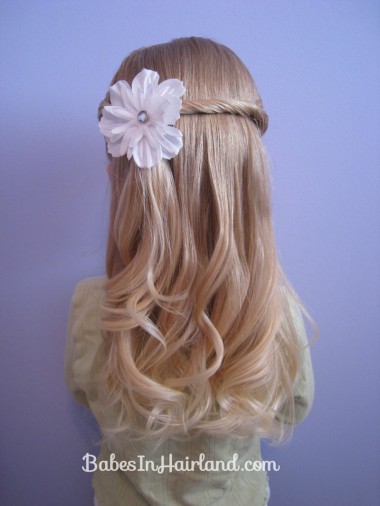
And of course to “pretty” things up, I curled it a bit with our flat iron, and added a fun spring flower from Gimme Clips. It’s got a bit of bling in the middle and I’m half way tempted to pull out my i-rock tool from the Gimme Glam kit and add a bit more!
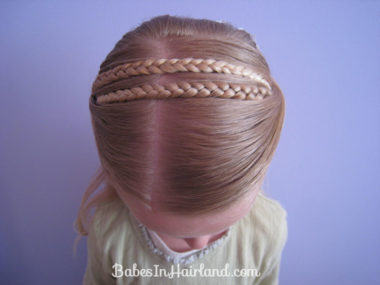
This is how I’d arranged the braids when I’d first done her hair:
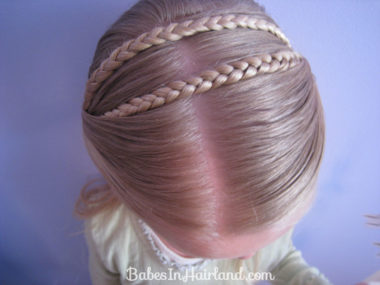
But later as the day wore on, I guess they loosened up a tad and so they separated from each other. I pulled her aside for a few more quick pictures because I actually really liked them further apart too.
What do you think? Do you prefer the braids closer together or further apart? Either way, I love love loved, this version too!
And once again – it’s for any age — as long as you’ve got enough hair to semi-stretch over your head! Even if you don’t think you do, or if it’s borderline –try it, because you can arrange the front of the hair & be sneaky to hide things quite easily! 🙂
