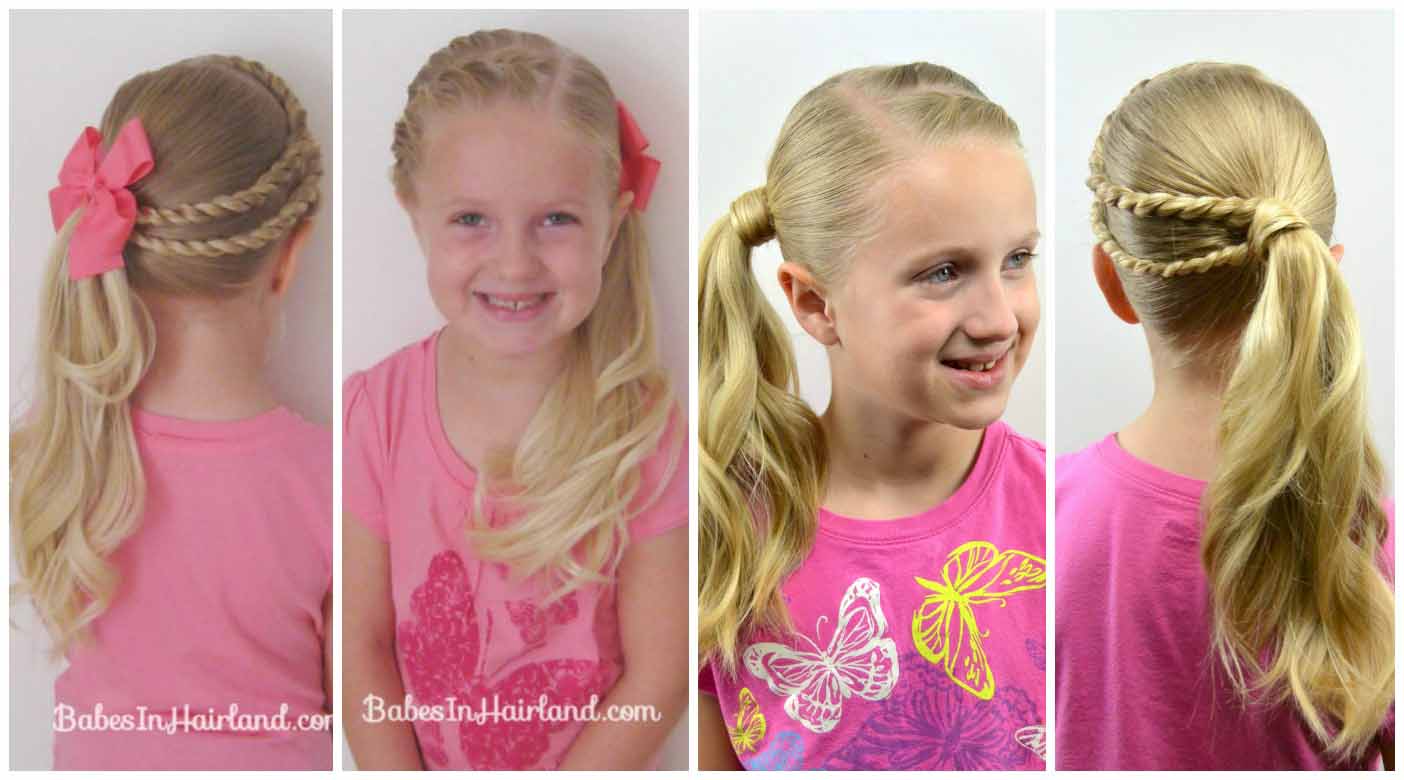
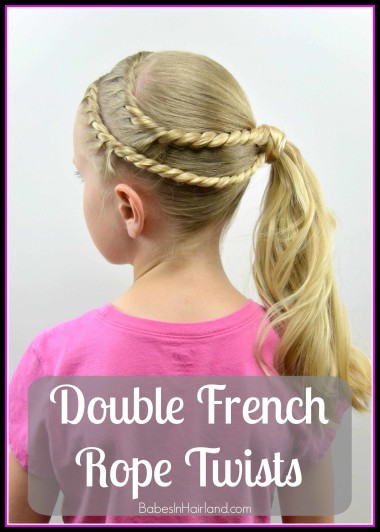
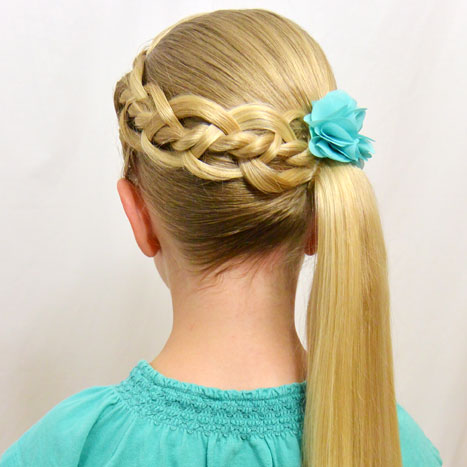
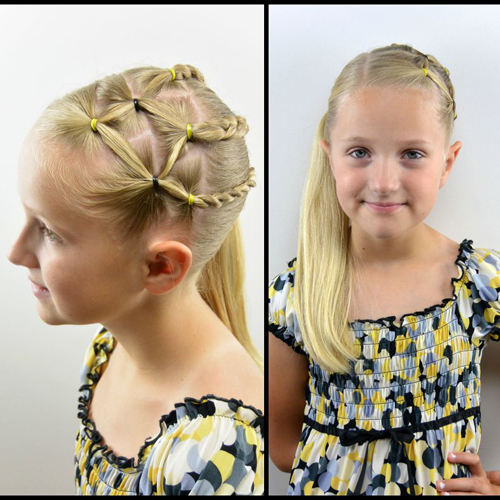
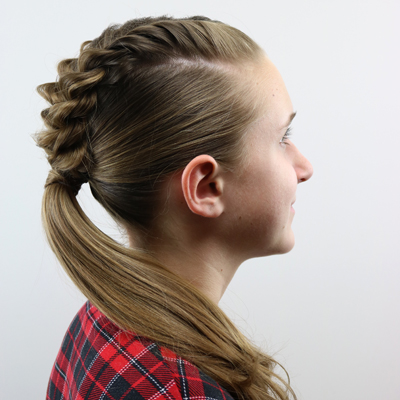
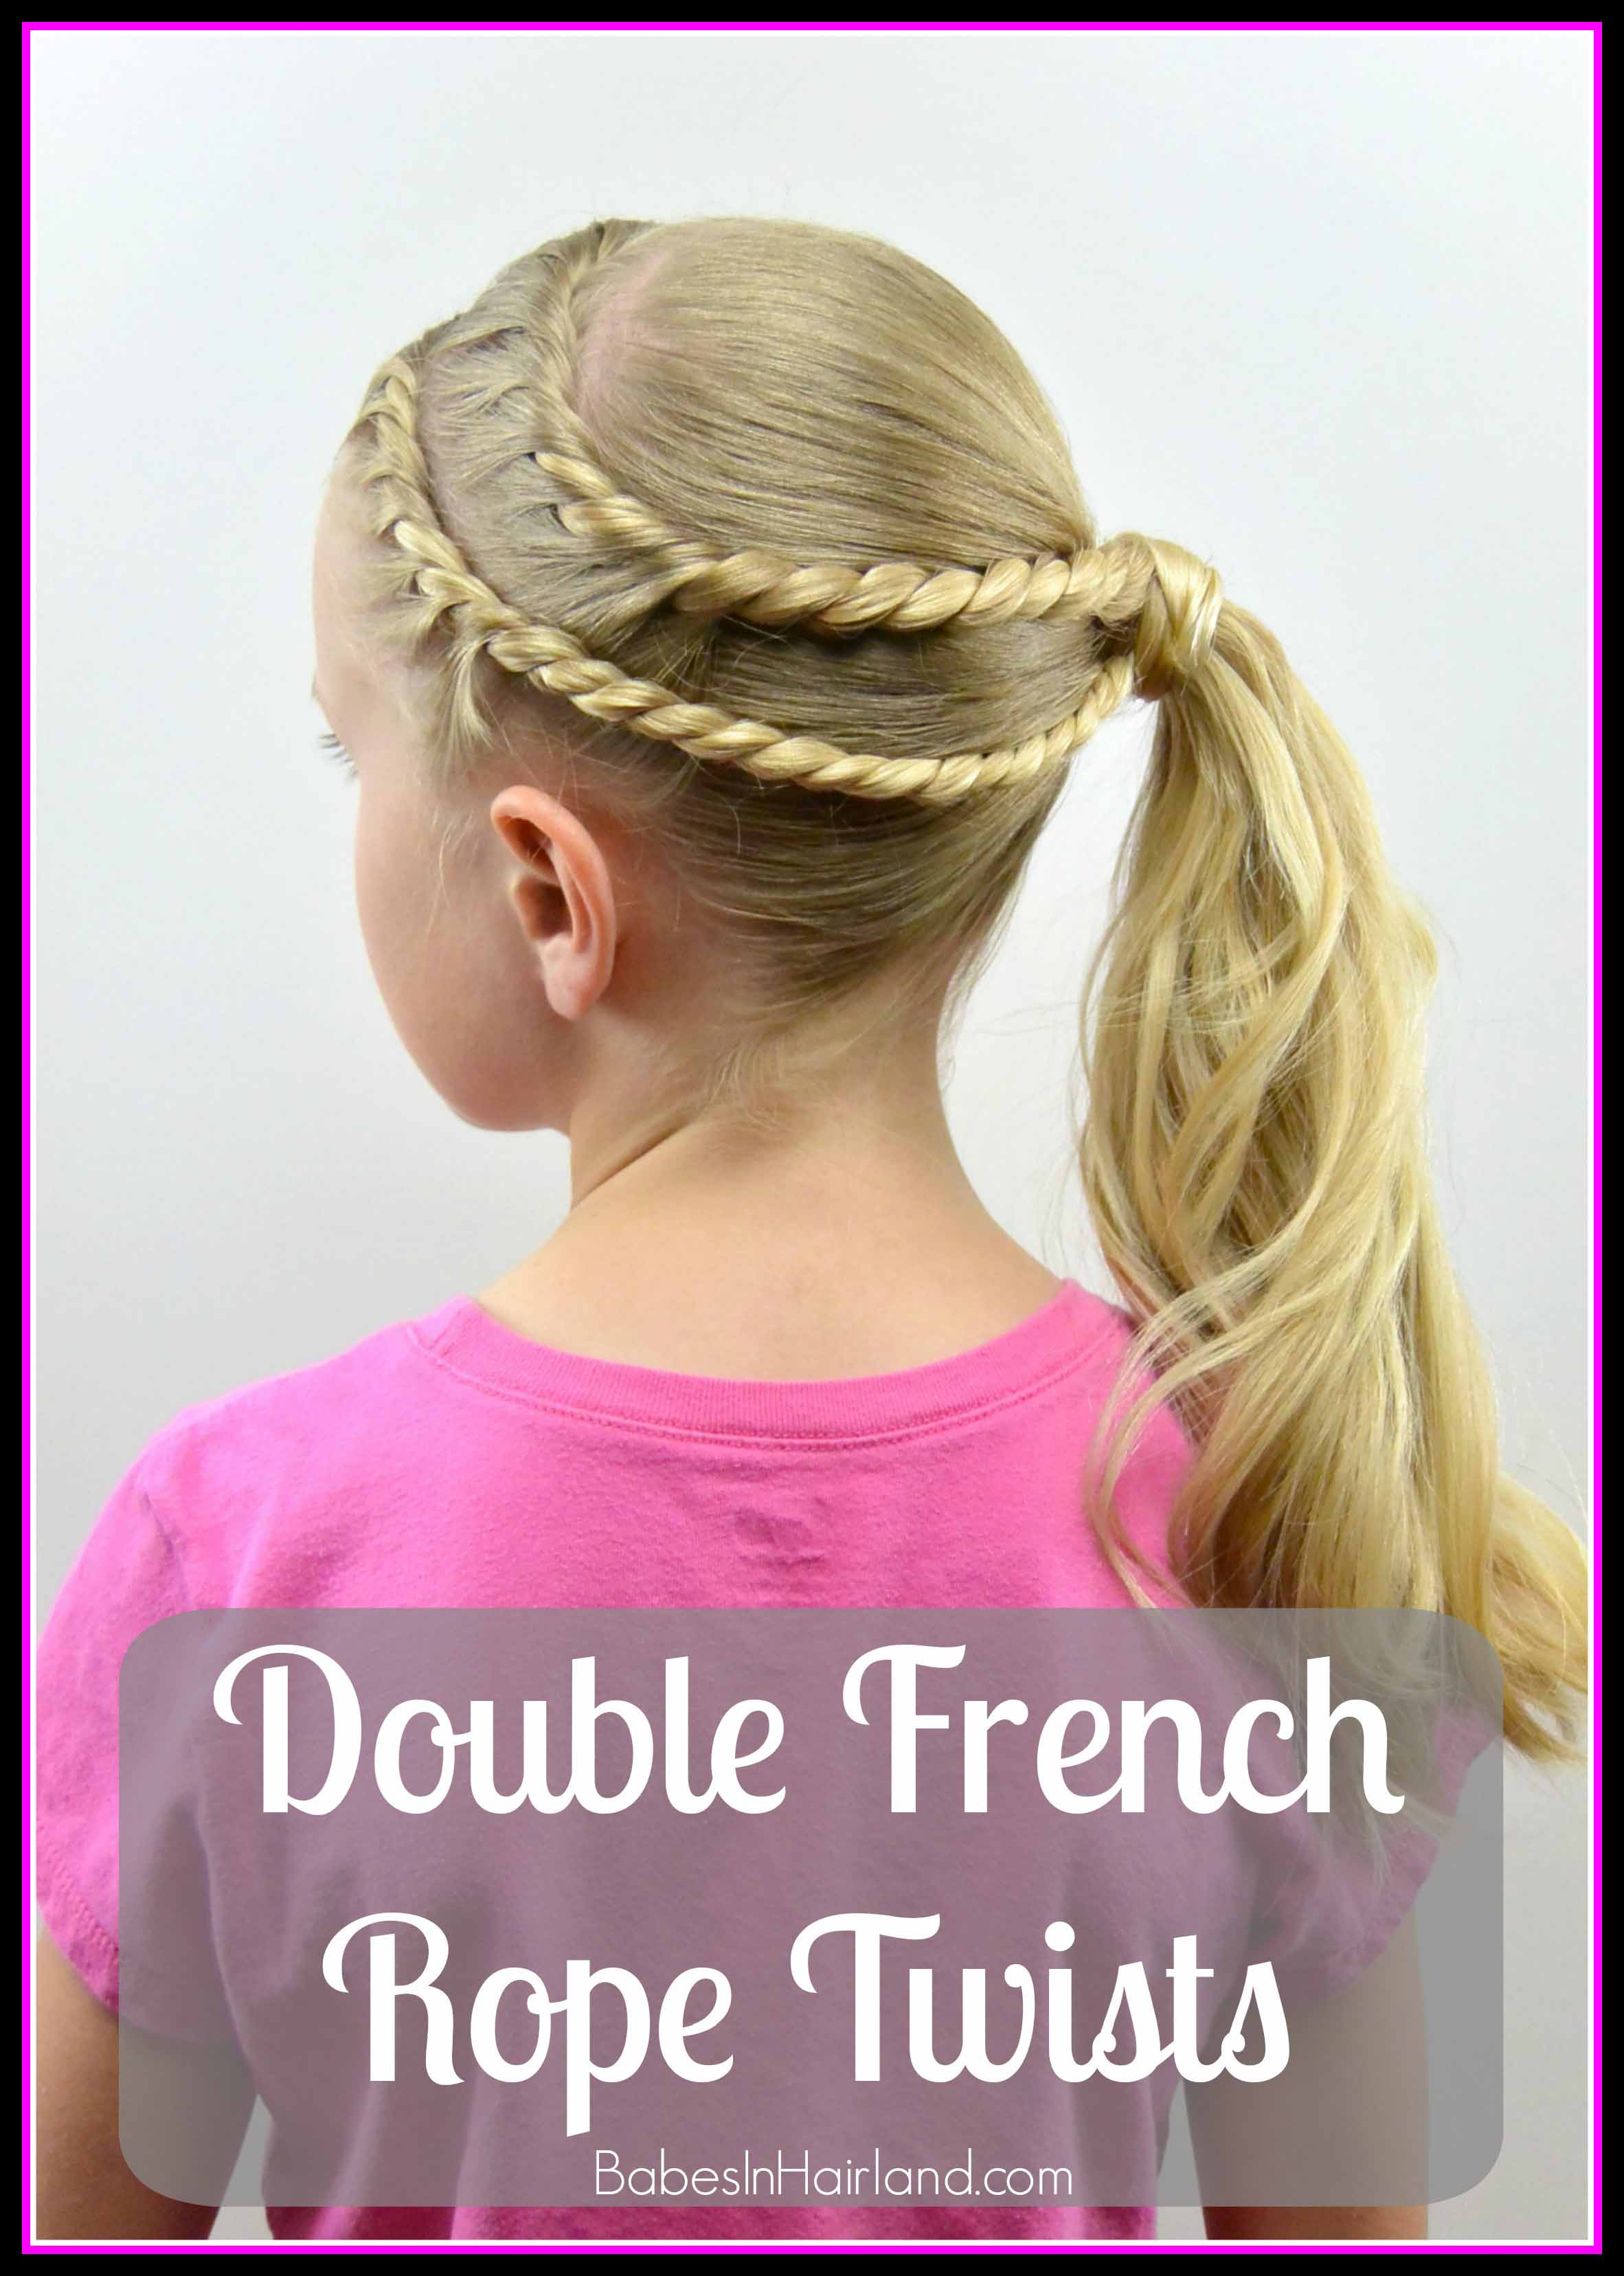
 This style is actually from our 2011 archives, and depending on how long you’ve followed us, you might recognize it. At the time I’d only posted final pictures of the hairstyle because it was Bee’s hairstyle she wore on her first day of Pre-School. Wow, how time flies! Despite this being from several years ago, it continues to be pinned a lot and people continue to ask how it is done. I did a brief explanation with the few pictures I’d posted back then, but figured it was time to recreate it and make a tutorial. Obviously Bee’s hair is a bit shorter than it was back then, but the style still worked just fine. We also did today’s tutorial on the opposite side of the head than before, so if you prefer, do it on the opposite side as we originally did.
But quickly, before we get to our hair tutorial – we’ve picked a winner of the Hot Iron Holster giveaway. Drum roll please . . .
The Winner is:
 Congratulations Lindsay! Please contact us through our contact form tab with your address and which Hot Iron Holster you’d like to receive. Thanks again to everyone who entered. And don’t forget — you can use code Babes15 over at Holster Brands and save 15% off your purchase through 4/20/15. So click HERE to head to Holster Brands site to order yours today!
Ok, so on to our tutorial. This is a fun comparison of how Bee looked back in 2011 when we first did this, and now as we recreated the style for today’s tutorial!
Step 1 – Create a side part that goes back to the crown, and then down to the left ear
Step 2 – Gather all the remaining hair in back and make a side ponytail on the right side of the head, securing it with an elastic
Step 3 – With the hair from Step 1, make another vertical part that divides the hair in half, from the side part down to the front of the left ear
Step 4 – Temporarily clip the section closest to the face out of the way
Step 5 – In the back section of hair, near the side part on the top of the head, take a small amount of hair and divide it in half
Step 6 – Pass the left section over the right section and then drop the piece that had been on the right side
Step 7 – Add a small amount of hair to the section you just dropped, then cross it over the other section and drop the other section of hair
Step 8- Add a small amount of hair to the new section that you just dropped, and again cross it over the other section, dropping the other section of hair
Step 9 – Continue this process of dropping hair, adding hair, then passing it over until you run out of hair to add
Step 10 – Then with remaining hair, continue twisting making a rope twist/braid
If you still struggle with rope twists/braids, watch our rope twist/braid video HERE. You could also do these twists as uneven French rope twists, which we recently showed how to do as well. We show how to do those HERE.
Step 11 – Once the twist can reach across the head to the ponytail, temporarily secure the end with a clip
Step 12 – With remaining hair near the face, repeat the process of twisting, dropping, adding hair, and crossing over again. Then as before, once you can no longer add hair, just make a regular rope twist that reaches the ponytail.
Step 13 – Draw both twists back toward the ponytail. Place the twist closest to the face underneath the ponytail and the other twist on top of it.
Because these twists tend to loosen up initially, you may want to twist them back up a bit so they are tighter before securing them to your ponytail.
Step 14 – Secure with an elastic to your ponytail
We use Goody Elastics and find they hold things together wonderfully.
Step 15 – Wrap the base of the ponytail with hair
When we first did this style in 2011 we topped her ponytail off with a bow which you could easily do as well. Watch our video on how to wrap the base of your ponytail with hair HERE if you decide to do that.
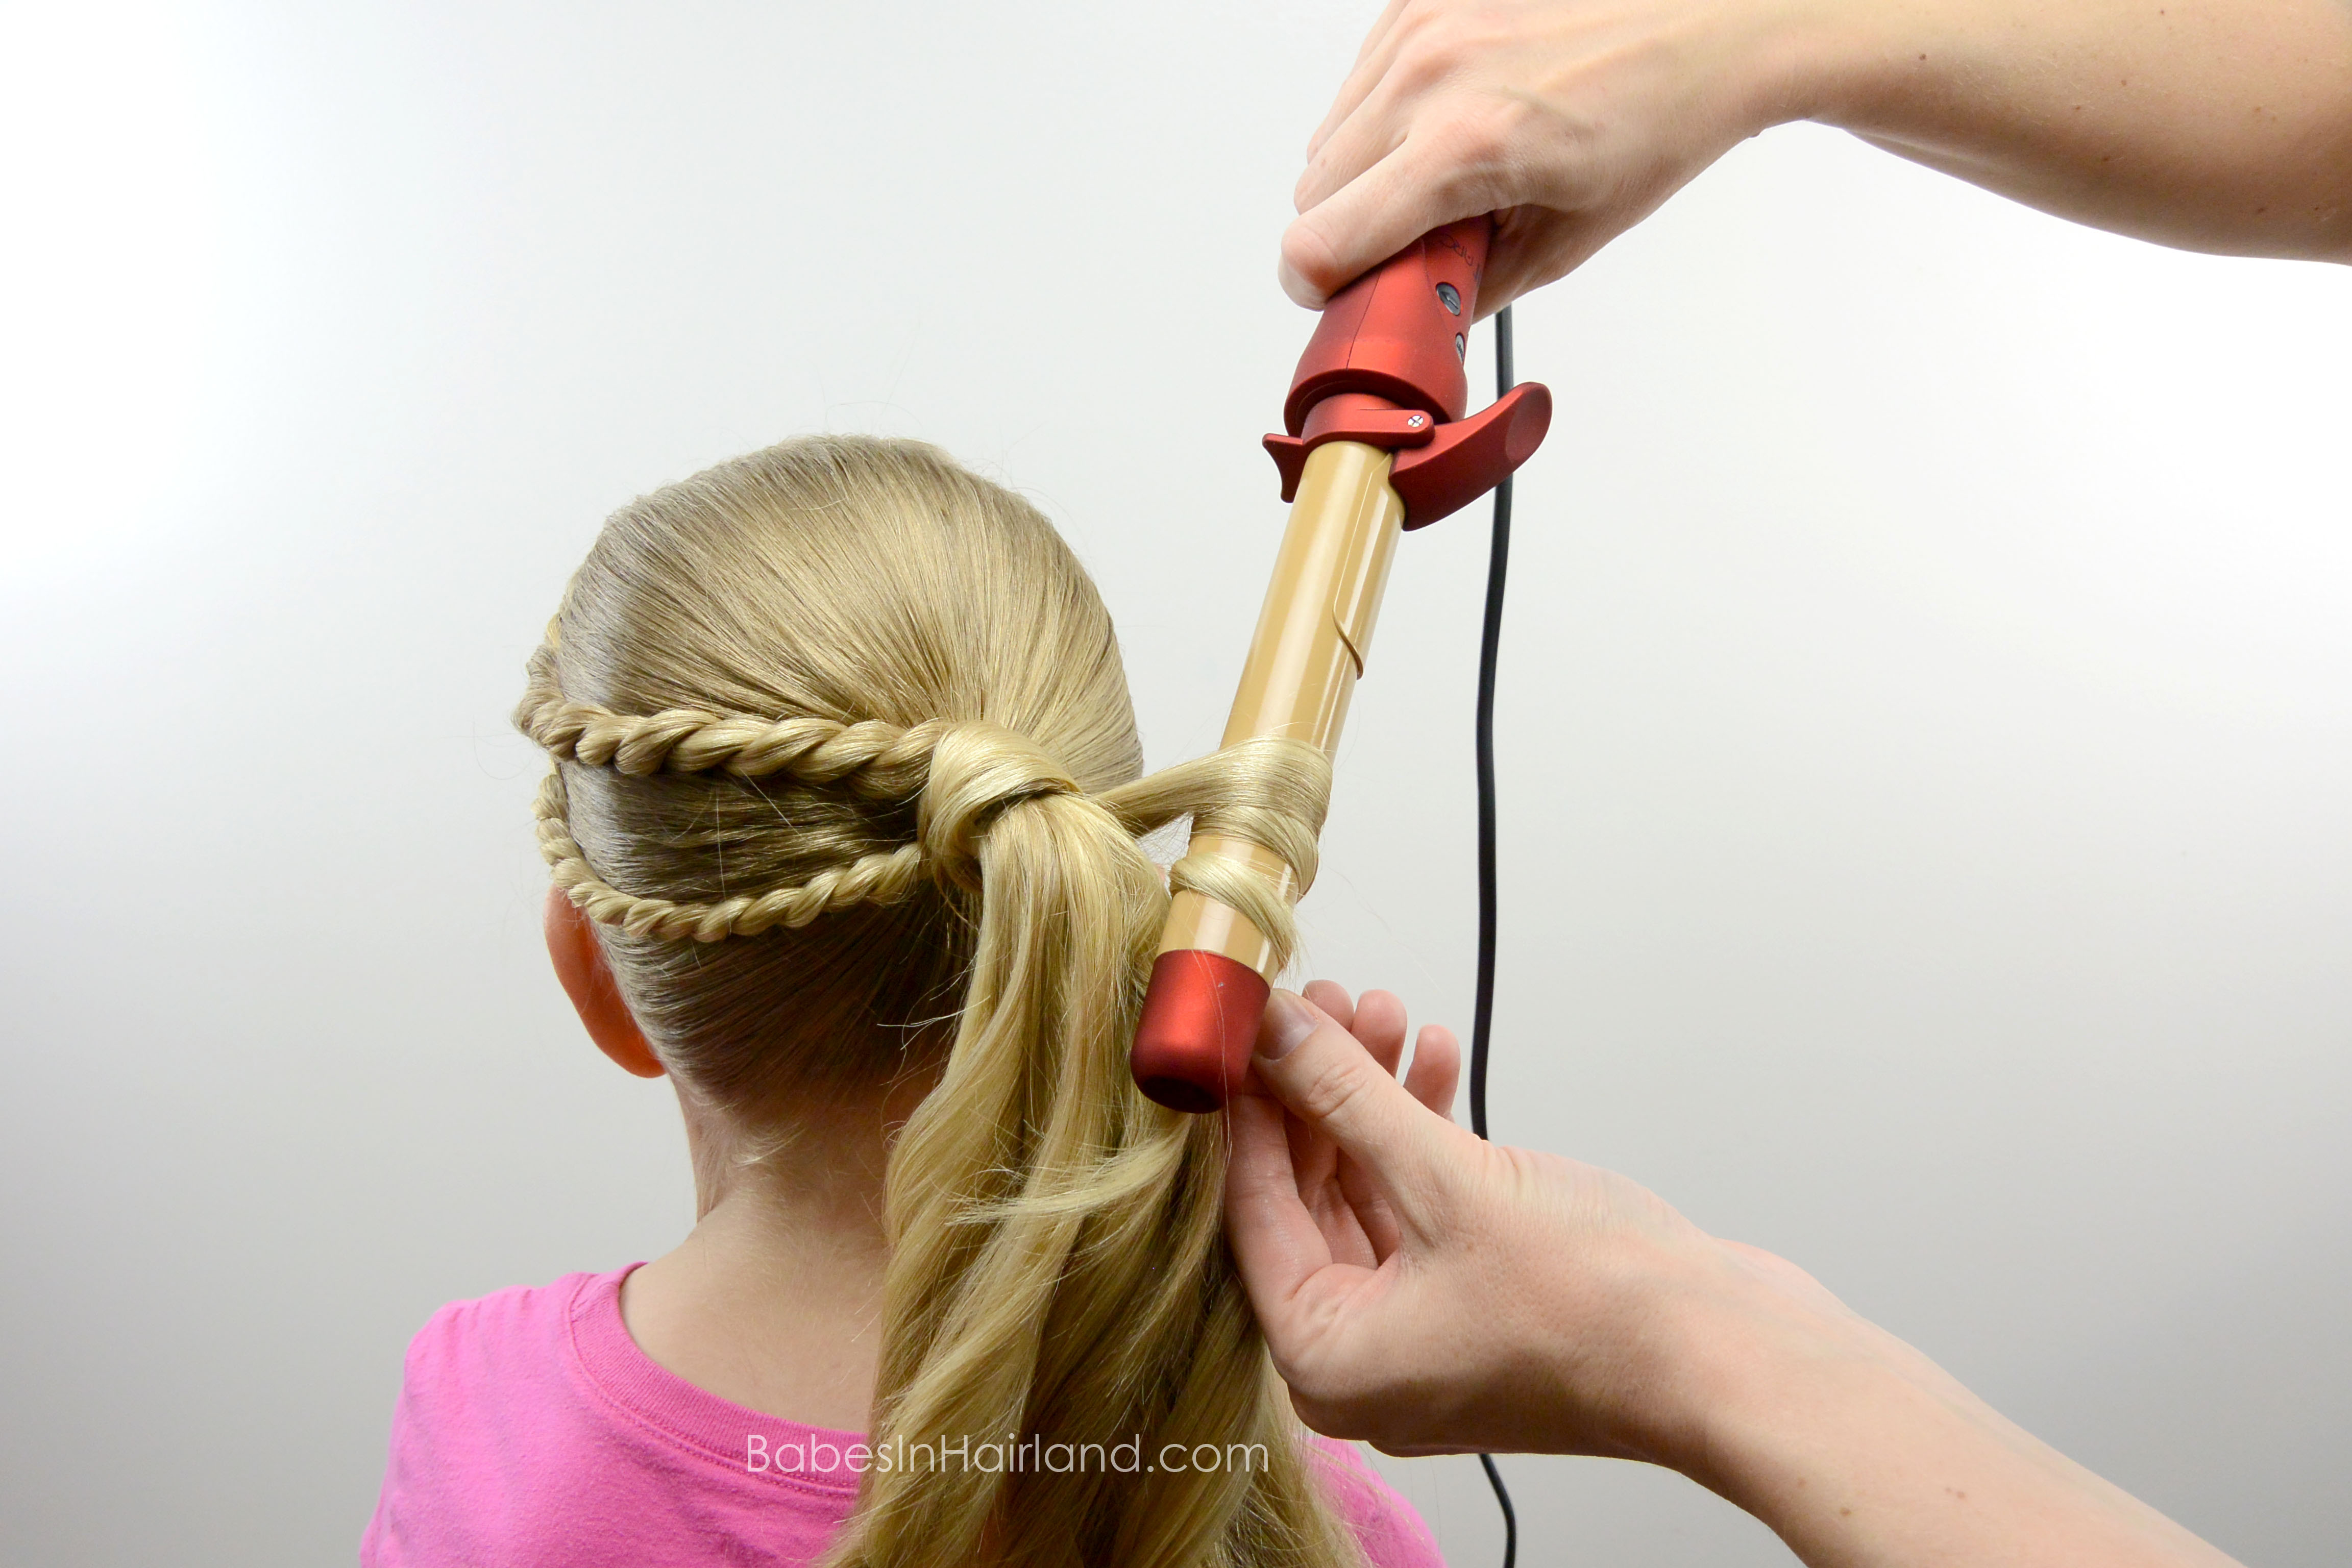
Step 16 – (Optional) Curl the ponytail
We actually used our CHI ARC to create some loose curls in her ponytail. If you missed our review of the Chi Arc, check it out HERE. We just love ours and it’s got rave reviews on Amazon. You can snag your CHI ARC Ceramic Curling Iron HERE
today! However, rather than using the clip and the automatic rotating option, I quickly wrapped hair around the barrel as if it was a curling wand. I didn’t have the iron up very high, nor did I leave the hair on the barrel overly long, since I just wanted loose waves. They turned out great!
FINISHED!
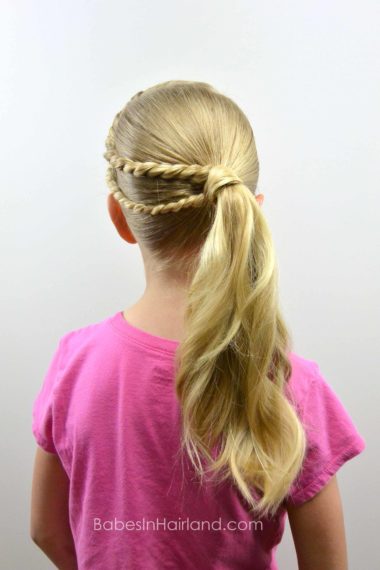
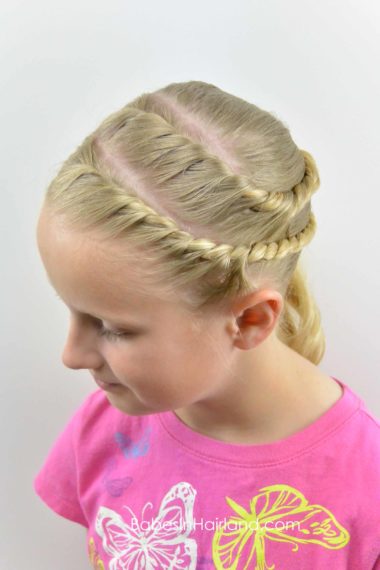
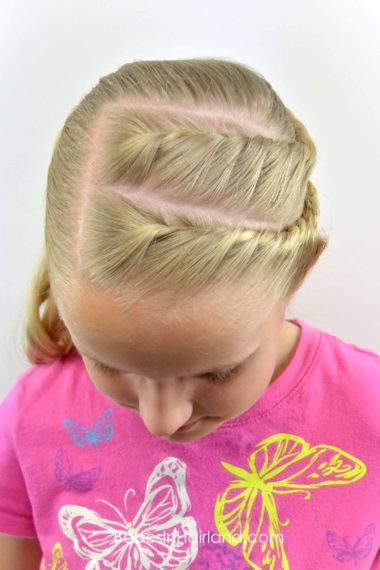
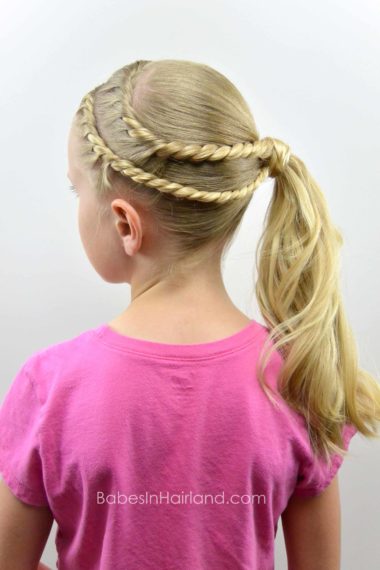
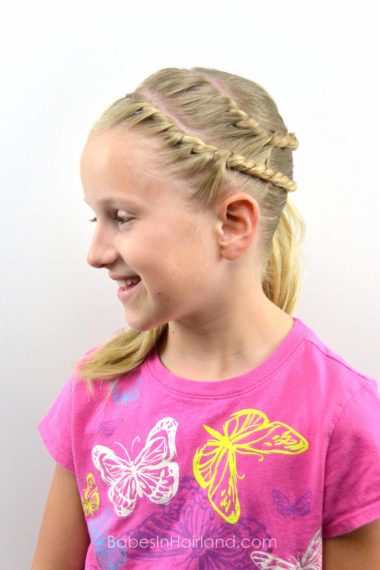
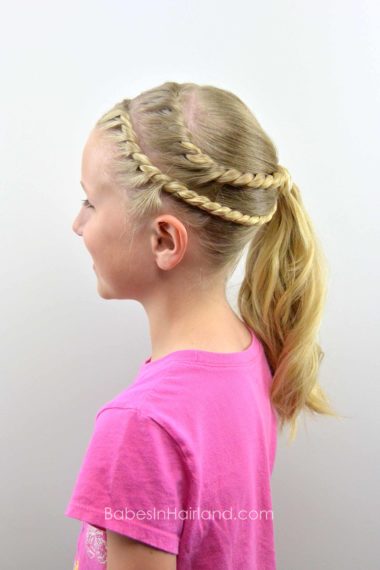
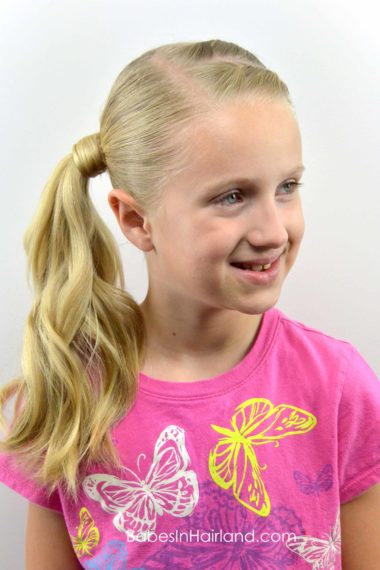 It’s hard to believe how much she’s changed since 2011! But I just love looking back at old posts and seeing the changes in them over the years! If you want to see our original Double Twists post, you can check it out HERE! And funny enough, I just realized, both times she was wearing a pink shirt with butterflies on it!
Be sure to pin and share this style! It’s one that’s great for school, or sports!
