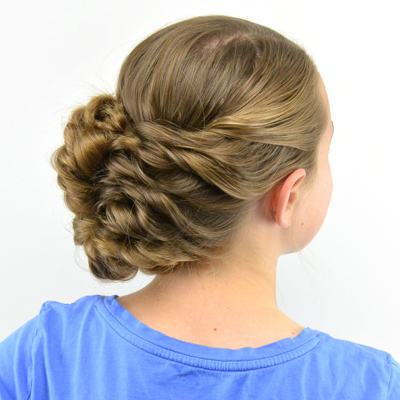
This one is for real! Or at least you won’t think it resembles anything I posted yesterday for our April Fool’s Day “Easter hair ideas!” I should have had this up hours ago, but for whatever reason, Blogger was giving me fits and I had to just try again hours later. This one has got tons of pictures so hang on tight!
")
")
Begin by parting the hair from ear to ear. Make a side part on the left side of the head. Hold each section with a clip in front of the ear for now.
")
")
You’ll want to use some type of rubber band that isn’t very visible. I use these great ones by Goody that can be used more than once. They are totally durable.
")
Part the hair around the crown/back of the head and secure it into a pony tail – off setting it to the right side of the head.
")
Pull that pony up out of the way for a moment, and make a 2nd pony tail with the remaining hair below. Secure with a rubber band, also off setting it to the right.
")
With the bottom pony tail, wind the hair around your fingers, to make a loop.
")
Wind the hair up to make a nice smooth loop & secure with bobby pins on the inside of the loop.
")
")
Take the top ponytail and mist it with water, or hair spray to ensure it stays sleek and smooth. Bring it towards the left side of the loop.
")
Wrap the ends of it around your finger –
")
And stick the ends into the middle of the loop you made with the bottom pony tail.
")
Once you’ve pushed the ends into the loop secure it in place with as many bobby pins as you need. I “hid” all my bobby pins inside the loop. This is where all the ends of the hair that you are working with will end up.
")
Here’s a left view from the side after you’ve secured the top ponytail inside the loop.
")
And a view from the right side:
")
Now take the right front section of the hair that you had held by a clip and smooth it out nicely. You are going to want it to “bend” or curve up behind the right ear, so temporarily hold it in place with a bobby pin or your rat tail comb.
")
Spray it with hair spray or just use a gentle touch to keep that curve to stay put. Don’t pull this hair too much, as you just want to drape it over the top of the top ponytail.
")
Secure it as needed with bobby pins to keep the hair covering that top pony tail rubber band. Having slightly damp hair, or misted with hair spray will help too.
")
Once you’ve draped it over the top of the rubber band, you’ll curve the hair back down on the left side of the head, tucking the ends underneath the top ponytail (or into the bottom loop depending on the length of hair you’re working with.)
")
Here’s another side view of where I’m tucking everything in and securing it with the bobby pins.
")
")
Now take the remaining hair that is loose on the left side in front of the ear & smooth it with a bit of water or hair spray.
")
Twist the hair inwards towards the head.
")
Pass the twist over the hair you just finished working with, and then under the ponytail – out towards the right side of the head.
")
Once you’ve passed it underneath the ponytail bring it up over the base of that top ponytail (make sure the hair stays twisted.)
")
Secure it at the top of the ponytail with bobby pins as needed. Now you have the tail left from that twist hanging down on the left side of it all.
")
As you’ve done w/the all the other hair, tuck it inside and secure it with a bobby pin or two to ensure it stays put.
")
Once I was done securing everything w/ bobby pins, I felt like the left side kind of gaped a bit and you could see all the bobby pins and my “work are” inside it all. So I pulled a bit of hair towards the left to cover that area and secured it with a hair pin.
")
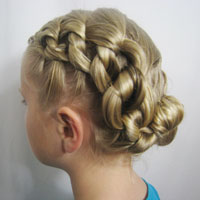
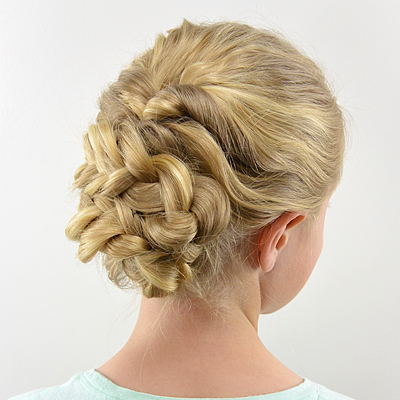
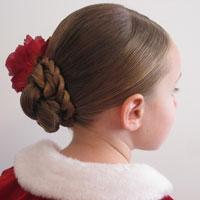
Here’s the finished product w/out accessories. I think it looks nice without them – but I wanted to try out those new hair pin accessories I made recently too – so I’ll show you both with and without.")
")
")
With our hair pin flowers I made recently:
")
")
")
")
Sorry there are so many pictures, I felt like with all the “tucking & hiding” I was doing, it might be helpful to have several angles of everything. I never know what may or may not help you when doing these styles! This one may seem harder because of all the pictures, but I promise it’s not as complicated as it may seem! Happy Easter everyone!
I love this hairstyle i got soooooo many complements from friends on how pretty is was!
I’m so glad you & everyone else loved this one! It’s one of our favorites too!
i did this one on my own head and i liked that there were so many pics because then i could just feel where to put my hair for it to turn out okay.
thanks
I’m so glad all my pictures helped. I always feel like my posts are so picture heavy, but if it helps someone I’ve achieved my goal! Thanks for taking the time to comment!