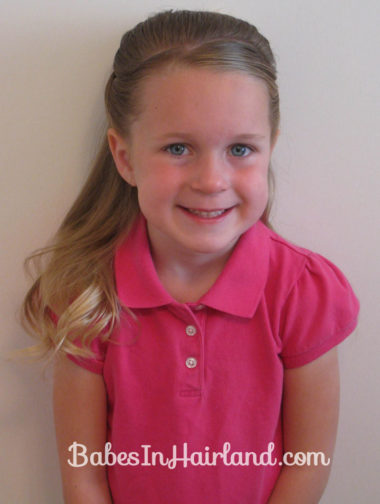
 If you remember one of my recent posts 3 Rope Braided Loops, I mentioned having a “fancier” version of that for you. Well here it is. You’ll have to excuse the pictures & the way I documented this because when I started I had no idea where I was going with this! I did this 1 before I ever did the simple loopies do that I previously mentioned.
Begin by making the infamous “Barbie bangs” I’ve done in many of my hairdo’s. Start at the right temple and make a diagonal part heading towards the left ear. Hold that hair with a clip out of the way.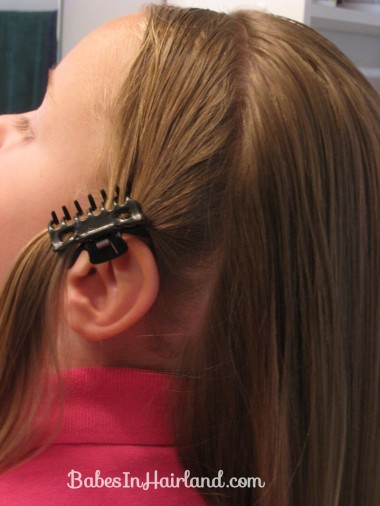
Then from that part at the right temple, part on the right side of the head down to the right ear.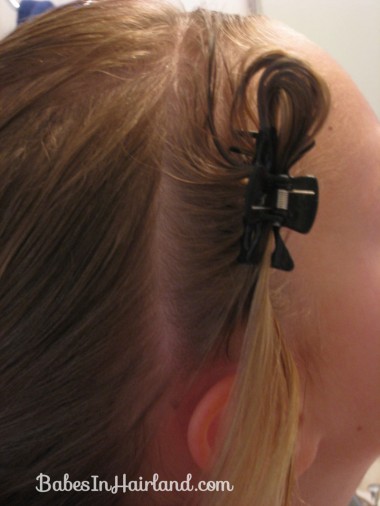
I forgot a picture from the top at this point- but here’s a closer up view when I was done. I sort of start the right sided part a bit behind the left one so it kind of makes a point. For some reason, it’s hard to explain this – but maybe better to understand w/the picture! 🙂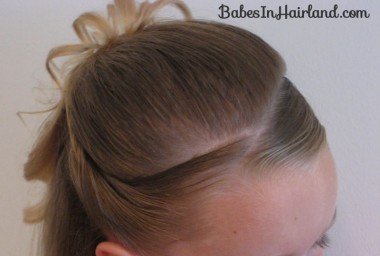
Anyway, then part the hair from ear to ear like you are going to make a 1/2 ponytail. But make it so you can’t see your part through to the scalp. I do this by parting it up higher and then bringing the hair back down over it a bit & securing the hair lower. If you like, you can back comb the hair to give it a bit of “boof.” I only slightly did this to her hair because she’s not a huge fan of the “combing out” process afterwards! Secure the 1/2 ponytail with a bunch of X’d bobby pins until you feel like it won’t be going anywhere.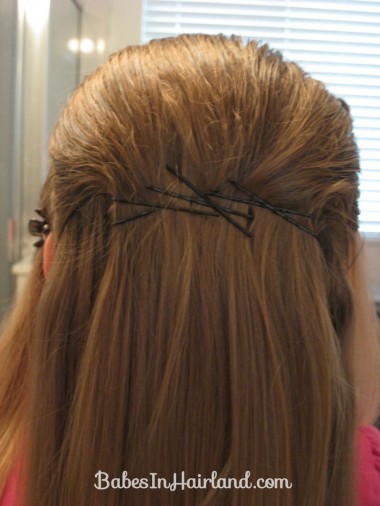
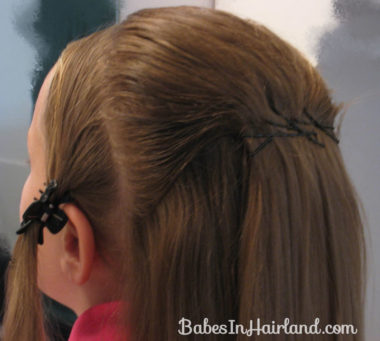 Then just like in the simple 3 rope/twist braided loopy do I did before – take 3 sections from the ponytail hair and make individual rope/twist braids. Like I said before, I didn’t know where I was going with this, so I just used clips to tie them off, but in the end I ultimately tied them off with rubber bands. So just tie them off. Remember – don’t use ALL the hair hanging down from the ponytail.
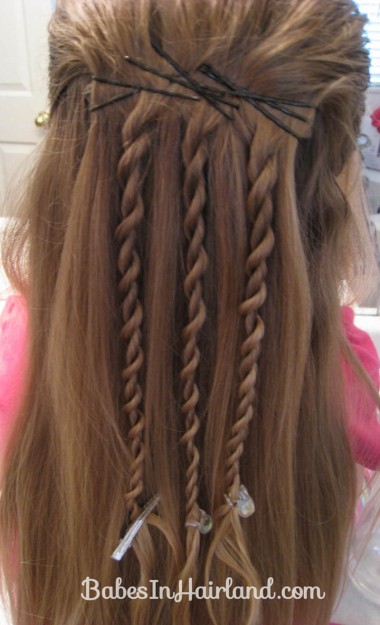
Pull the ends of the rope/twist braids up to your row of bobby pin x’s. Arrange them so they make little loops & then secure with bobby pins below the rubberbands so they don’t slip out.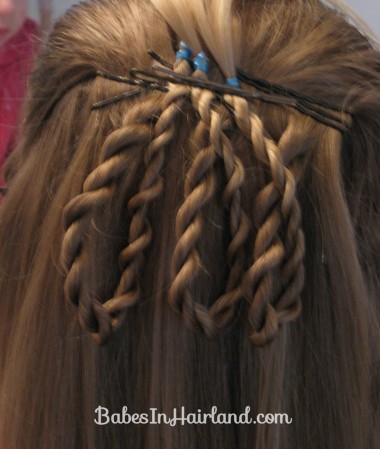
Now take the hair from the left side of the head that you had held out w/the clip and gently twist it inwards towards the head. While you are twisting bring the strand of hair back around the head to start covering up the bobby pins & rubber bands.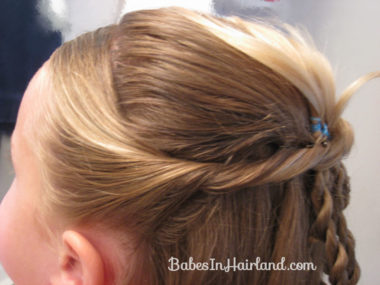
Using our little trick on how to hide bobby pins – bring the strand of hair clear across to the right side of the head where all your bobby pins stop. Secure with a bobby pin (aim the bobby pin back to the left so you hide it under everything.) Be sure to keep the tails of your rope/twist braids up on top of the head out of the way for now.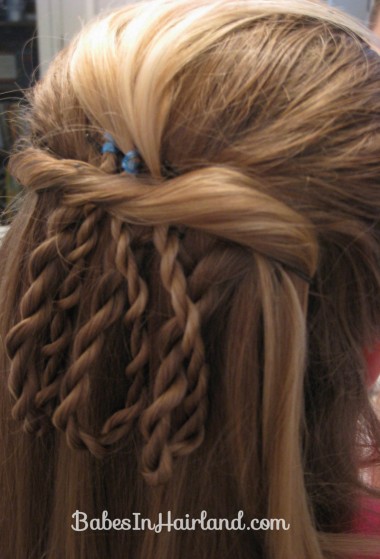
Then repeat on the right side. Twist the hair and pull it back and across the head towards the left side of the head (the twist was supposed to line up with the bottom of the half pony hair section sort of covering the “part” up like it did on the other side – but alas, it didn’t!)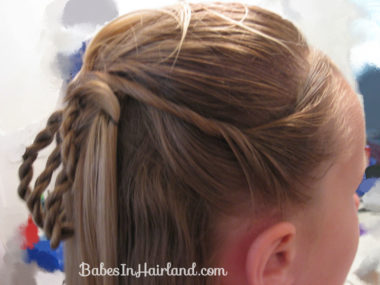
So here’s the pic once I’d secured the right section of hair over onto the left side. See -you can’t see any of those bright blue rubberbands or the seam of bobby pins, huh?! 🙂 Success!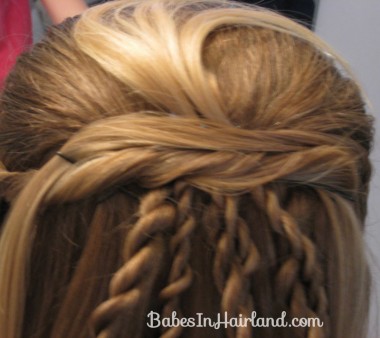
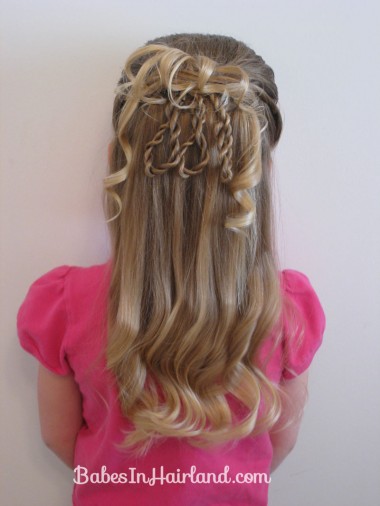
Now flip the rope/twist braid tails back down so they fall wherever. Spray them a bit with hairspray & then curl them & piece them out however you like.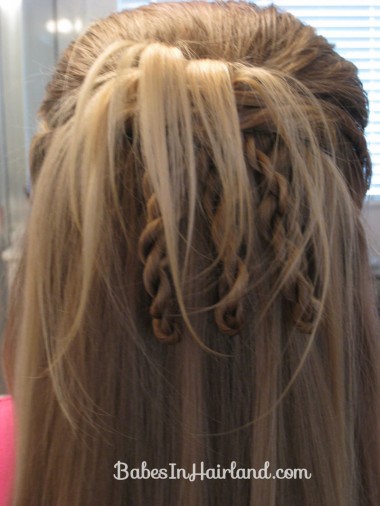
And since I still had hair hanging down from the sections that crossed over the seam of bobby pins (on the left & right of the 1/2 pony) , I curled them too -so that’s what those curls are that are on either side of the rope/twist braids.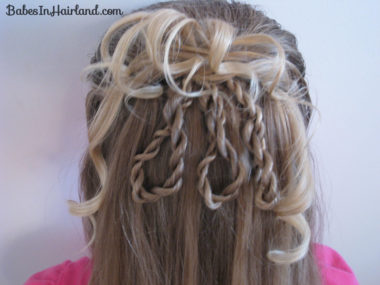
I curled the ends a bit w/my flat iron & that was it. I think I had mine up too high the day I did this, because they seemed to all kink right where I started the curls. I hate it when I get that “curling iron line.” Oh well.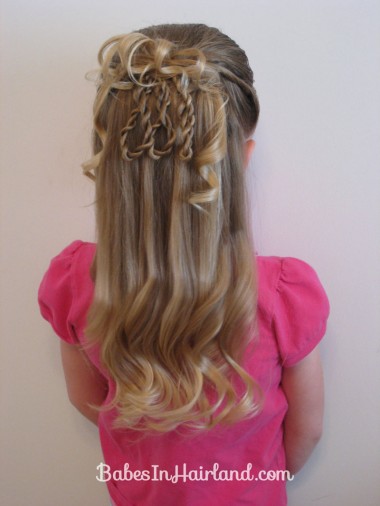
A view from the side/top. Caught her mid sentence here w/the pursed lips!)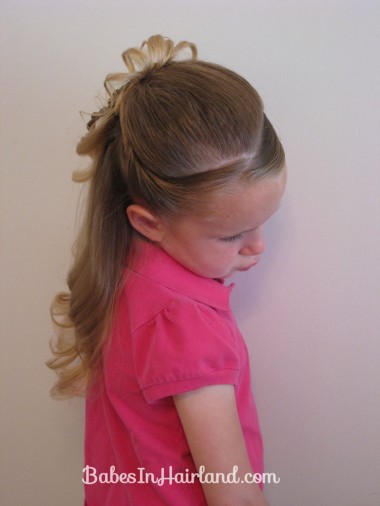 Notice that you can’t really see the curled hair above the top of her head, whereas, on the “simpler” version it was a bit spunkier and showed when looking straight onto Goose’s face. Anyway, a very pretty do for Sunday or any other special occasion.