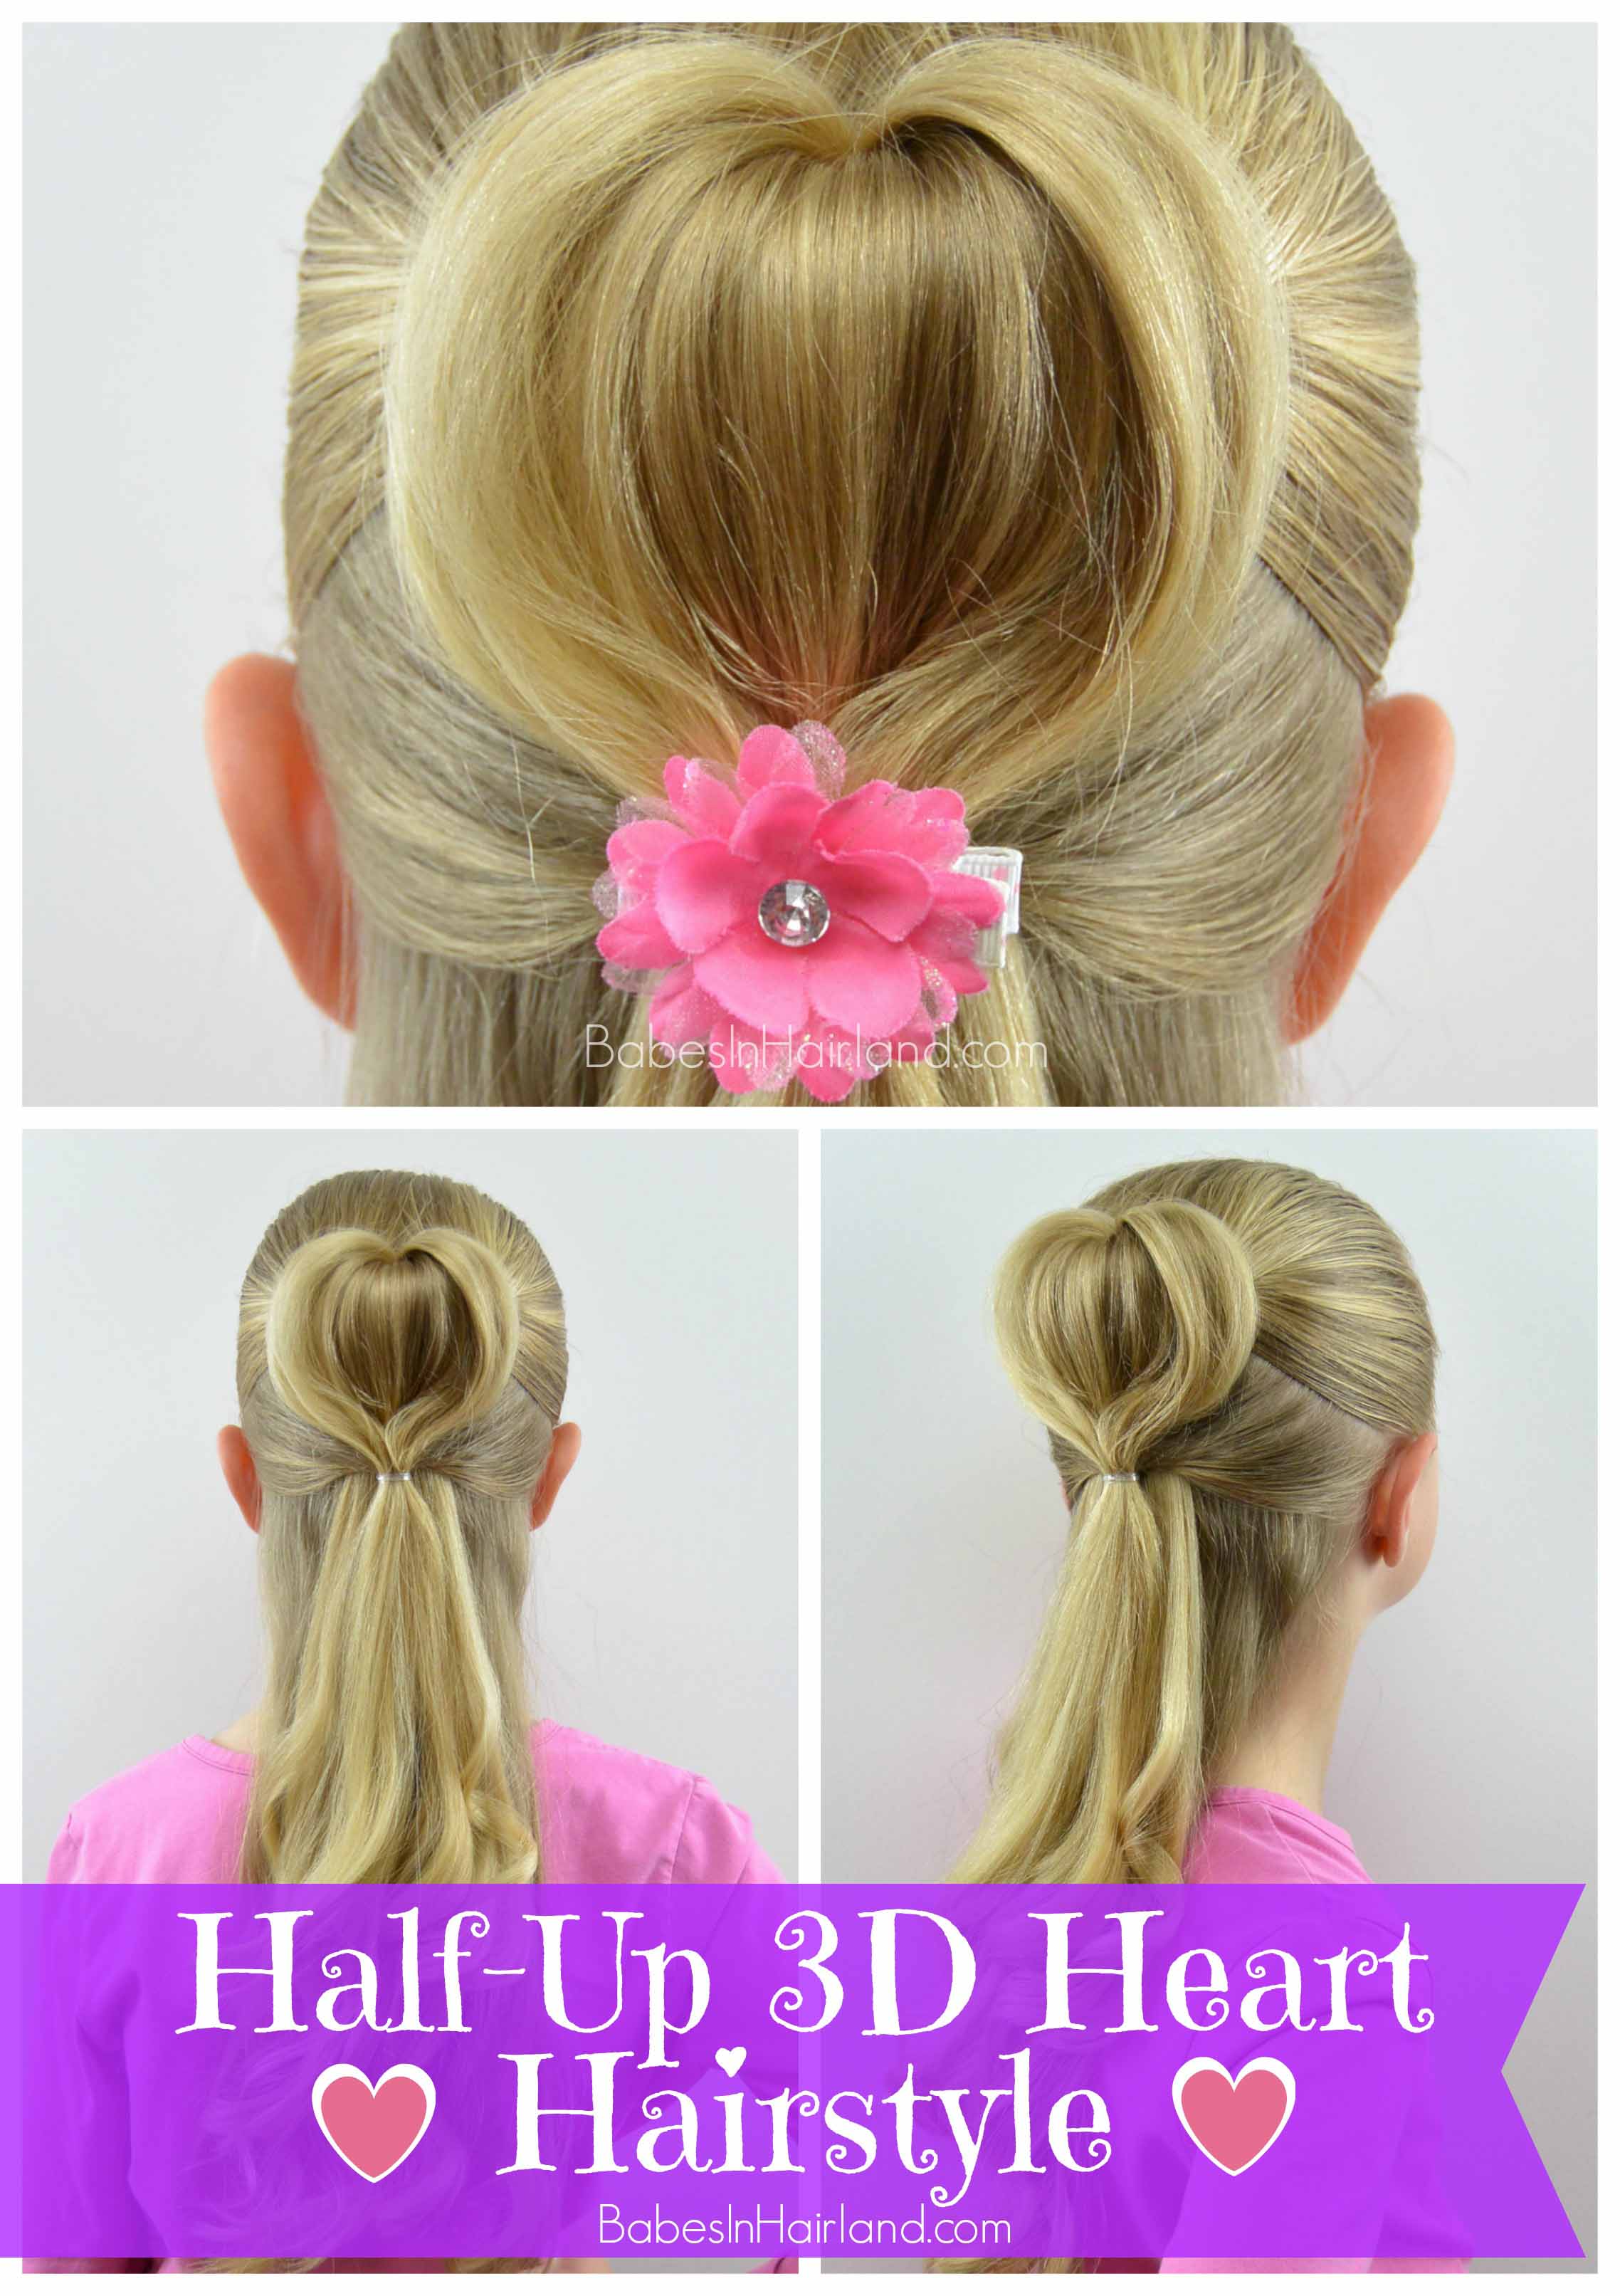
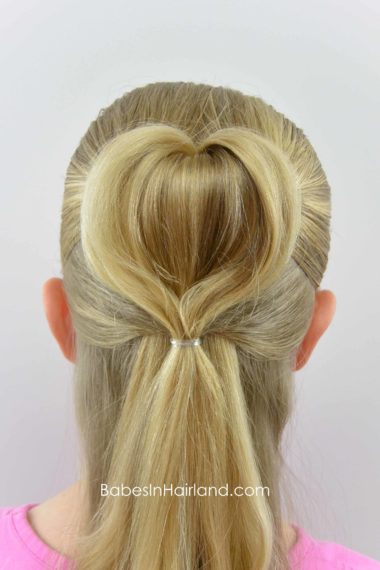
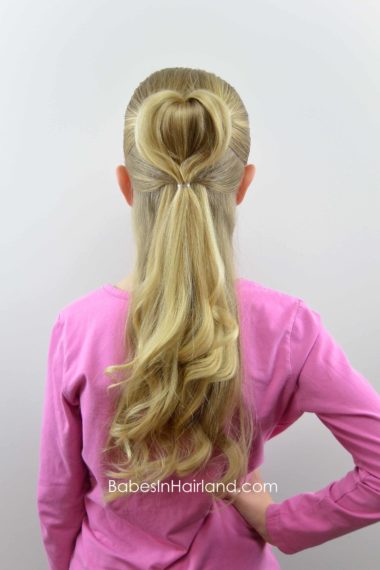
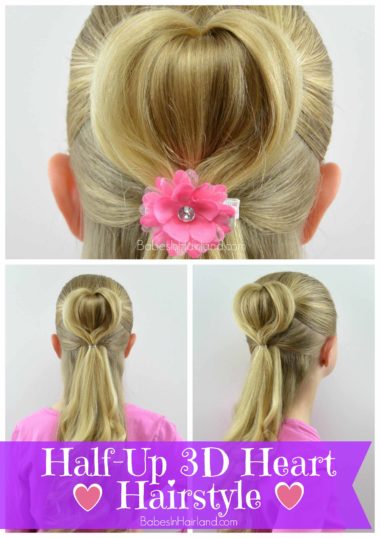
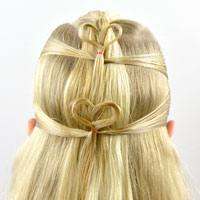
Love is in the Hair!! With Valentine’s Day just around the corner we’re excited to share a new heart hairstyle with you today! I’ve got to admit, naming our hairstyles is sometimes the hardest part of this process! This style is sort of resembles a bun, sort of not, but it’s rather 3D like, so just go with me on this one! 🙂 But one thing’s for sure – it’s a heart & very cute!
Step 1 – Create a half ponytail and secure with an elastic
Step 2 – Lift up the ponytail & insert your Topsy Tail so the pointed end comes out on top of the head above the elastic and the loop is under the ponytail
If you have a Topsy Tail it will make this style a lot easier to do. You will use it twice, and while the first time you use it, you could get away without one, the second time you use the Topsy Tail
, you’ll need something similar to one. You can buy a Topsy Tail HERE
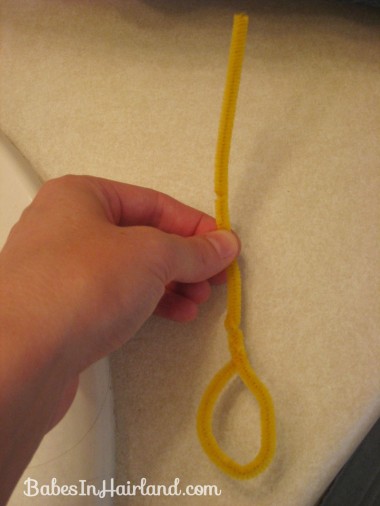
, or years ago we made a “fake topsy tail” (as shown below) that you could probably use as well. You can see how we used it in this Fun & Funky Braided Style.
Step 3 – With the Topsy Tail flip the ponytail so the hair cascades over the elastic
Step 4 – Divide the ponytail into 2 sections so there is a top & bottom section. The top section needs to be smaller than the bottom.
Step 5 – Next, divide the top section in half so there is a left & right section and drape them forward over the ears (or temporarily clip them) so they stay out of the way
Step 6 – Flip the bottom section of the ponytail up onto the top of the head so it’s out of the way for a while
Step 7 – Bring the left & right sections of hair from Step 5 back down so they sort of straddle the hair from Step 6
This is similar to the beginning steps of our Christmas Tree Pull-Through Braid. Also, I found it helpful to mist these sections with hairspray to keep them smooth and free of fly-aways.
Step 8 – Make a part from ear to ear (near the middle of the ear) to make another ponytail & add in the sections of hair from Step 7
Step 9 – Combine all that hair & secure with a clear elastic
Step 10- Gently pull on the right section of hair to start rounding it into the shape of the right side of the heart
Step 11 – Do the same with the left section of hair to start shaping the heart
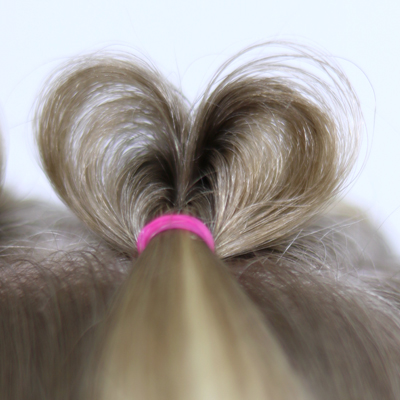
These will be the “outline” or edges of your 3D heart.
Step 12 – Bring the section of hair from Step 6 down off the top of the head
If you want the center of your heart to be a bit “fluffier” or more 3D you can back comb this hair a bit & smooth it out on top.
Step 13 – Insert the pointed end of your Topsy Tail behind the hair you just flipped down, above the elastic from Step 9
Step 14 – Thread the hair through the Topsy Tail and gently pull down so all the hear is pulled behind the elastic
Step 15 – Adjust the heart shape as necessary
Step 16 – If needed, fan the hair in the center out a bit so it covers the entire center of the heart and blends into the “outline” of your heart
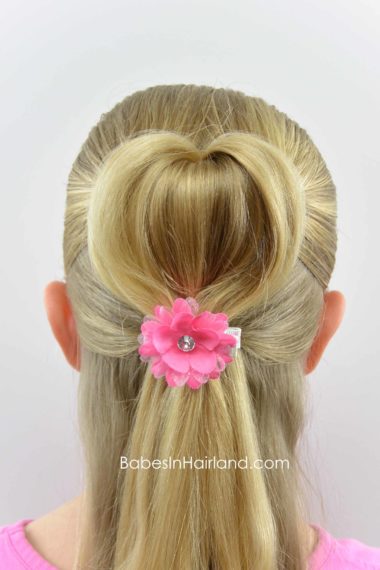
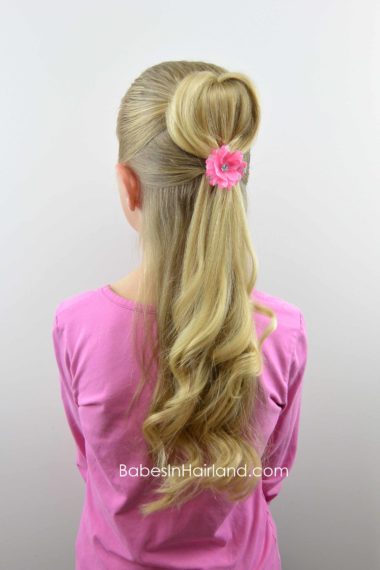
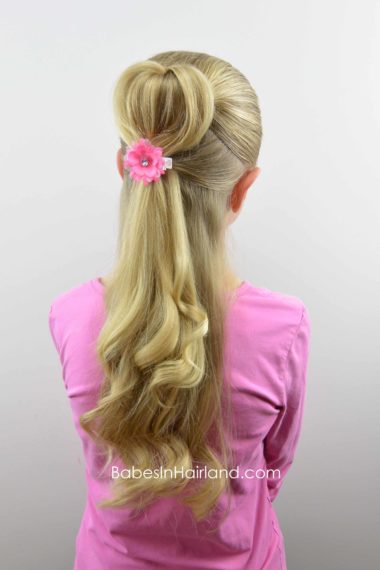
Step 17 – Optional – Curl the remaining hair down in back & add an accessory to cover the elastic
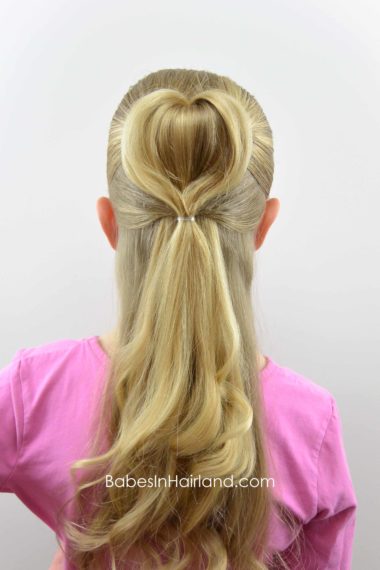
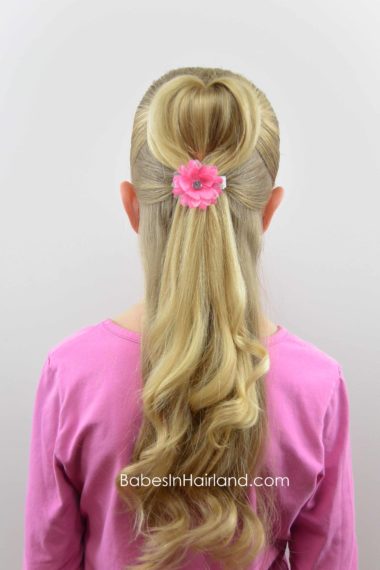
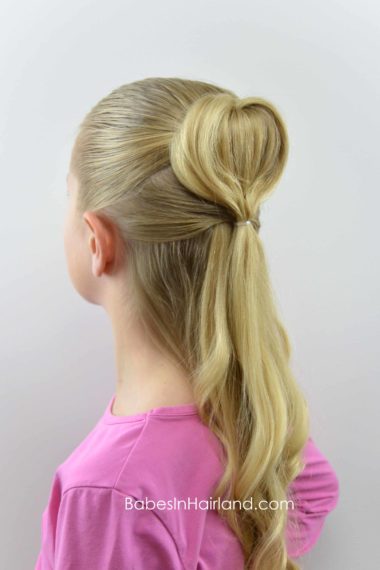
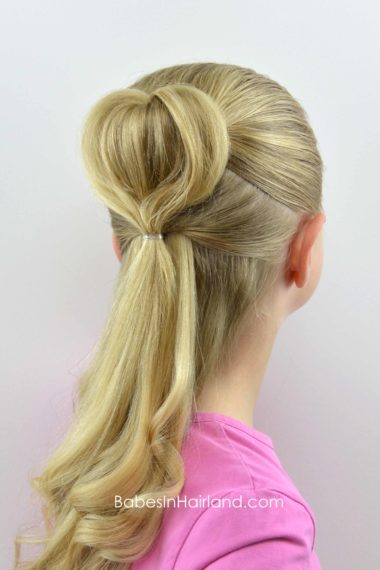
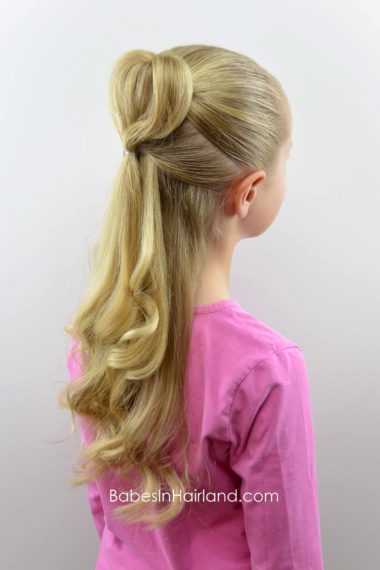
Below are pictures with and without a pretty accessory finishing off the style. You could easily tie some colored ribbon around the elastic too & it would look really cute!
FINISHED!
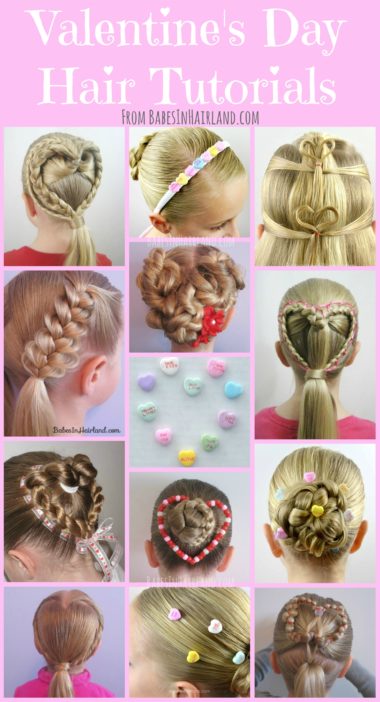
We hope you like this cute new style for Valentine’s Day! Please share it & comment & let us know what you think! And be sure to check out all our other Valentine’s Day styles & Accessories HERE.
Cute! So so so so cute!