So the story on this one is that several months back I’d gotten an e-mail from someone requesting Giselle’s hairdo from the movie Enchanted. She’d e-mailed another blogger as well and when she posted a notification they were going to do it, I stepped aside & let them have at it. But since I’ve had several requests for this one – here it is. I don’t know if I’d go as far as calling it Giselle’s hair (since I honestly think she had hair pieces in) but it’s something similar – so whether you think it looks like it or not, it is none the less “Fancy Schmancy Princess Hair” at our house!
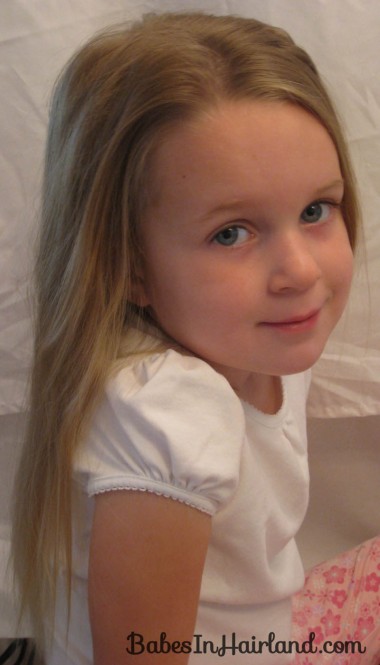
The first time I did this I can’t remember if Bug had had a braid the day before to add a little “oompf” our wave/bounce to her hair, but this time I didn’t and it still worked out fine. I didn’t part her hair – I just let it part along her natural hair line & let it fall into place that way.
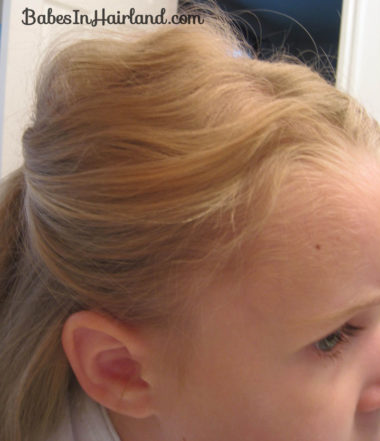
If your DD has rather fine hair like mine, you’ll probably need to do a bit of back combing to get things a bit poofier in the front along the face. So once you’ve got it divided from the part – rat the hair underneath and comb it smooth to give it some height.
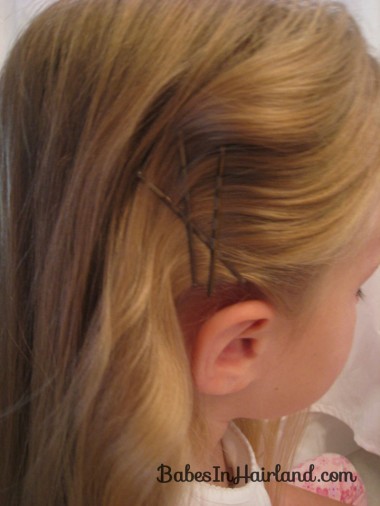
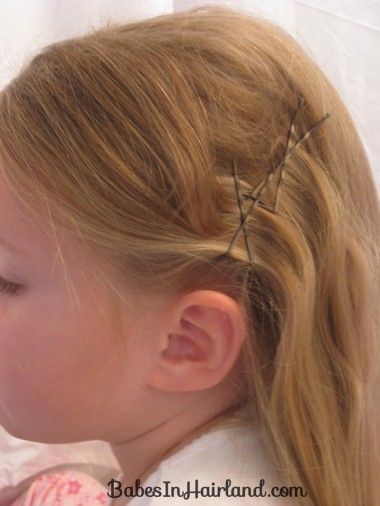
I started on the right side & loosely pulled back the hair & secured it with bobby pins. Use as many as you need – just be sure to do the “X” method I showed in my bobby pin tut’. They’ll stay in much better. You can secure the hair just above/behind the ear, or you can secure the hair higher and more towards the sides of the head. I did both & they both worked out fine.
Once you’ve got the hair secured, if you need take your rat tail comb and loosen the hair a bit more if you feel like you got it pulled too tightly. You can do it as loose or tight as you prefer.
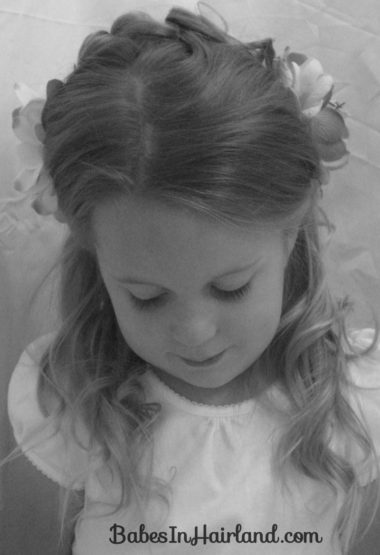
If you feel like you need a bit more height besides ratting, feel free to curl it a bit because that helps too. I did added a few curls (just very loose ones) for some added body in this picture. Then on the left side I pulled a bit of the hair back above the ear first (as shown below.)
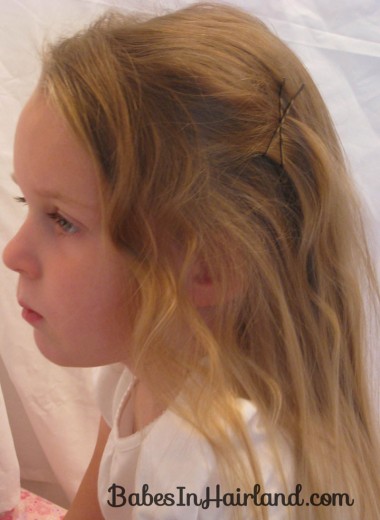
Then I pulled the remaining hair up and secured it near the first set of bobby pins. By doing this you can give it a looser look – almost the “swooped” look that Giselle had in the front area I think.
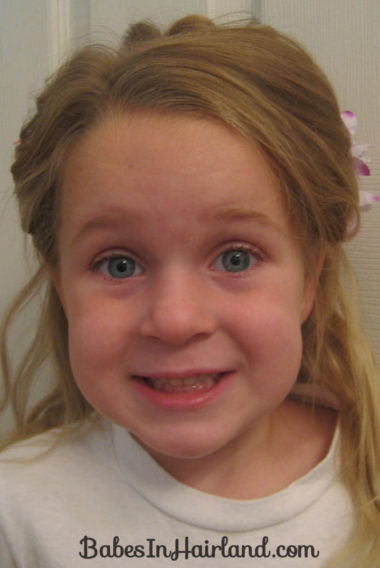
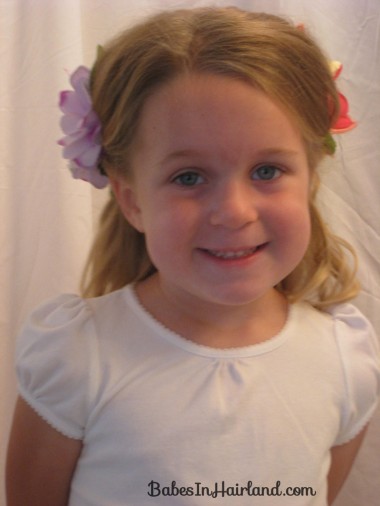
This is an awful smile, but you can see how I got it to be rather relaxed down by her ear or “swooped” – rather than pulled tight in this one that I did months ago. I don’t know if this makes sense, but hopefully the pictures explain what I can’t in words!
This is how I did it today – it was pulled a bit tighter. But again, if you want it looser, just stick your the tail of your rattail comb in there and tug a bit and it will loosen right up.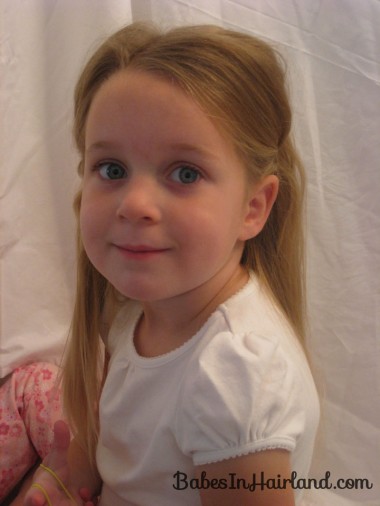
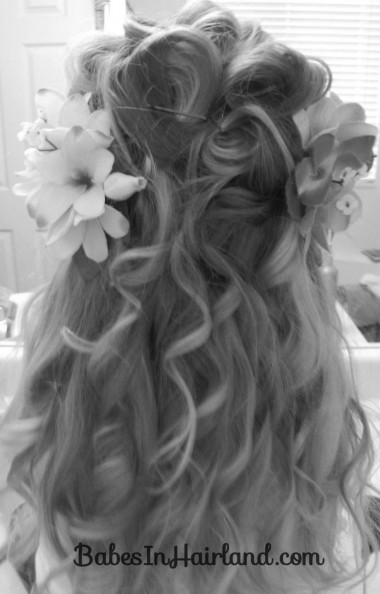
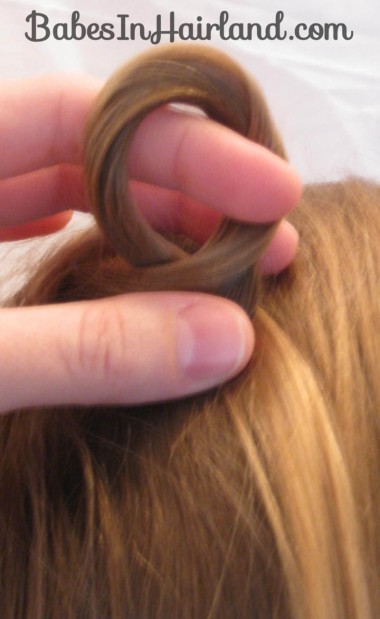
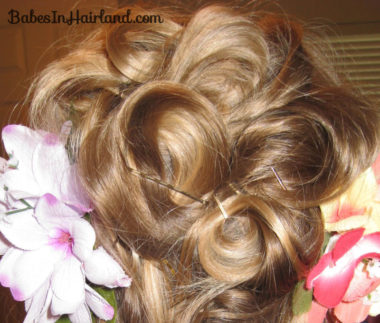
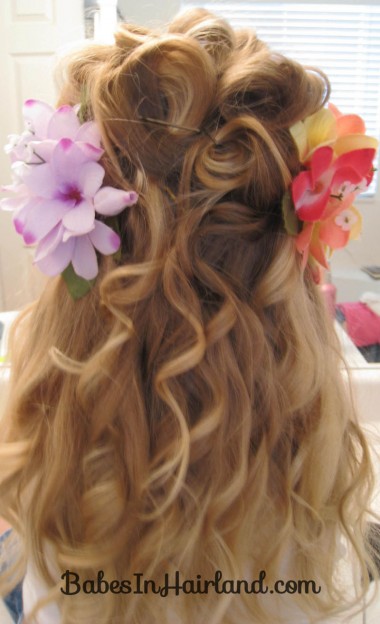
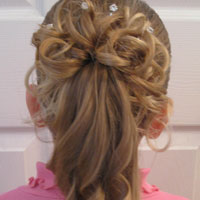
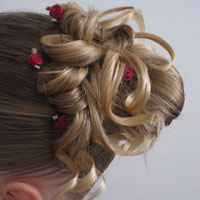
Once you’ve got both sides secured back with bobby pins you start on the loops that fall between your two sections of bobby pins on the top/back of the head. Just take sections of hair and loop the hair around your finger. I’ve heard these called a number “6” loop or the way I make them it reminds me of the yellow “ribbon magnets” that people have on the back of their car to support our troops or some other cause. Know what I’m talking about?! Anyway, it’s nothing complicated — just a loop! I misted the section of hair with hair spray before making the loop – this helped keep the loop looking like a loop rather than it working itself loose.
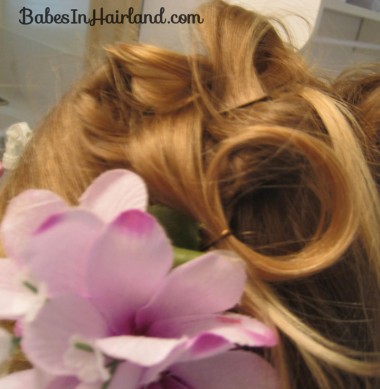
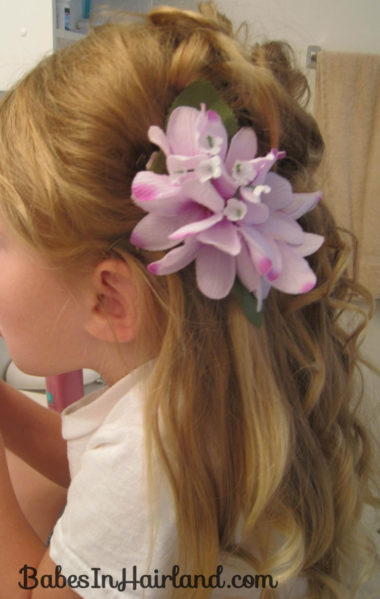
Can you see how this loop above the flower looks like the #6? Well, maybe?! Make the loop and then secure with a bobby pin where the hair crosses at the bottom of the loop. Make as many of them as you think looks good.
You can do them on top of each other to give it a bit more poofiness on the crown of the head, or however you want to arrange them. Sorry – this one isn’t an “exact science” hairdo! Just play with it a bit & be patient with yourself!
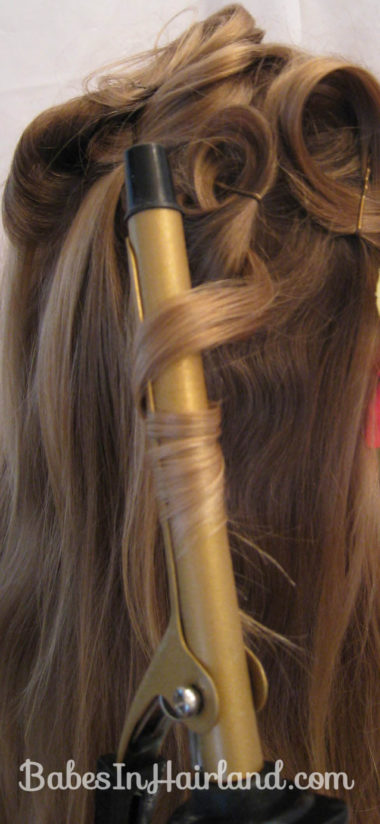
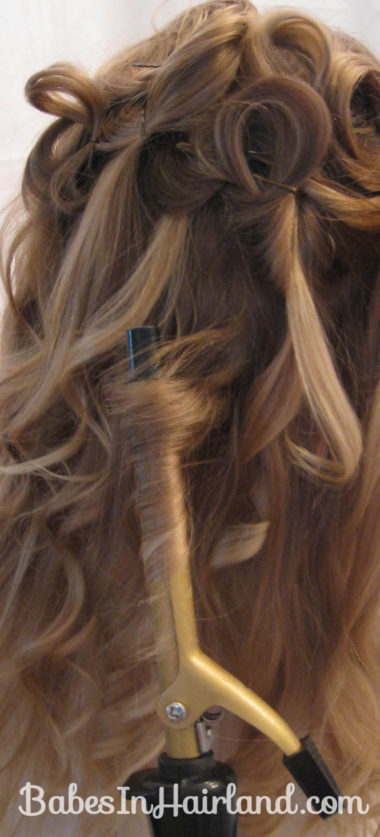
Once you’ve got as many loops as you want, curl the tails of the loops that are hanging down. I have a rather small old curling iron that I use for this. If your daughter’s hair doesn’t hold curl well, I suggest using hair spray on each section of hair before you curl it. Or spray the heck out of it when you are all done with the entire do!!
Once you’ve got all the tails of the loops curled, I then proceeded to curl all the hair that is hanging down. I did it in loose ringlets basically.
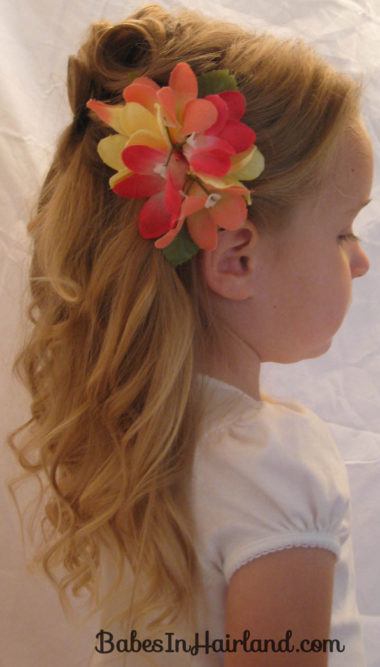
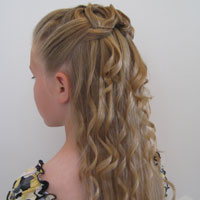
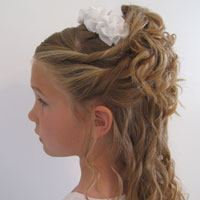
So here’s a view from the side when I did it today.
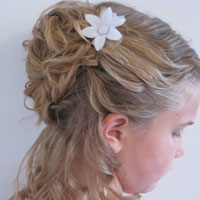
And from the other side when I did it months ago…
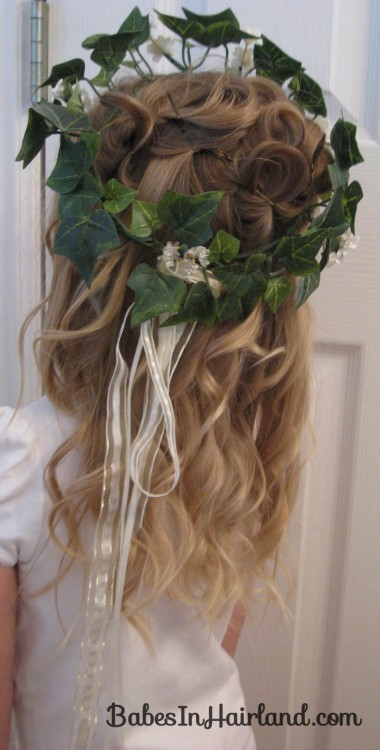
Some other options for the hair if you don’t have flowers that work for you… We have a couple wreaths that the girls had from my brother-in-law’s wedding that look pretty ….
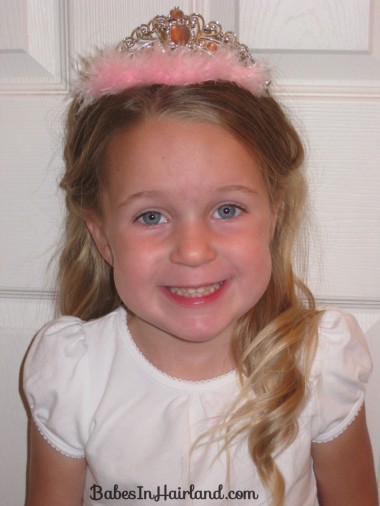
Or there’s always the classic princess tiara!
Just slide it right in there & you don’t see the bobby pins much below it – at least I didn’t think so. If you want buy some fancy bobby pins if they are going to show.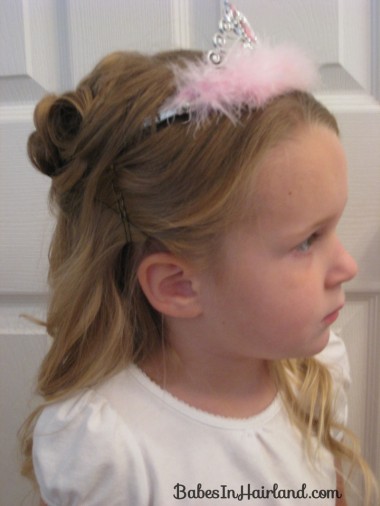
But there you have it – my version of Giselle – or better known as “Fancy Schmancy Princess!” Thinking about the differences from today’s vs. months back, I think having the bobby pins a bit further back on the head looked a bit better and I got a bit more height in the back with the loops cuz they were kind of “squished” in there more than today. And if some wonderful soul wants to have pity on me, I still couldn’t find matching flowers that were of this length & size to redo this hair do … so if you make them or know where I can find some similar to what I’ve used here(cuz I just don’t have the time right now to make my own!) please let me know!
And the best part is she was still smiling after all the pictures the 2nd time!
Sorry this is such a long post – I tried to include as many pix as possible to help, so let me know if you have any other questions on this – hope this made sense & helps!
Could you please do a video for Giselle’s Hair from Enchanted?