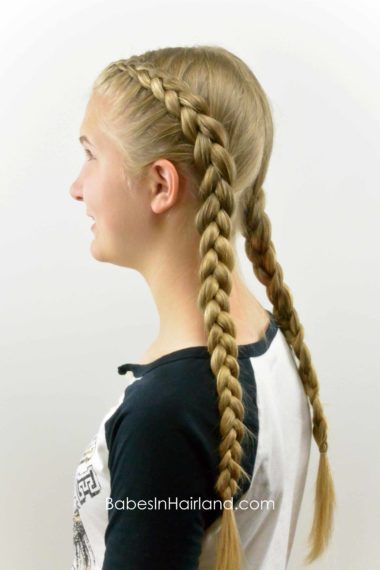
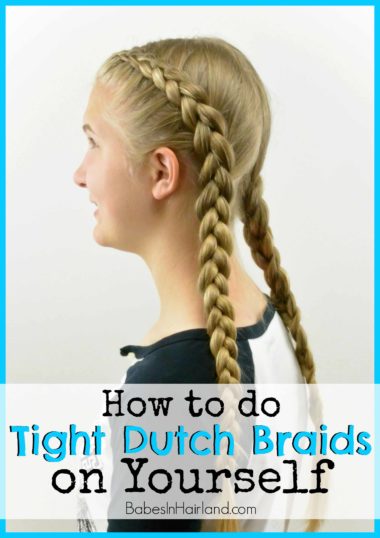
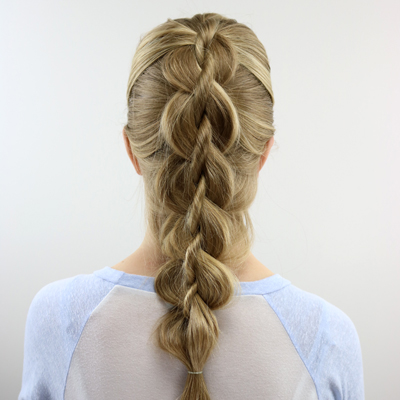
I’m so excited this week to have my 14 year old daughter helping out with our tutorial. Since I’d been under the weather with such a bad cold recently, she jumped in and helped me out and is the “star” of our video & tutorial today.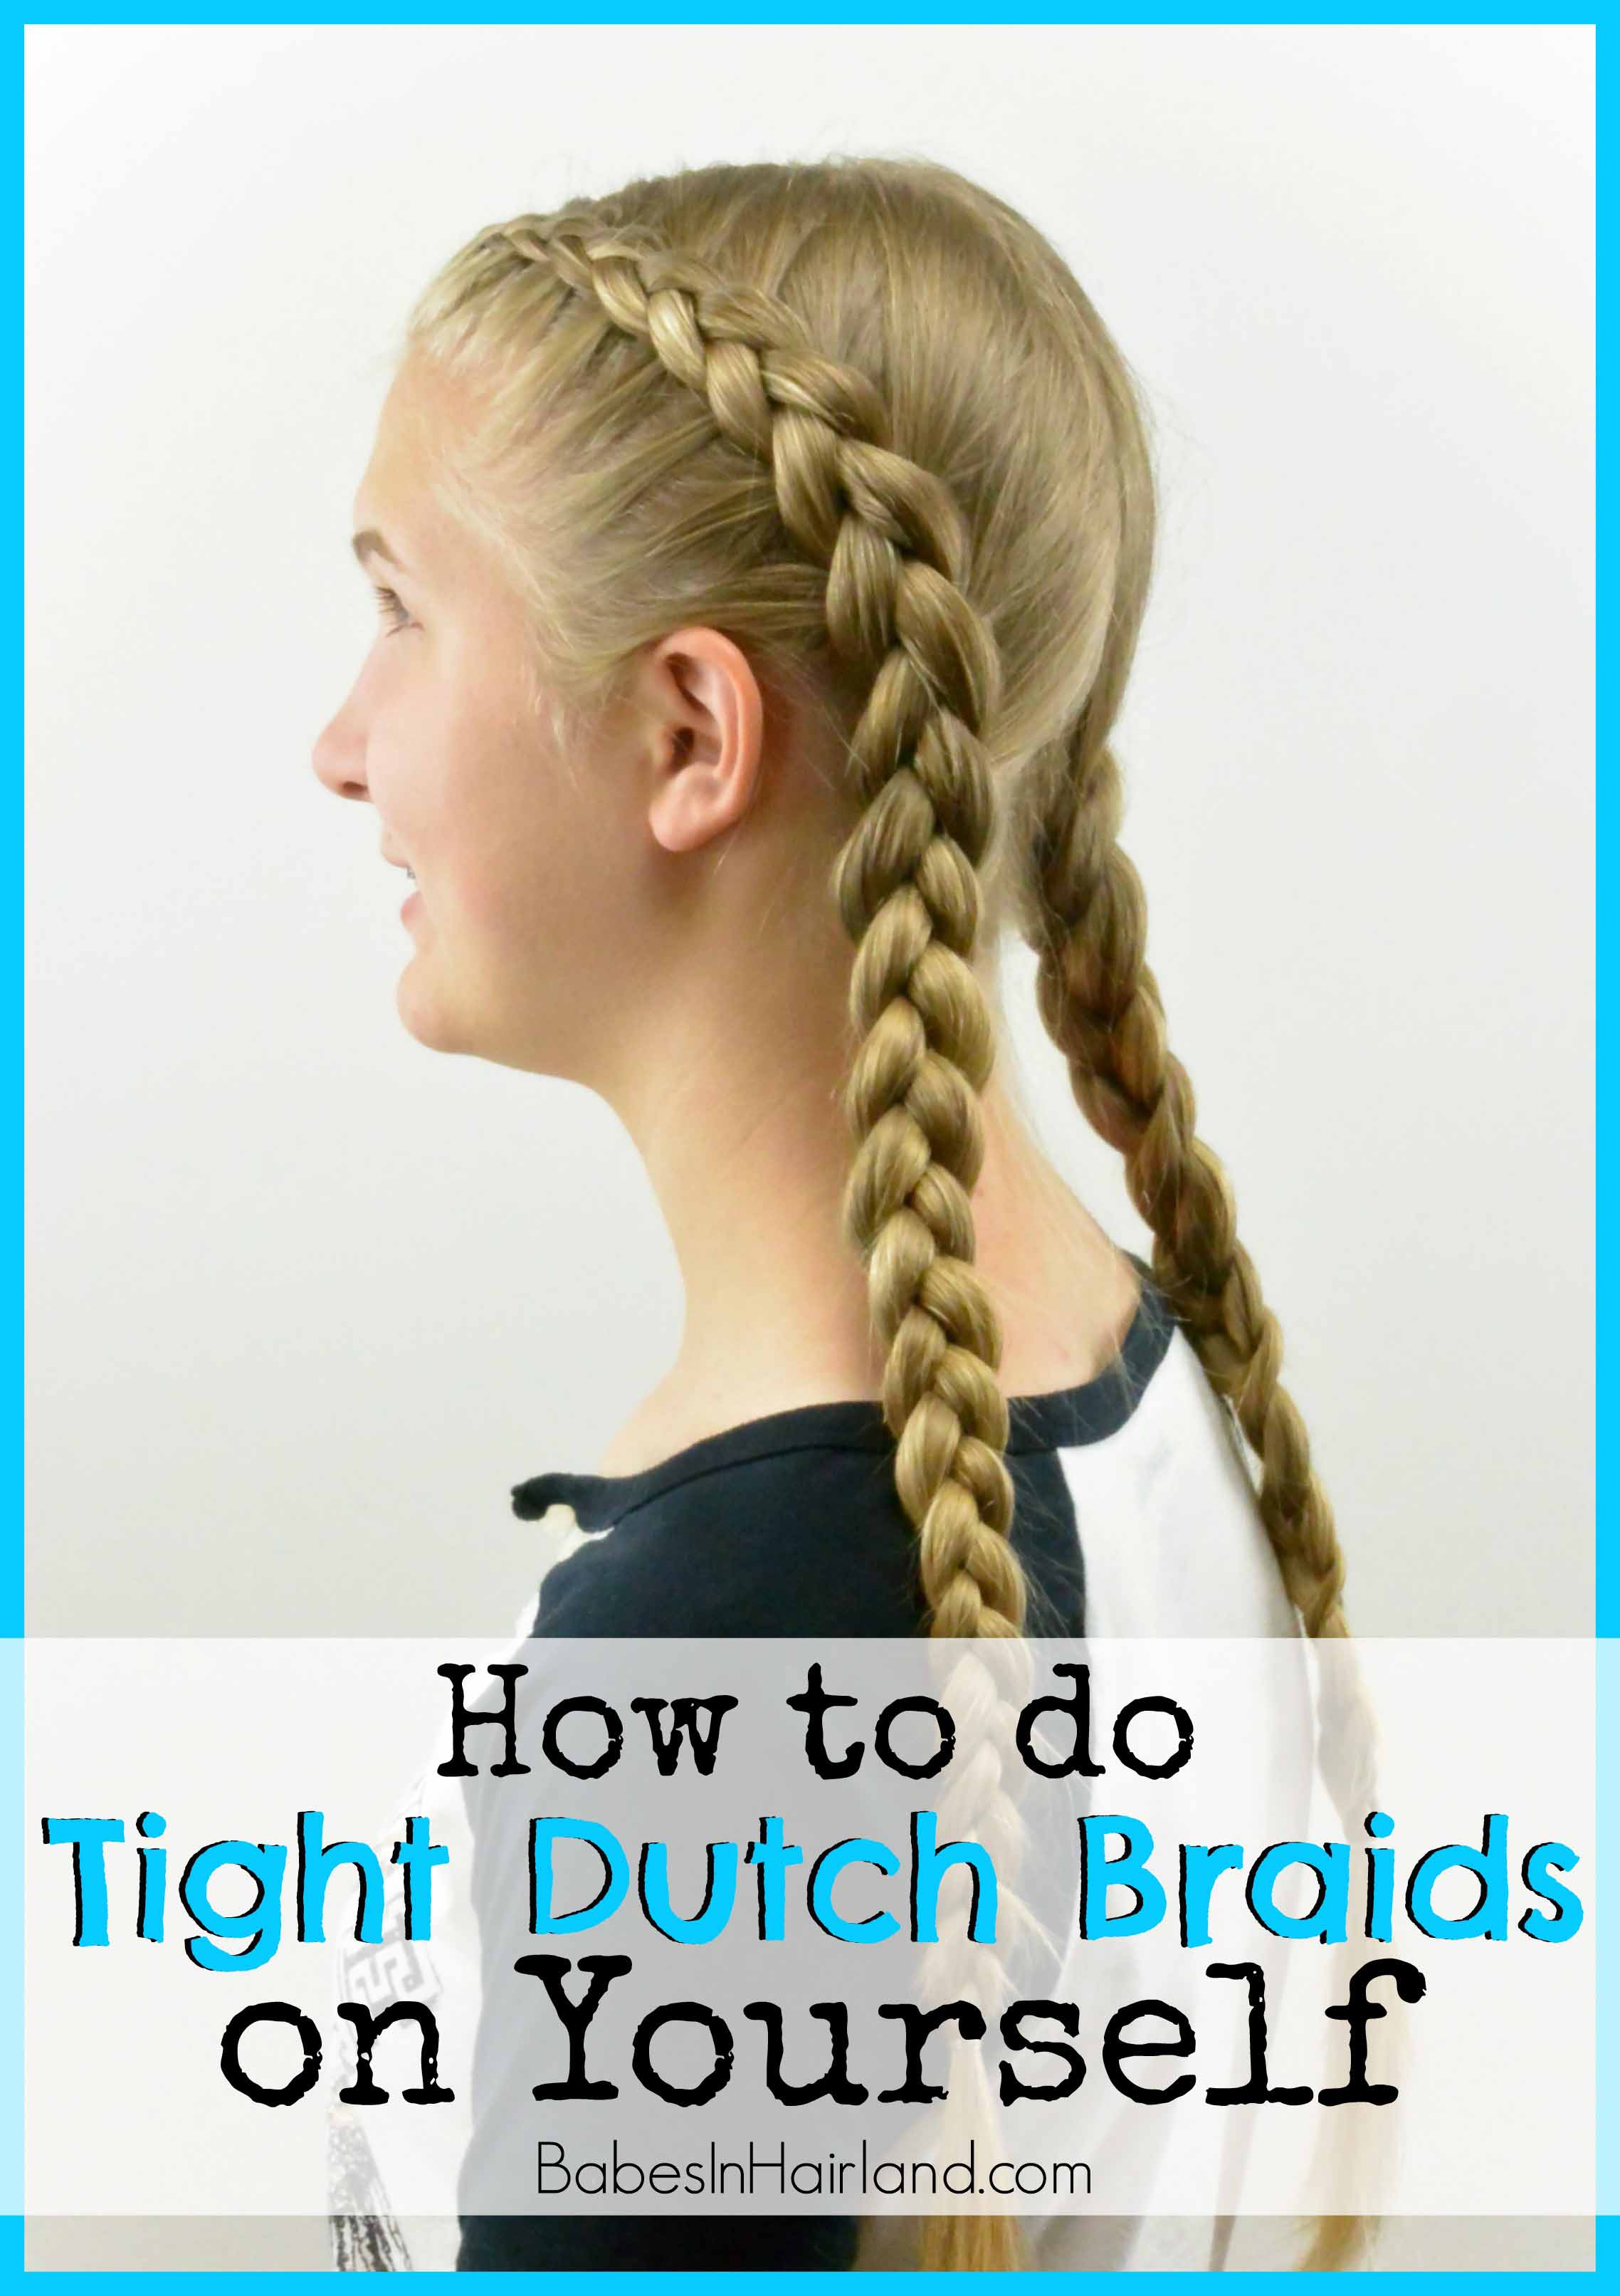
Obviously being 14 she has had to learn to do her own hair, and for the past several years requires no help from me. (Sort of a sad thing for me!) For the most part, the only time I do her hair anymore is for tutorials. She’s mastered a lot of skills just from watching me do her and her sister’s hair. And she’s picked up a lot just by experimenting and playing around with her own hair. Before she was in middle school she started practicing French braids on herself and for a while I thought she’d go crazy because she just couldn’t get it. But after much practice and perseverance, she has mastered them, and that’s what she’s sharing with you today.
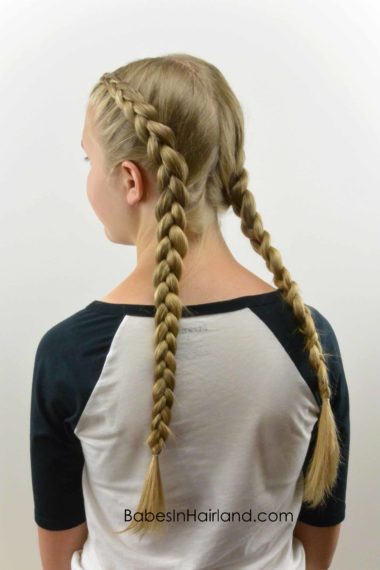
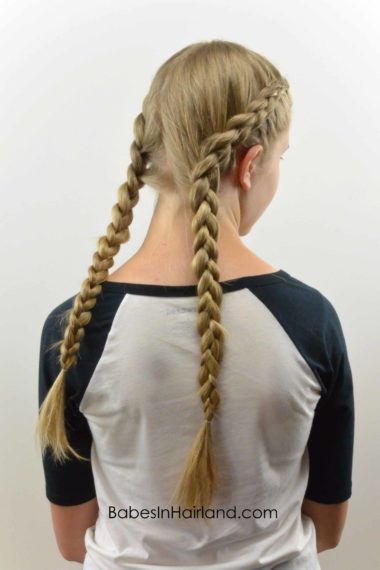
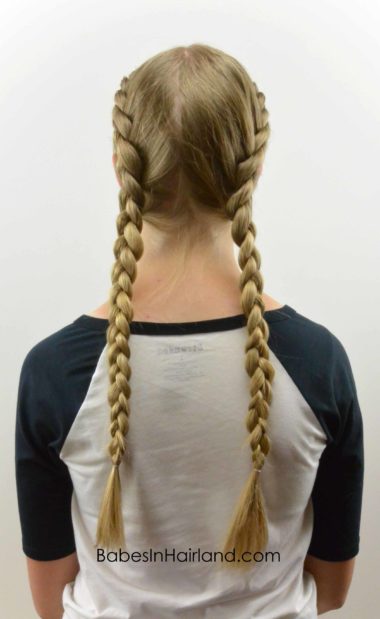
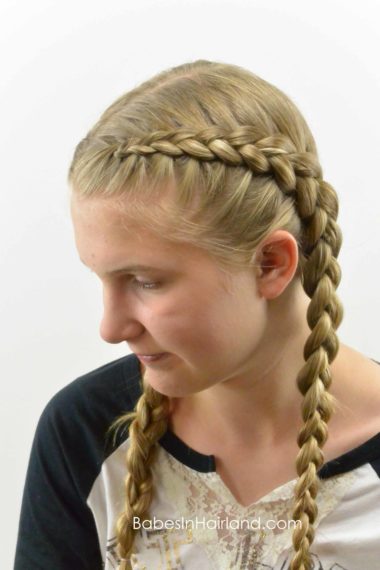
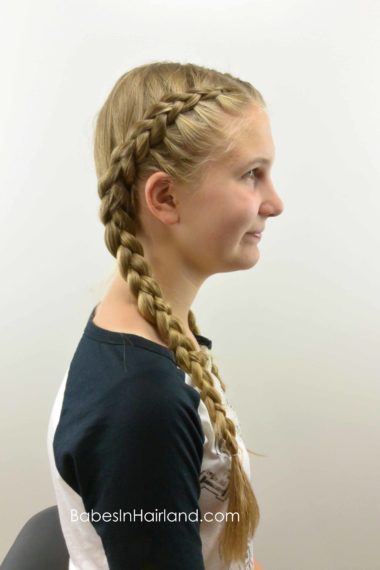
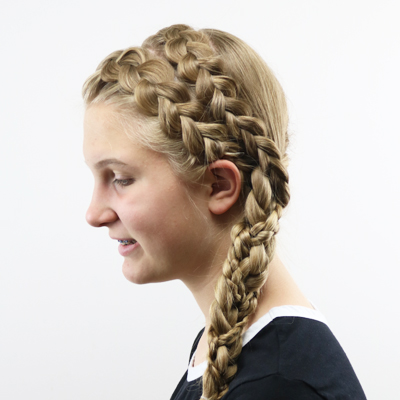
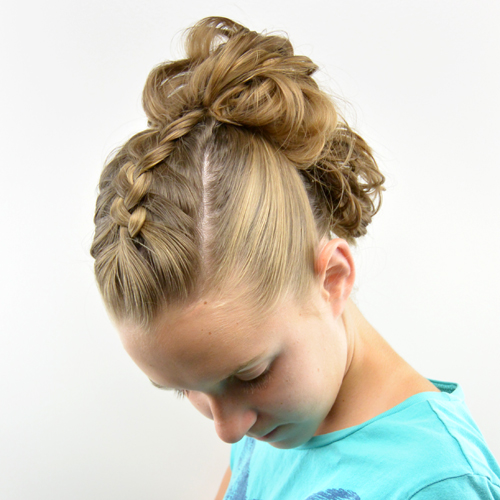
She braids totally different than I do, and so hopefully her method might help some of you – especially those of you that braid your own hair and struggle a bit! The steps below the video are how she creates her Dutch braids (aka inside out French braid.)
Step 1 – Make a part from your forehead to the nape of your neck
Step 2 – On the left side near the part and your forehead, section out a small amount of hair
Step 3 – Divide that small section into 3 even sections
Step 4 – Do 1 full rotation or stitch of a braid, crossing the bottom section under the middle and then the top section under the middle
Step 5 – Add a small amount of hair to the bottom section of the braid – but don’t cross it under yet.
Step 6 – Add a small amount of hair to the top section of the braid – but don’t cross it under yet either!
Step 7 – Now, cross the bottom section of hair (that is now a bit thicker from adding hair) under the middle section of hair. It now becomes the new middle section of the braid
Step 8 – Next pass the top section (that is also a bit thicker from adding hair to it) under the middle section of hair. It now has become the new middle section of the braid.
Step 9 – Repeat this process over and over. Add a small section to the bottom and to the top sections of the braid. Then pass the bottom section under the middle section, then the top section under the middle section.
Step 10 – Continue these steps until you reach the nape of your neck & can no longer add hair to your braid
Step 11 – Once you can’t add any more hair, just continue a regular 3 strand braid down to the ends of your hair
Step 12 – Secure the end of your braid with an elastic
Step 13 – Repeat the above steps on the right side of your head
THE BIGGEST TIP ON GETTING TIGHT BRAIDS IS TO KEEP YOUR HANDS RIGHT AGAINST YOUR SCALP! For more tips and tricks on French braiding, be sure to check out our post on How to Get a Tight French Braid.
FINISHED!
As mentioned above, be sure to check out our post where we share tips & tricks on “regular” French braids. Click HERE for How to Get a Tight French Braid.
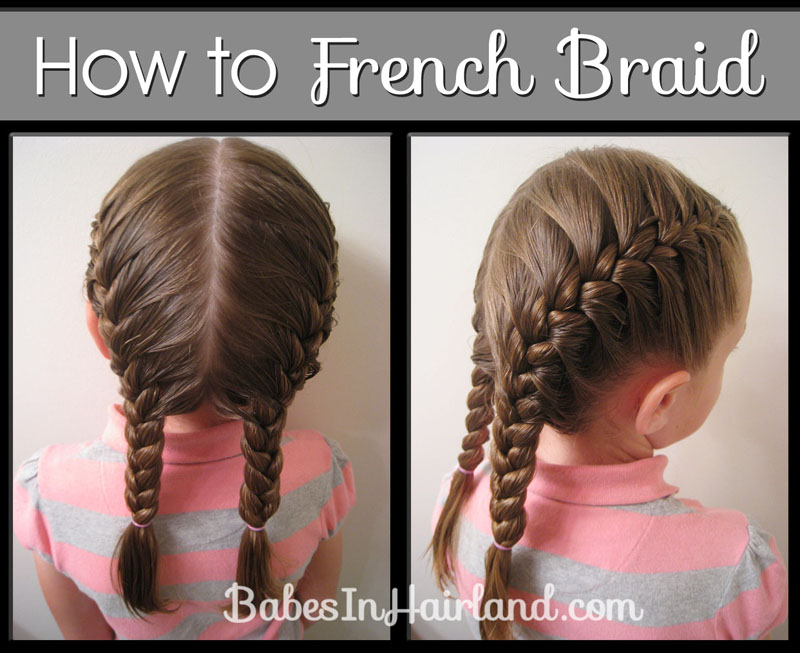
And if you need help just learning to French braid on someone else, we also have a post I did a long time ago that can help you with that! Click HERE to Learn How to French Braid.
Also, if you love French braids, be sure to check out ALL of our French Braid hairstyles HERE!
Everyone braids a little differently, so we hope my 14 year old’s method helps some of you, or that some of our old videos, tips and tricks might help others! A BIG thank you to my daughter for helping her sick mama out! She did awesome, don’t you think!?
