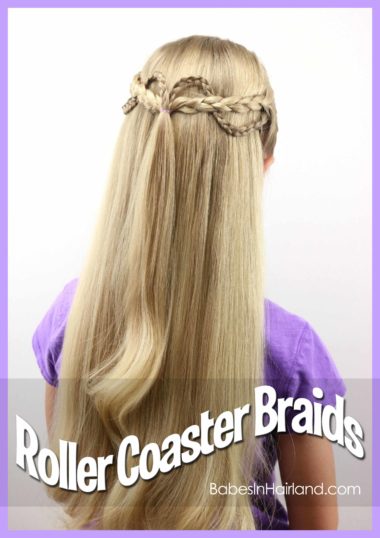
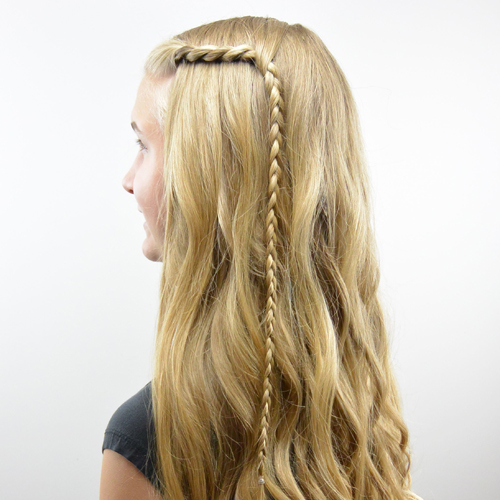
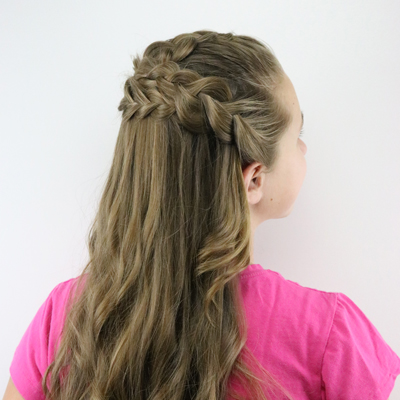
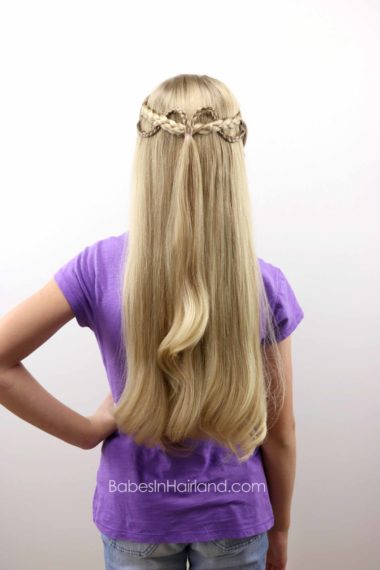
 This week’s tutorial is another straight forward style, doesn’t require great skill, and best of all it doesn’t take much time. Combine those, and you get a great school morning hairstyle! School starts next week for us and so my brain has been focused on styles that will work on a tight schedule. Hopefully you can add this to your arsenal of school morning hairstyles! This style can be added to our Back-to-School Braids Round-up we posted last year. We’ve got quite a few styles we’ve created over the years that are perfect for back-to-school, so check those Back-to-School Hairstyles out HERE.
Don’t forget to check out the step-by-step instructions and all the pretty pictures below the video! I just love how this style turned out!
Step 1 – Make an off-center part on the top right side of the head
Step 2 – From the part, make a part down to the left ear
Step 3 – With the hair from that section on the left side of the head, create a regular 3 strand braid
Step 4 – Braid until you can reach the center middle back of the head & temporarily secure the end of the braid
Step 5 – Branching off the part from Step 1 – on the right side, make another part that goes to the right ear
Step 6 – With this hair in front of the right ear, make another regular 3 strand braid & temporarily secure the end
Step 7 – Draw both braids back to the center of the head and secure with an elastic
Step 8 – On the right side of the head, just behind the ear and just behind the braid from Step 6, part out a small amount of hair
Step 9 – Create a micro-braid with this small amount of hair. Braid until it will reach the far left side of the head & temporarily secure the end
Step 10 – Repeat Steps 8-9 on the left side of the hair, and make sure the braid is as long as the one on the right side
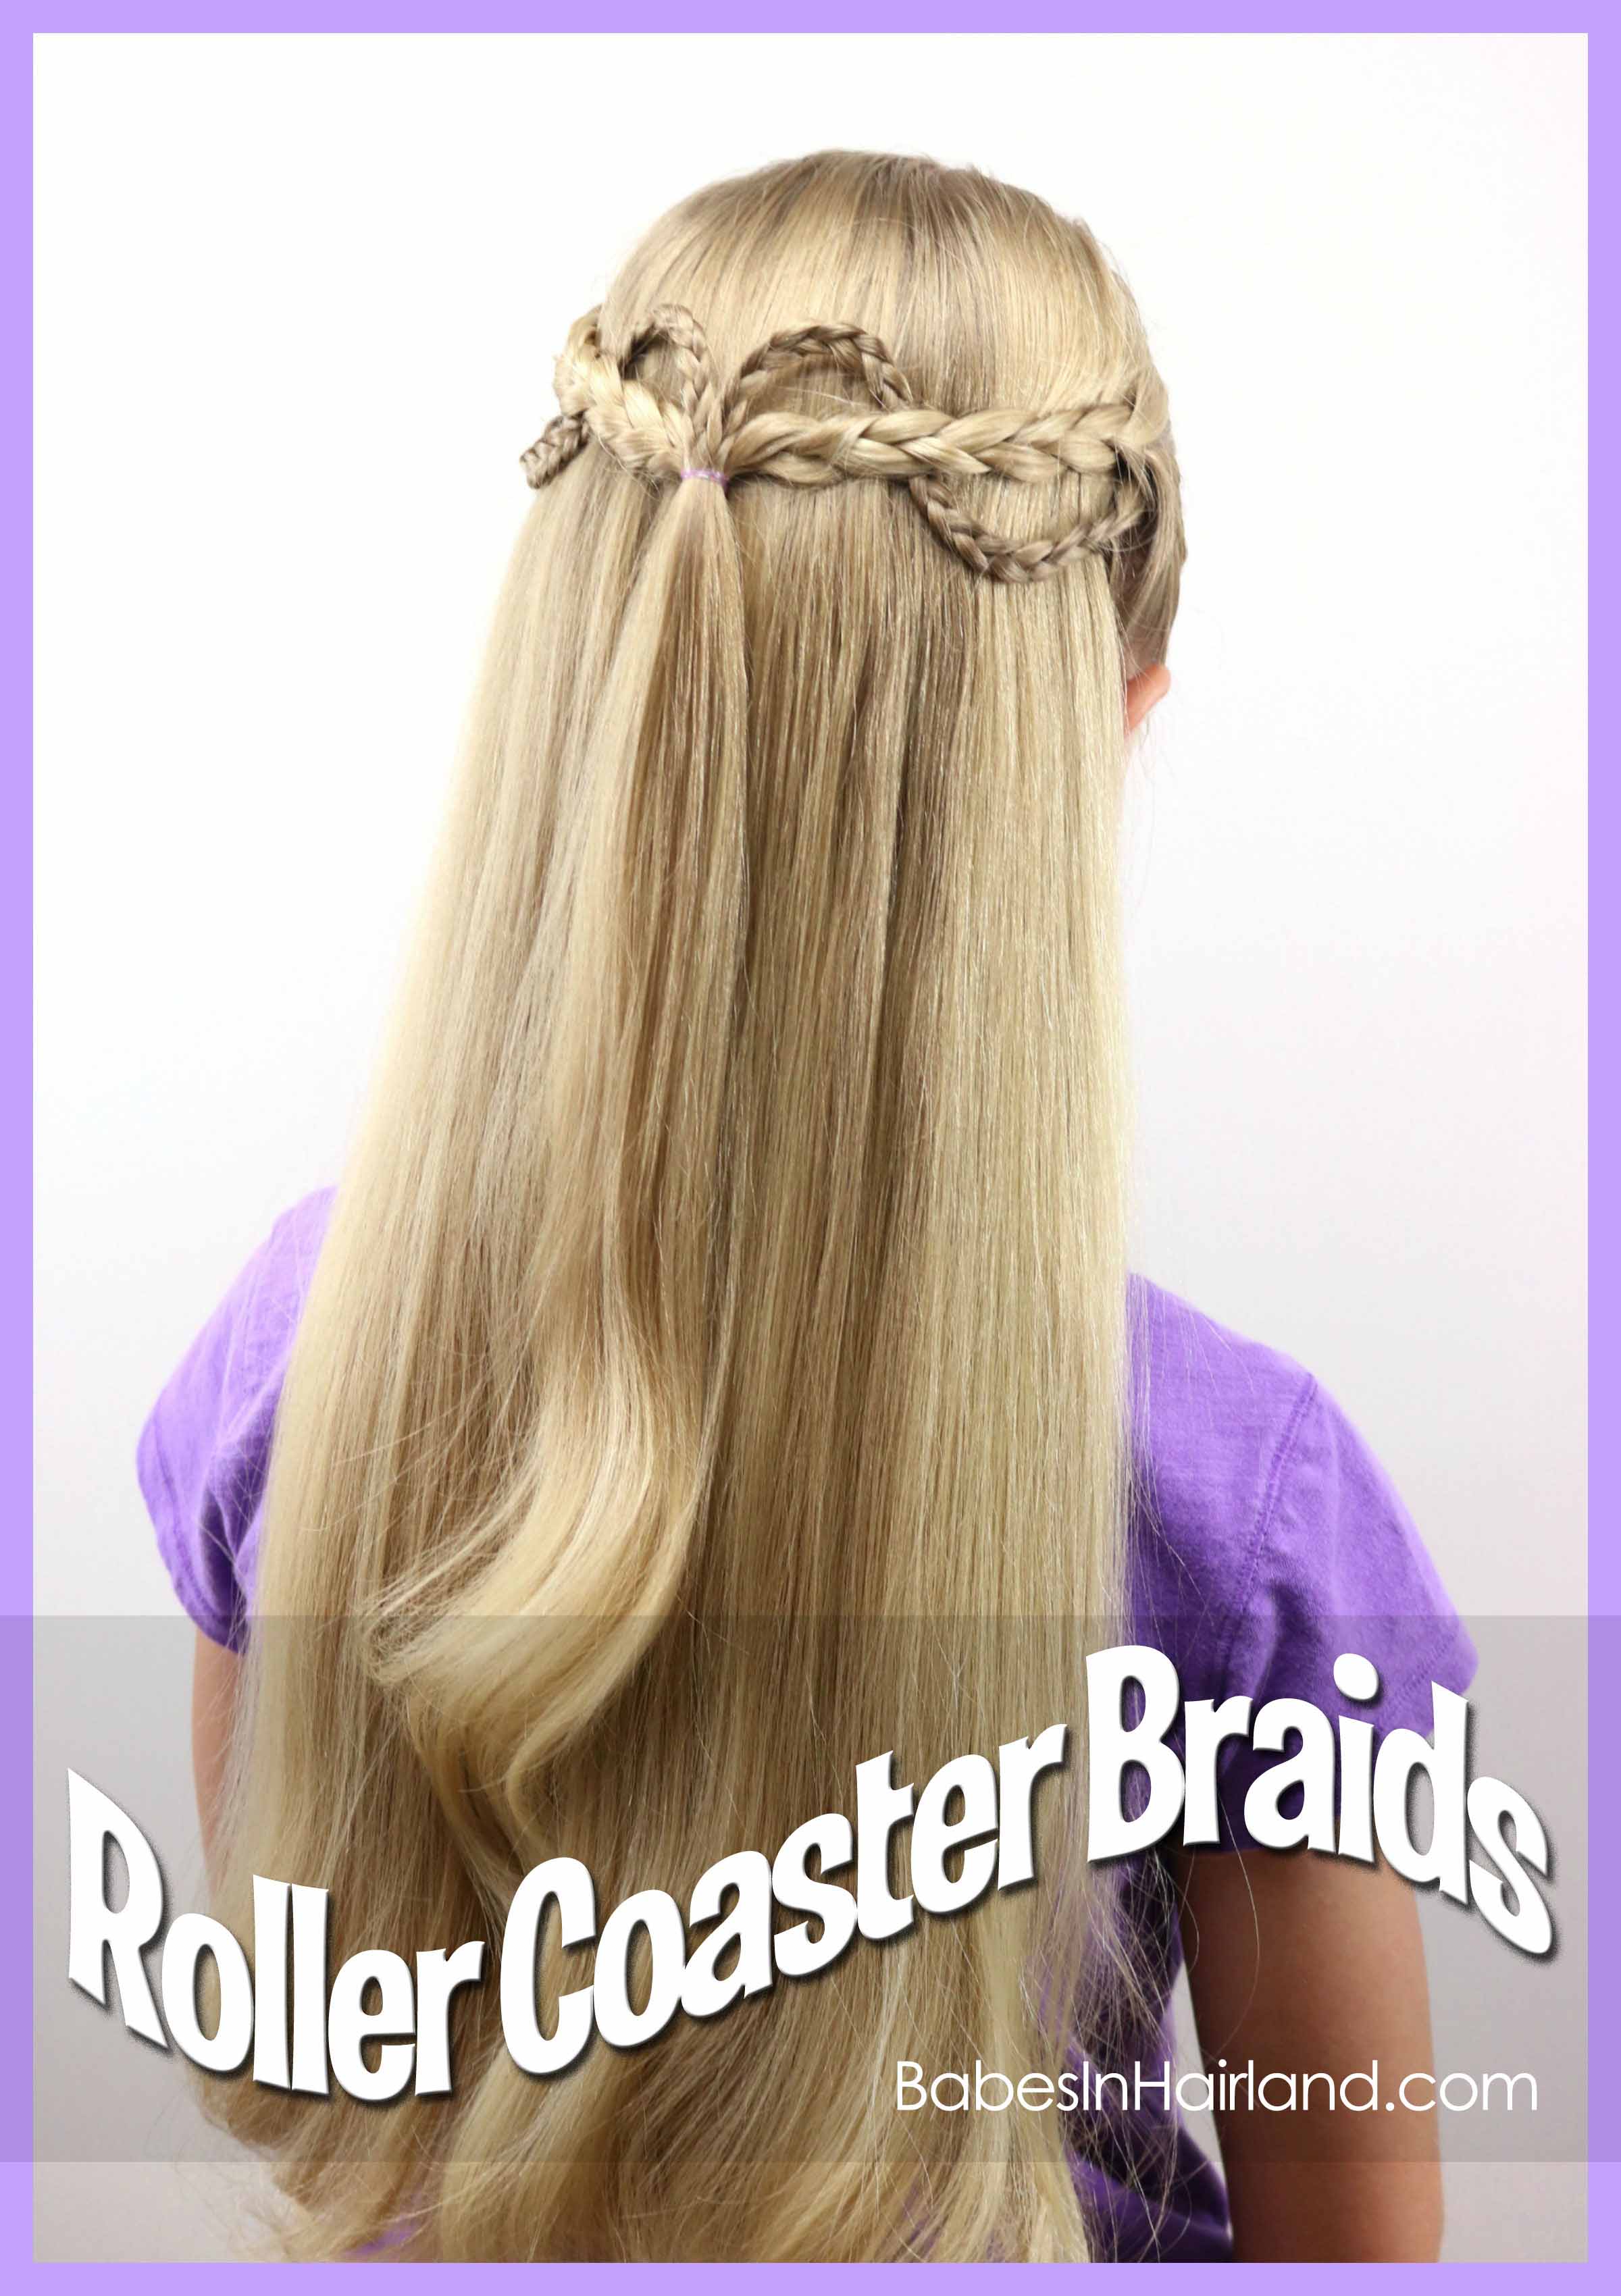
Step 11 – Take the micro braid on the right side and pass it under the thicker braid on the right side and pull it completely above the thicker braid.
Be sure to leave some of the micro braid below the thicker braid so the micro braid forms a bit of a “U” shape underneath it.
Step 12 – Take the end of the micro braid and temporarily secure it near the elastic from Step 7
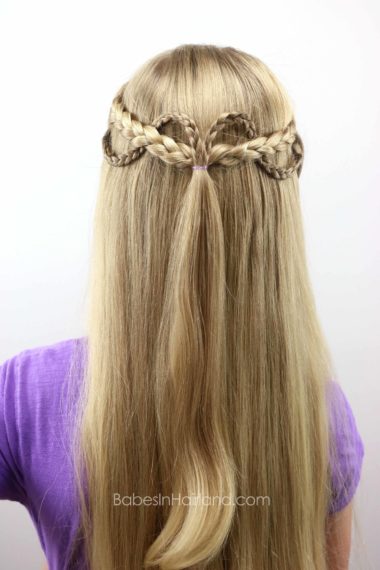
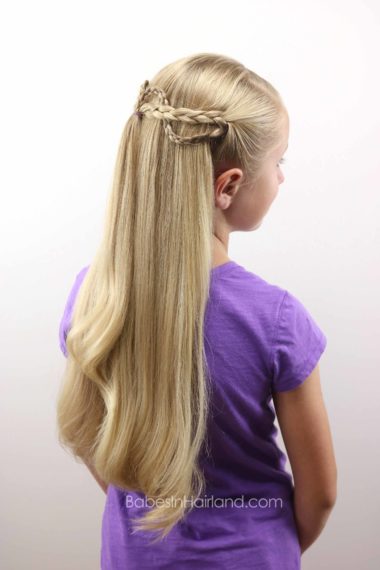
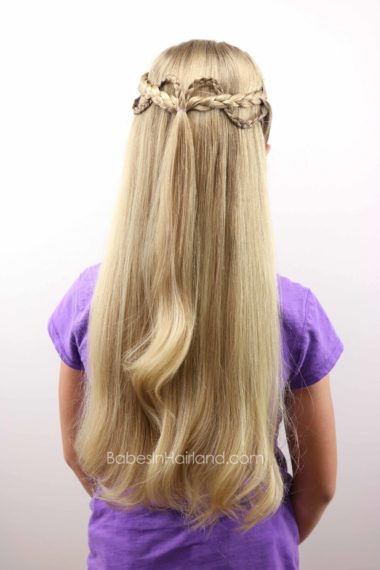
The braid should be making a “down-up” design like a roller coaster. Make sure both “U” shaped sections of the micro braid are fairly even above and below the thicker braid from Step 6.
Step 13 – Repeat Steps 11-12 on the left side of the head, again make sure the U shaped section of the micro braid sit evenly
Step 14 – Secure the micro braids on top of the elastic from Step 7
Step 15 – Optional – Curl the remaining hair down in back
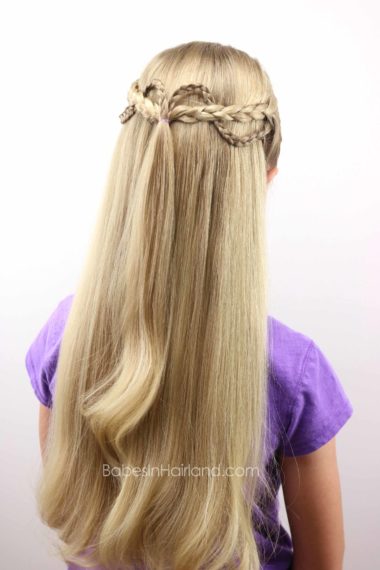
FINISHED!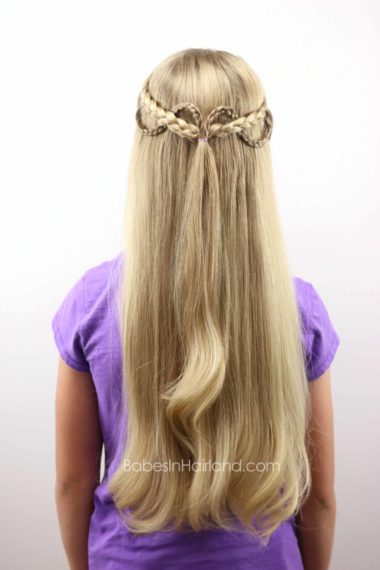
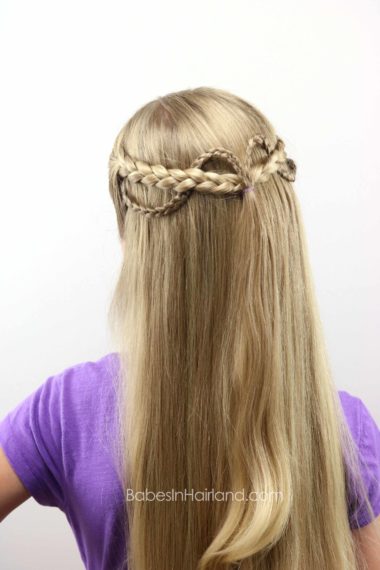
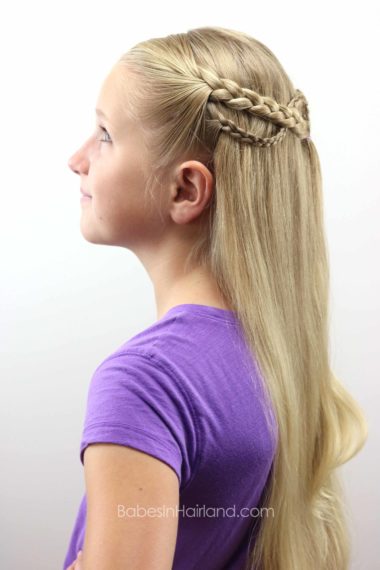
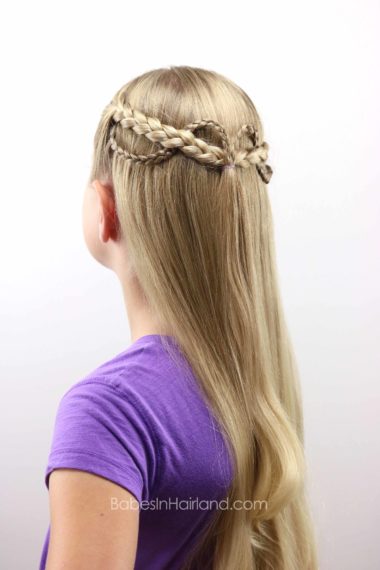
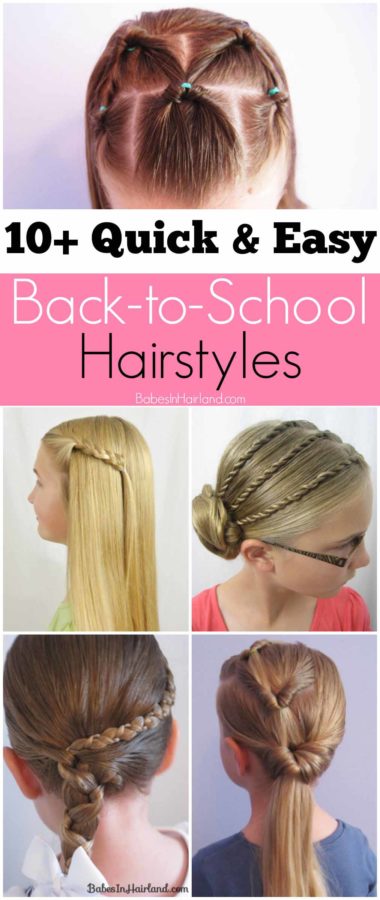
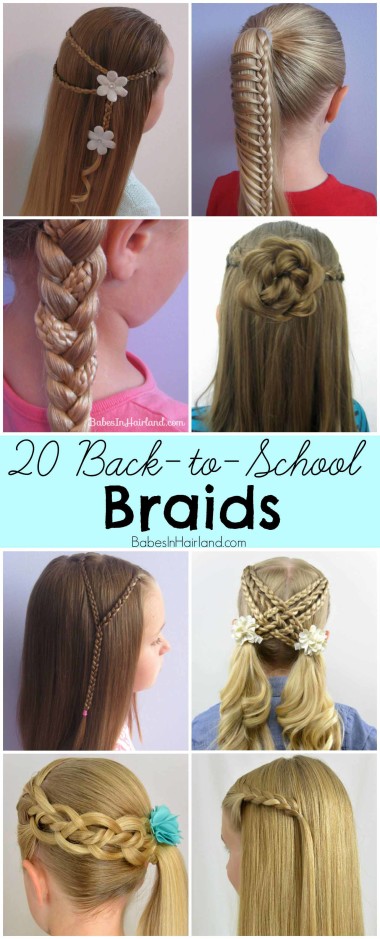
 Looking for more styles for school? Check out our 20 Back-to-School Braids HERE.
Or try these 10+ Quick & Easy Back-to-School Hairstyles HERE.
