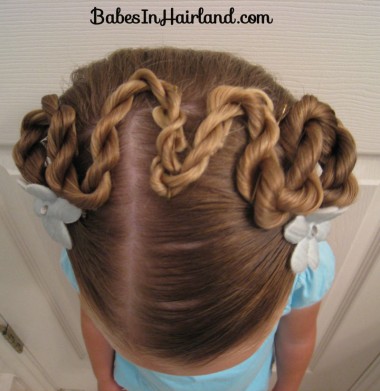
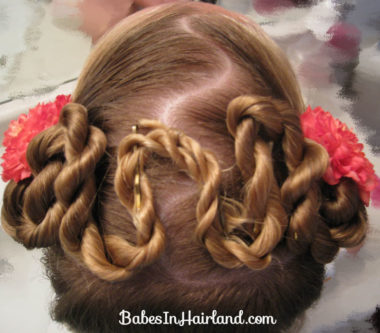
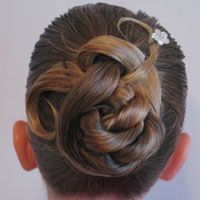
Straight part vs. wavy switchback part
This is a do that we’ve really come to like a lot. I’ve done it a couple different times and so if the part is different in some of the pictures or the flowers differ, it’s because I’ve taken pictures along the way of all of them. This puts a little different look to your typical “Heidi” hairdo of braids across the top of the head.
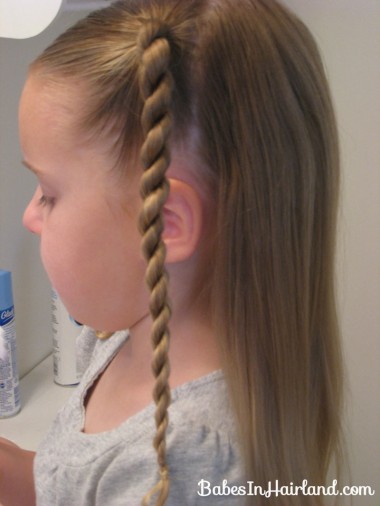
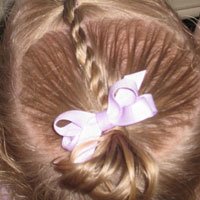
Begin by making a part. I set mine off to the side, but you could do yours in the middle. Do it straight, zig zag, or curvy like I did in this picture – I’ve done it w/all three. Then part down the sides of the heads to the ear. Then pull each side of hair into ponytails.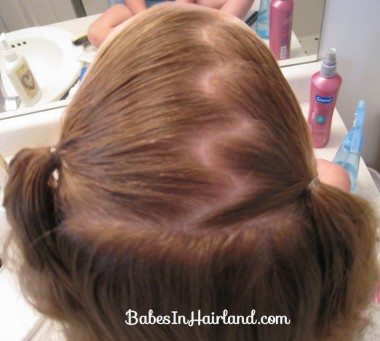
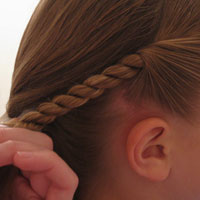
Once you’ve made ponytails – twist them into rope/twists on both sides. As always – if you can’t remember how those are done, check out our YouTube video HERE.
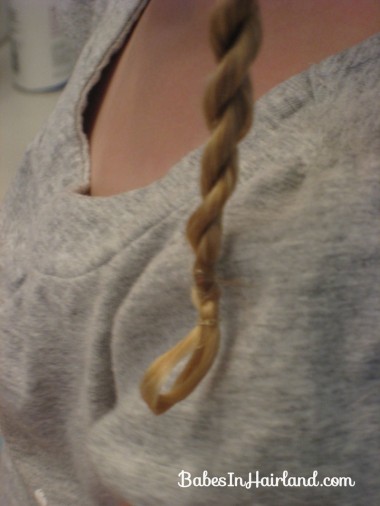
Once you’ve twisted down as far as you possibly can, tie the twist off with a clear rubber band. But don’t just tie it off, pull the end of the hair back up into the rubberband so it makes a loop. If you are unsure of how to do that, I showed how I do it in my video here. (It’s the 3rd video from that post.) You don’t want the poky ends popping out for this, so this is something you definitely want to do.
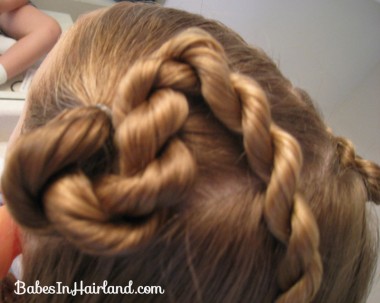
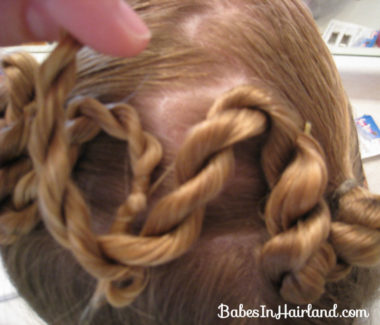
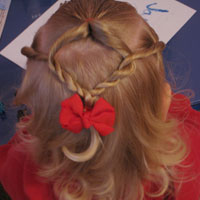
Starting on the left side, I then took the rope/twist and sort of formed it in a back and forth motion or “switchback” fashion across the top of her head, until I got to the end of her twist.
At each crest of the turn I anchored the hair down with a bobby pin from the underneath – so it grabbed the hair on the head, and the under side of the rope/twist braid. I did this the first couple times with regular sized bobby pins, and this was the hairdo that actually made me finally buy the smaller ones. They worked much better because the bigger ones poked out all over the place and were much harder to hide under such a thin amount of hair. So ignore all the bobby pins that you can see in some of the pictures -it was from using too big of bobby pins!
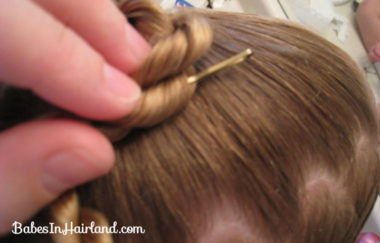 I worked from the outside in on both sides. I waited until both were mostly anchored down and then worked on getting the two ends w/the rubber bands secured and the bands hidden underneath the opposite rope/twist (like in the picture below.) Bug’s hair is rather thin at the ends, so it got sort of tricky once I got into the middle of the “switchback” to get the ends hidden under the opposite side’s rope/twist- but still have it sort of meet in the middle. I don’t know if that makes sense, but hopefully the pictures help more!
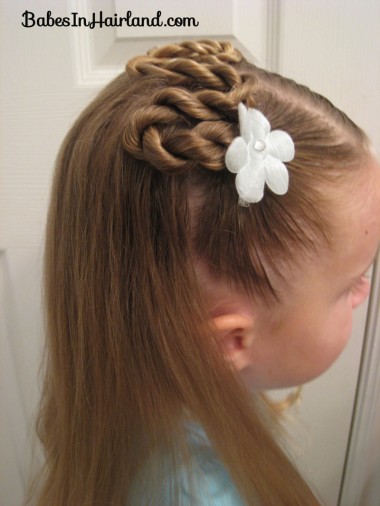
Here’s a view from the side once I got it all tacked down & a flower in.
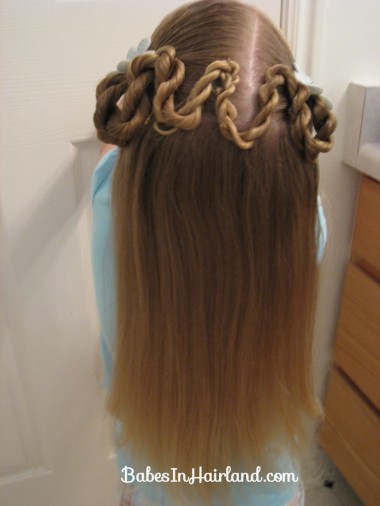
This was her favorite picture because she tipped her head clear back & made her hair hit her backside! She is very anxious for it to be that long! 🙂 Unfortunately for her, it is rather endy & she’s due for a trim!
Don’t know what’s up with her cheesy grin, but here’s a view from the front.
There you have it. You probably could do this with regular braids too, but in my experimenting I find they don’t “bend” quite as easily as these twists do. That’s why I changed her part up a bit to add some variation to the do.
