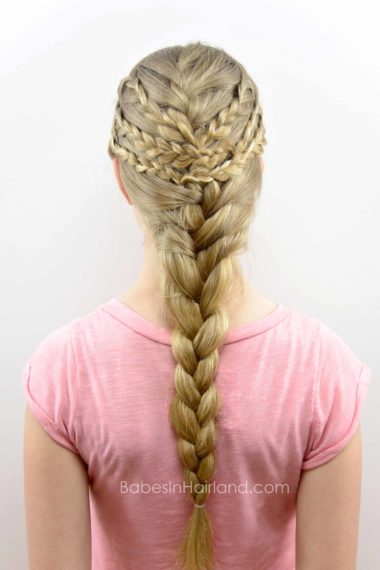
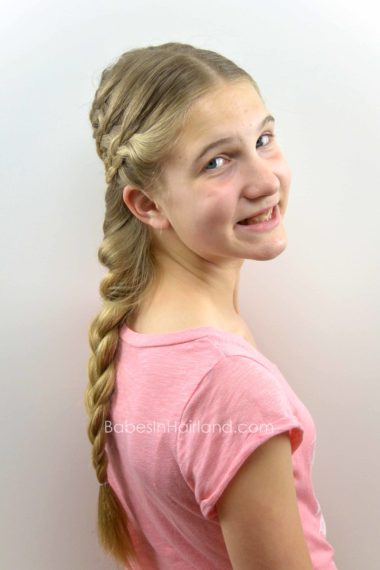
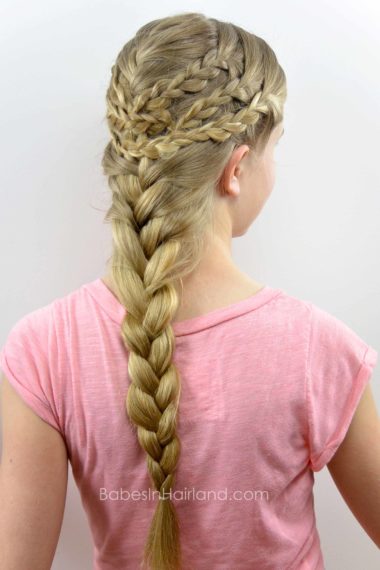
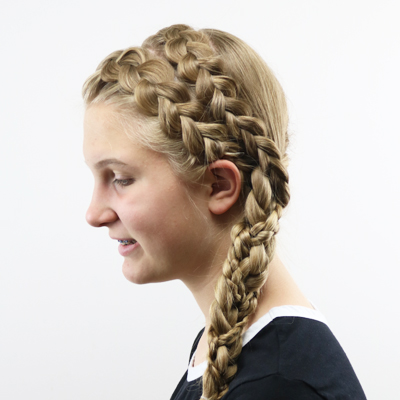
It wasn’t planned to have 2 “boho/bohemian” styles posted back to back, but apparently I’ve been in a more “carefree hairstyle mood” lately and so I’ve enjoyed not having things as neat and tidy as normally I tend to make them. Don’t get me wrong, however, I know this could be much “messier!” This style isn’t really hard, and depending on how fast you braid will determine how fast you can do this. While this braid works for any season, it’s a great one for Spring and Summer because it keeps all the hair back and out of the way.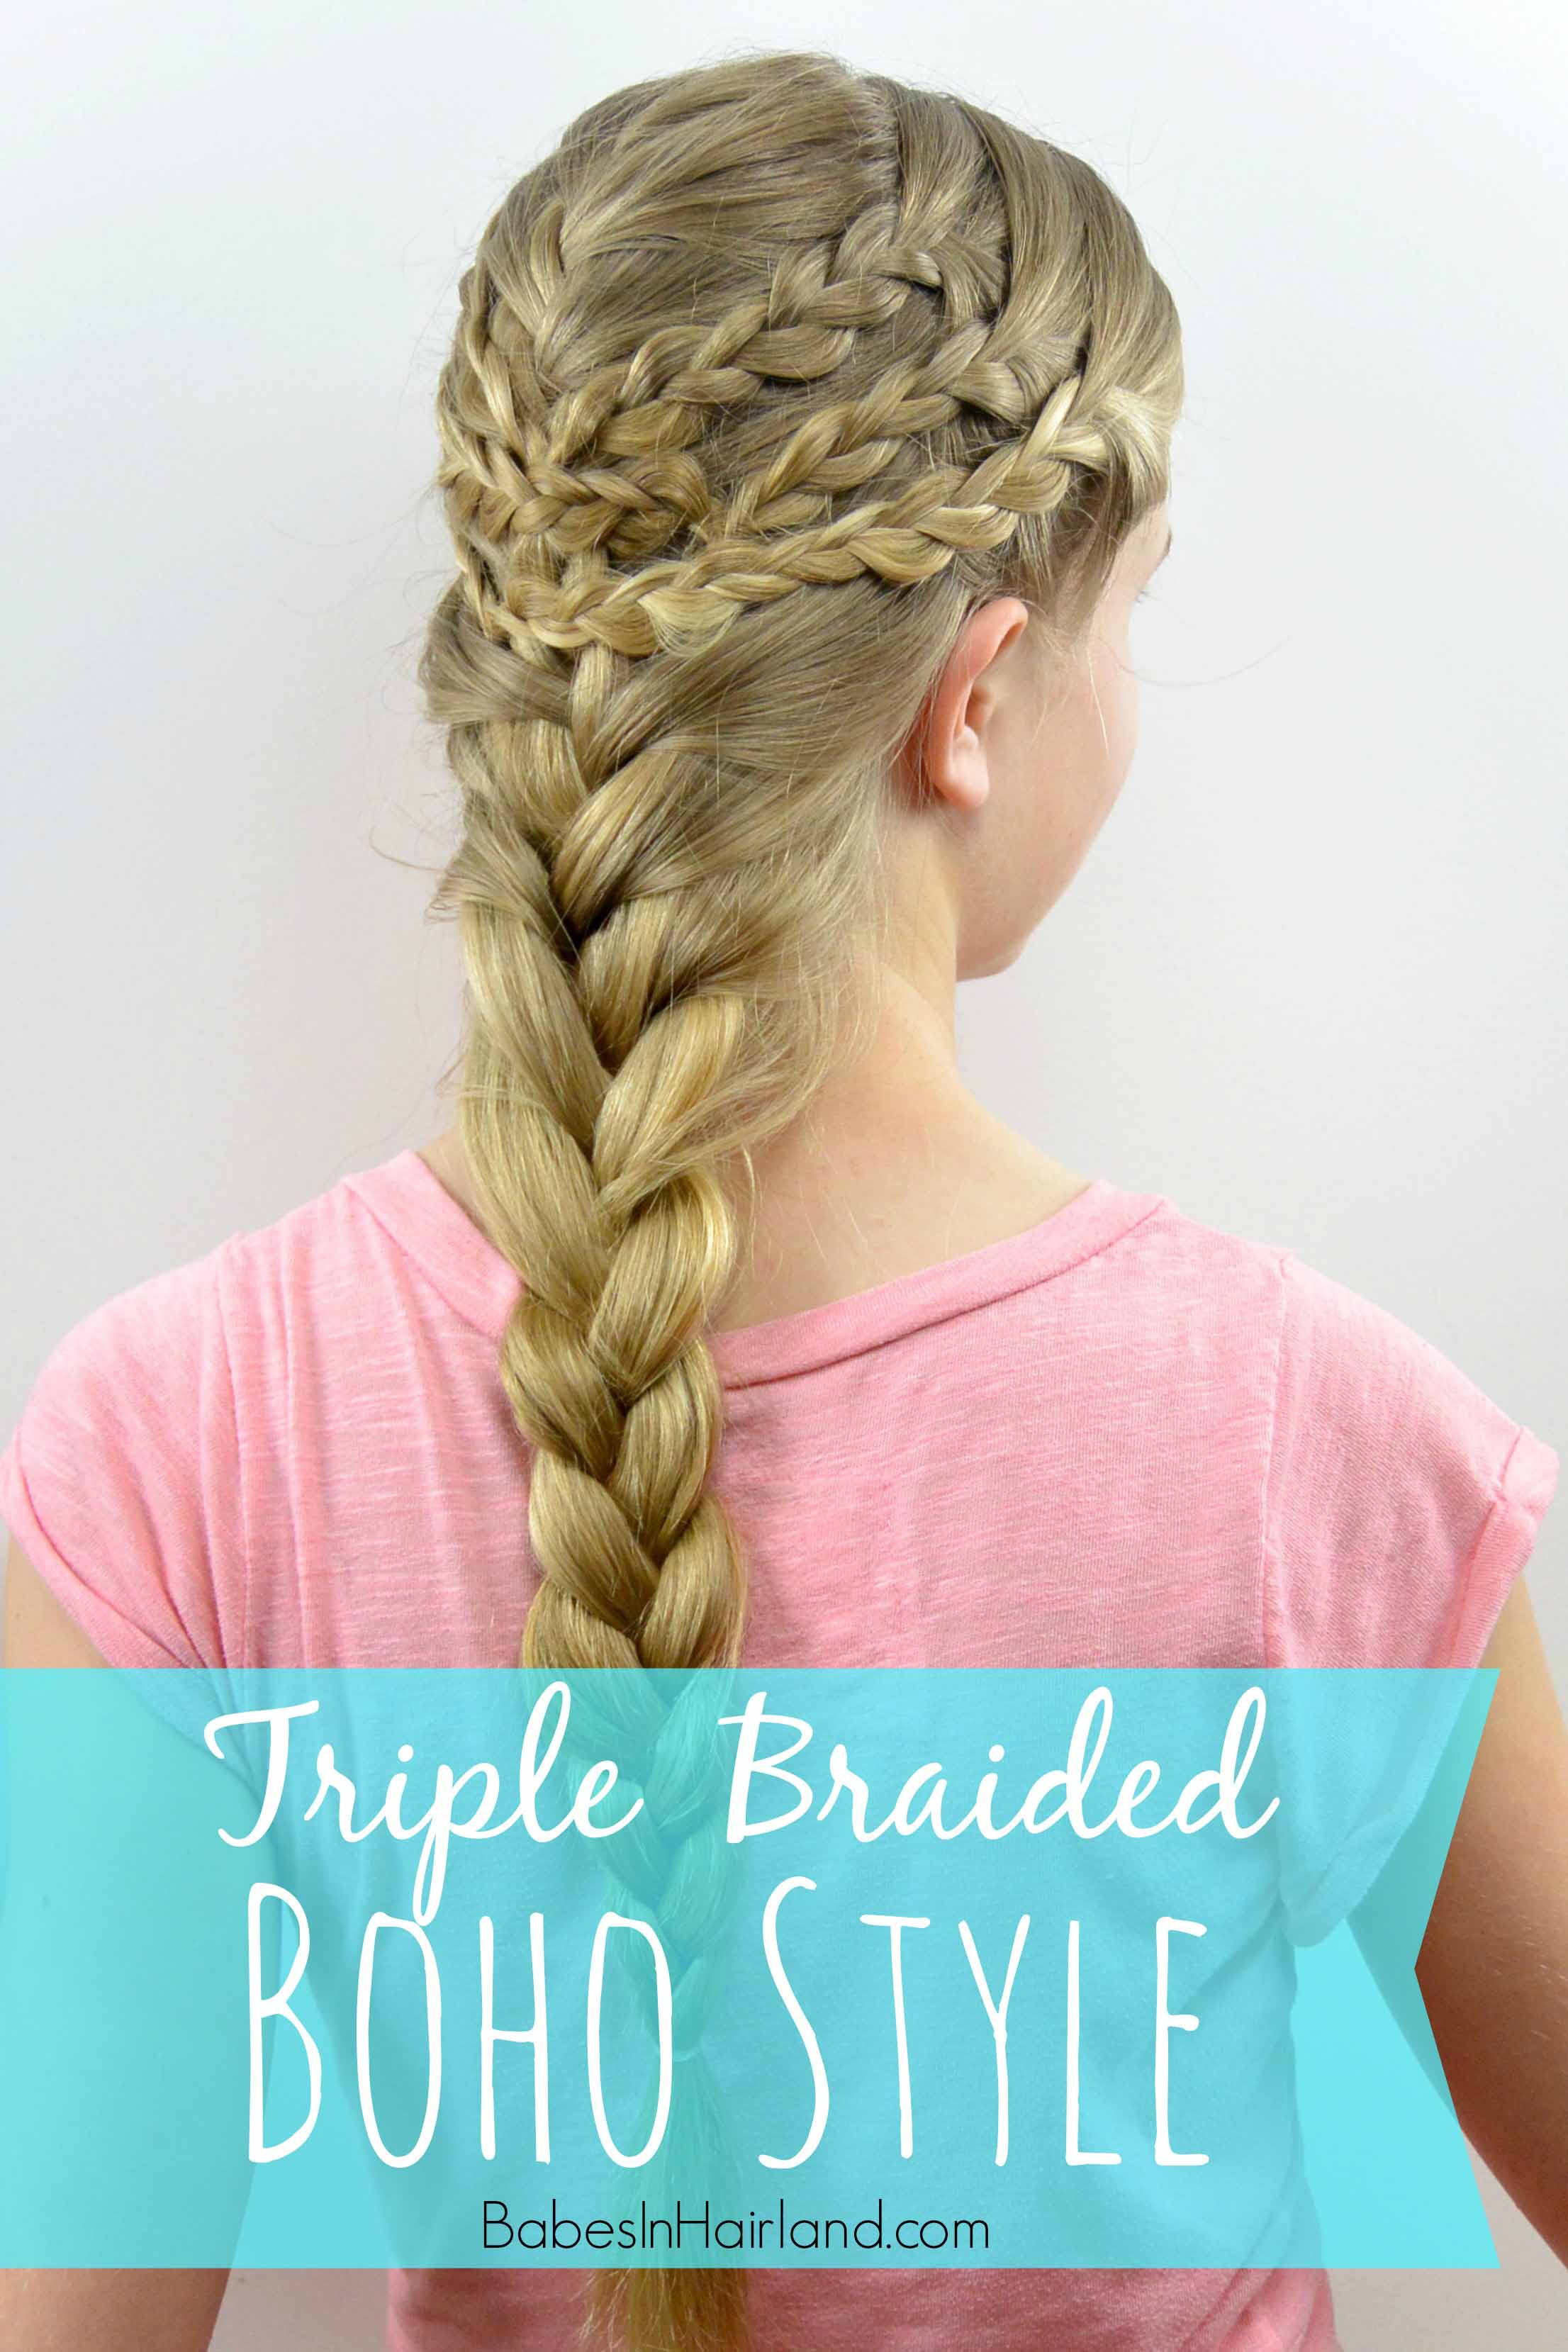
Here’s our video showing how it’s done, and the step-by-step instructions follow:
Step 1 – Part hair right down the middle to the crown, and then down to each ear
Step 2 – Secure all remaining hair in back with a clip so it is out of the way
Step 3 – On the left side, parting down from the center part vertically, divide hair into 3 even sections
To keep these sections apart, I find it helps to hold them with little clips so you don’t loose your parts and the hair doesn’t get in the way when working with other sections.
Step 4 – In the third section (the one furthest from the face) being making a regular 3 strand braid so that his braid starts higher on the head closer to the crown
Temporarily secure all the ends of the braids you will make in this style with small claw clips so they don’t unravel.
Step 5 – With the middle section, create another regular 3 strand braid, but start the braid a bit below where the previous braid began
Step 6 – With the section closest to the face make another braid, beginning it near to the ear so it is the lowest of the three braids
Step 7 – Repeat Steps 3-6 on the right side of the head so you create another 3 small braids
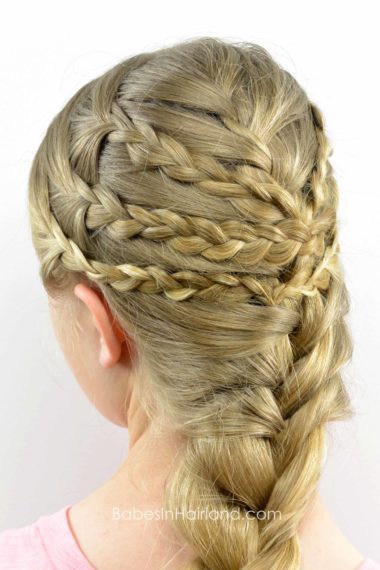
Step 8 – Join the 2 braids closest to the crown together with a clear elastic so they form a V
Step 9 – Gently pull on the edges of the braids to mess them up and make them uneven and so they aren’t uniform in shape and size.
Step 10 – Draw the second braids backward and join them together with a clear elastic. Secure them so they are off-set to the right of the elastic in Step 8.
Again, gently pull on edges to mess up the braids. These braids should cover the elastic from Step 8.
Step 11 – Join the remaining braids from near the face in the back, but secure them to the left side of the elastic from Step 8.
As before, mess these braids up as much as desired and be sure once you are done pulling on the edges of the braids that they cover the elastic from Step 10. The only elastic you should see at this point is the one that join these braids together.
Step 12 – Flip these braids up and out of the way onto the top of the head
Step 13 – With remaining hair in back, begin making a French braid
Don’t know how to French braid? Check out our French braid tutorial HERE.
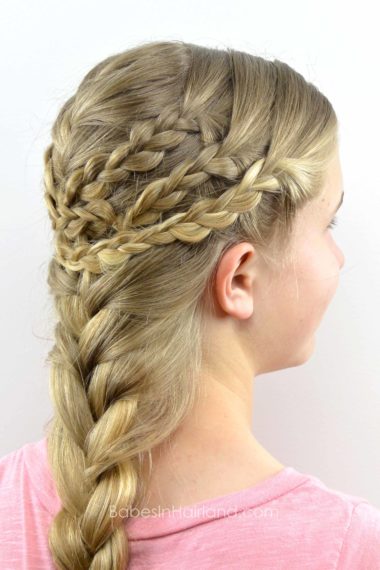
Step 14 – Once you are about to the top of the ear, flip braids back down so they lay over your French braid
Step 15 – Continue the French braid incorporating the tails from your braids into the French braid
Step 16 – As you continue the French braid, be sure the elastics are being covered up or they are tugged down tight enough into your French braid so they are hidden.
Step 17 – Secure the end of your French braid with a clear elastic
FINISHED!
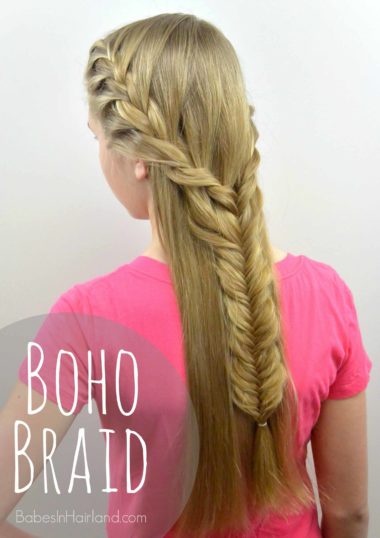
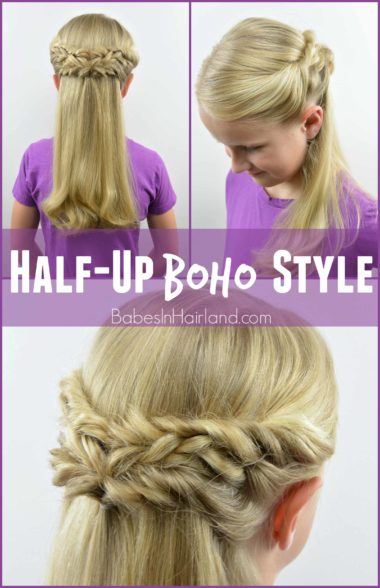
Do you prefer neat & tidy styles or do you tend to do messier and loose styles? These messier ones are starting to grow on me, and it’s probably Goose’s fault since she does a lot of these types of styles on herself. Gone are the days of “tight and neat little girl” styles on her! If you like these looser more carefree styles, be sure to check out these other 2 great ones we recently posted:
We’d love if you shared this style, pin it for later, and leave us comment letting us know what you think of today’s style!
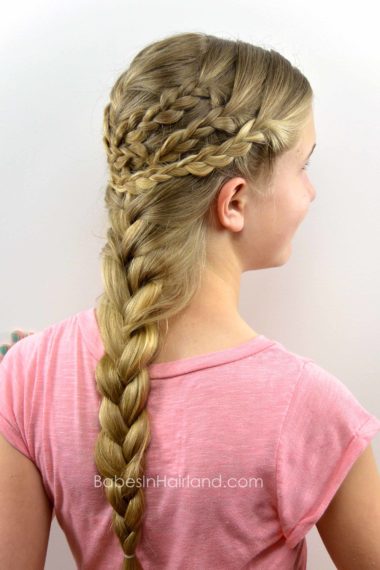
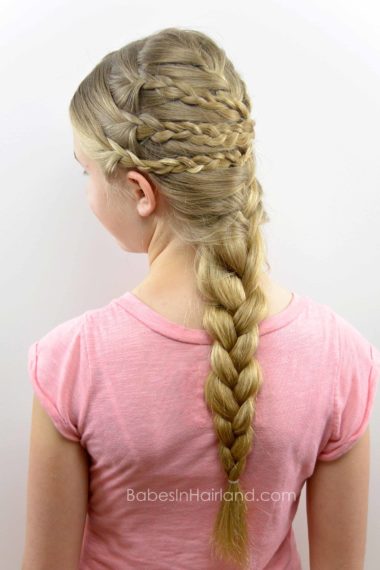
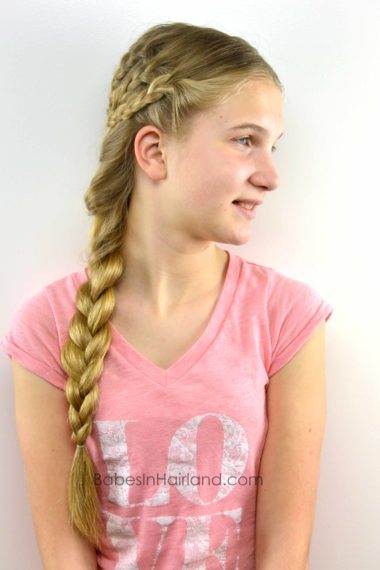

So beautiful!
If only I had enough time in the mornings to braid that much…oh well, summer is coming and I can take as long as I want to do my hair then!