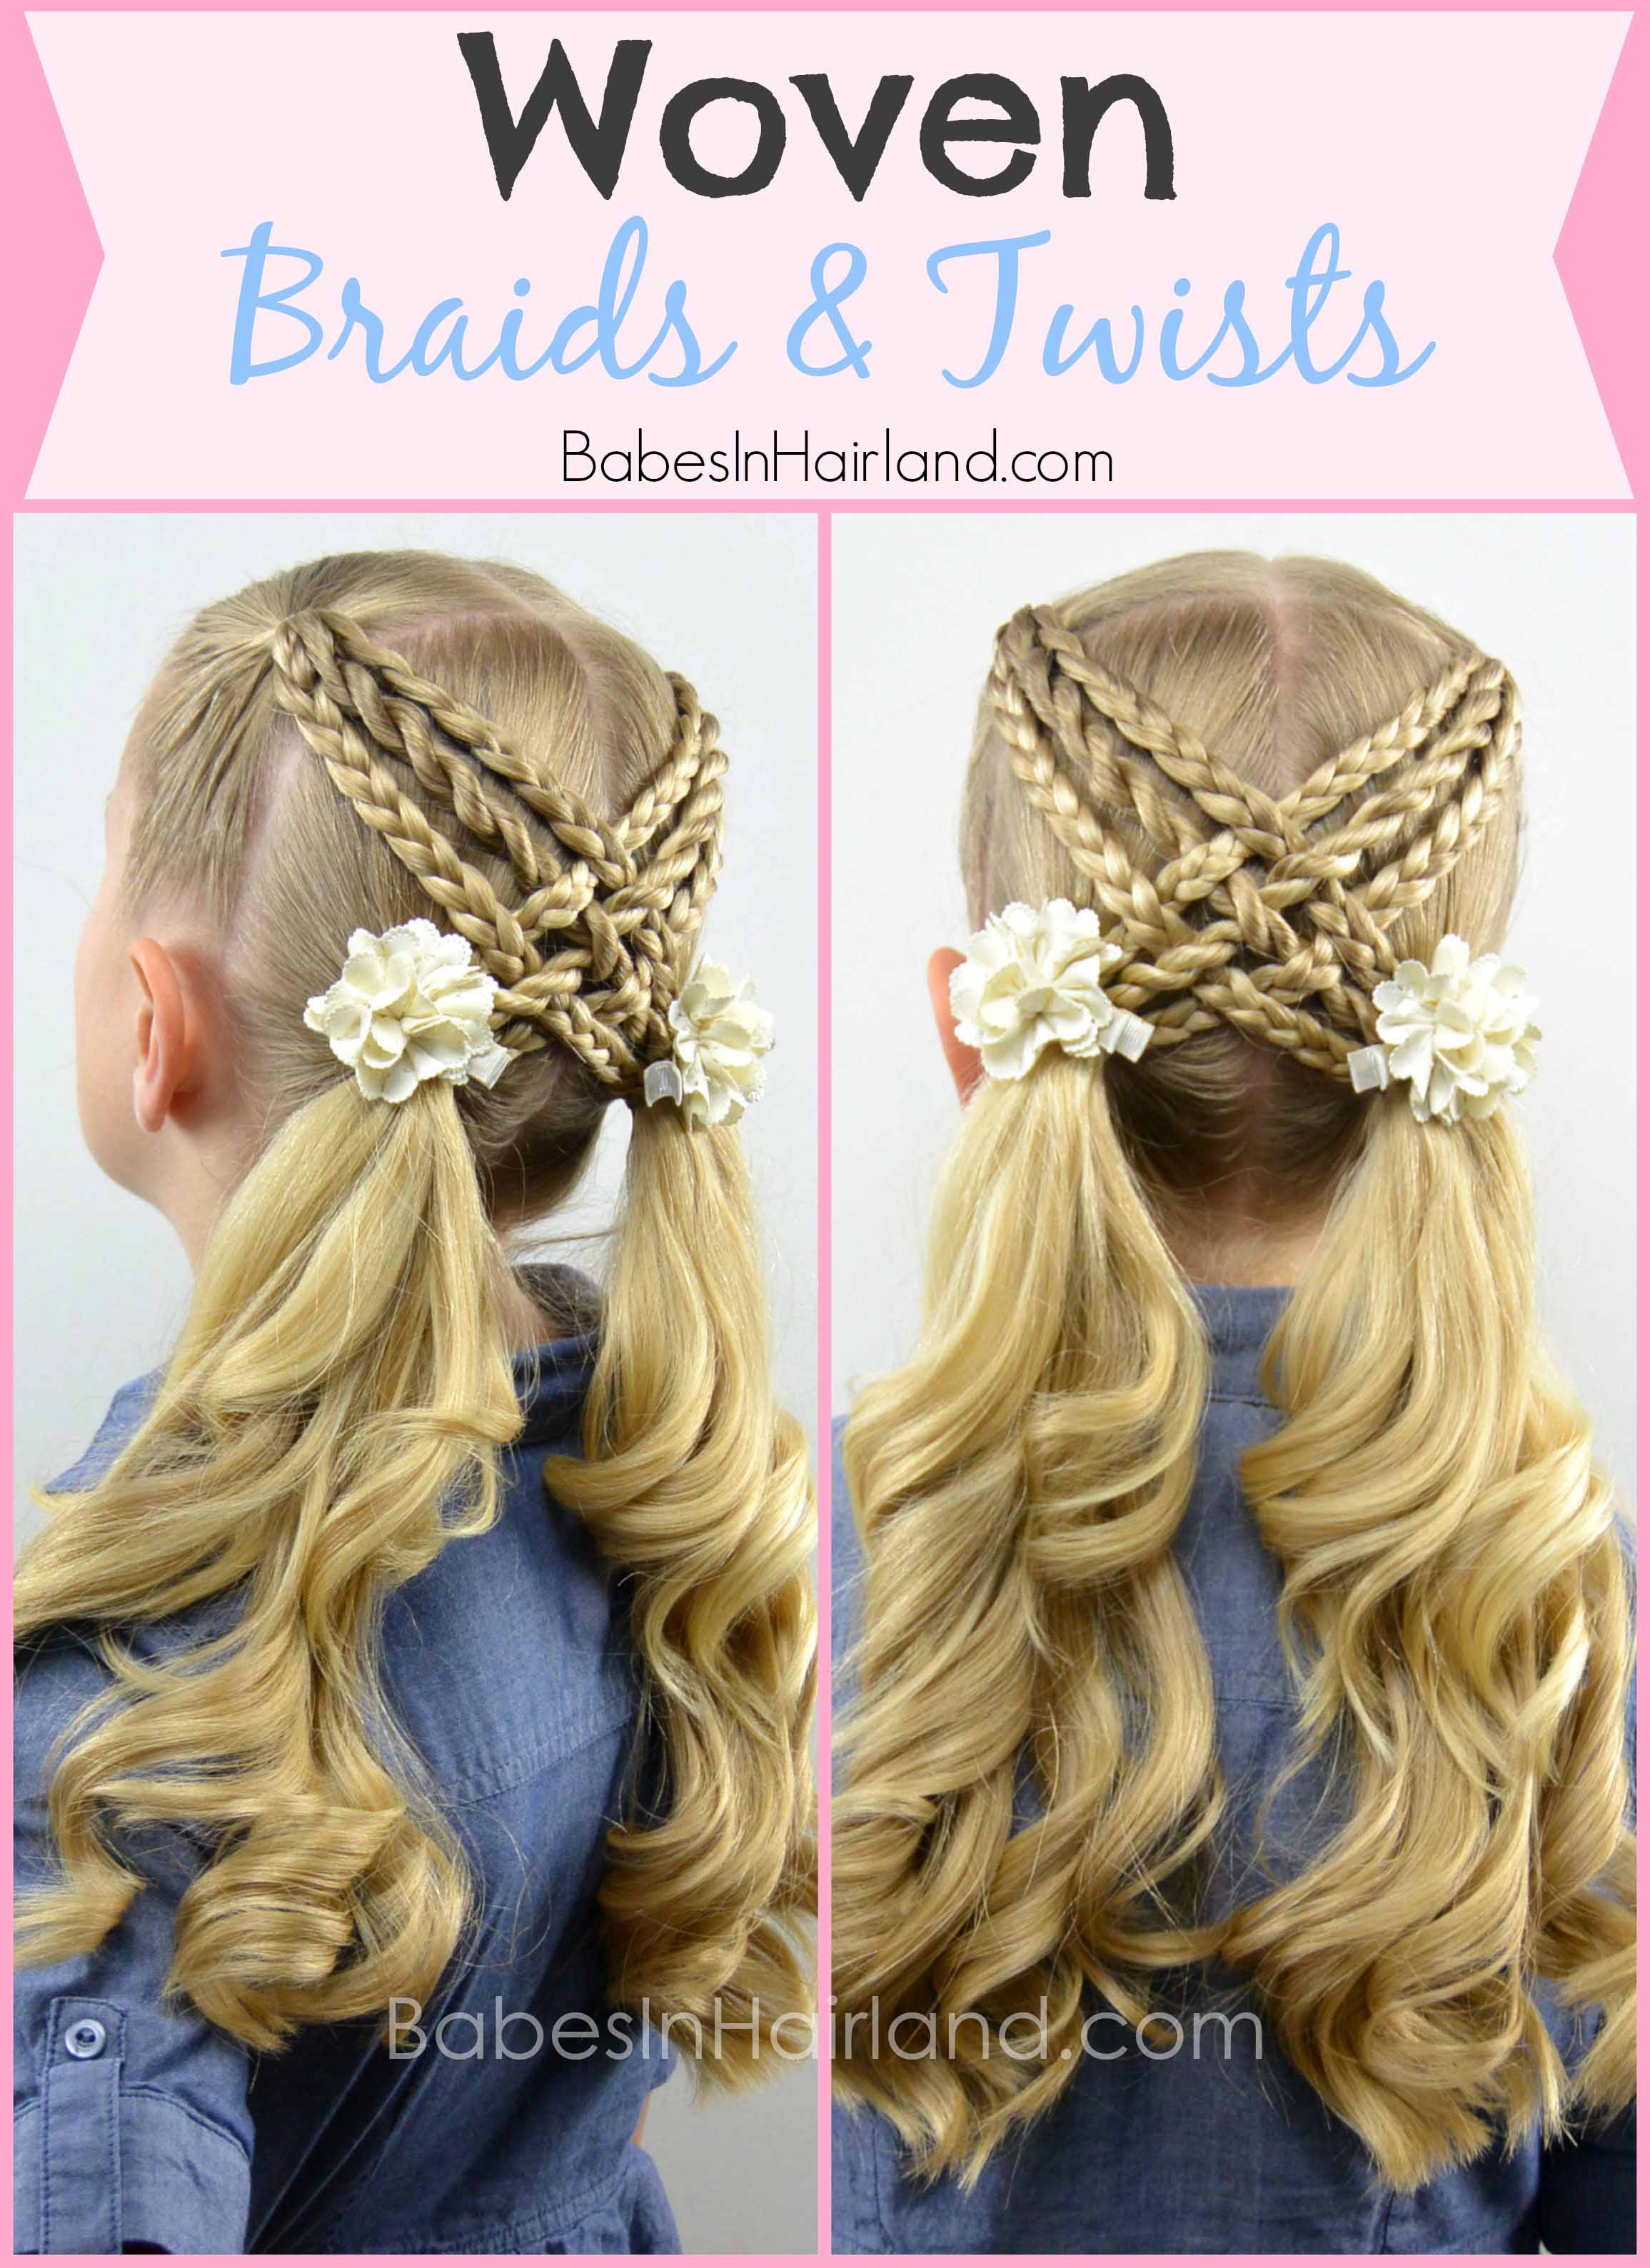
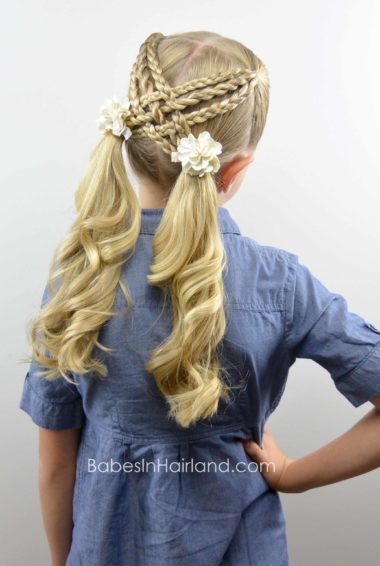
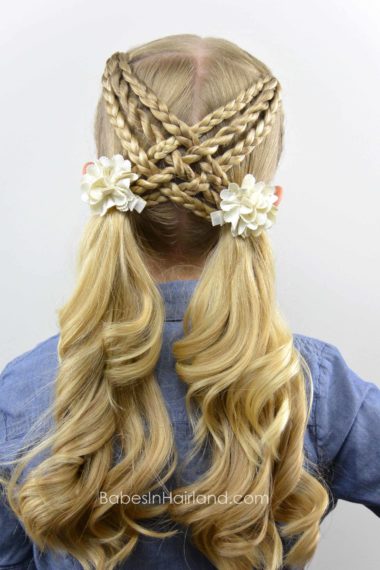
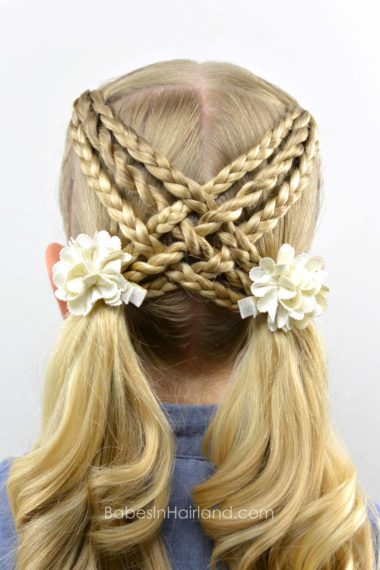
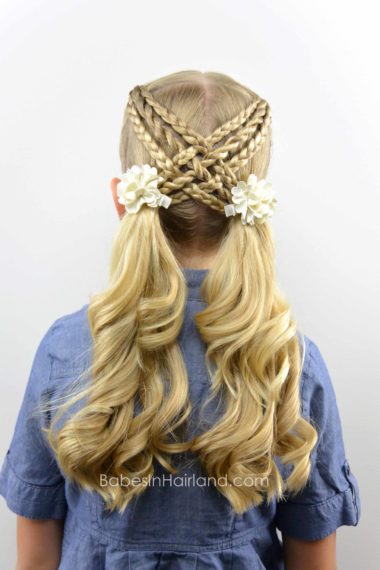
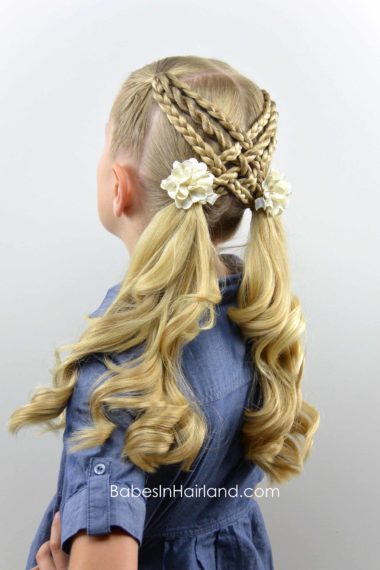
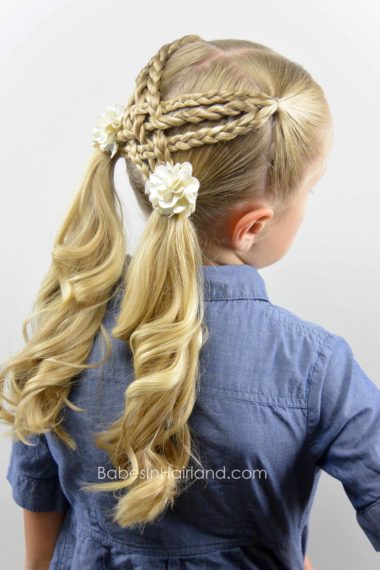
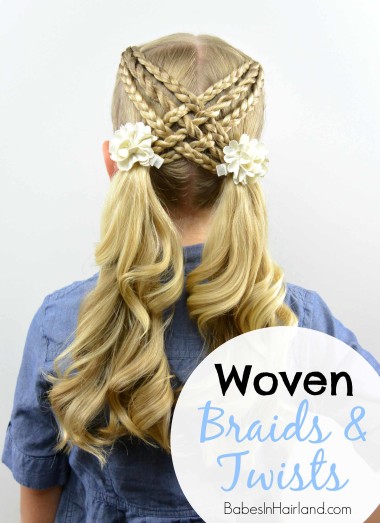
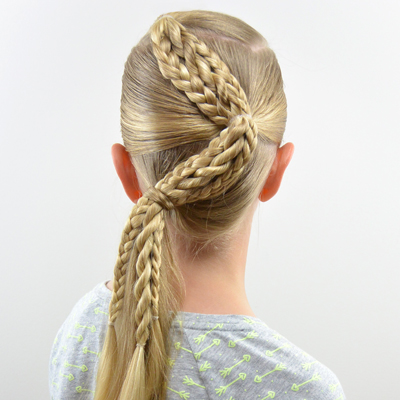
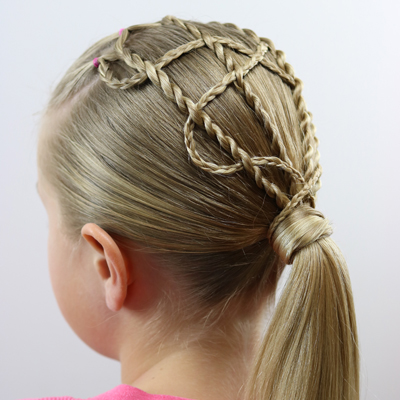
I’m just loving today’s tutorial. Probably because it was a style that lasted for 2 days! Nothing better than being able to get a second day out of a hairstyle! This one is great for summer, sports, school, or any time really. If you’re working with hair that is long enough to cross across the back of your head, this style will work. It’s great for toddlers clear up to school age girls like Bee who’s 8. This style was inspired by Shelley @prettylittlebraids on Instagram and we changed it up just a bit. You could create this style with only twists, a mixture of both braids and twists as we have done, all braids as Shelley did, or any combo of your favorite braids.
Here’s our video showing how we did it. While this isn’t a hard style, depending on how fast your fingers work, it might take you a bit of time making all the braids & twists!
Step 1 – Divide the hair into 4 sections. Make a center part from the forehead back to the nape of the neck, then another part from ear to ear.
Use clips or elastics to temporarily hold these sections of hair so the parts don’t disappear.
Step 2 – Gather the front right section of hair and create a small ponytail with it
Step 3 – Divide that ponytail into 3 even sections
Step 4 – Create a rope twist/braid with the section in the middle & temporarily secure the end with a clip
Watch our video on how to make a rope twist/braid HERE.
Step 5 – Create regular 3 strand braids with both outside sections & temporarily secure the end with a clip
When you are done it should be a braid, rope twist and another braid. Make sure these are long enough that they will reach diagonally to the other side of the head to eventually be added to a ponytail.
Step 6 – Repeat Steps 2-5 in the front left section of hair
Step 7 – Make low ponytails in both back bottom sections of hair remaining
Step 8 – Draw the 2 braids & twist from the left side across to the right side and secure them to the ponytail on the right with another elastic
Step 9 – Draw the left-most braid on the right side of the head to the left side of the head. Weave it under the first braid from Step 8, then over the twist, then under the bottom braid
Step 10 – Weave the twist from the right side over the first braid, under the twist, and over the last braid
Step 11 – Weave the last braid under the first braid, over the twist, then under the bottom braid
Step 12 – Secure all 3 to the ponytail on the left side of the head
Step 13 – Optional – Curl ponytails & add some cute accessories to cover up the elastics
FINISHED!
I love how much longer this makes her hair look. I think it’s due to the different layers of hair flowing into the ponytails and once they are curled, it makes them seem so much longer!
You can make the twists and braids be really tight next to each other, or space them out a bit so there are gaps in between. I wanted them a bit more defined so you could tell there were twists in the center, so I spaced them out just a bit.
See what I mean? So so cute right?! Share this one and Pin it for later, because it’s so cute! Do you like twists or braids better? What combo will you use when you recreate this style?
