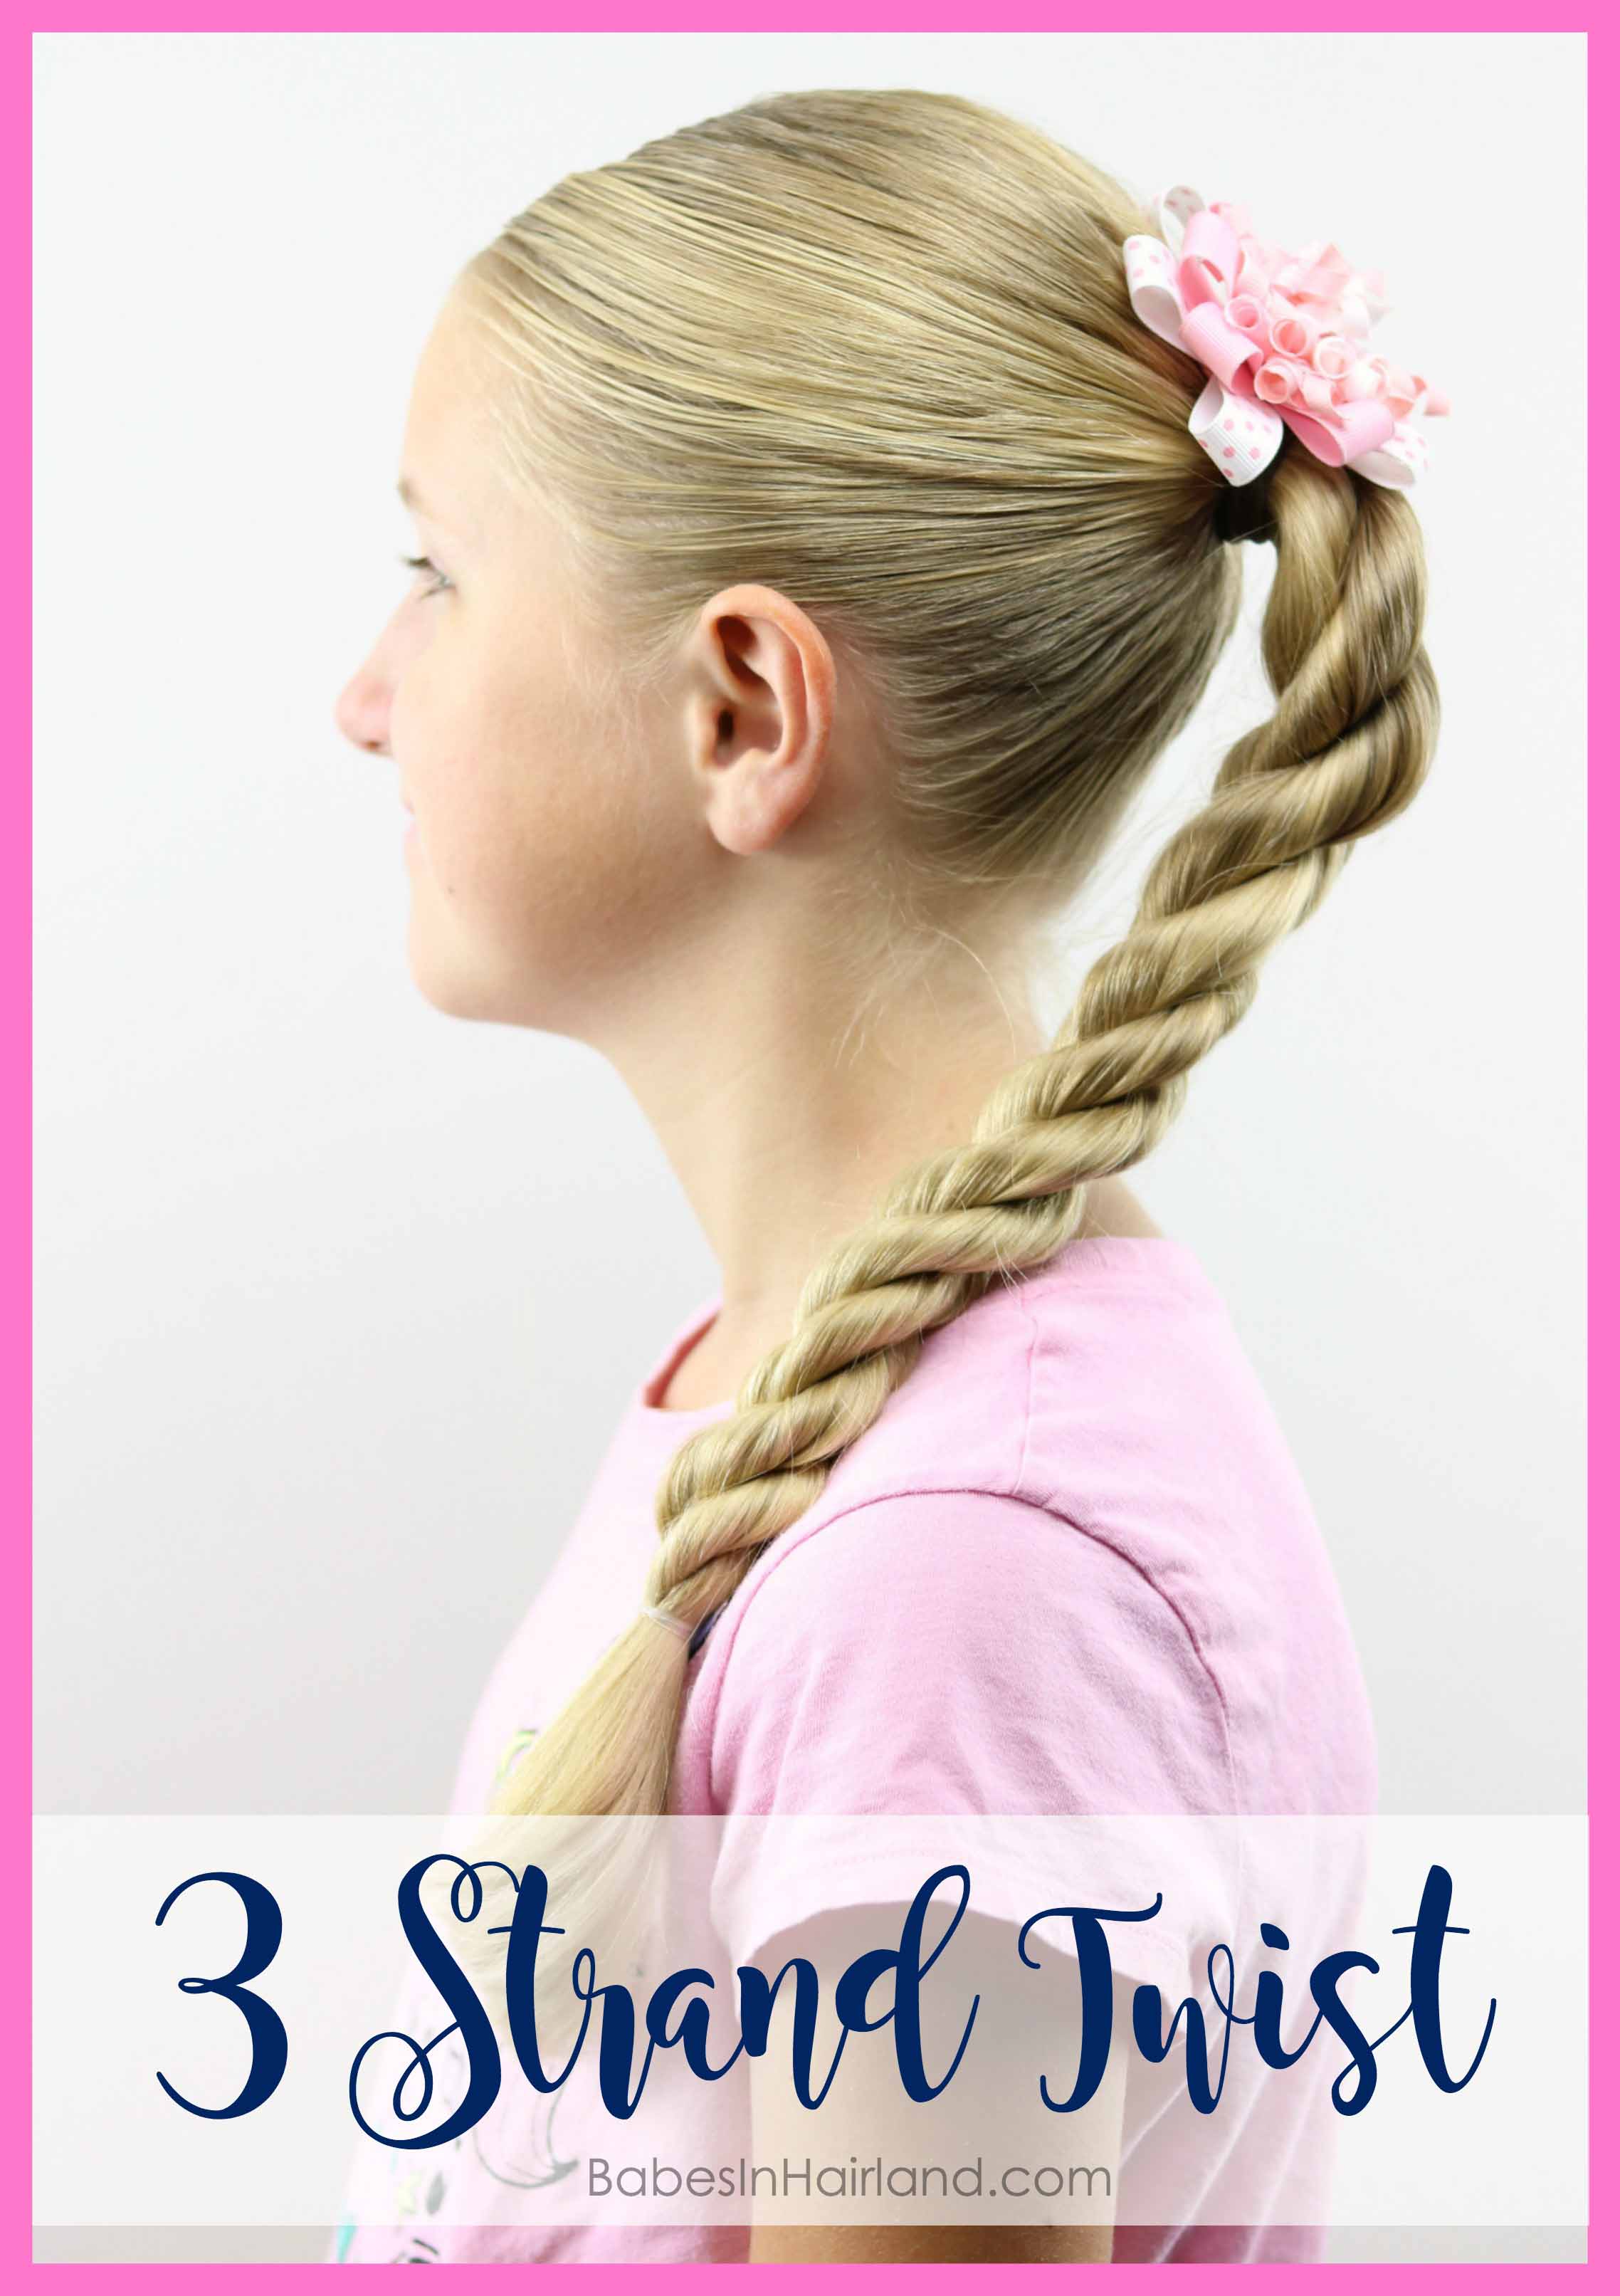
We’re back today with another great tutorial that is perfect for a back-to-school hairstyle. I find these 3 strand twists hold up extremely well, and stay nice and tight, so they are great for a full day of school or sports. I’ve got a friend from Jamaica and she’s done these in her daughter’s hair, who has type 2c hair. Obviously hair of different ethnicities holds differently, and these turn out different in my friend’s daughter’s hair. I twist them more than my friend does, but I love the look it has when it’s done! And while my friend doesn’t have to put an elastic in the end to keep things from unwinding, I do! Ah, love that there are so many different hair types!
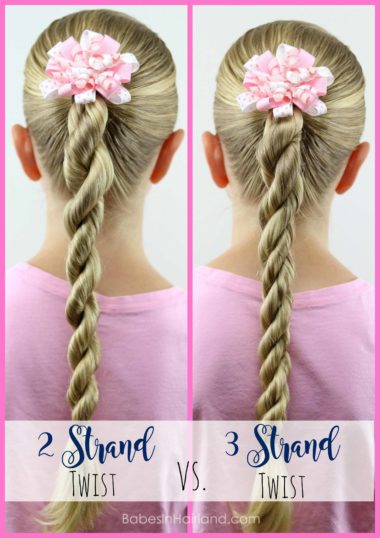
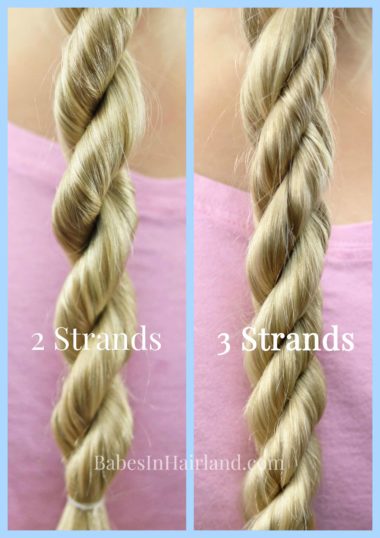
Anyway, while to some, this may not appear much different than a 2 strand twist (aka rope braid/twist) when compared side-by-side (keep scrolling to see the comparison), I think you will be able to see it! As I mentioned, these hold up well, and I think they stay much tighter than a 2 strand twist. If you still haven’t mastered a 2 strand twist (rope twist/braid) go HERE for a tutorial. And if you are looking for hairstyles with twists, you can find them HERE.
Watch our short video and we’ll show you this technique. If you have trouble watching the video, go HERE to watch it on our YouTube Channel.
1- Combine all your hair into a ponytail and secure with a ponytail holder or elastic.
2- Divide the ponytail into 3 even sections.
3- Hold the far left and middle sections of hair in your left hand between different fingers.
Your left hand is going to be the “anchor” throughout this entire hairstyle to just hold the different sections of hair and keep them separated. I placed one section of hair between my index and middle finger. And the other section of hair between my middle and ring finger. That way I had between the thumb and index finger to pass hair to. As you go, you’ll have to rotate and move the hair between fingers on your left hand. Each time you pass hair from the far right over to the left, the hair in your left hand should be moved one spot to the right.
4- Twist the far right section to the right, then pass it over the other 2 sections so it is now the far left section. Your left hands thumb and index finger should hold that hair momentarily.
5- Move to the section that is now on the far right (the old middle section.) Twist it to the right, and then pass it over the other 2 sections so it is now the far left section. You will need to move the hair in your left hand to the right, so you can hold this section with your thumb and index finger.
6- Repeat this process with the strand that is now in the far right position. Twist it to the right and then pass it over both other strands so it is now on the far left.
7 – Continue this pattern all the way down until you run out of hair. Secure the end of the twist with an elastic.
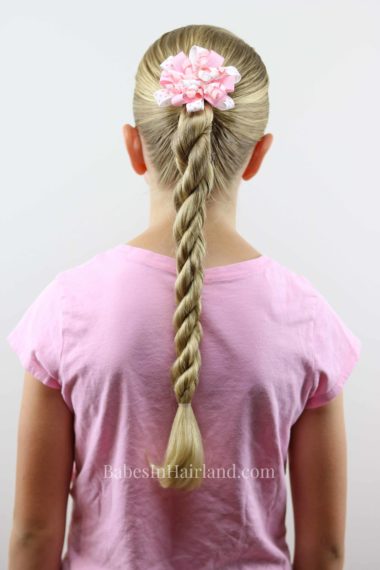
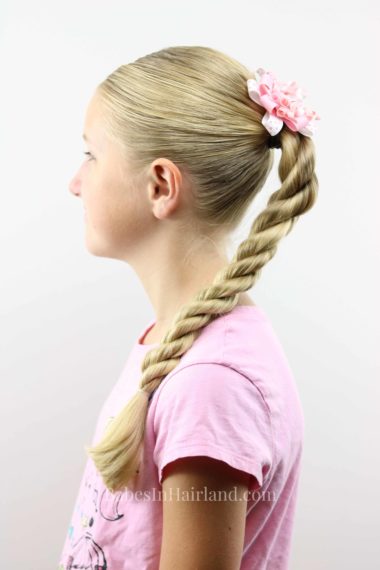
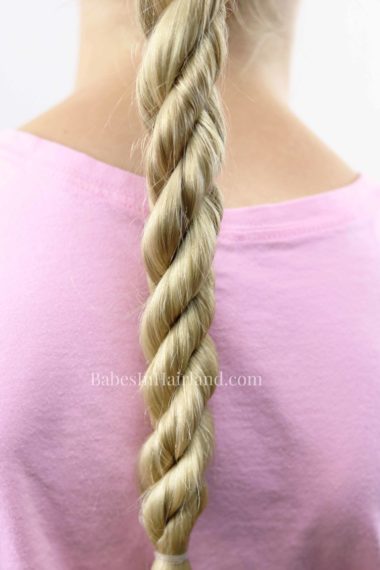
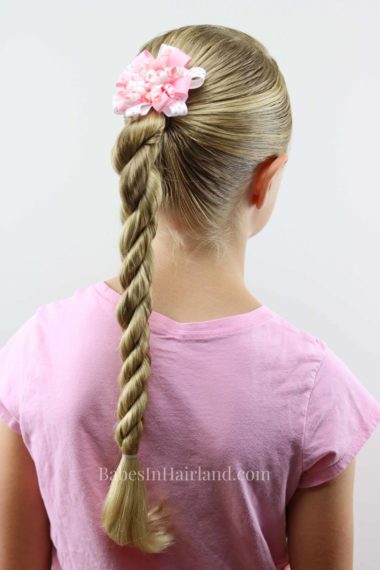
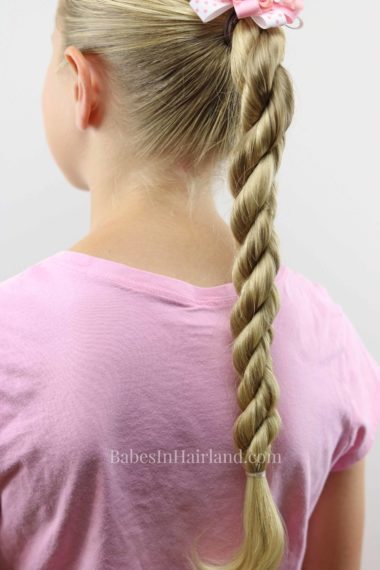
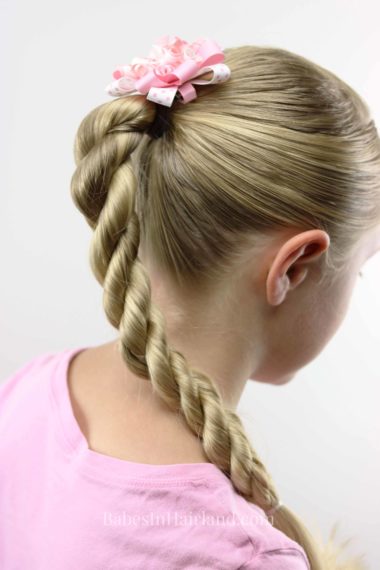
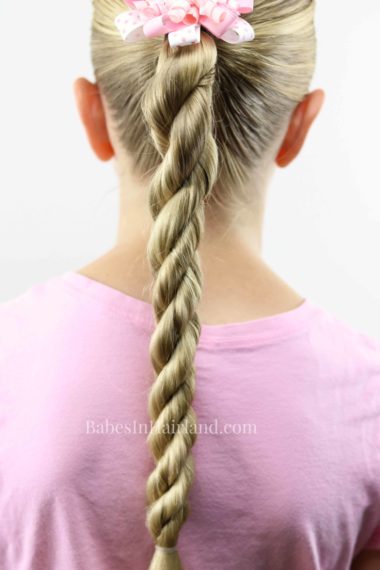
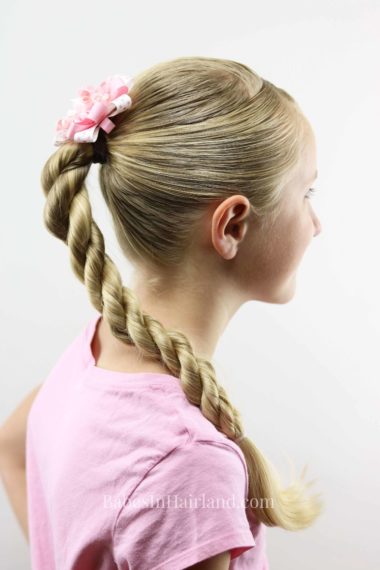
FINISHED 3 STRAND TWIST!
If you wonder what’s so different between a 2 strand twist (aka rope braid/twist) and a 3 strand twist, take a look at the next couple pictures and see if you can tell. Again, if you want a tutorial for a 2 strand (rope braid/twist) head over to THIS post.
Here’s a more up close look. I think the 3 strand twist is cooler looking personally! Even if I get my 2 strand twists extremely tight, they don’t look as good as the 3 strand.
We hope you like this twist as much as we do! I’m looking forward to adding it into new hairstyles down the road. Please comment and let us know if you try it, and don’t forget to SHARE & PIN for later! Thanks for stopping by!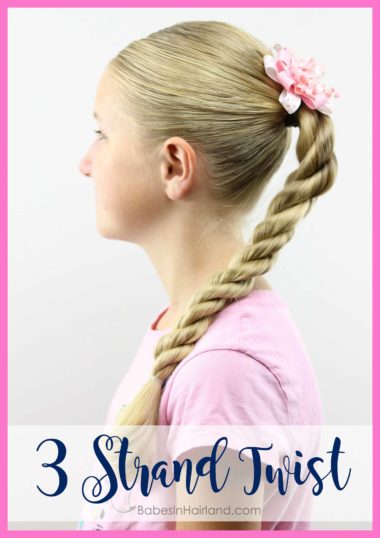
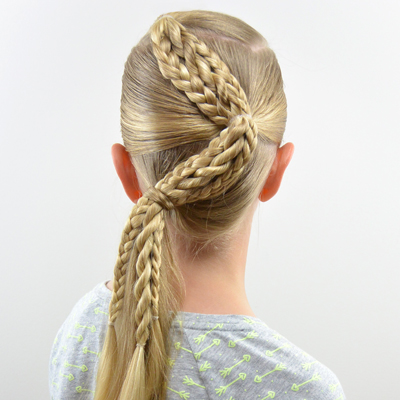
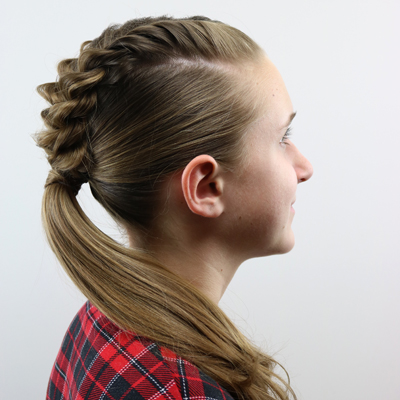
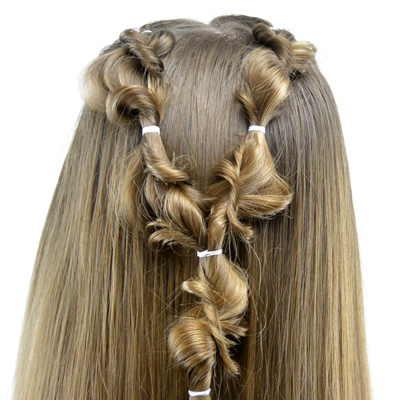
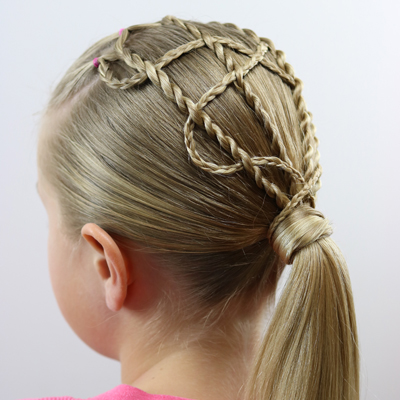
So cute! Love this one! We’ll have to try it soon!
Time saving simple easy to use hair style offer cute simple elegant look make to offer cool look in the modern stylish world. Such hair style provide beautiful lovely look to the any dressing sense.