“D” is for Dad
(Ours has been out of town for a while & we miss him!)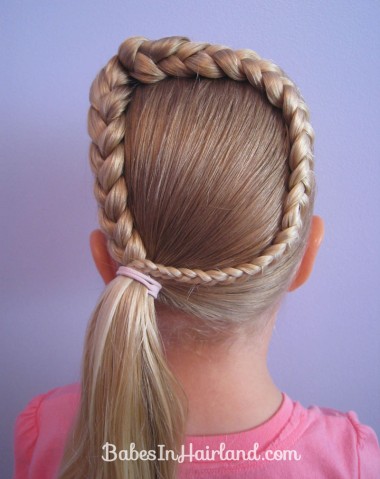
This one is very much like The Letter B, but it’s even easier. Again, think out of the box on these and add your own twist to them! But here is our version. This is nice & quick so here we go:
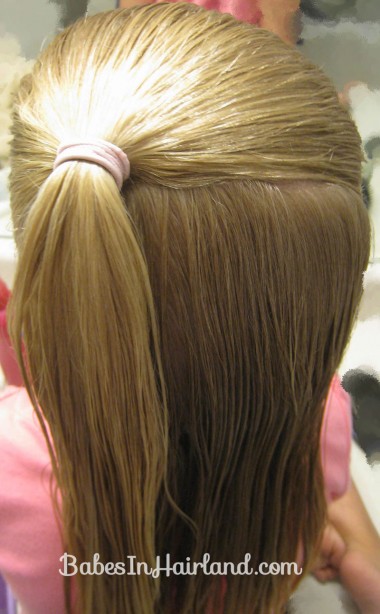
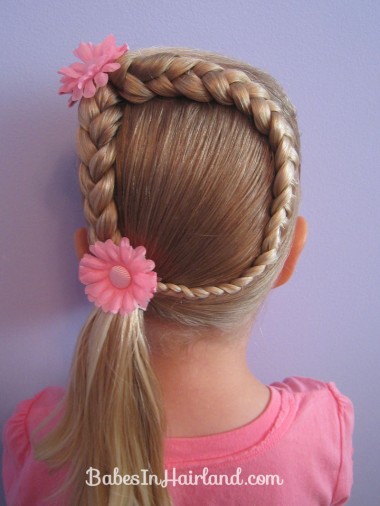
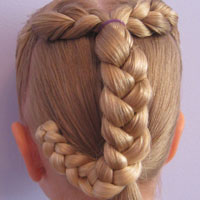
Part the hair from ear to ear & make a half pony – make it off to the left side of the head & secure with a rubber band.
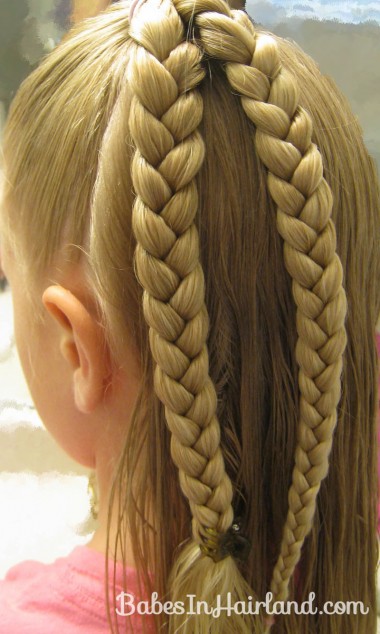
Divide that ponytail in half and braid both sections.
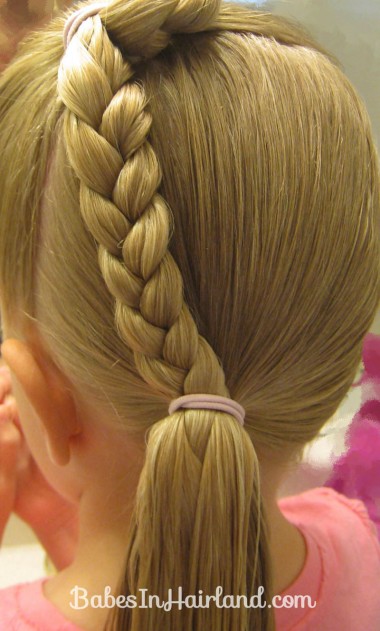
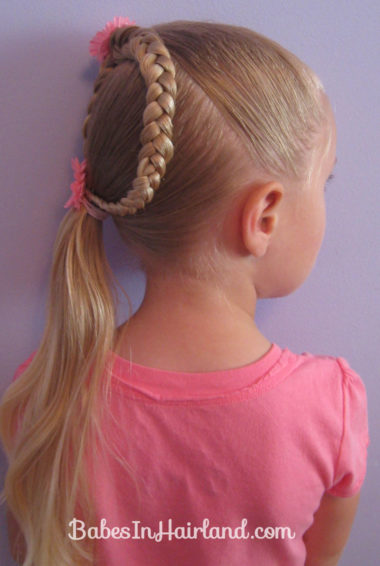
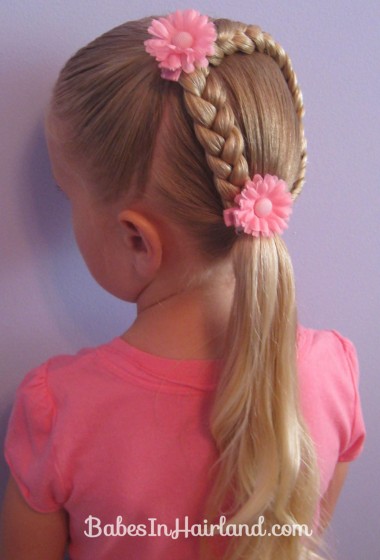
Gather the rest of the hair hanging down into a low side pony at the nape of the neck. Add the left braid to that ponytail.
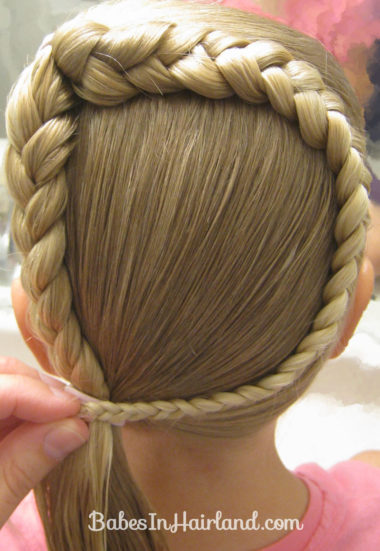
Take the braid on the right and loop it around to form the rest of the letter D. I used a few little bobby pins to help secure it on top so it will hold it’s shape. Add it into the base of the ponytail once you’ve got your D arranged how you want it.
That’s it! Really easy, huh?! I initially tried doing one braid down the left side and looping it back up so the end of my ponytail/braid came back up and met at the top to join the D together but her hair didn’t quite reach & it didn’t look as good, so we went with this instead!
Add a few little flowers to cover the rubber bands if you wish. These are cuties from Gimme Clips.
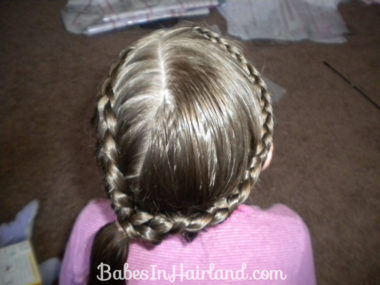
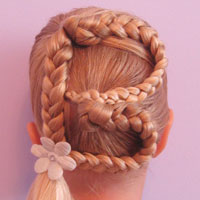
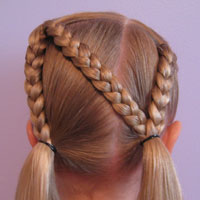
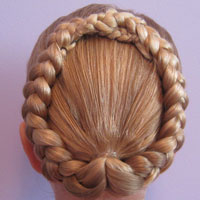
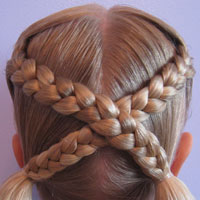
Here is Laura’s version of the D. I know I had someone on FB post one similar to this as well where they did the French braid to make the full D. There are so many options!
Photo used w/permission of Laura W.
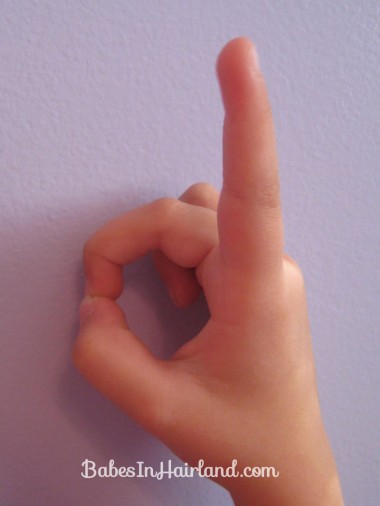
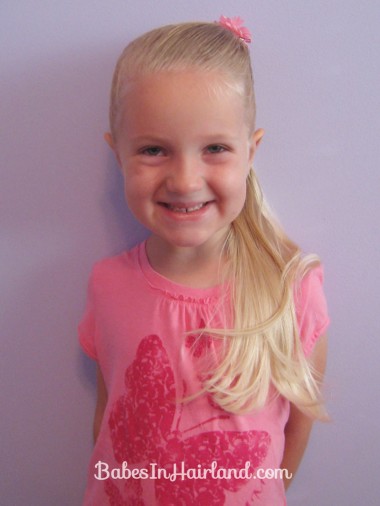
Since some of the letters in sign are rather hard to capture as she holds them in front of herself – we opted to do it like this today!
Add a big smile & your “D” is complete!
Again, we love seeing it when you try these, so please share them with us on our FB page, or feel free to e-mail them to me too! Have a wonderful weekend.
