It seems for the last couple years, my friends that had babies were having boys, until this year, a few finally had girls! That translates to “I can finally try make a cute headband for them!” I did this months ago & took pictures along the way as I made the headbands, but forgot to ever post the tutorial. I’d actually made a huge one for one of our TV segments about a year and a half ago to put on Big Buddha (the newscaster) as a joke, so these really can be made any size – they don’t have to be just for babies.
For this project you’ll need the following:
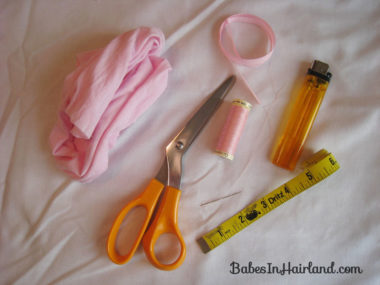
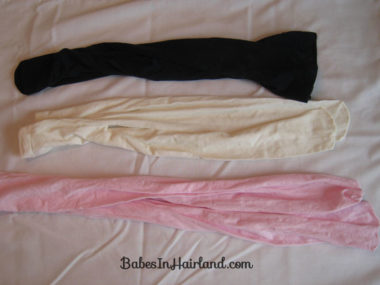
Nylons, or baby tights, scissors, needle & thread, measuring tape, ribbon, lighter (to seal the ribbon ends), and not pictured – a hot glue gun.
It seems like when we bought packs of baby tights, we rarely used anything but the white ones, so I had several black, pink & cream ones packed away just for this occasion!
Step 1 – Cut the nylon
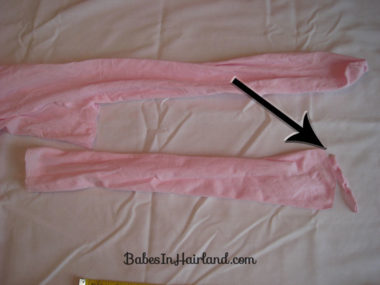
If you are working with tights, cut it off just below the thicker elastic part on top & cut the seam off of the toe. If you are using a pair of knee high nylons, cut off the elastic part at the top & then the toe.
TIP: Keep that toe seam you cut off …. I earned the “Mom of the Year Award” by not throwing it away — so keep reading! 🙂
Step 2 – Cut to size
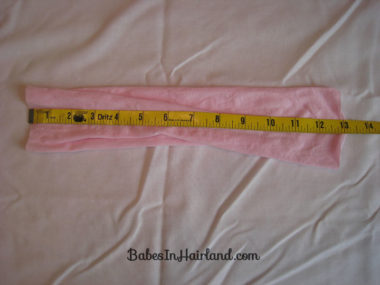
Depending on what size you want and what size the nylon is that you’re working with, you may want to cut a bit off. The leg I had was originally 16″ long, and I cut it down to 13″.
Step 3 – Join the ends together
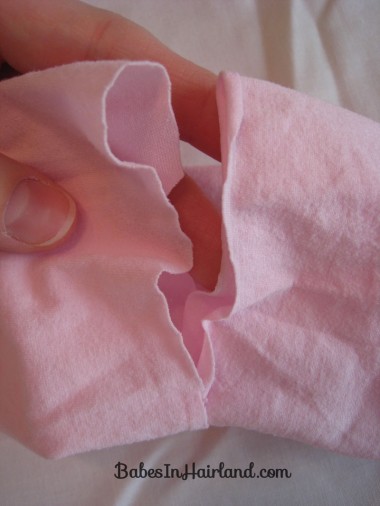
You’ll want to form the headband by bringing the ends together and put one end inside the other so they overlap. Make sure they overlap at least 1/2″-1″ or it will come apart.
Step 4 – Sew the ends together
Make sure they over lap enough that you can sew the ends together. Just make a “running” stitch along the overlapped edges. Be sure to have a knot in one end of your thread!
Step 5- Cinch it in
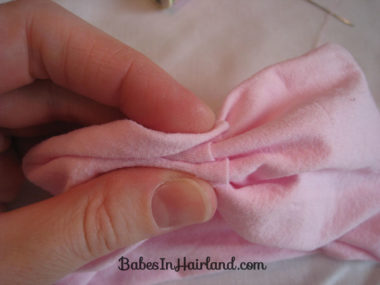
After you’ve done several stitches across the width of your headband, pull on your thread so it cinches or bunches the headband up in the middle.
Step 6 – Wrap the thread
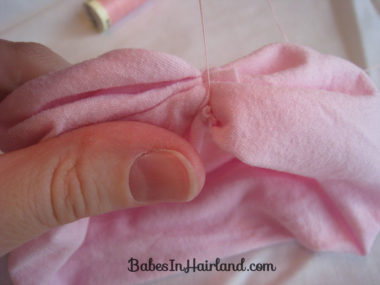
To ensure your cinched up middle stays together, take your thread and wrap it tightly around that bunched up section several times. Tie it off & cut the remaining thread. If you’re worried this won’t hold, repeat all the above steps again about a 1/4″ away from your original stitches.
At this point you could be done & hot glue a flower to the top and cover up the bunched middle, but I wanted to make it so they could change flowers on the headbands, so we did a few extra steps.
Step 7 – Cut ribbon & seal edges
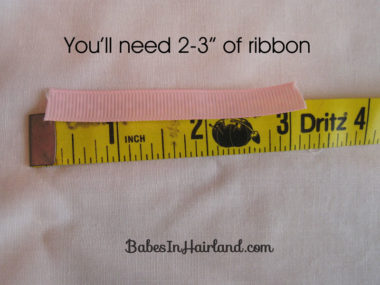
Depending on how thick your headband is, you’ll want to cut a small piece of ribbon that is 3/8″ or 5/8″ wide about 3 inches long. That was a bit long for me, but I rather have extra than not enough!
Step 8 – Hot glue the ribbon
After you’ve sealed the ends of your ribbon, glue an end of the ribbon on the underside of the bunched up section of the headband.
Step 9 – Wrap ribbon & glue
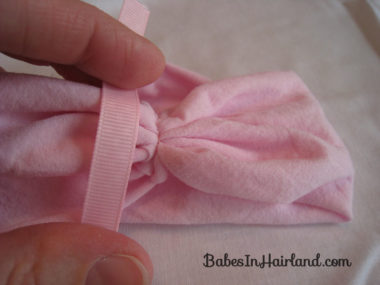
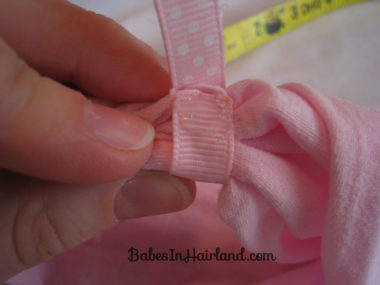
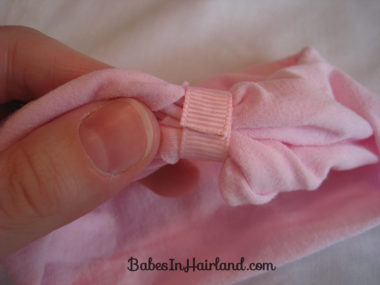
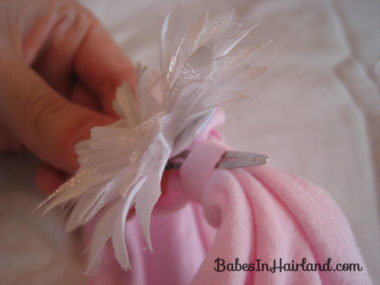
Wrap the ribbon around the bunched up section of the headband & glue on top of the other end of the ribbon- underneath. Be very careful not to get glue anywhere else, or you won’t be able to slide the alligator clips through when you put on a flower.
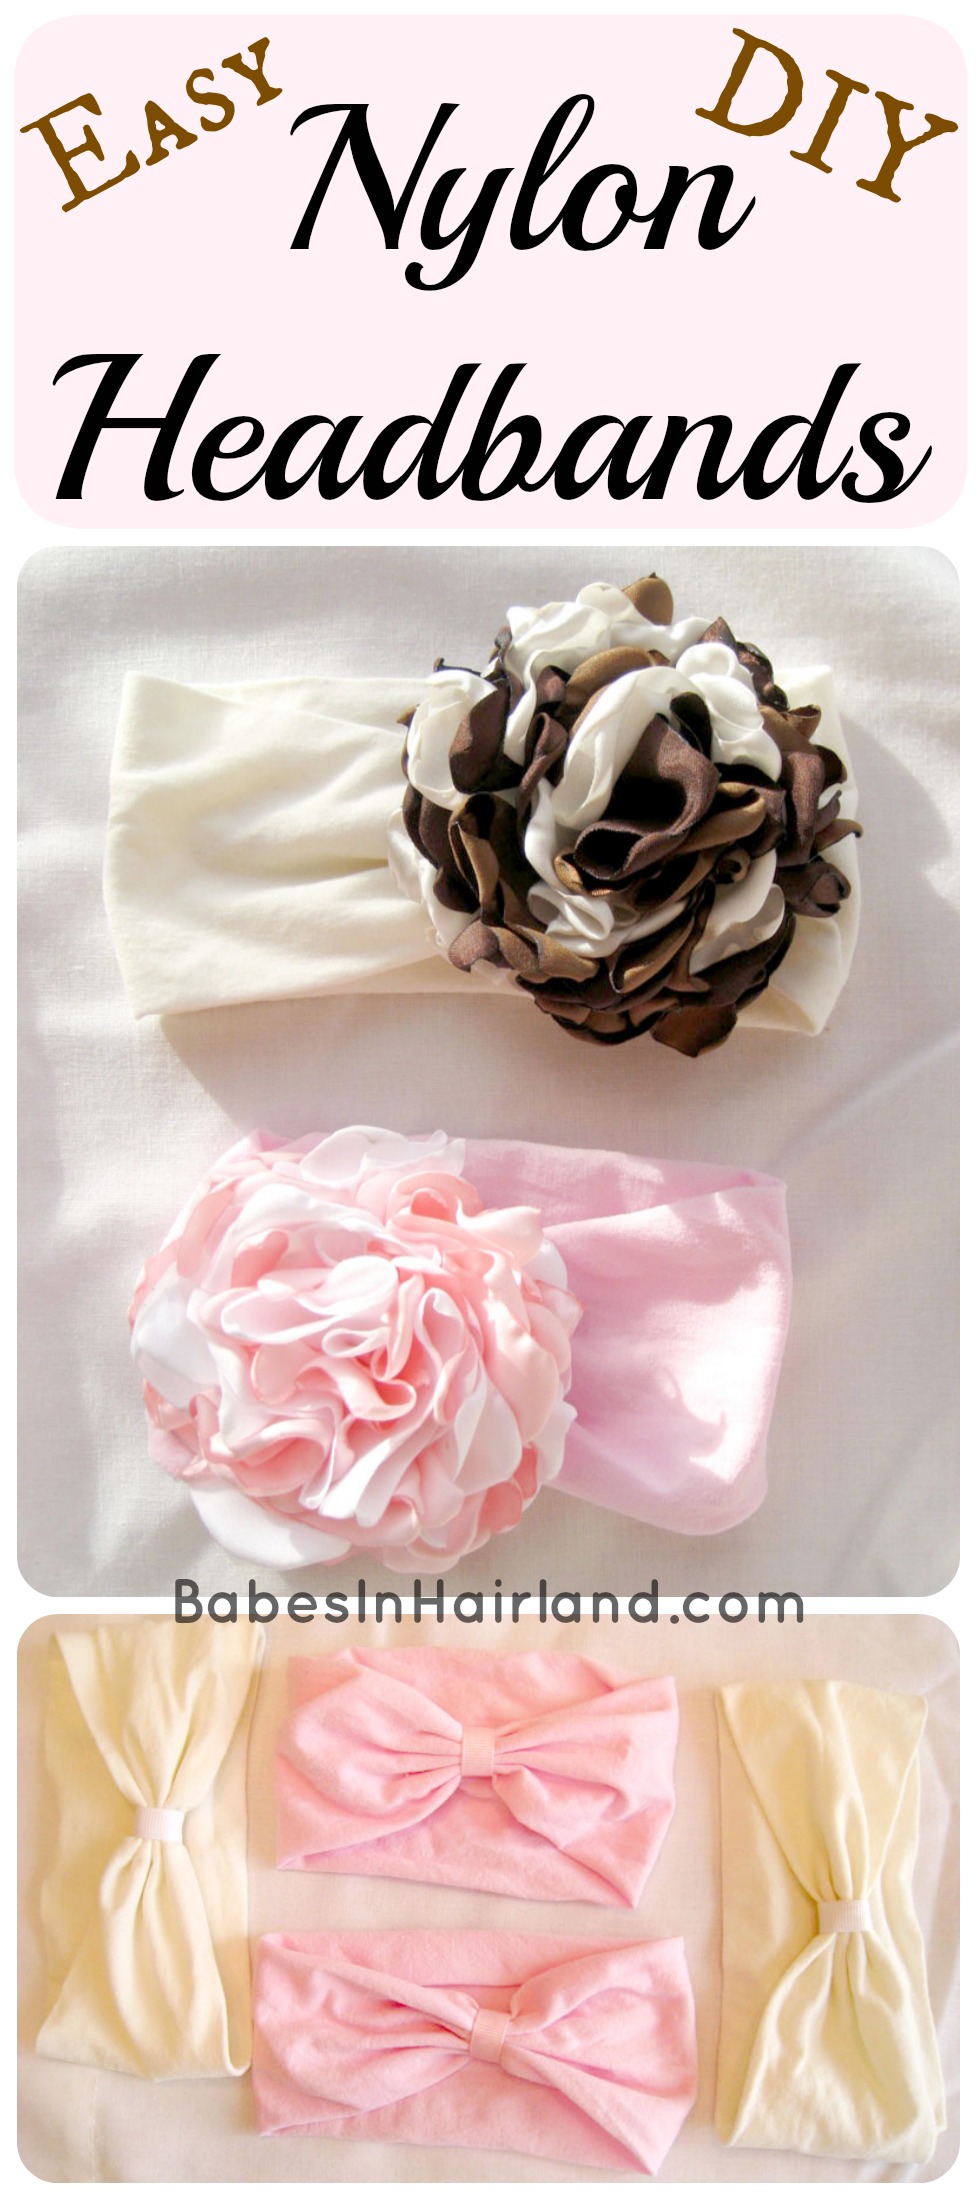
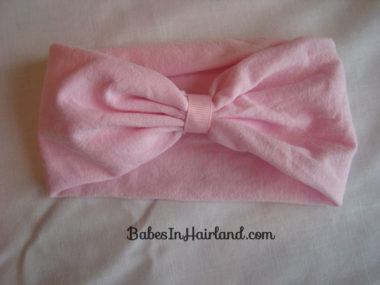
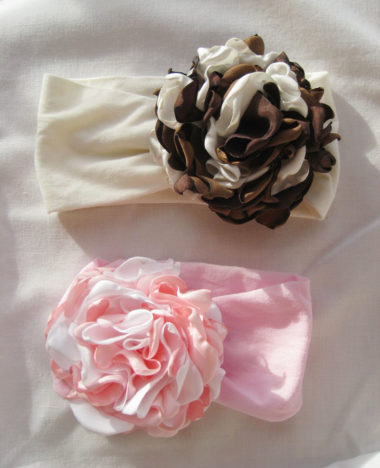
And you’re done! All that’s left is to add cute flowers or bows & put it on your cute little girl! These are such great headbands because they are so soft and don’t dig into your daughter’s head – regardless of their age.
Tip: Be careful not to pull the ribbon too tight or you won’t be able to get the alligator clip underneath.
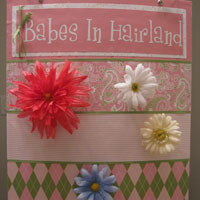
Add a you’re favorite accessory to these darling stretchy headbands & they are sure to please! The flowers below are favorites of ours from All Things Ribbon. ***UPDATE — So many people have asked about the flowers attached to the headbands – you can get the pattern for All Things Ribbon vintage mums HERE *** And one more tip: If the headbands get stretched out after a lot of use, simply soak the headband in water and let it dry. It will shrink right back up!
But wait … there’s more. Here’s how I earned that “Mom of the Year Award!”
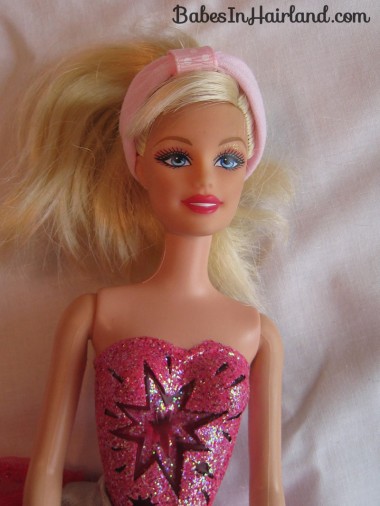
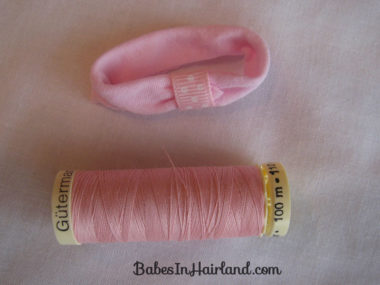
I made a teeny tiny headband for Barbie!
Yes that’s right … the girls saw me making these and asked if I could make one for their Barbie. I took the tiny toe seam I’d cut off in Step1 and doing all the steps to make the “real” headbands, I made one for their Barbie. Thus – earning me that ever so coveted “Mom of the Year Award!” Although I think my award was revoked by them later that night because I made them eat their vegetables at dinner! 🙂
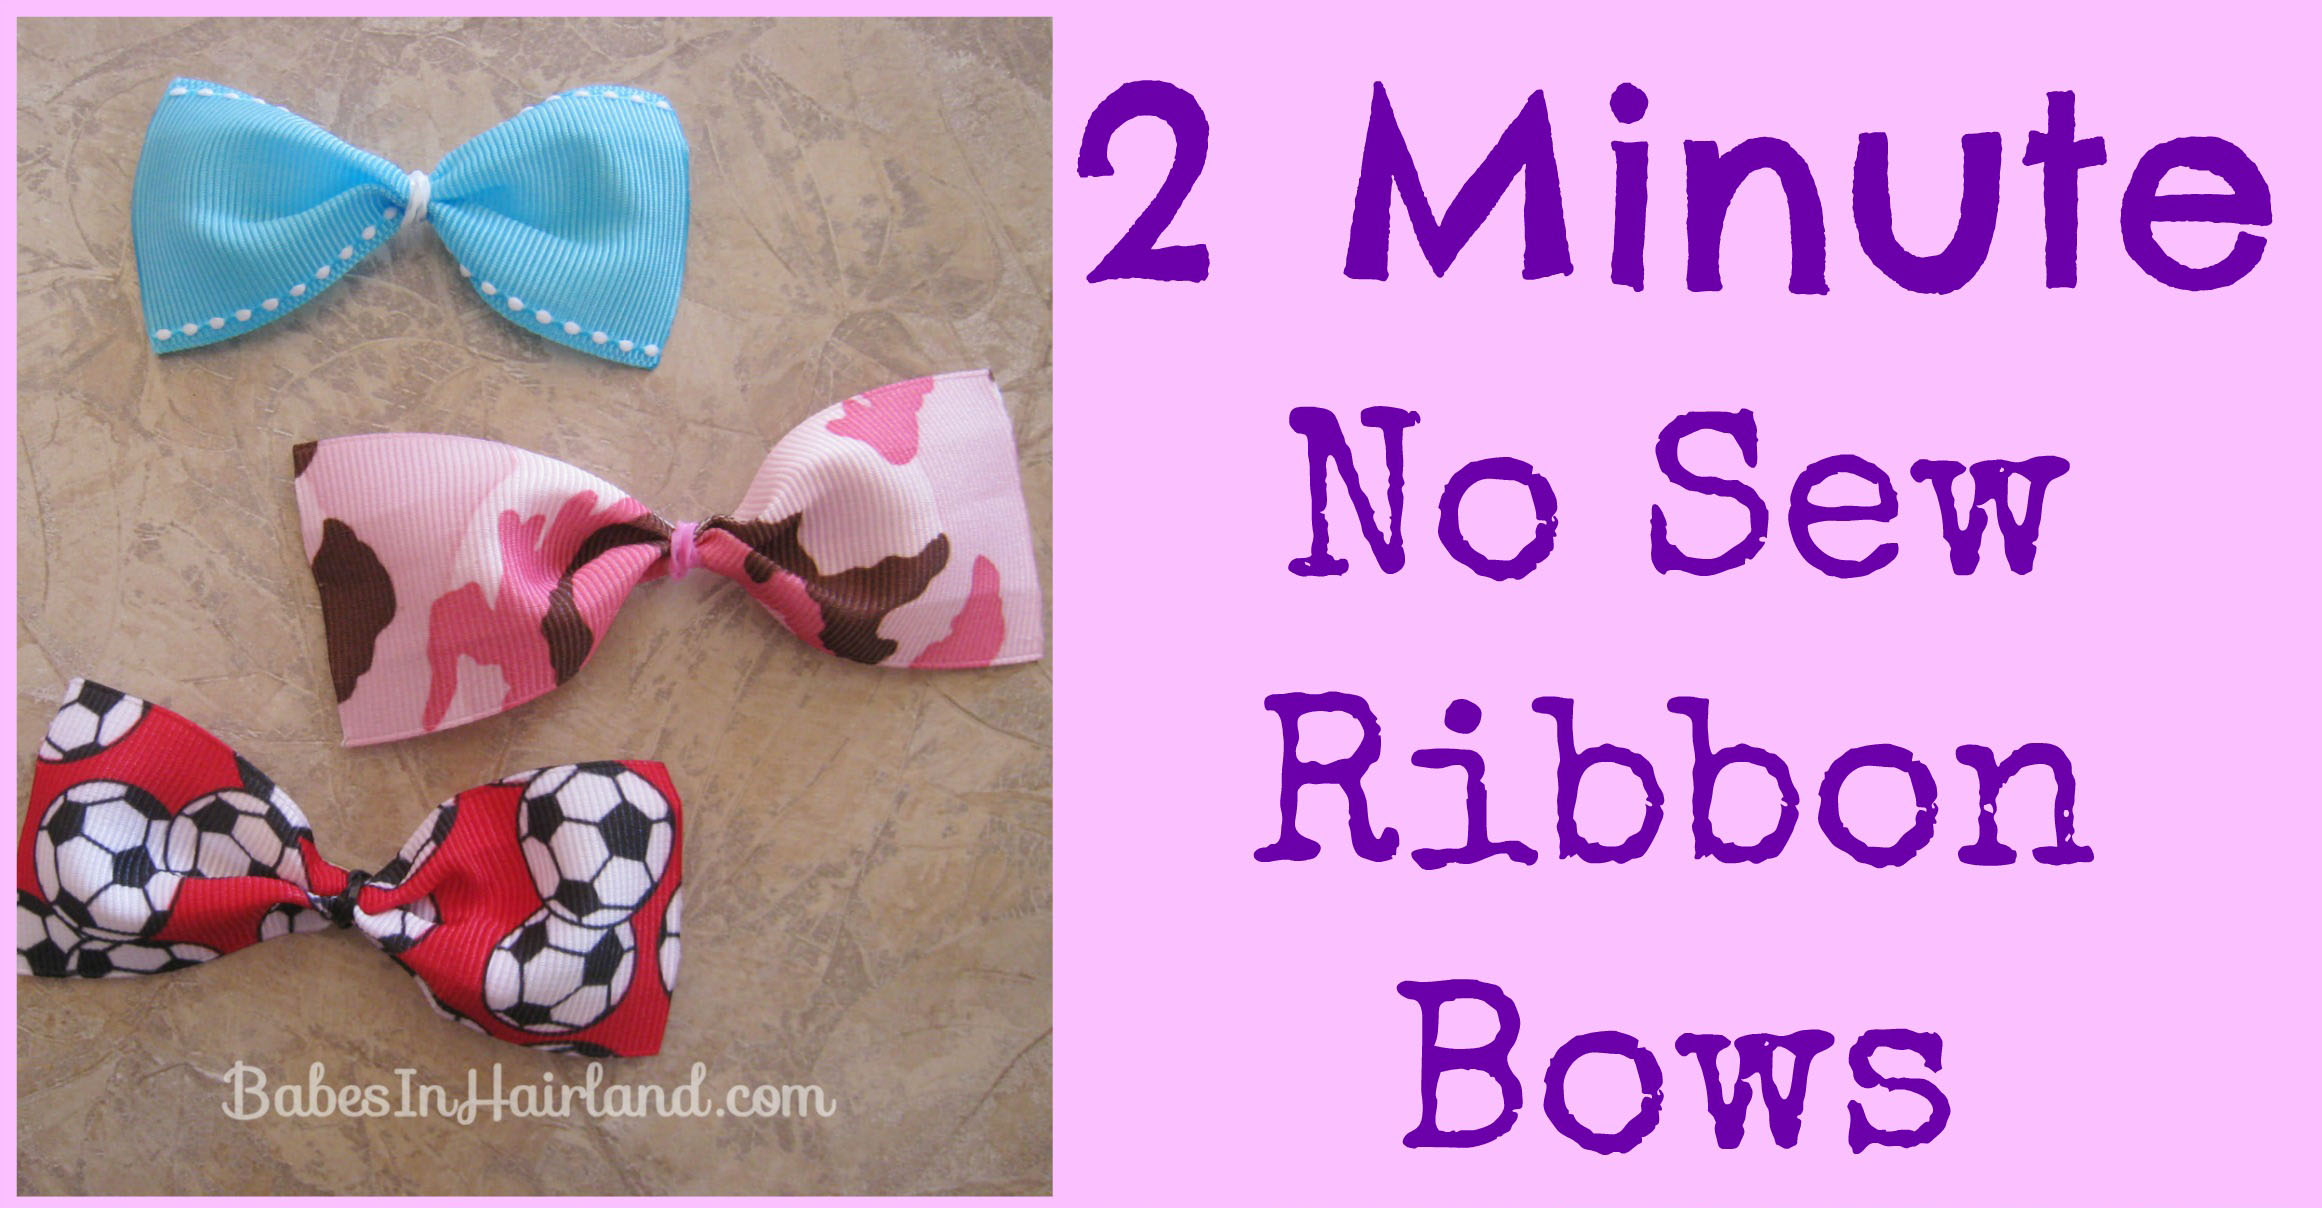
 If you love these easy headbands, be sure to check out our easy 2 minute – No Sew Ribbon Bows. These are fabulous and you can whip up a bunch in no time at all!



oh gosh! That barbie headband is just too cute!
Very cute, awesome tutorial! Now, who’s the owner of that lucky Barbie? LOL
such a great simple idea…must try!!!
Love this! Did you make the large pink/white & brown/ white flowers as well? I’d love to learn how to make those too!
So glad you like this! Sadly, no, I did not make those flowers. They are from All Things Ribbon.com … I believe I linked it somewhere near that picture with her pretty flowers. They are some of my favs! 🙂
Hi am so excited that you posted this headband tutorial!! Am wondering how to make the flower on the headband? Thanks in advance!
Those gorgeous flowers are from AllThingsRibbon.com. She’s a genius when it comes to those beautiful things!
Muy bonita ideas
Felicidades
Muchas gracias!
Hi,
I have a business and we need Nylon Headbands like the one I found in this page “How to Make a Nylon Headband” same quality, etc BUT i can not find somebody how can make them for us and we buy them for good price. We only do wholesale so, the profit is good and we will buy constantly. PLEASE if someone is interested please let me know I am the OWNER.
Aurora.
aurora@gigglybug.com
Thanks.
I am a stay at home grandma-would love to help make these nylon headbands for your business for extra income **maybe we could work something out
i love making headbonds…but i learned a lot from here….its cute…
I’m also interested! Teresa could you maybe give me a price as well.. would be greatly appreciated! Thanks 🙂
I love this idea! My 5 yo loves headbands, but they don’t like to stay. Saw this, and am going to try to make her one for church services 🙂 Thanks! And I love the Barbie idea…will have to do that too (5 yo loves Barbie, 10 yo loves Monster High…both dolls could use the headbands)
I’m completely in love with the flower you placed on your headband, if you don’t mind me asking how do you make it, or is there a tutorial on these. Would greatly appreciate a response thanks so much!
Sofia – I think I mentioned somewhere in the post that these gorgeous flowers are from my friend Jen at All Things Ribbon. She makes so many amazing hair accessories. You should check her out -www.allthingsribbon.com
OMG simply adorable! 🙂 Great job! Jen @ sweetbabybowtique.com
Really vry great job vid simple material…vil deffntly make fr my princes. Thanks a lot.
These looks so cute. Think this great grandmother will try to make these. I’m not very crafty but they look pretty simple. Keep you posted.
I bought 4T tights and these were too small. They only measured out 9 inches. Just wondering what size tights you used in order to get 16 inches of material?
To be honest I can’t remember, but they were probably around a 4 or 5T size. You may also try stretching them quite well too by holding onto the waist band and the toe. The actual size of these may vary by brand as well, so I’m sorry if the ones you bought aren’t quite long enough.
Did I miss a step? What was the lighter used for?
No, I guess maybe I didn’t mention it, but it’s to seal the ends of the ribbon so it doesn’t fray. You could probably skip this step, but I always like to seal my ribbons off. Sorry for the confusion, and sorry for the delay in replying.
This is cool. Its cute easy And save money too.. Thanks
I was wondering if you made the flower for the headbands and if so would you share how you made them? These are just adorable.
I assume you’re talking about the pink/white or brown/cream flowers? I think it’s mentioned in the post that they come from AllThingsRibbon.com. She does have a pattern she sells for them thought – https://www.etsy.com/listing/210836967/pattern-all-things-ribbon-handmade?ref=shop_home_active_2&ga_search_query=pattern …. They are totally my favorites! HTH
Nice and simple way to make headbands. Thank you for sharing.
I’m wondering about the size of the headband. I want to make them for a 16-18 month old and I’m wondering if the full 16 inches should be used or if I should probably cut it down to the size you did. So I guess my question is how do I know what size I will need since the nylon stretches?
That’s a tricky one to answer! Is there any way you can get the measurement of her head circumference? Depending on the nylon you’re working with will also vary on how much it stretches. Since it’s not for a little baby, I’d probably use most of the 16″ and err on the side of caution. Worst case, she can grow into it I guess! I’m sorry I can’t be more helpful.