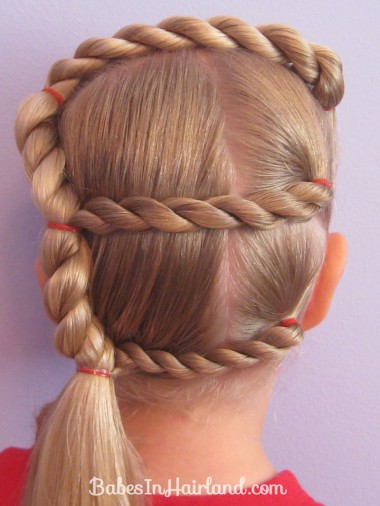
“E” is for Elephant
Welcome back to our next ABC hairstyle. As always, this is just how I did ours, but do what works with the cute little head of hair you are working with!
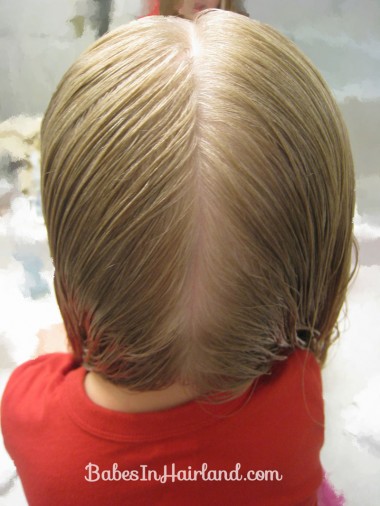
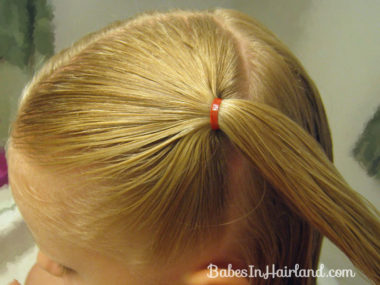
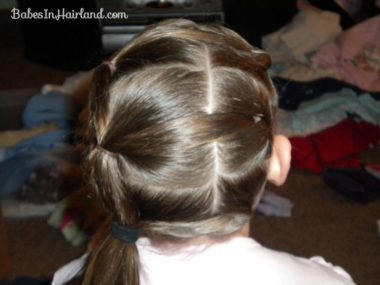
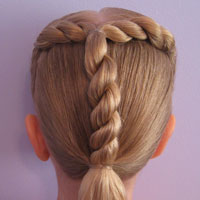
Part the hair almost dead center from the forehead back to the nape of the neck.
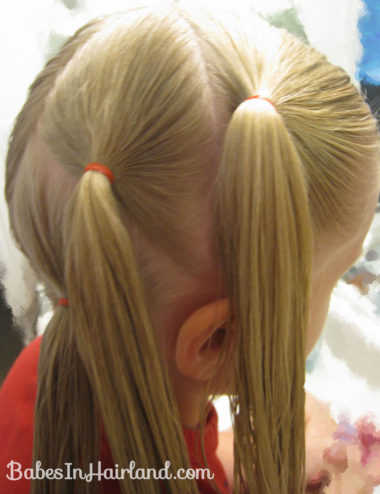
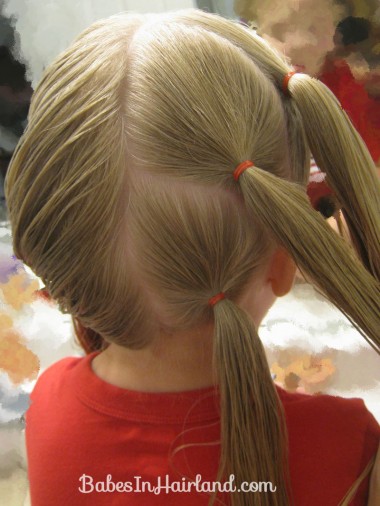
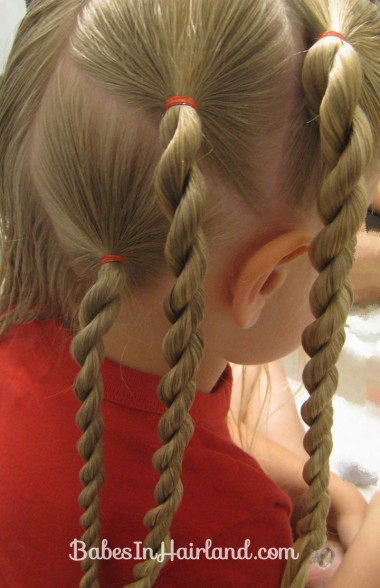
On the right side of the head, part out 3 sections of hair & secure them with rubber bands so you have 3 pony tails.
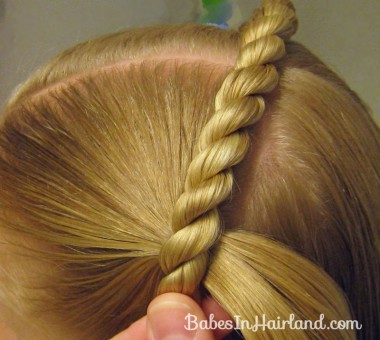
This next step is optional — the twists I mean. You can make them puffy braids, regular 3 strand braids, or just pull them straight across eventually. I did rope braids & temporarily secured them at the bottom.
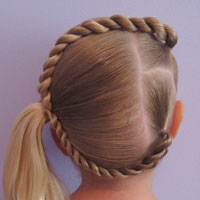
Then on the left side– part from the ear up to your middle part. Make a little ponytail & secure with a rubber band.
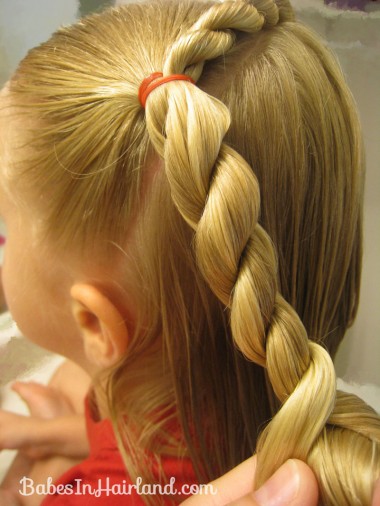
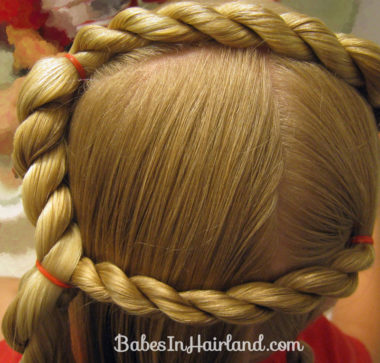
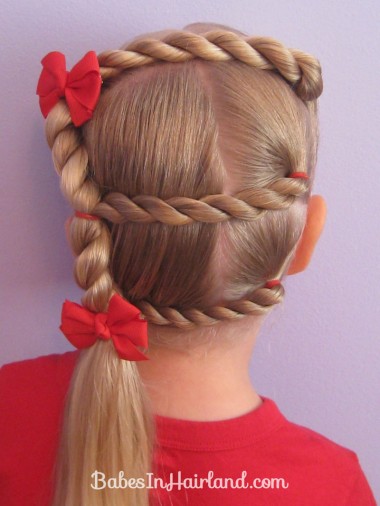
Then take your top rope/twist braid from the right side and pull it across the head and secure with another rubber band into that pony tail on the left.
Once you’ve secured that top twist, continue making a rope/twist braid with the pony on the left. Don’t go down too far though.
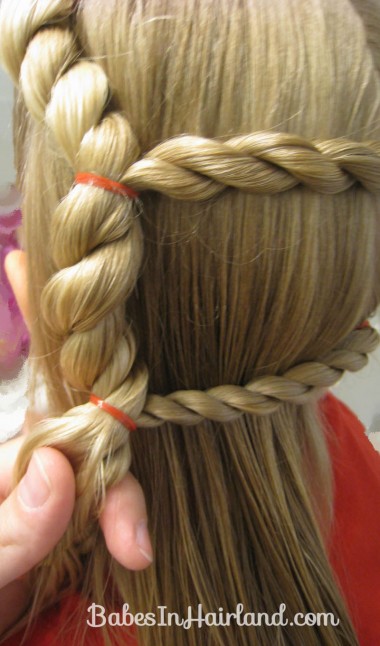
Once you’ve twisted far enough down, add the middle section of your E into that twist and secure with another rubber band.
Repeat the process, twisting the ponytail down on the left & then once you get down far enough, add the bottom twist into it & secure it with a rubber band.
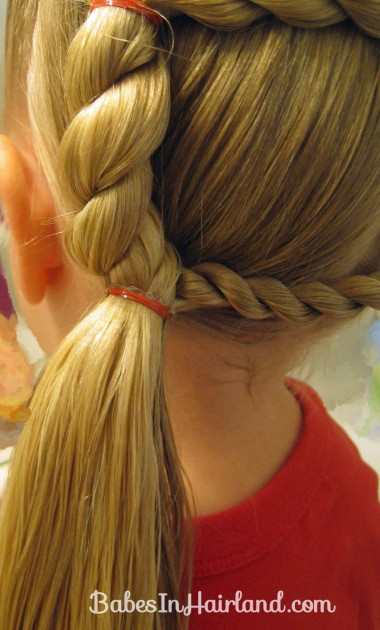
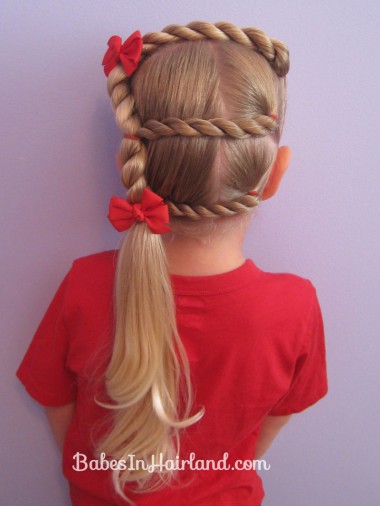
Once all 3 twists from the right are secured on the left, take the remaining hair that hangs down and form it into a side pony at the nape of the neck adding in the twists from your letter E.
Her hair was fairly damp after a bath & so I dried her ponytail & curled it a little with my flat iron.
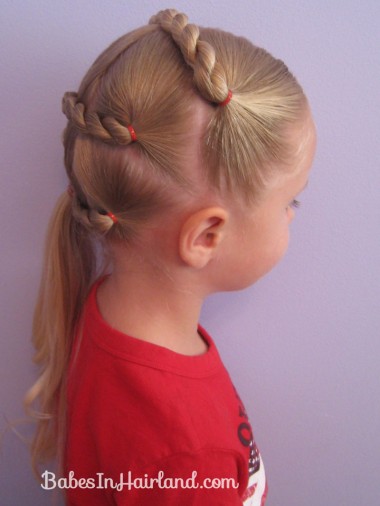
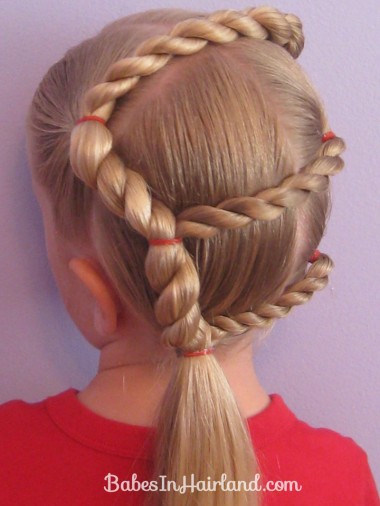 And that’s it — there’s your Letter E!
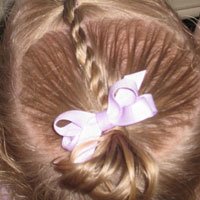
And for a splash of color we added 2 cute little bows we got from Flowerz in Her Hair.
Here’s the entire look — I just wish the bottom twist had been a bit thicker – but she loved it & that’s all that counts!
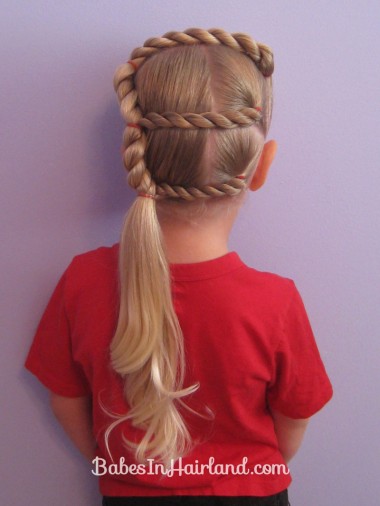
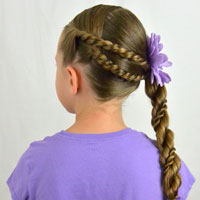
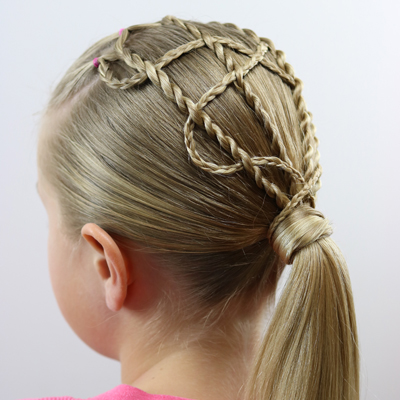
Just for another view on how this can be done here’s how Laura did her dd’s letter E –
Photo used with permission from Laura W.
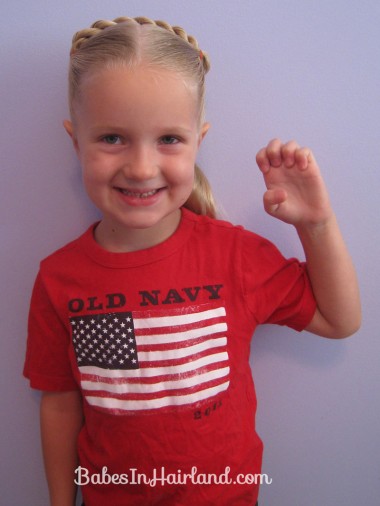
Bee found the letter E much easier to make in sign language than the D! Have an Excellent day!
And since she’s sporting her favorite red shirt with the flag on it – I just wanted to mention if you didn’t get a chance to see our post on the Healing Field – go HERE to read about it. For more information on Healing Fields, you can check out their FB page HERE — if you’re interested in hosting one or want more info they’ll be able to help you. If you “like” them you’ll get the updates on where they will be held in the future as well as support a fabulous organization! Definitely a cause worth supporting!
