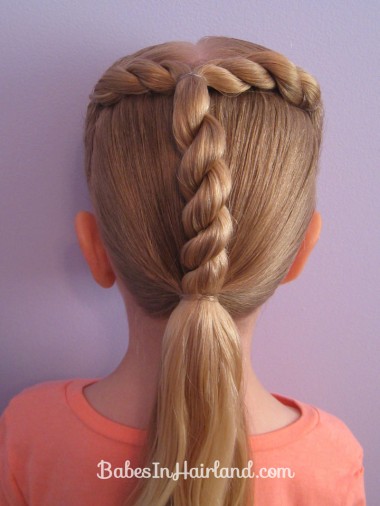
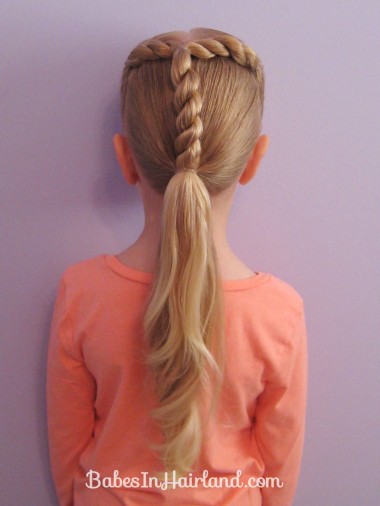
“T” is for Tooth
We just discovered Bee has her 1st loose tooth this morning
and she just turned 5 not too long ago! So exciting!
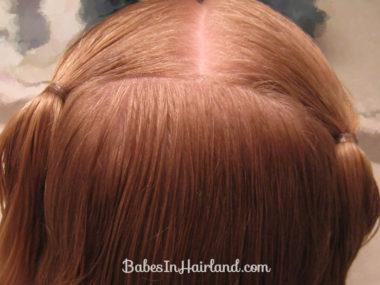
Step 1: Part the hair
Section out the hair, parting it straight down the middle and then from ear to ear making 2 sections.
Step 2: Make 2 ponytails
With the hair you parted out, make a small ponytail with each one and secure with a rubber band.
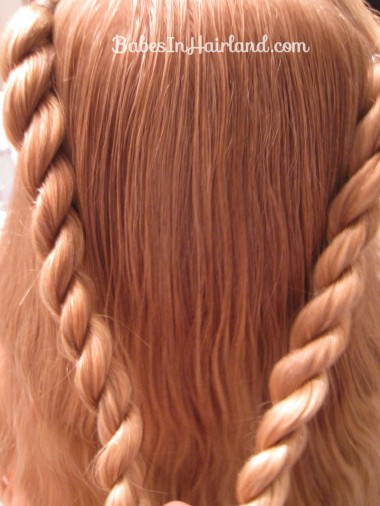
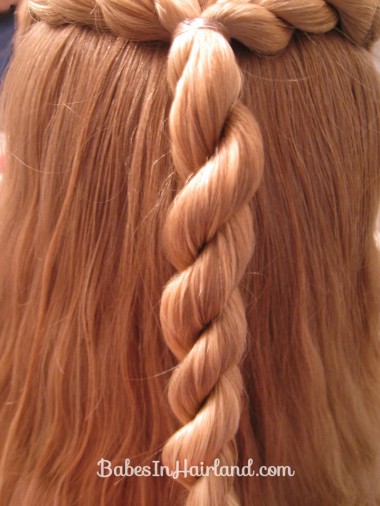
Step 3: Twist or braid each ponytail
You won’t need to do this down very far, but once you’ve twisted them, temporarily secure the ends. Our rope/twist braid video can be seen over HERE.
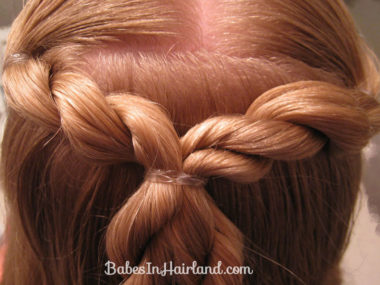
Step 4: Join the 2 twists
With a rubber band bring the 2 twists together in the middle and secure with a rubber band. It’s rather tricky to get these to be totally straight across like you would the top of the T. If you need to, you can go back later and add a bobby pin to hold them up a bit.
Step 5: Twist the ponytail
Make a rope/twist braid out of the ponytail that you get after you’ve joined the 2 twists from the top together. Temporarily secure the end.
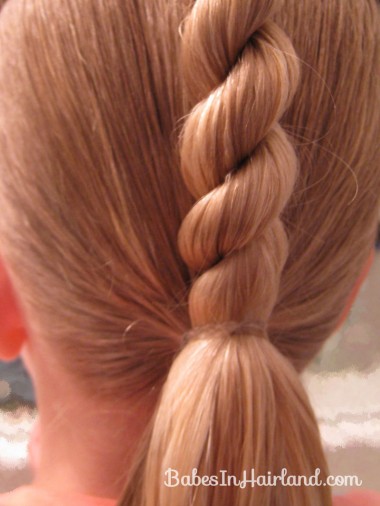
Step 6: Make a low ponytail
Make a ponytail with the remaining hair hanging down & join your twist into it. I made the ponytail first and then with a 2nd rubber band added my twist. It’s easier to get things positioned how you want by taking that extra step.
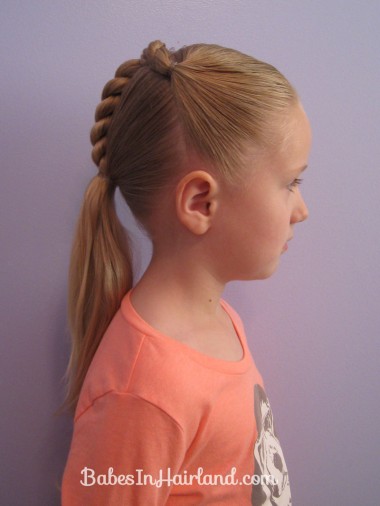
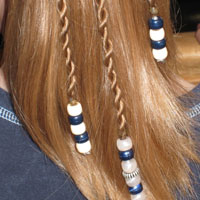
Step 7 (optional): Curl the ponytail and add accessories
And that’s it! You’re finished. Not too hard & a fun one for celebrating the letter T and a loose tooth at our house!
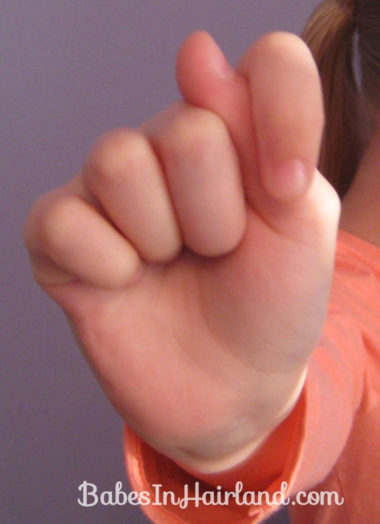
She just wanted her sign language letter T this morning without her face in it!
Can’t believe we’ve done 20 letters … Only 6 more to go! If you’re new to our site, you can see our entire ABC hairstyle series HERE.
