For starters, I’ve just got to say THANK YOU SOOOOO MUCH to all the gals from SITS that stopped by to share the SITS love for my special day yesterday. And for all of you who joined the “Hair Obsessed Club” – Welcome! I had such a great day yesterday, and now I’ve got a ton of blogs to visit & e-mails to reply to, so I’ve got my work cut out for me!
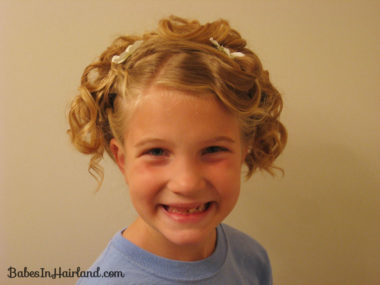
So – on to the hair do for the day. The ironic part of this hairdo, is that we put our ever so FABULOUS Curlformers in on a Saturday night so Goose could have some beautiful curls for church on Sunday. Then she woke up not feeling well and so I ended out keeping her home. So despite the fact that she’d slept in them she also had the Curlformers in for a good chunk of the day and when she felt up to it, she agreed that we couldn’t let curls go to waste without trying something new with them. So, hence the fancy-schmancy hairdo and a stinkin’ T-shirt to go along with it! LOL
For those newbies here – if you haven’t heard of Curlformers – these are the best invention in the world when it comes to hair. We have a total love love love relationship going with Curlformers! 🙂 To learn more and see all we’ve done with them you can go HERE.
Anyway, I purposely pulled the curlers away from Goose’s scalp, so the hair closest to her head would not be curled, because I had planned in my head what we’d be doing, so I didn’t care if it wasn’t curly clear to the scalp. Before I put the Curlformers in, (sorry no pix with them in this time) I did a zig-zag part off set on the right side of her head.
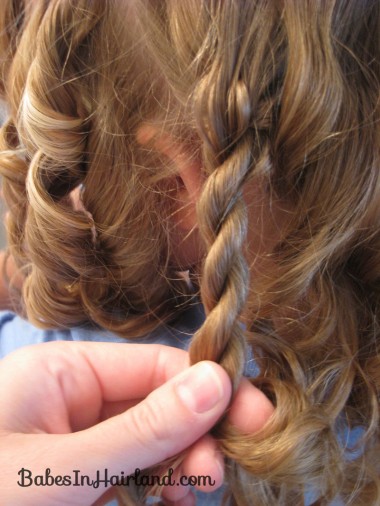
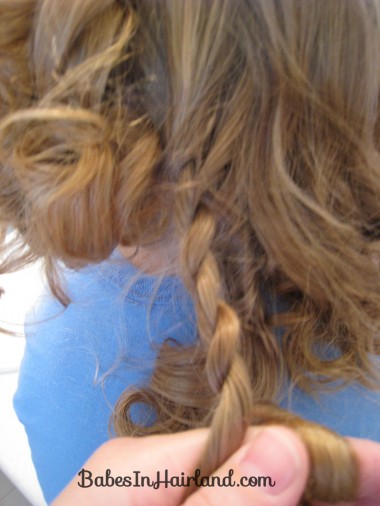
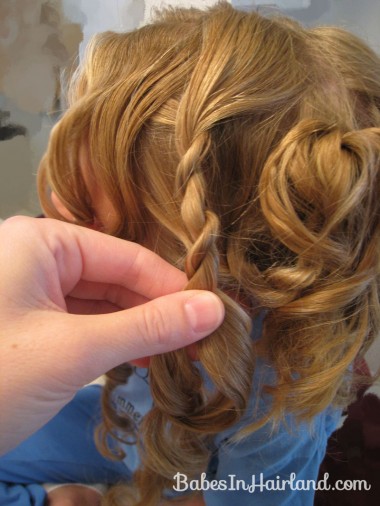
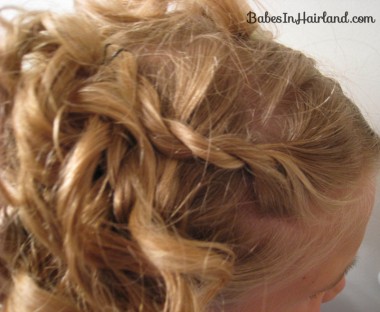
Leave 3 nice curls in front of the left ear untouched – and 2 curls on the right side for alter. Starting with the hair just behind the left ear take one of the sections of hair that forms a ringlet and make a rope/twist braid. (You’ll work with the hair in front of the ear eventually.) Go HERE to see how to do a rope/twist braid if you don’t know how. Don’t braid clear to the end, because you want those curly ends to be free.
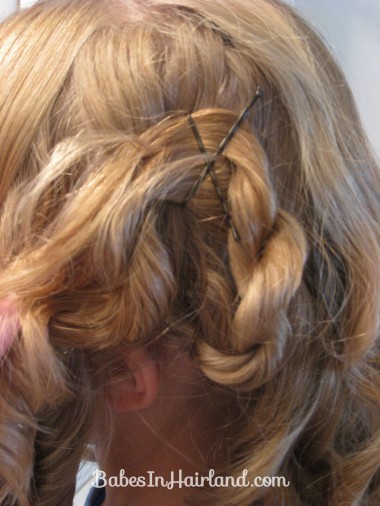
Then once you’ve twisted about 2/3 to 3/4 of the way down loop it back up to the head and secure it to the head with 2 bobby pins making an X.
Continue making twists with sections of hair, and securing them to the head until you get around to the other side of the head by the ear. Don’t use the hair in front of the ear quite yet.
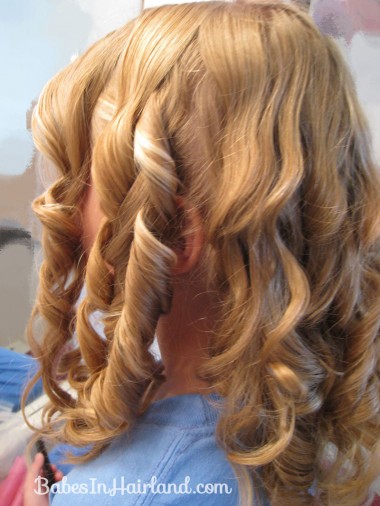
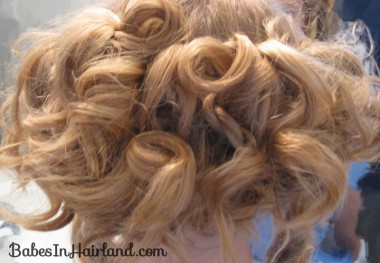
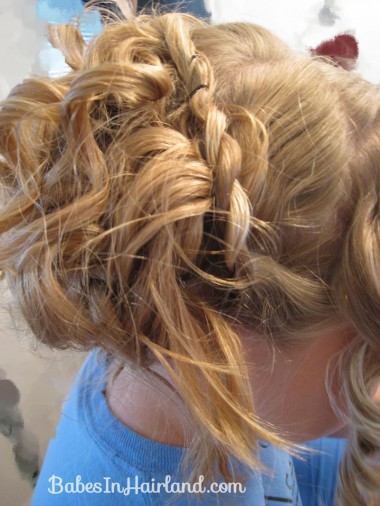
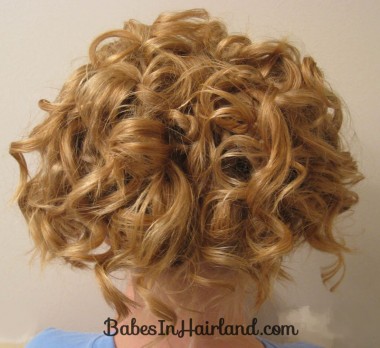
From the back you’ll have curls and twists all over. The top of her head has no curls on it – so it’s almost like if a man were bald on top and had a bunch of curls around the back of his head! 🙂 Ok, not really, but hopefully you get what I mean. There is no real exactness to this – with curls there really never is for me – but you’ll just want it that you’ve got curls cascading all over the back of the head.
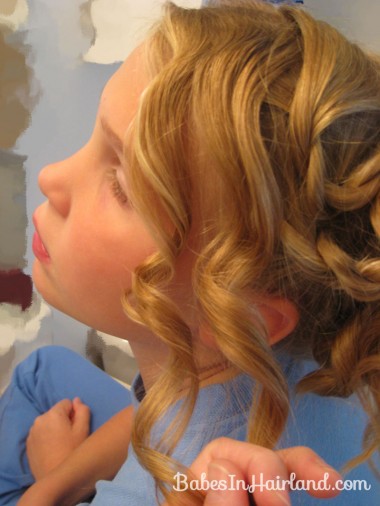
Now for the left side. Once you’ve got all the back secured with bobby pins (add as many as you need to feel like the hair is secured.) take the ringlet closest to the ear (I had 3 remaining ringlets/curls up front on the left side). . .
and make another twist braid, again leaving the ends free and curly.
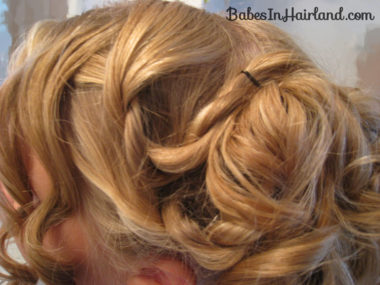
Bring it back towards all the other curls, sort of making a U shape, and anchor it with a bobby pin on top of all your curls from the back.
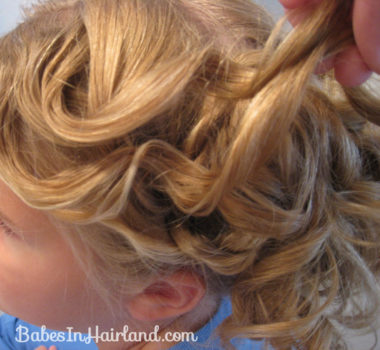
With the remaining 2 curls up front …
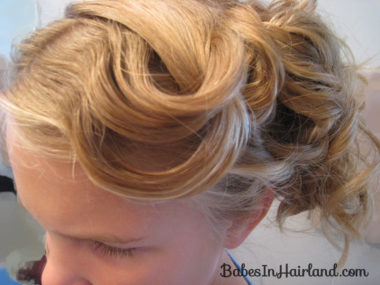
Gently pull them towards all the curls, and get the swoop of the curls positioned how you want them up front
and anchor them back in all the curls on the back of the head. Pin and arrange these as looks best on the head of hair you’re working on. I do this since Goose doesn’t have bangs. Arrange the curls from these 2 sections however you need around the back with all the other curls.
Then on to the right side. You should have 2 curls still.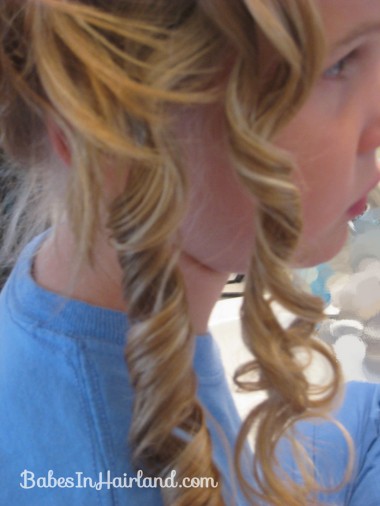
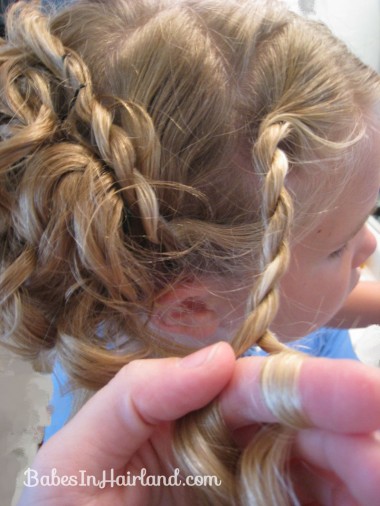
Take the curl that is closest to the ear and make another twist braid, leaving the ends free and curly. Pull it towards the left, up and over the top of the head and anchor with bobby pins.
Then with your last curl at the front of the head, make yet another rope/twist braid.
Pull it straight back so the curly ends of it join into the other curls. Secure with bobby pins. Then you’re done.
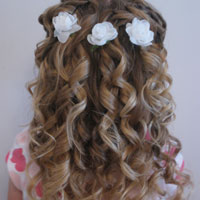
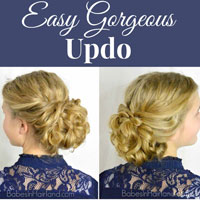
Here’s a view from the back once you’re all done. Not so much just curls around the back of the head anymore. It’s much fuller & piled on top too.
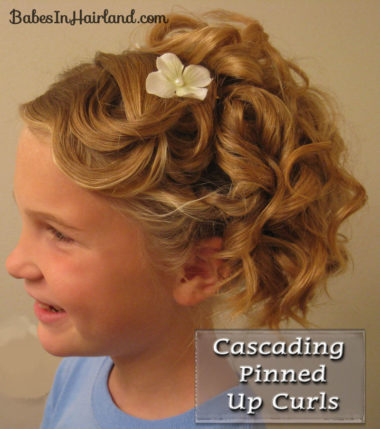
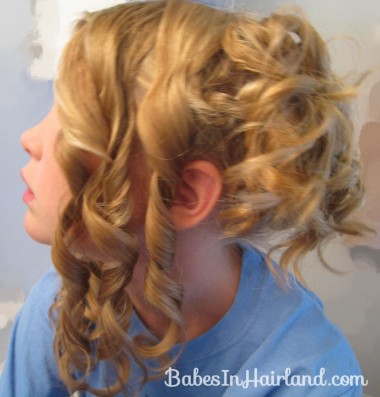
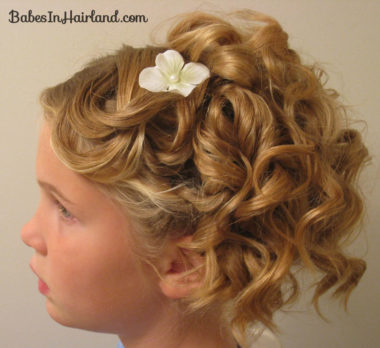
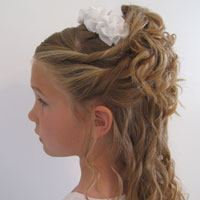
Add accessories to pretty it up even more. These wonderful flowers are from Gimme Clips. Despite the T-shirt, they just looked fabulous in her hair. The flowers are on bobby pins and just slid so easily into the curls. To find more about them you can read about them on this old post of mine. Here’s a view from the left side.
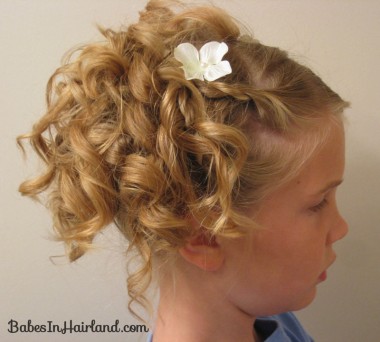
And the right side.
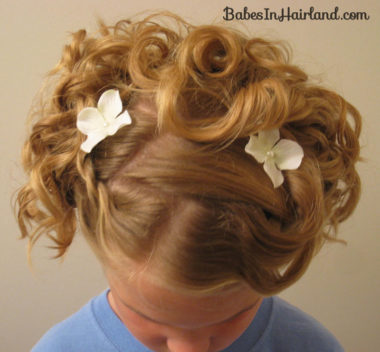
And a view from the top-
And an extra cheesy grin! I think she was feeling much better by the time we were done … I’m thinking she probably would have been able to “survive” church, but oh well! She looked extra pretty hanging out at home anyways! 🙂 I really loved this do – with the holidays coming up, this would be a great one to wear to a holiday party or special event.
** Remember, doing styles like this, with curls, no matter what method you used to get curls, there isn’t a total exactness to it (I know -that’s not always what you want to hear!). Do what looks best on the hair you’re working with. Play with it, arrange it how you want, experiment & remember to have fun! **

gorgous absulutly gourgous
That is a beautiful hairstyle! I will definitively try it!(: