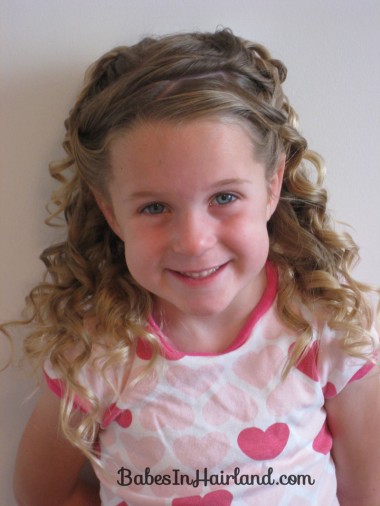
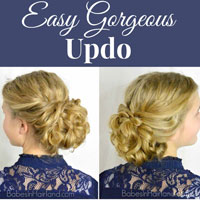
Let me just preface this by saying there really is no rhyme or reason to how I did this hairdo. Not an exact science to this one. And upon hearing that- many of you may not want to try it. But I challenge you (in a good way) to attempt something similar – not that this can’t be recreated – but just trying to put together the tutorial on this one had me thinking “What in the heck was I doing and how am I going to explain this?!”
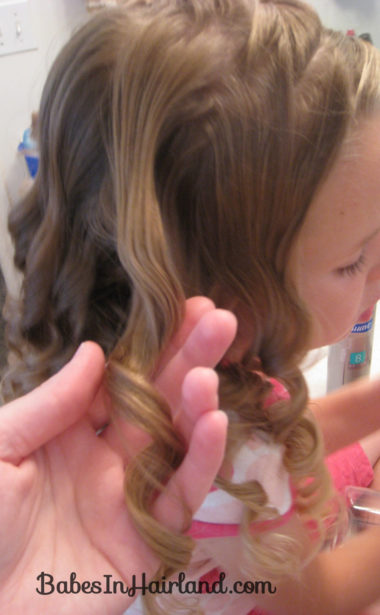
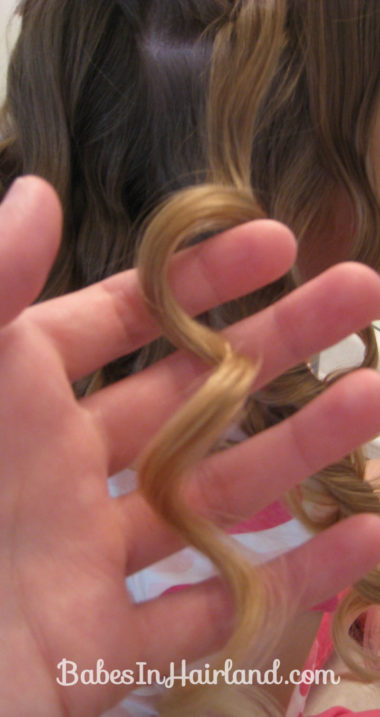
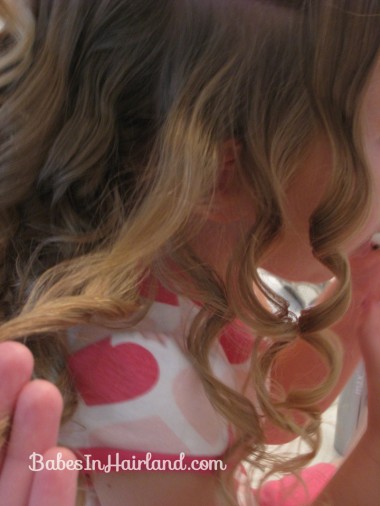
There really is no wrong way to do this. And you may be saying, “Well, I don’t have Curlformers.” That’s ok — just curl the hair first into ringlets or whatever your favorite curl or wavy look is. The biggest thing I did was just section out individual ringlets/curls and twist them up onto her head & tack them down with bobby pins. I put my bobby pins in like I show in the 2nd video from THIS POST. They stay in quite well this way, but if you feel like it’s not enough, you can always add a few pins to each twist. If you want to see more/read more on Curlformers from my blog go HERE. You’ll find out where you can get them, etc.
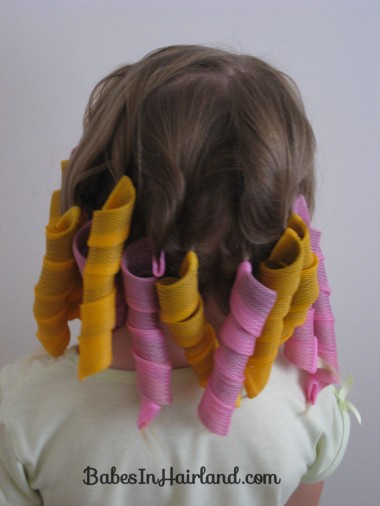
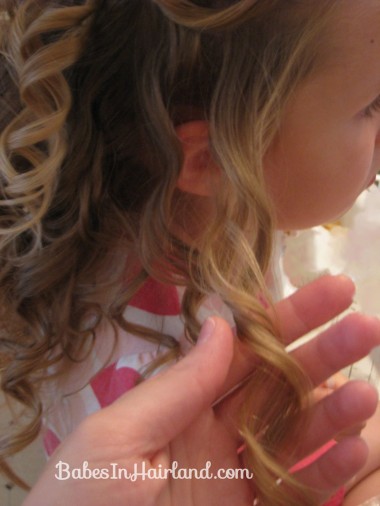
Just an FYI – Bug’s hair is longer than for what these certain Curlformers are really intended. Normally I pull them snug to her scalp causing the ends of her hair to poke out of the bottom of the Curlfomer (which I later curl w/my curling iron.) But knowing I wanted to go twist crazy, I wanted the roots to be straight. So I pulled the curlers away from her head, allowing the ends of her hair to be encompassed by the curler. I only used 16 of these – 2 “starter packs.”
Before I put her hair in the Curlformers, I did a zig-zag part off set on the right side of her head. I’d never done that before w/the curlers, and I really liked the affect it had once I was all done.
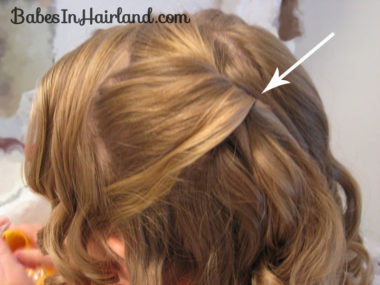
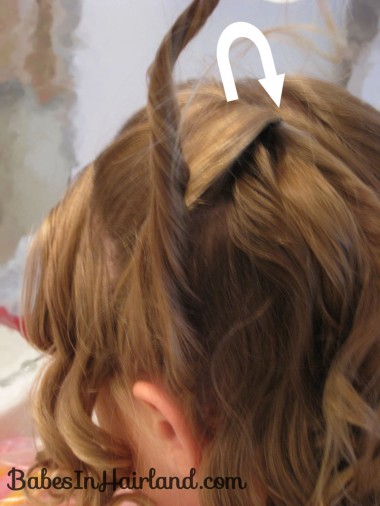
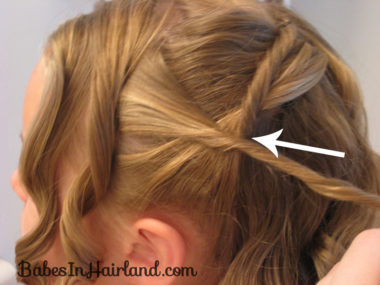
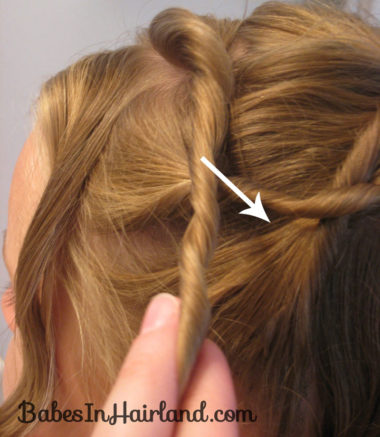
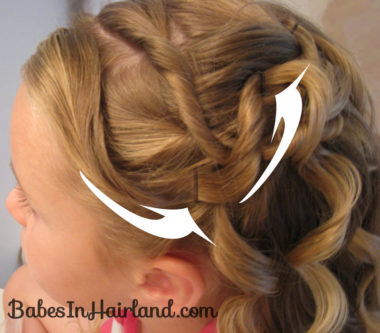
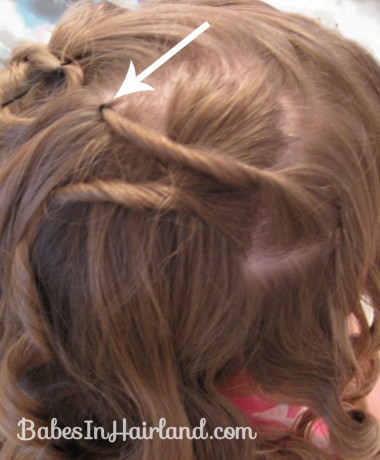
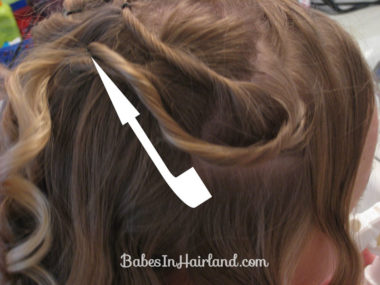
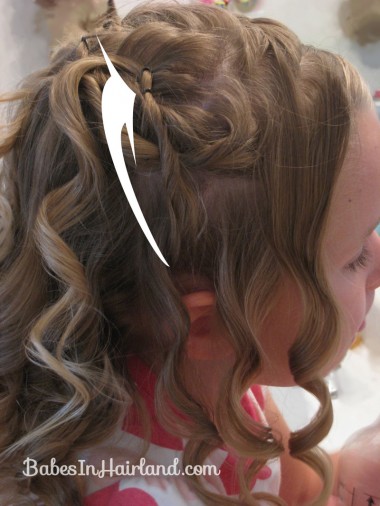
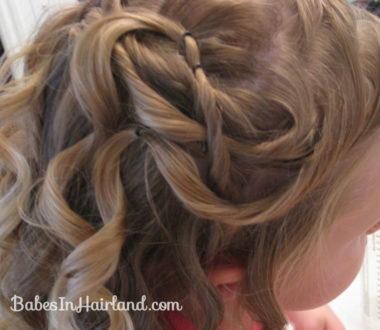
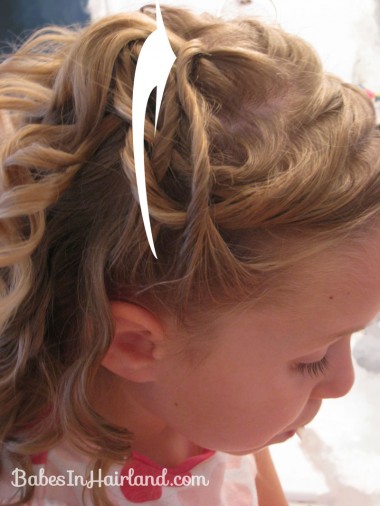
Ok, so I’ve put a bunch of arrows on the pictures to help show where I anchored the section of hair with a bobby pin. I really can’t give verbal step-by-steps on this too much, because I really just took a curl at a time from hair around the ear and forward and pulled them up in twists. So I’m sorry if you are hoping for more verbal instruction here.
I started on the left side of her head. You are sort of working from the ear and moving forward- to the front of the head. You’ll sort of be layering the twists on top of each other as you go.
Grab a section of hair in front of the ear and pull it backwards towards the top of the head. Slightly twist it to the right & secure w/a bobby pin. (Where the tip of my arrows are in each picture- that’s where I’ve stuck the bobby pins.)
Take the curl above the ear, twist it and pull it over the first twist, anchoring it with a bobby pin on top of the first twist.
Hopefully you can see how I’m just using each curl and positioning it randomly! Pull the next curl backwards past the ear, and anchor it with a bobby pin (where the end of the arrow is pointing.)
Now you’ve got just 2 sections left. Take the next one, twist it pulling it down towards the ear. Place a bobby pin to secure it below the last twist you made.
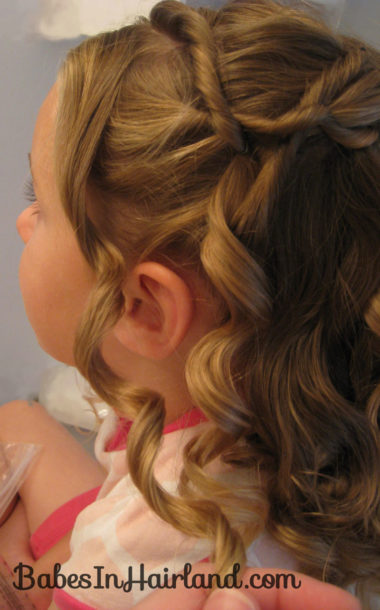
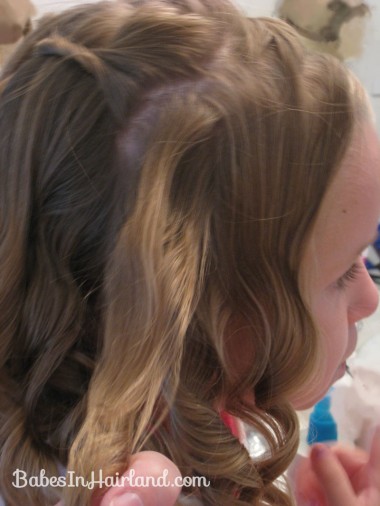
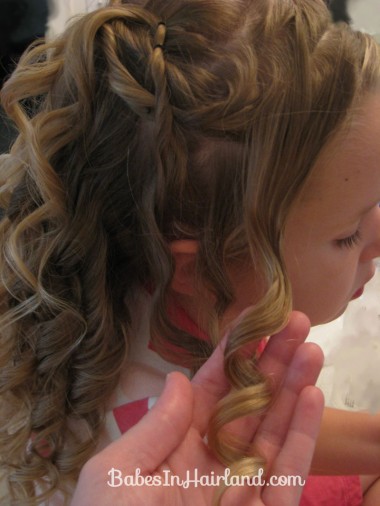
Here’s a shot w/o arrows, to see how it looks at this point. Enlarge it if you need a better look. You still have 1 curl right up front you’re going to work w/next.
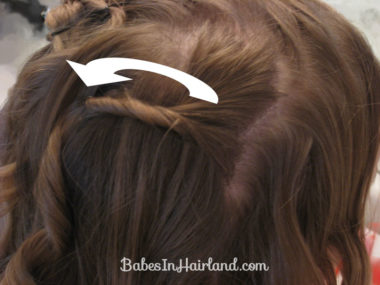
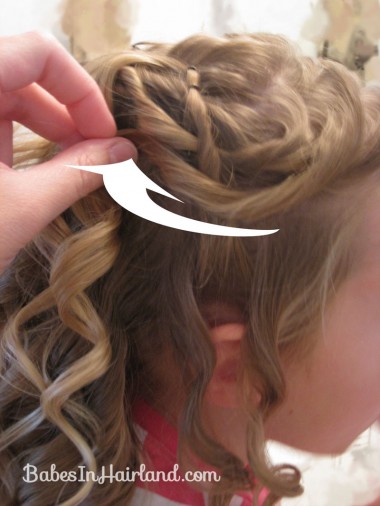
Pull that very front curl in the direction the arrows show – in a rounded motion, and anchor in a couple places to ensure it stays put. Don’t pull it tight, because you want a more relaxed look up front.
Moving to the right side of the head. Again, start further back on the hair and working your way forward.
Twist it in towards the head, and anchor w/a bobby pin on the top/crown of the head. (These should sort of be close to some of the twists you anchored up there from the left side.)
If your ringlets are rather thick, feel free to divide them up into smaller ones. That’s what I did a bit to make the hair go further on this side.
Pull this one up so it’s pulled over the first 2 twists you did on this side. Secure w/a bobby pin or two.
Move on to the next curl –
This one is right above the ear. Pull it straight up so it is on top of all the prior twists. Anchor w/a bobby pin.
Take the curl closest to the front of the face next
Don’t pull this next one too tight. You want to twist it tightly, but sort of “swoop” it back and anchor it underneath some of the other twists.
Here’s a look of things so far.
This is the last bit of hair hanging down above/in front of the ear.
Twist it and pull it over all your other twists and anchor with a bobby pin on the top of the head. Kind of arrange the curls around as you go – because they may be in the way of where you might want to anchor your twist. So just gently move them around so they hang how you want them.
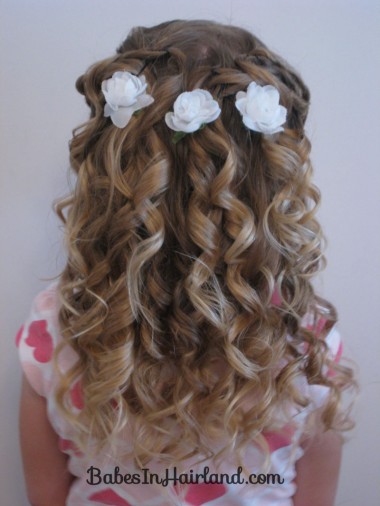
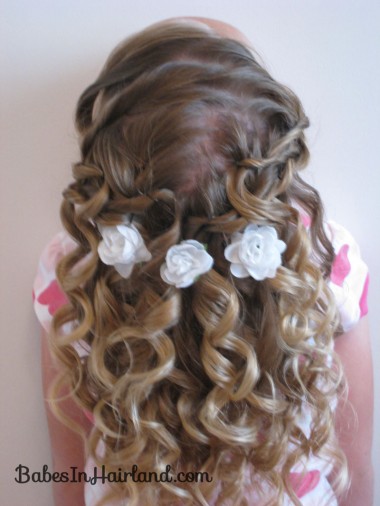
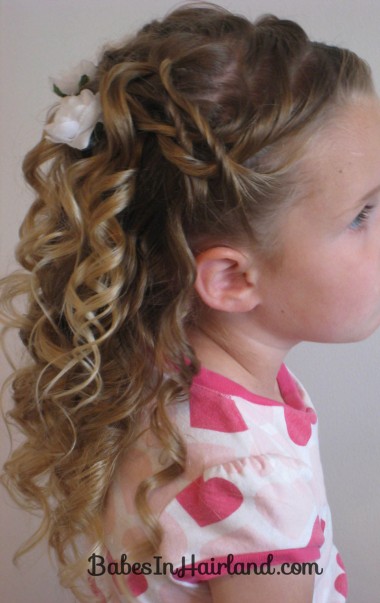
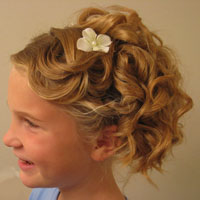
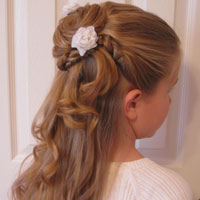
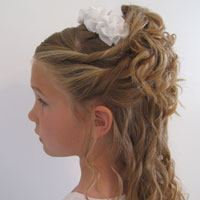
That’s it. You’re done! Here’s a look w/her head tipped backwards. I added our trusty little rosettes (sorry if you’re getting tired of those!) because they covered up some of the bobby pin mess that was on the back of her head!
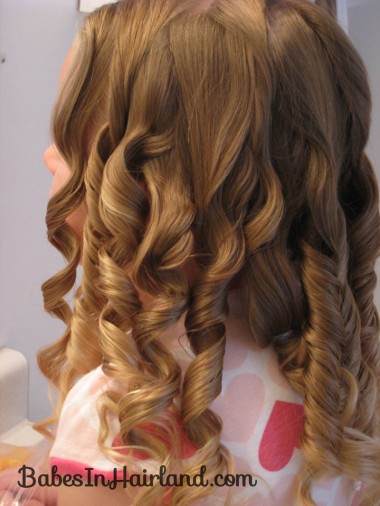
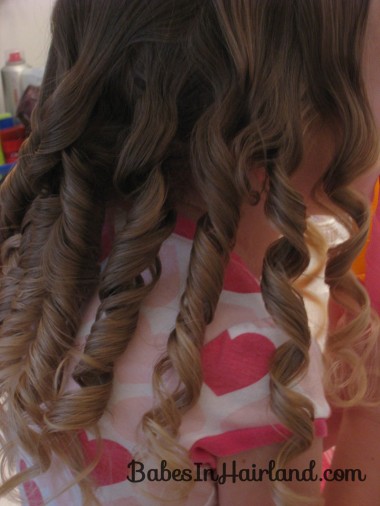
Right side view:
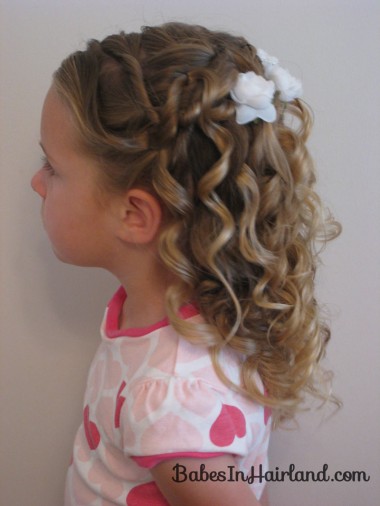
Left side view:
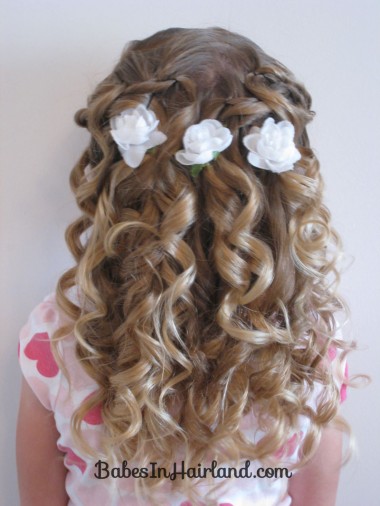
And again from the back. I seriously couldn’t stop looking at her hair the day I did this! Those curls were just to die for if I do say so myself!
For the full affect – here’s a quick video of the whole hair do. I really did this because I seriously was drooling over her curls & I wanted this for posterity! LOL. I apologize that the video’s not the greatest, and Bee is in the background giggling. Bug didn’t know what I was wanting her to do so she was spinning really fast & she has this “scowl” on her face that she gets when I just tell her to have a “normal or natural” face (not that that’s normal for her!) She hasn’t learned that you can just have a relaxed look on her face yet!
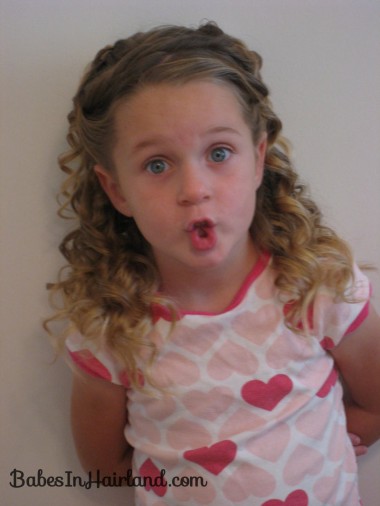
And just because she’s so silly ….
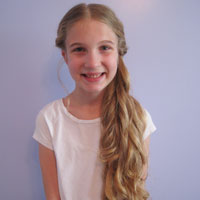
She LOVED her hair on this day! She skipped all over the house just to feel the bounce the curls had! Sad part was, I did this on a day we didn’t even end out going anywhere!
Again, I’m sorry that this is one that has no exactness to it. But because it turned out so beautiful, I couldn’t NOT post it! 🙂 Oh, and you could totally use fancy bobby pins for this so you have jewels or bling throughout the hairdo. That would be fabulous!
