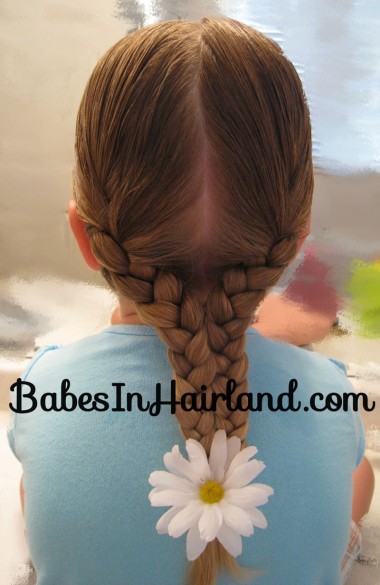
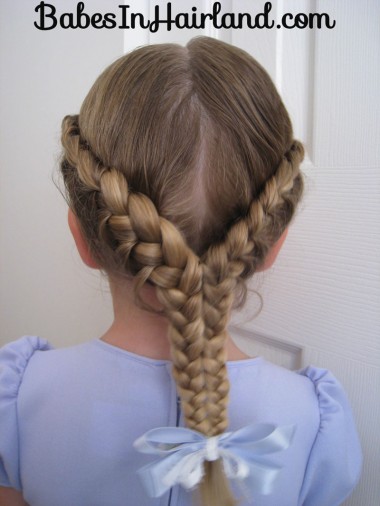
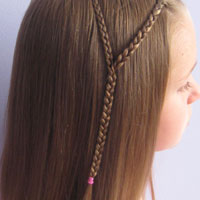
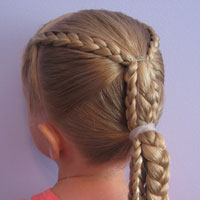
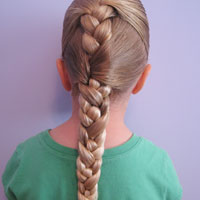
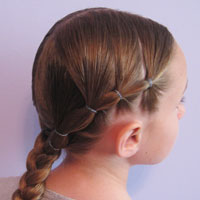
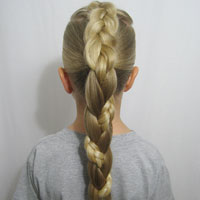
This is a fun new spin to doing “Little House on the Prairie” braids. And it’s a fabulous one for school because it is fairly quick & easy (depending on how fast you can braid!) and just a little bit different from the “norm!” The several times I’ve done this recently, I’ve had so many people stop & ask me how they were hooked together or if I’d somehow braided them together to make them look this way. There is a way to do a 5 stranded braid (or 7 strands) and because you have so much hair when you get to the bottom it’s called a “beaver tail.” Well, this is a much simpler way to get the braids to be hooked together, without dealing with a 5 stranded braid!
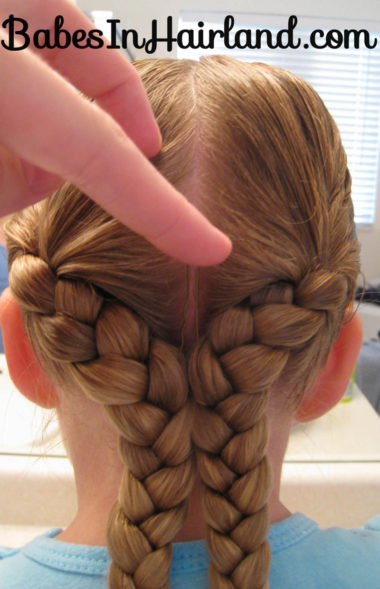
All you do is part your hair as you desire (straight or zig-zag) – and make your “prairie/indian” braids. Try to get them closer to the center of the head than maybe you normally would. This makes it easier to connect them. Pull the braids together at the nape of the neck and if you look closely, I’ve got a bobby pin I’m sticking down into the top of the braids. You can do it from the top like I’ve done here (be sure to get both sides hooked with the bobby pin and that you push it down into the backside of the braids. Try and catch as many of the “plaits” of the braid (that’s what 1 full rotation of a braid is actually called) as you can so the two braids stay closely together.
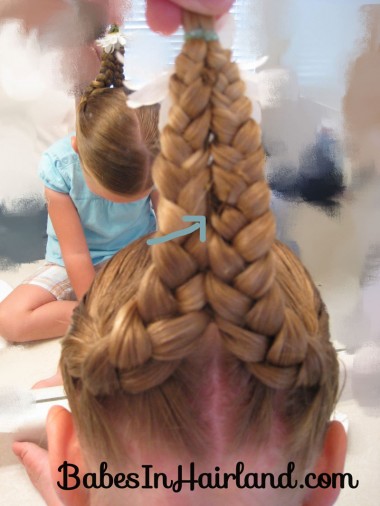
Or you can do it from the flip side. Below is a view from underneath. If you click & enlarge this one you can see my bobby pin sticking out. If this happens just push it back up and slowly push it back down so it’s hooking both sides together. I hope this makes sense.
Depending on how long your DD’s hair is, you may have to put several bobby pins in. I used 2 for Bug’s braids. I inserted the 2nd one going in from underneath. The first one was easier to do from the top and then guiding it through the hair from the other side.
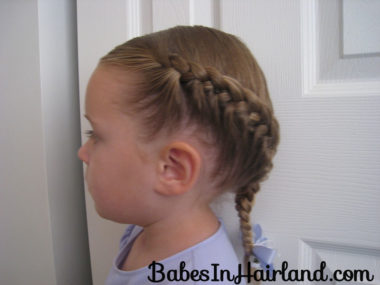
Here’s view from the side. Bug loves these bows, so she wanted a pic with it in! I made those for one of her Sunday dresses & I was able to remind her it only matches that dress so she’d have to wait for Sunday! Luckily my logic worked on her this time!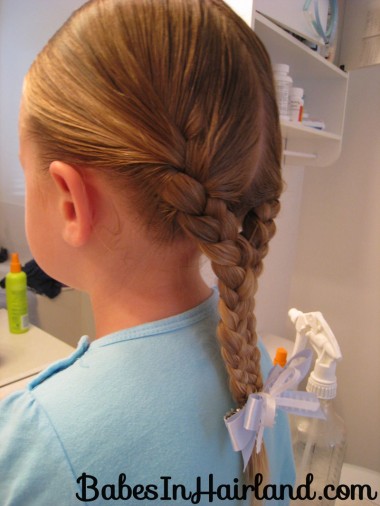
So there are 2 bobby pins hidden running vertically down the back side of the braid, catching both sides of the braid holding them together. Understand?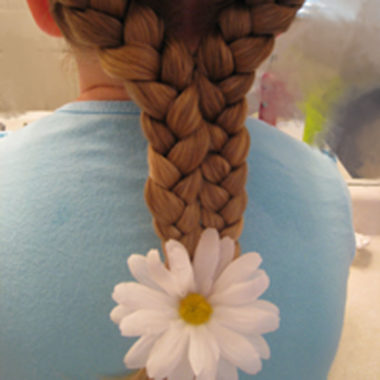
So as promised, on Sunday she got to wear “her” bow! This time I did a half French braid (I’ve got a tut’ coming up on that.) This worked nicer getting them into the middle and were actually easier to hook together because of the way I was able to guide them towards the center part.
Ok, and honestly her part is straight – doesn’t look it, but she’s got a bit of a cowlick and if I don’t smooth things just right the top the right side of her hair tends to be “poofy” and not lay down quite right. And then I pulled some of the hair tighter on the right side when I got further down on her head so it looks crooked. It drove me nuts all day. Anyway, you can see how they met in the middle better than the regular Indian braids. Once again I used 2 bobby pins.
Anyway, you can do any type of braids or twists and meet them in the middle joining them with bobby pins and add a cute bow or flower at the bottom & Voila!
