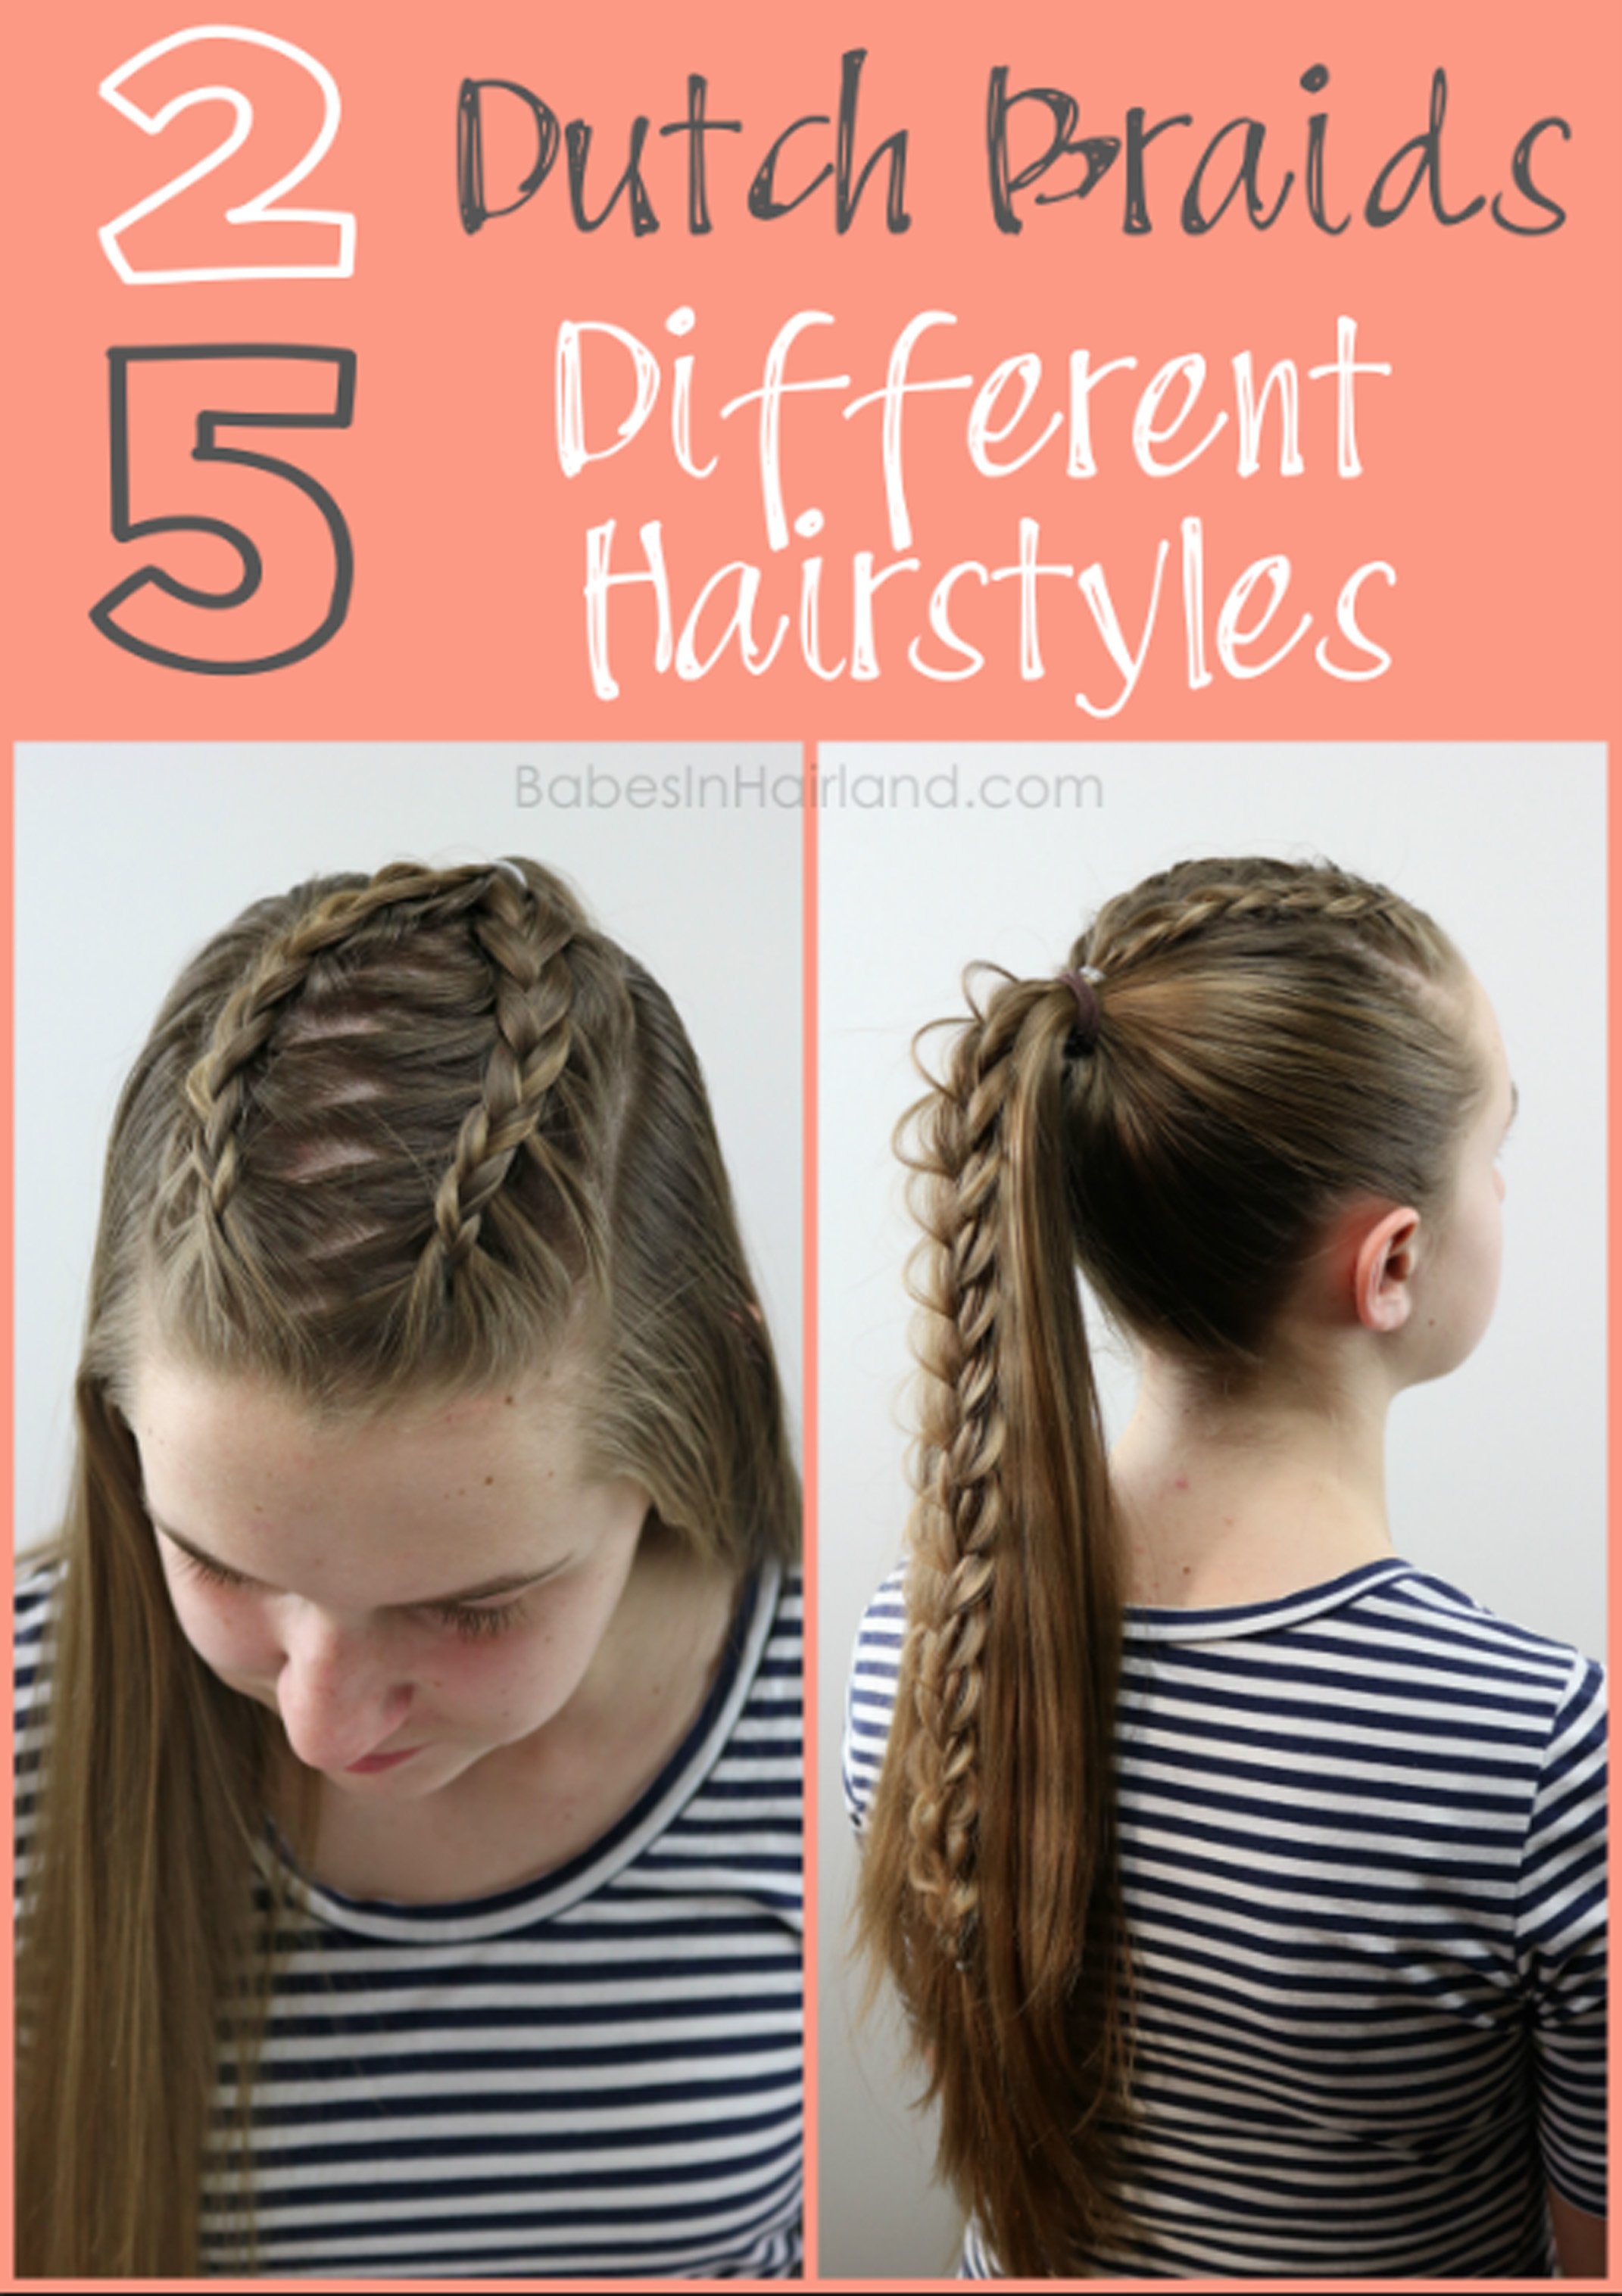
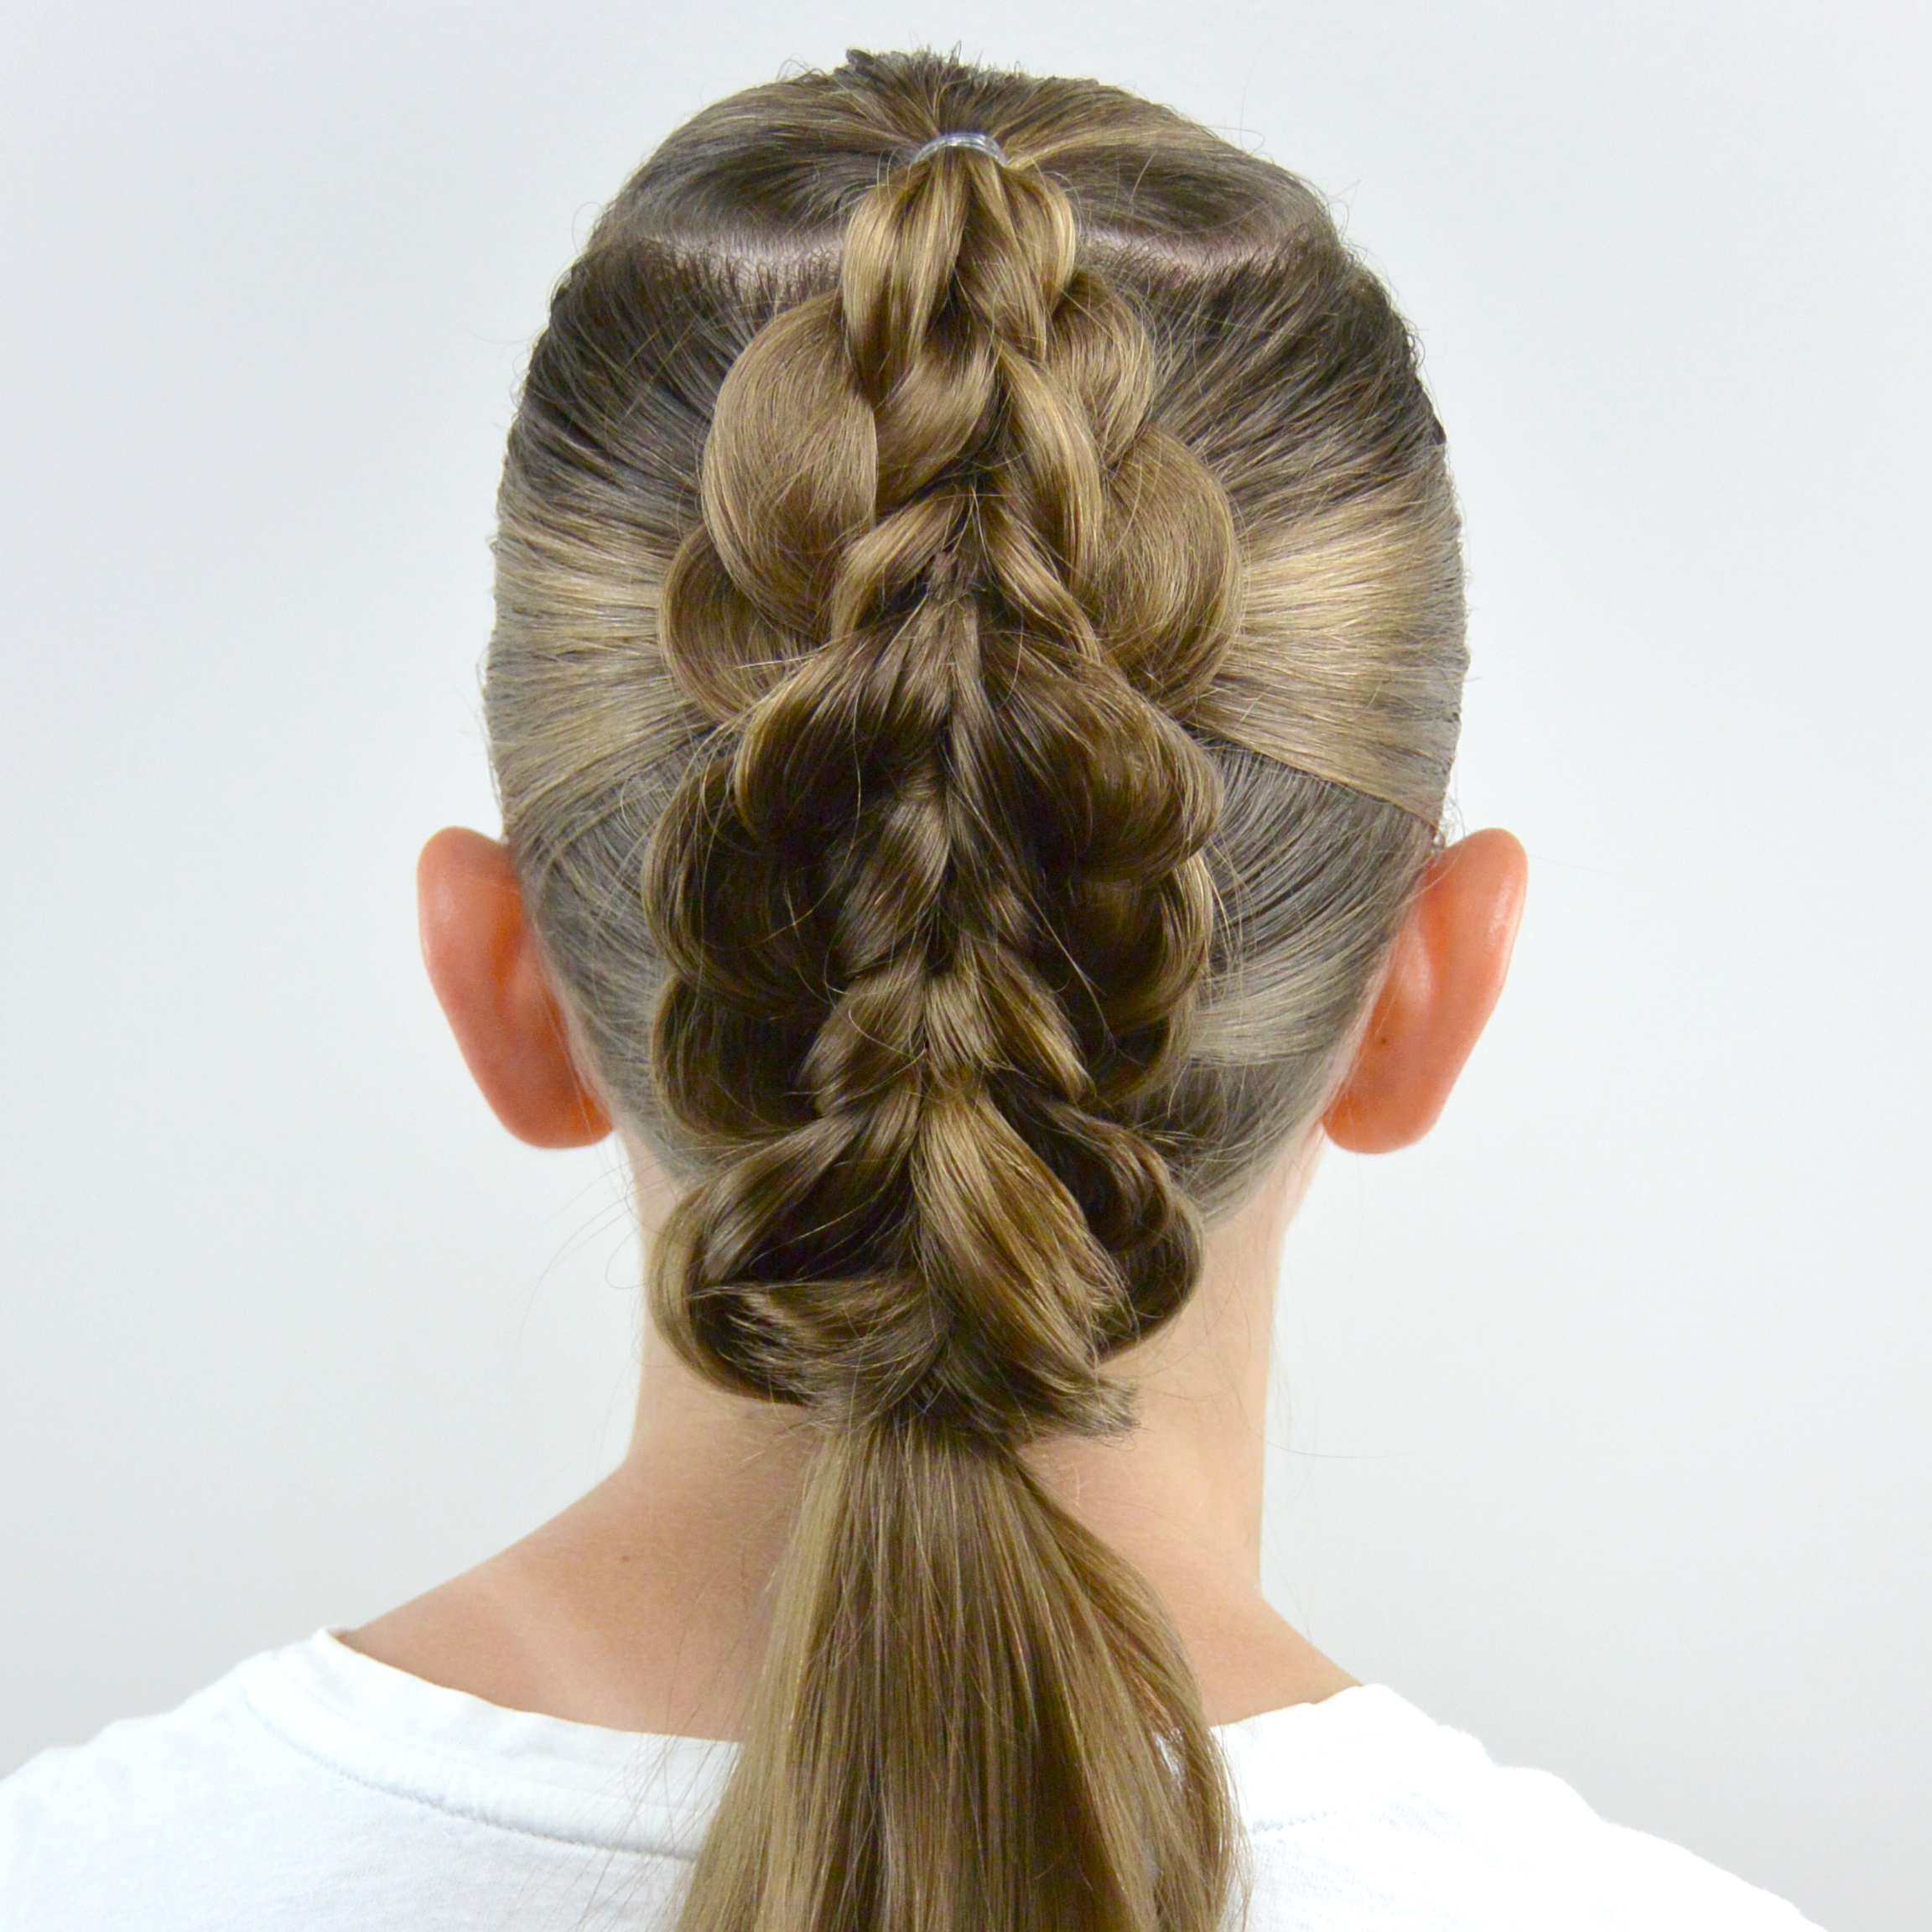
Happy New Year everyone! We trust your holidays were wonderful and that you rang in the new year without issue! Today’s hairstyle is actually 5 hairstyles combined into 1 video. I wanted to show “Bug” that you can take one common element or technique and create many different styles, branching off of the main element. So for today’s style, we have 2 Dutch braids 5 different hairstyles. You obviously could create countless other varieties, but we kept it simple with 5 styles. If you are someone that can go several days without washing your hair, these hairstyles are perfect as you progress through the different days of your unwashed hair. When it’s cleaner, wear your hair down, and as it starts to bug you and gets a bit greasier, it ends up in a ponytail. Of course, dry shampoo can be your BFF during those times as well!
Here’s our video showing how we create all 5 different hairstyles, starting with 2 Dutch braids. Go HERE to watch it on our YouTube Channel if you’re having issues watching it on our blog. Keep scrolling for more pictures and step-by-step instructions.
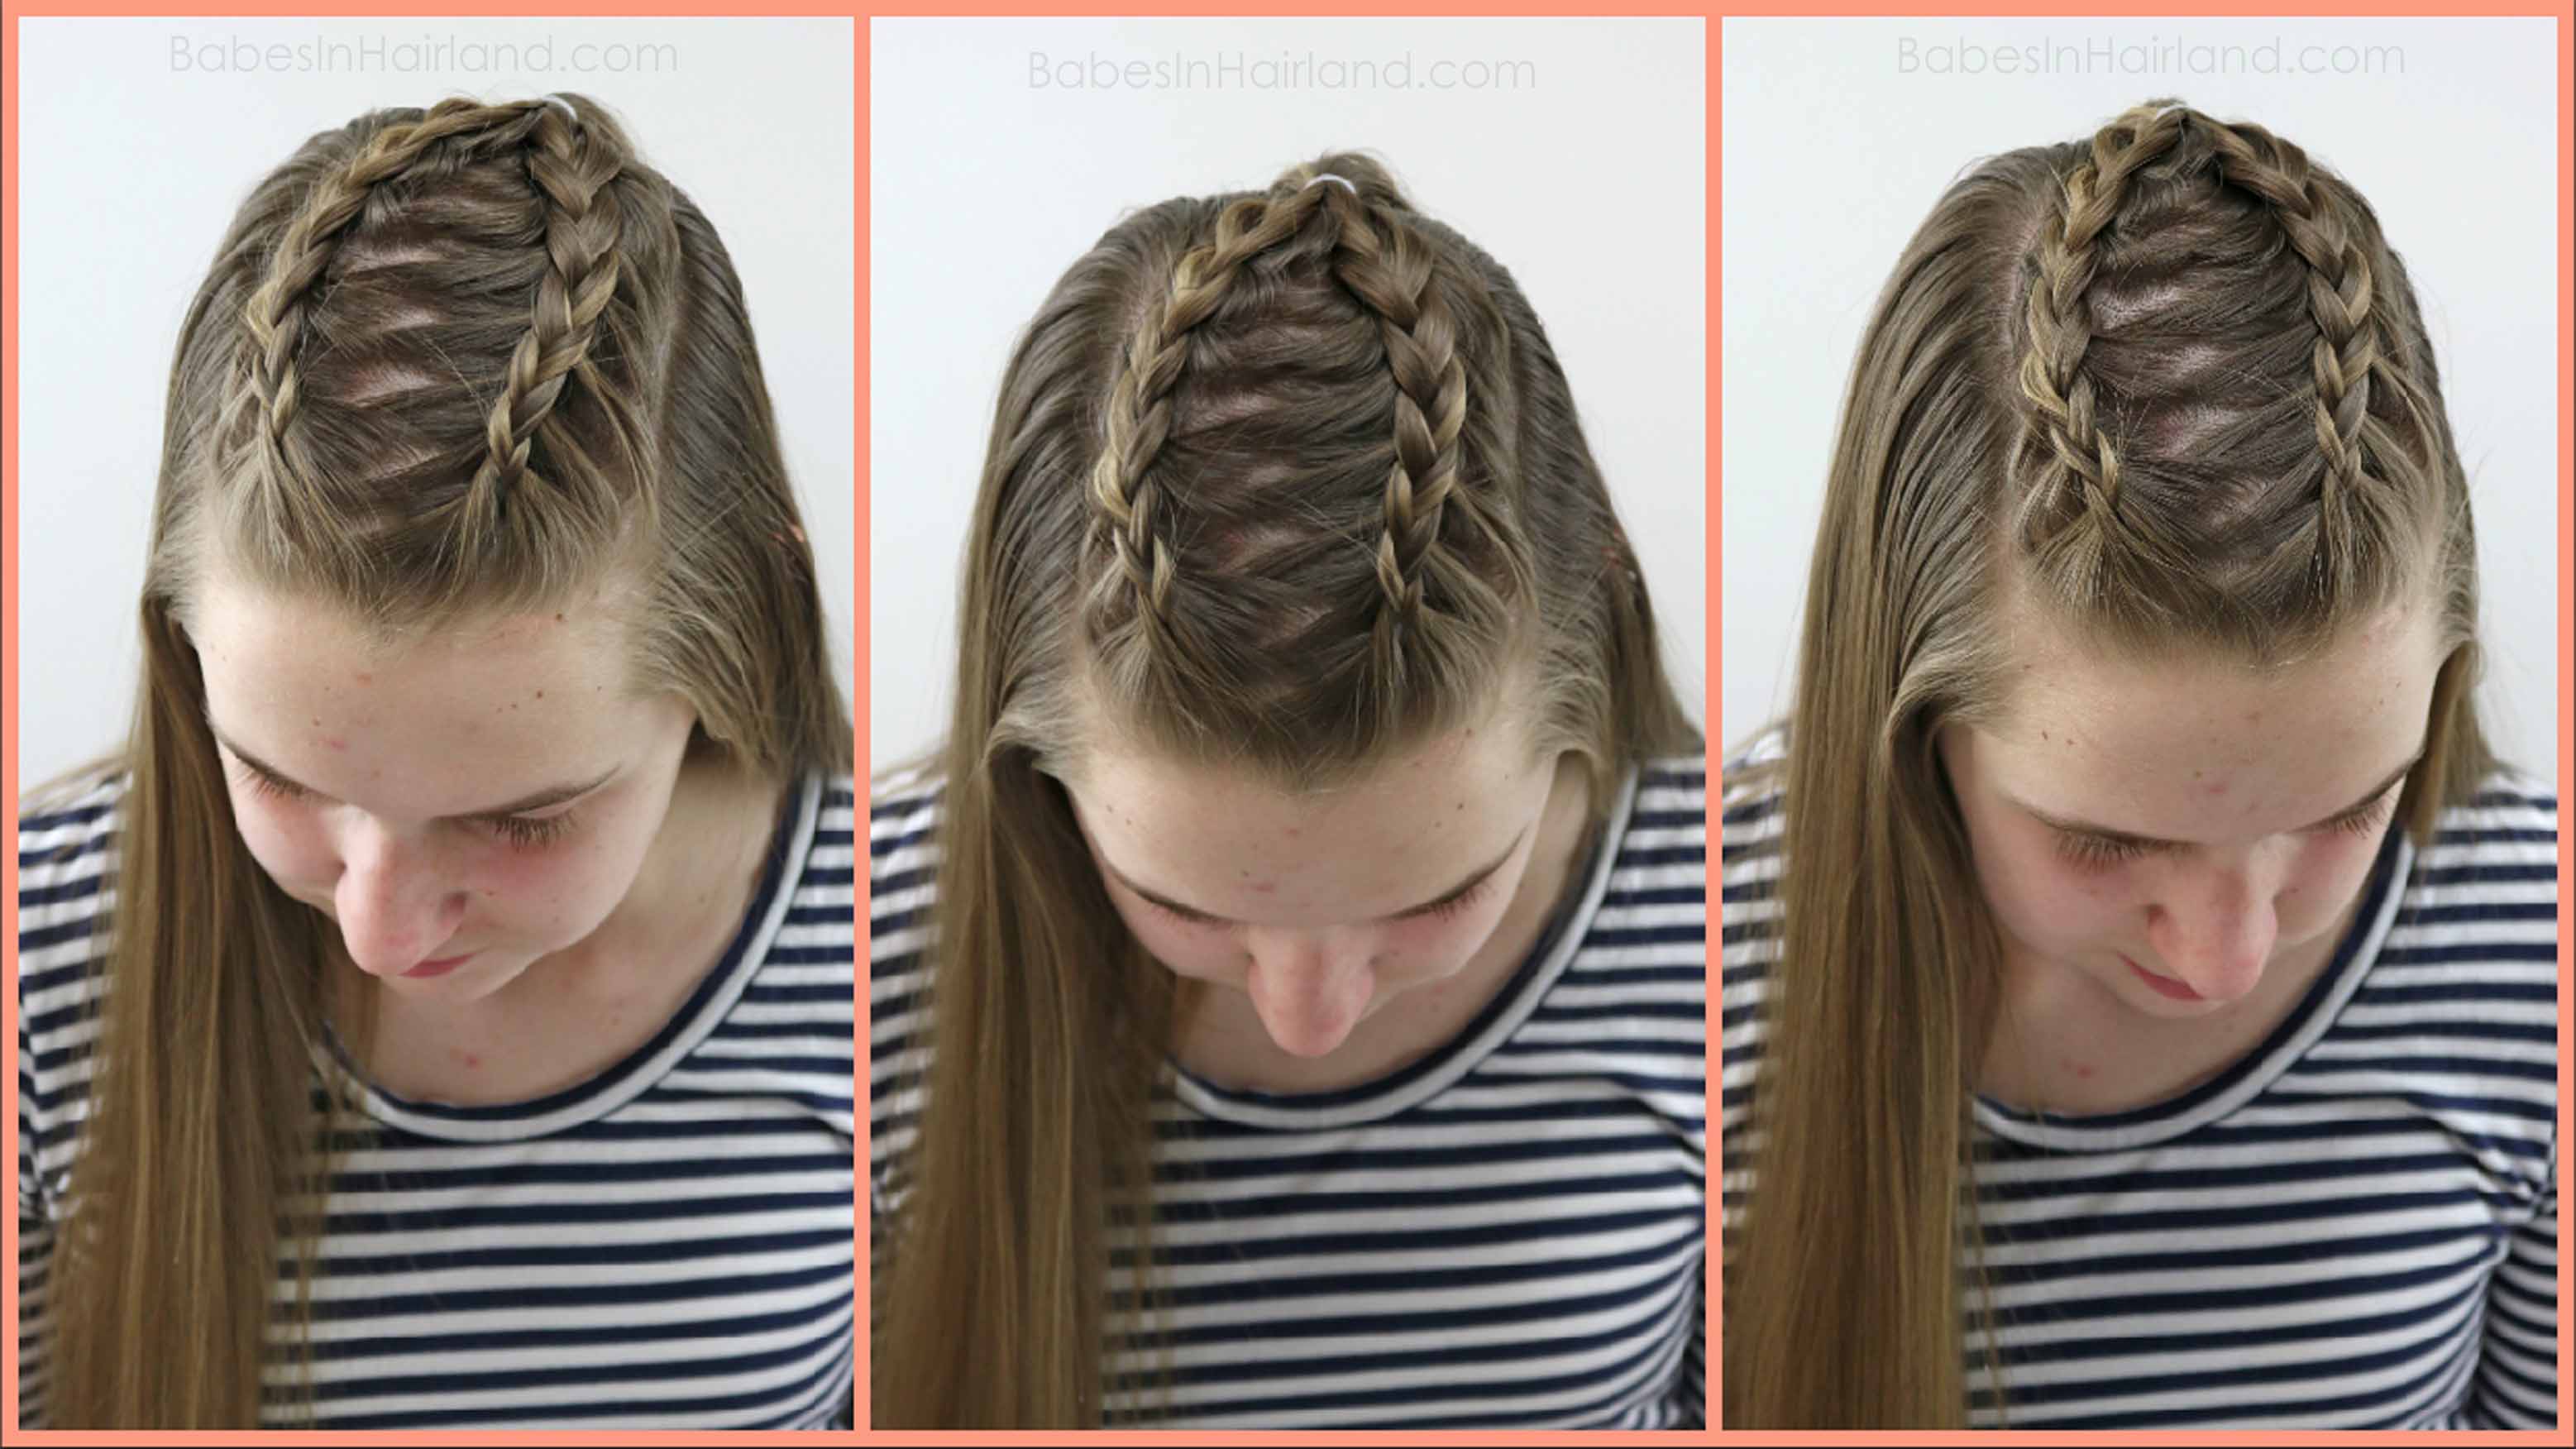
1- Make a zig zag part from your forehead back to your crown.
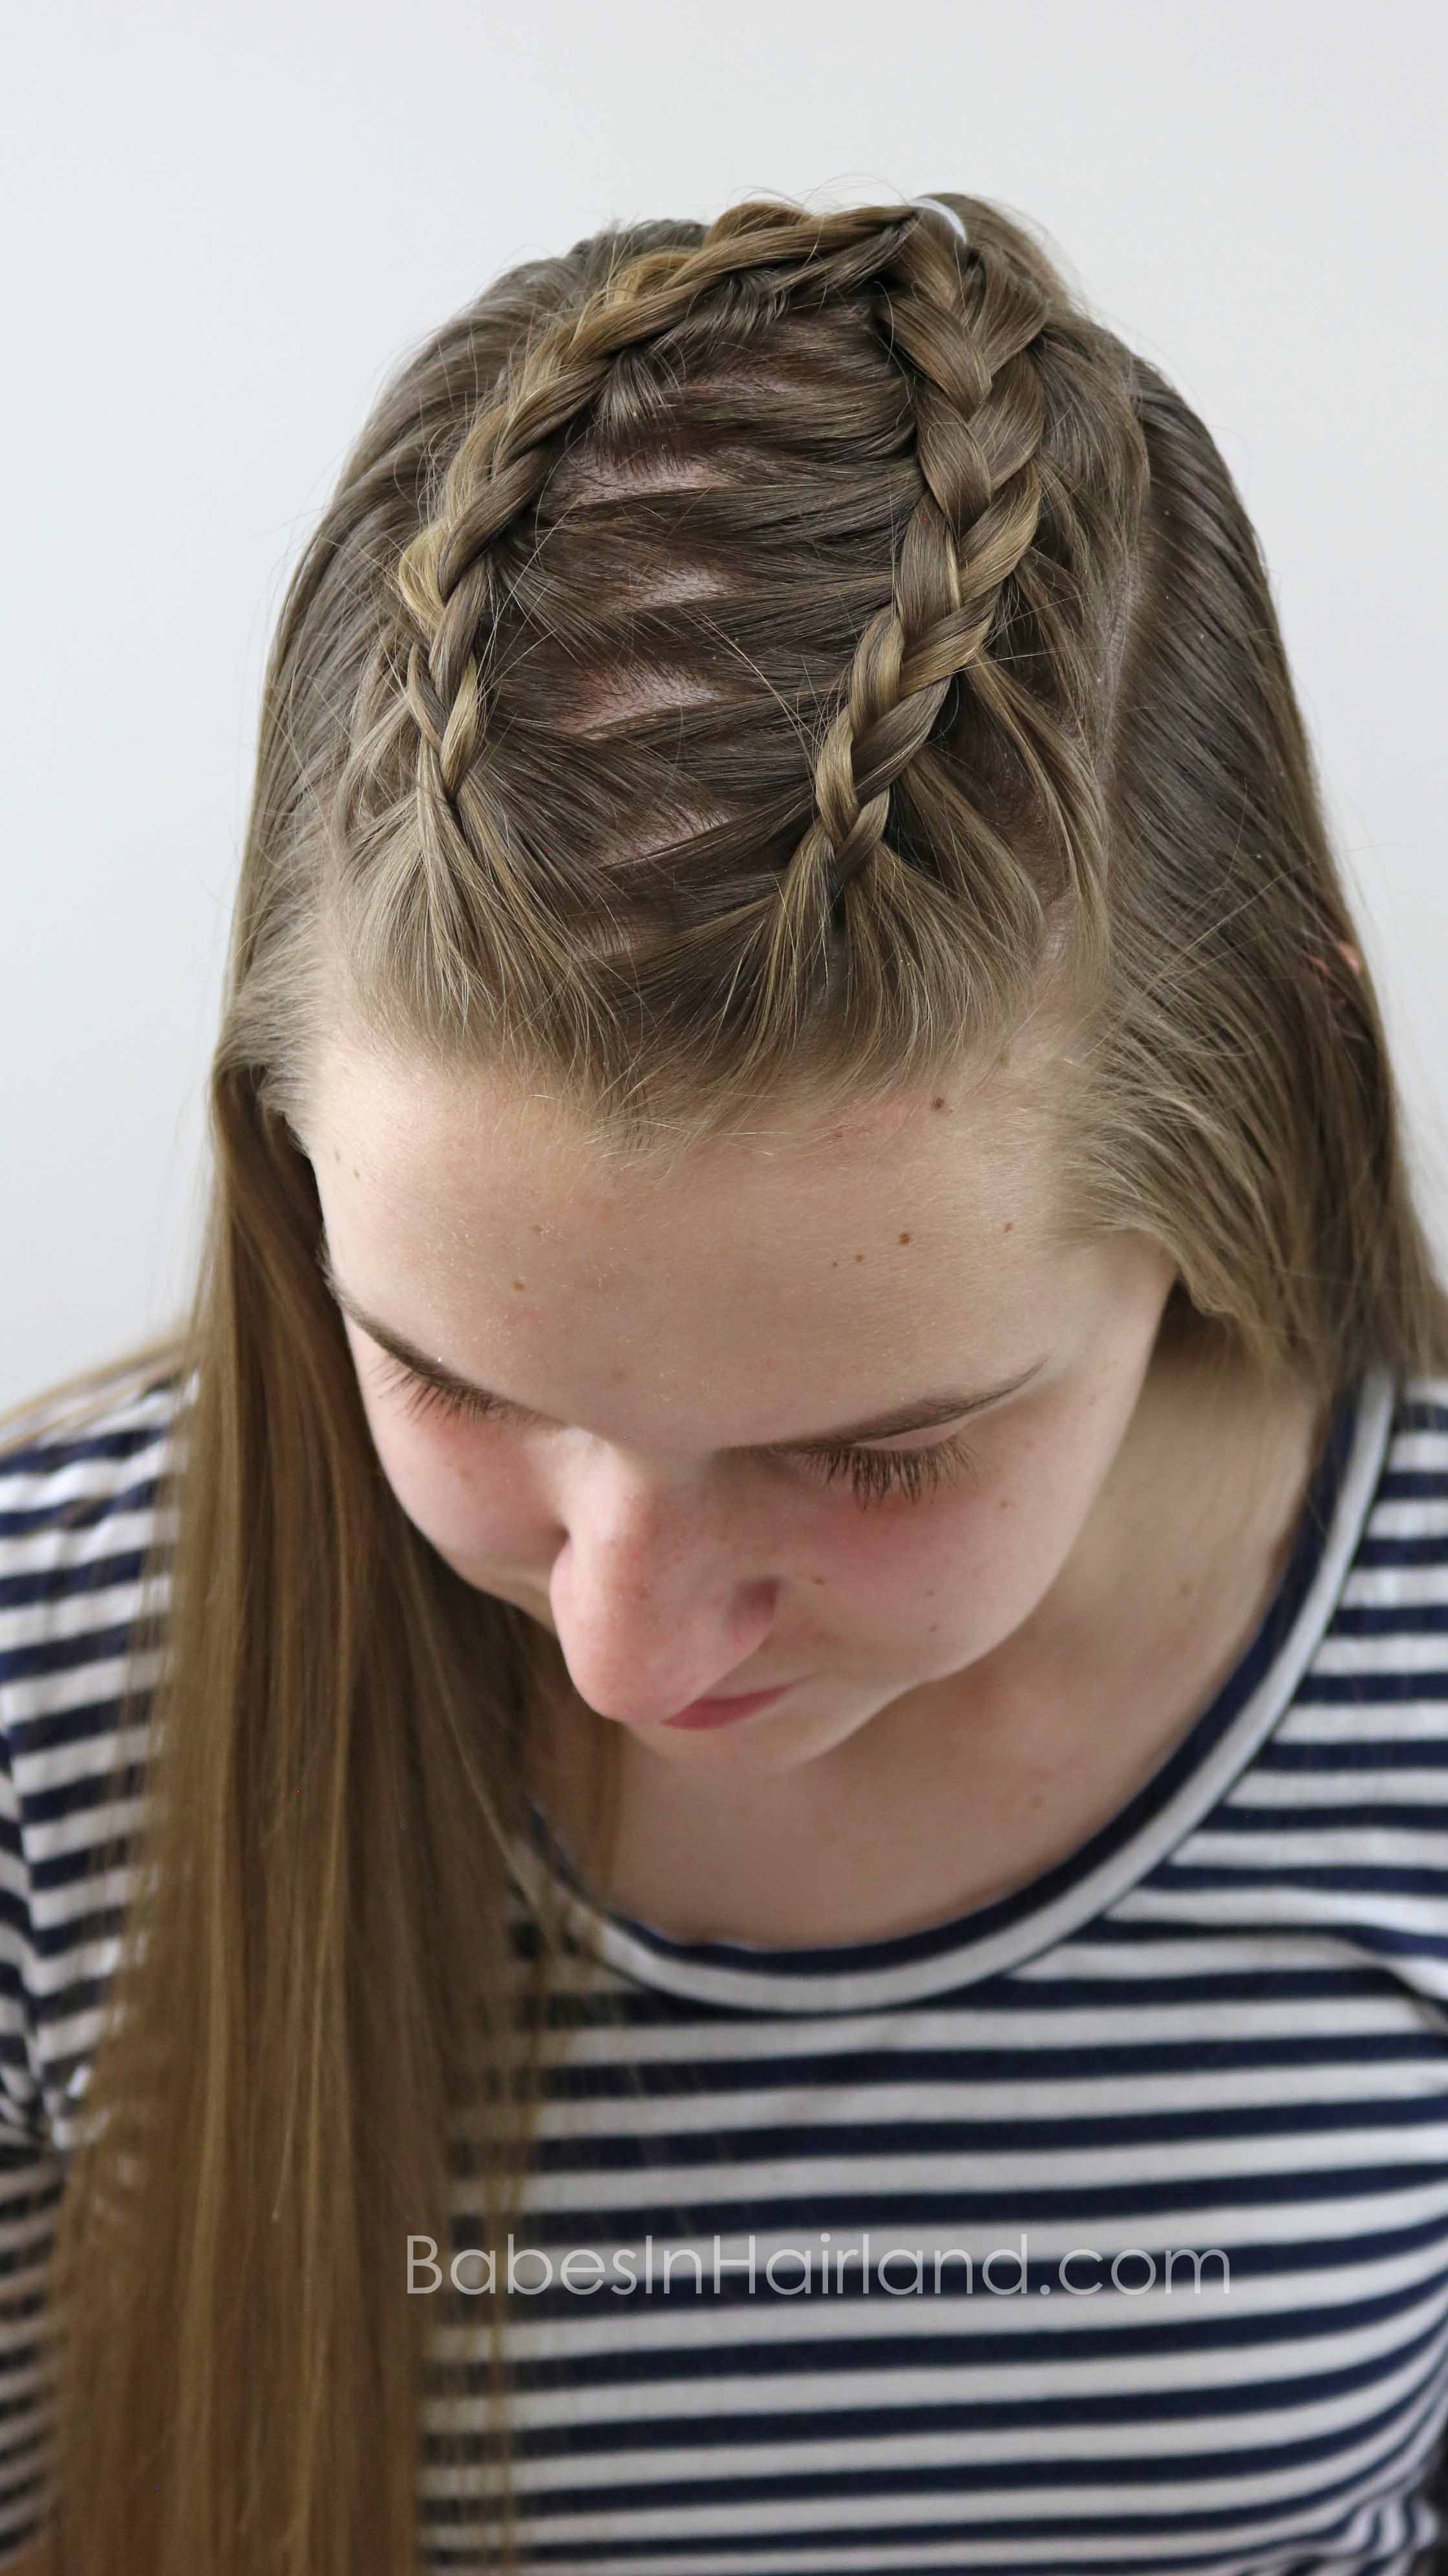
2- Divide out hair starting near the right temple and make a Dutch braid near the zig zag part, braiding back to the crown.
Remember, a Dutch braid is an inside out braid where you cross the strands underneath each other. If you need help with Dutch braids, watch McKayla’s Dutch braid video HERE. You can easily do a regular French braid here as well, it’s up to you.
3- Make a 2nd Dutch braid on the left side, braiding back to the crown as well.
4- Combine the 2 Dutch braids with an elastic at the crown.
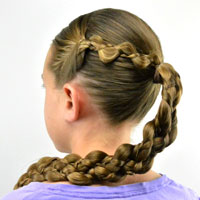
FINISHED DUTCH BRAID STYLE #1
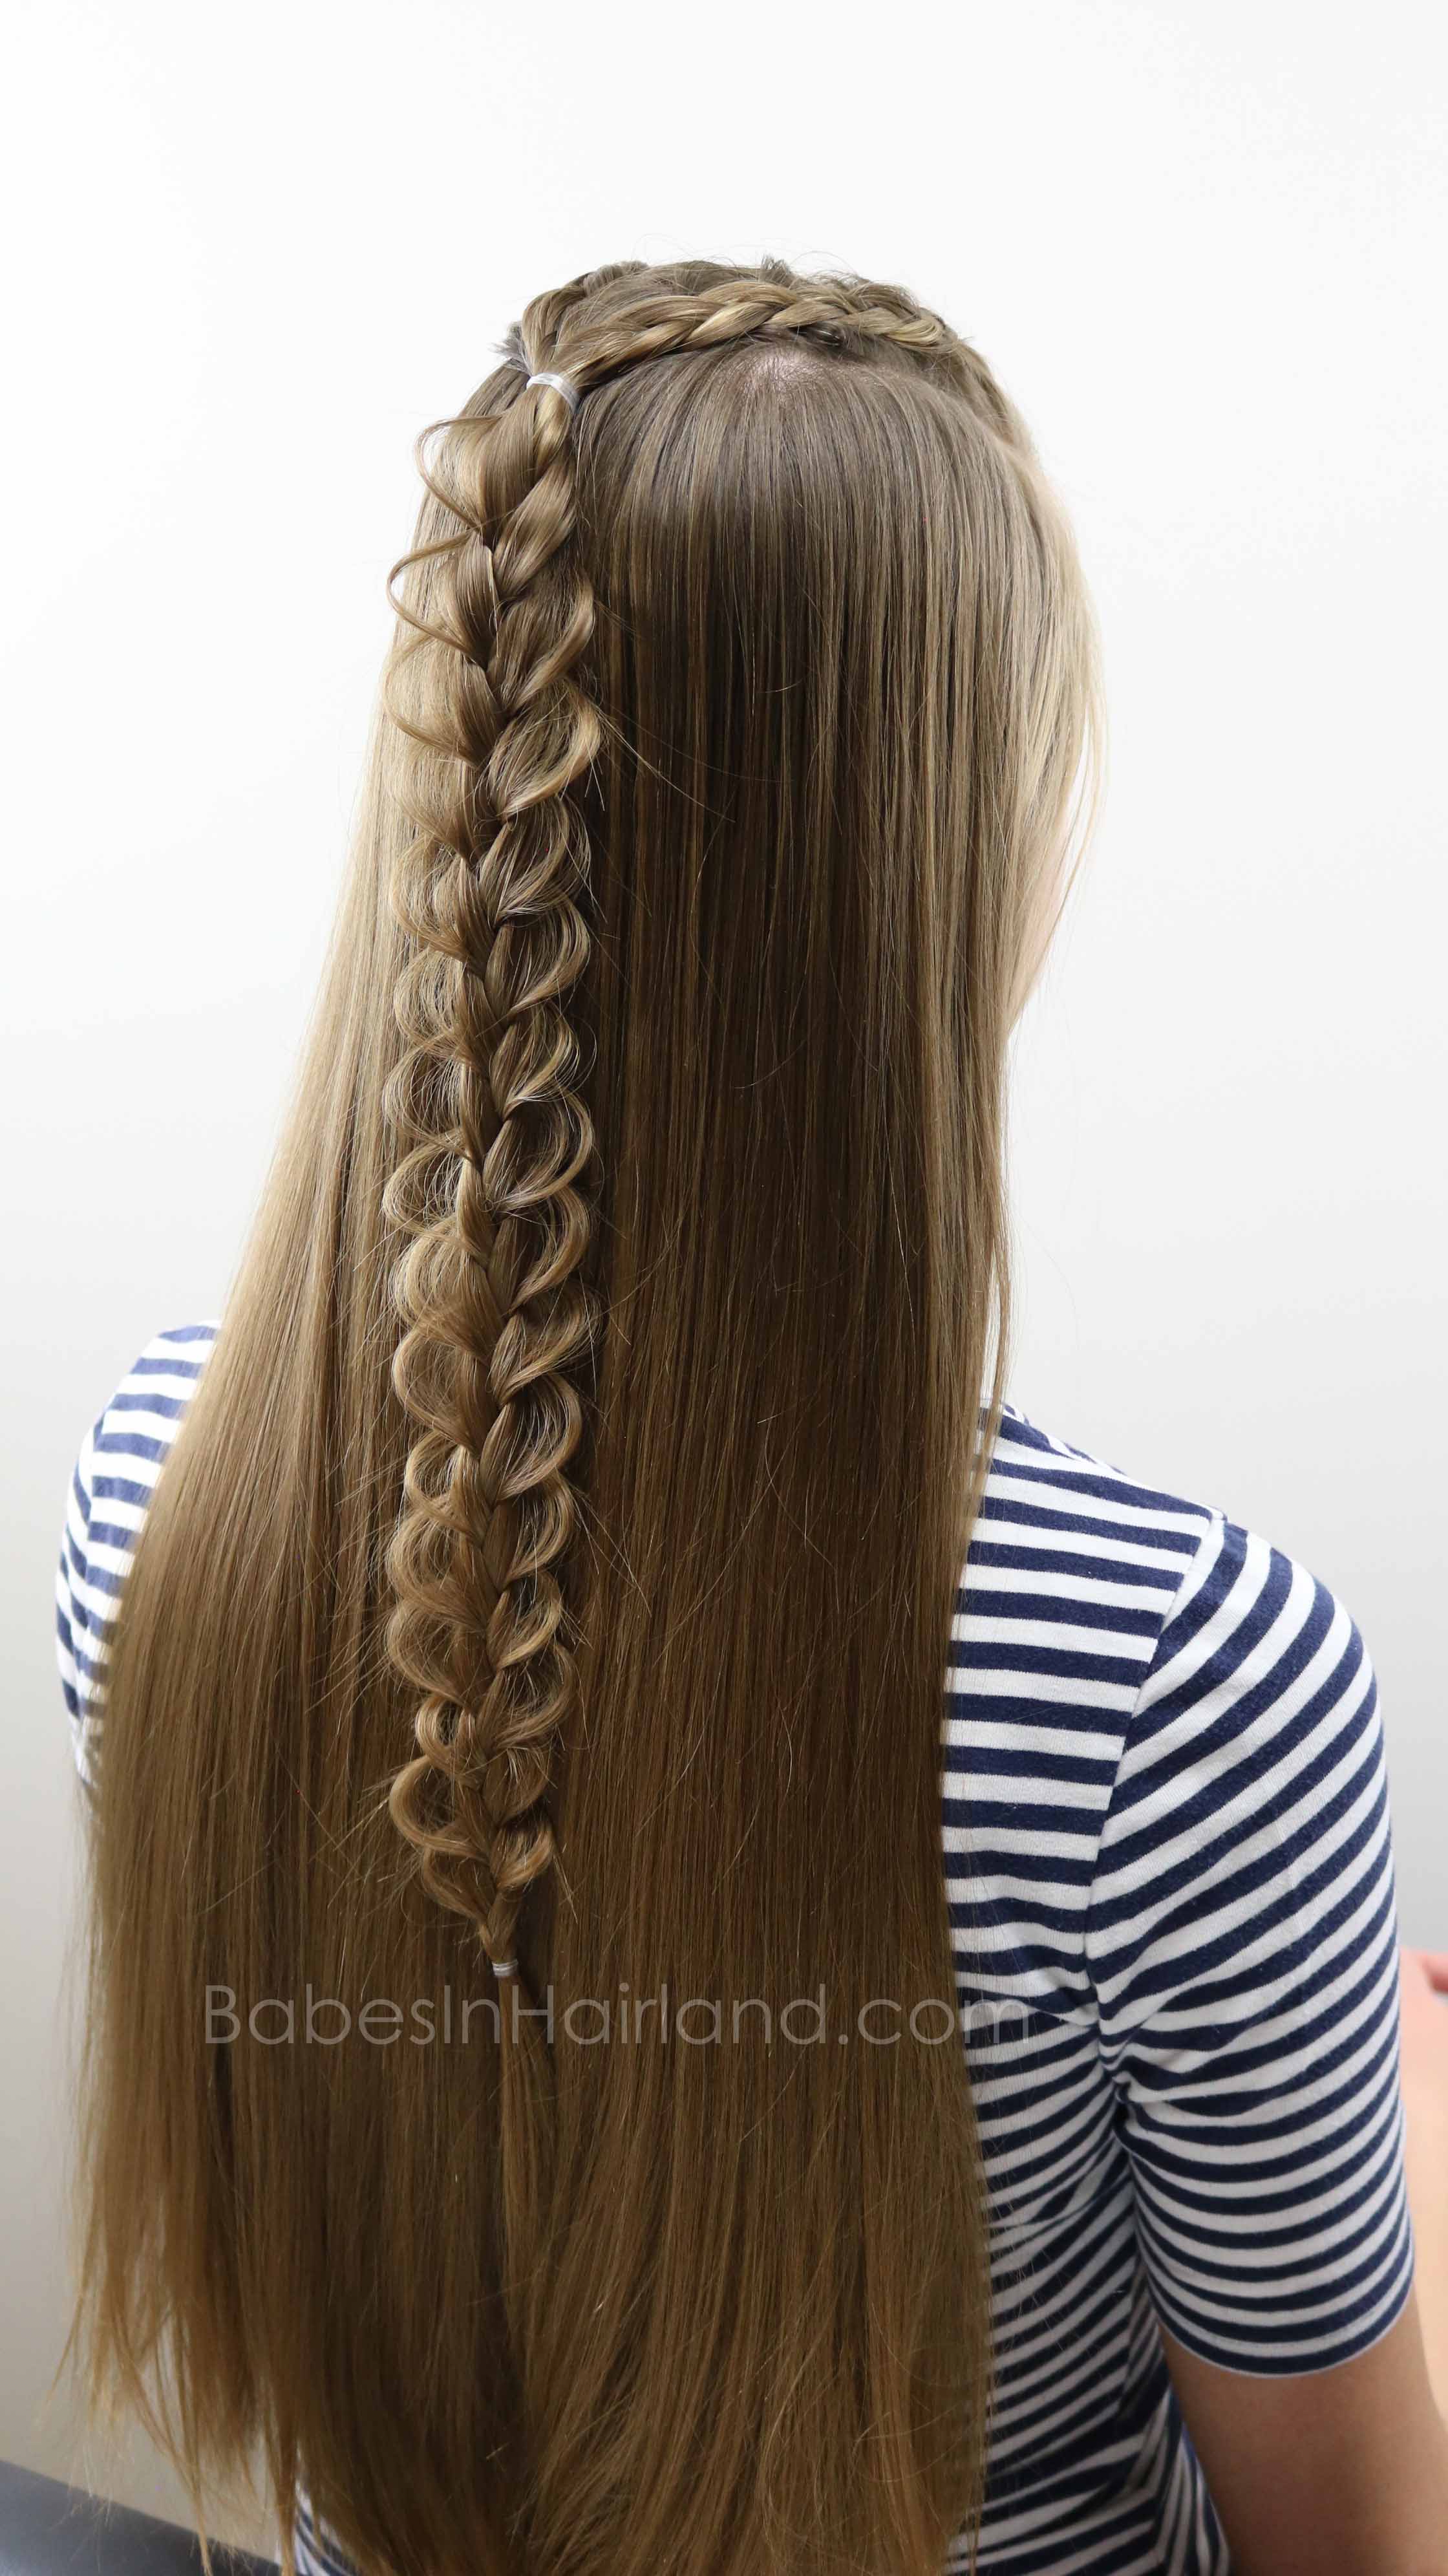
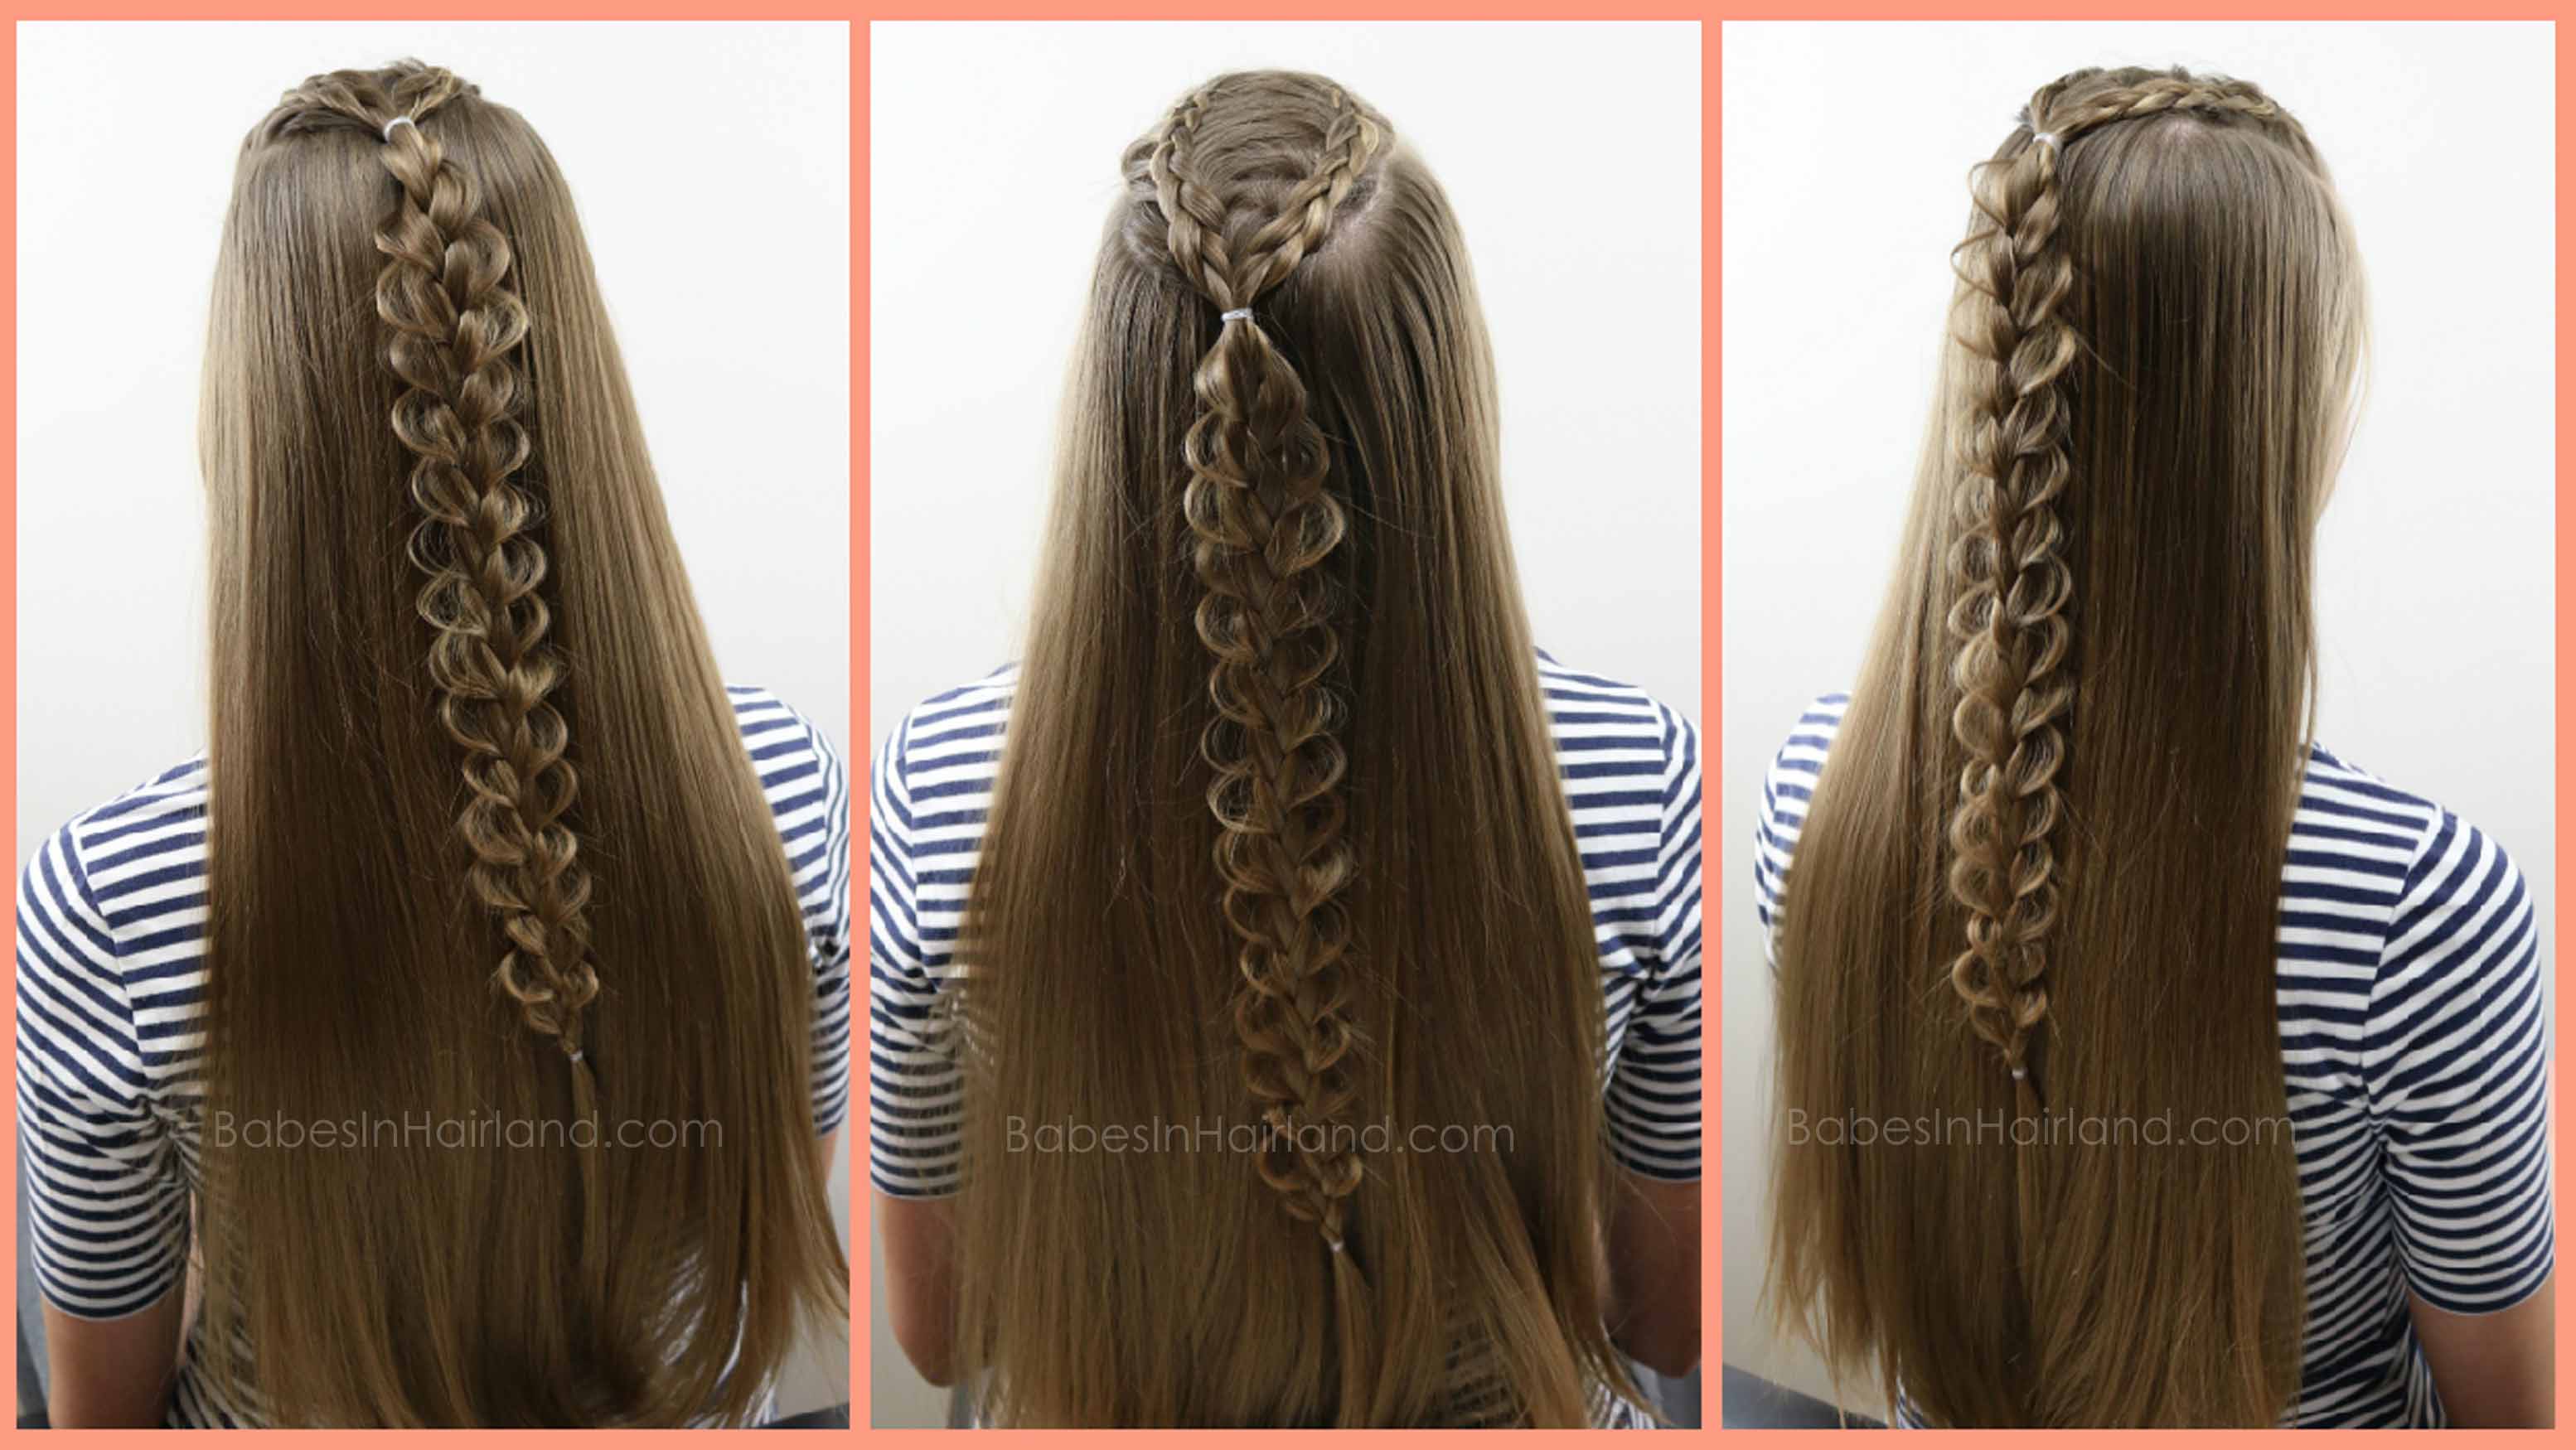
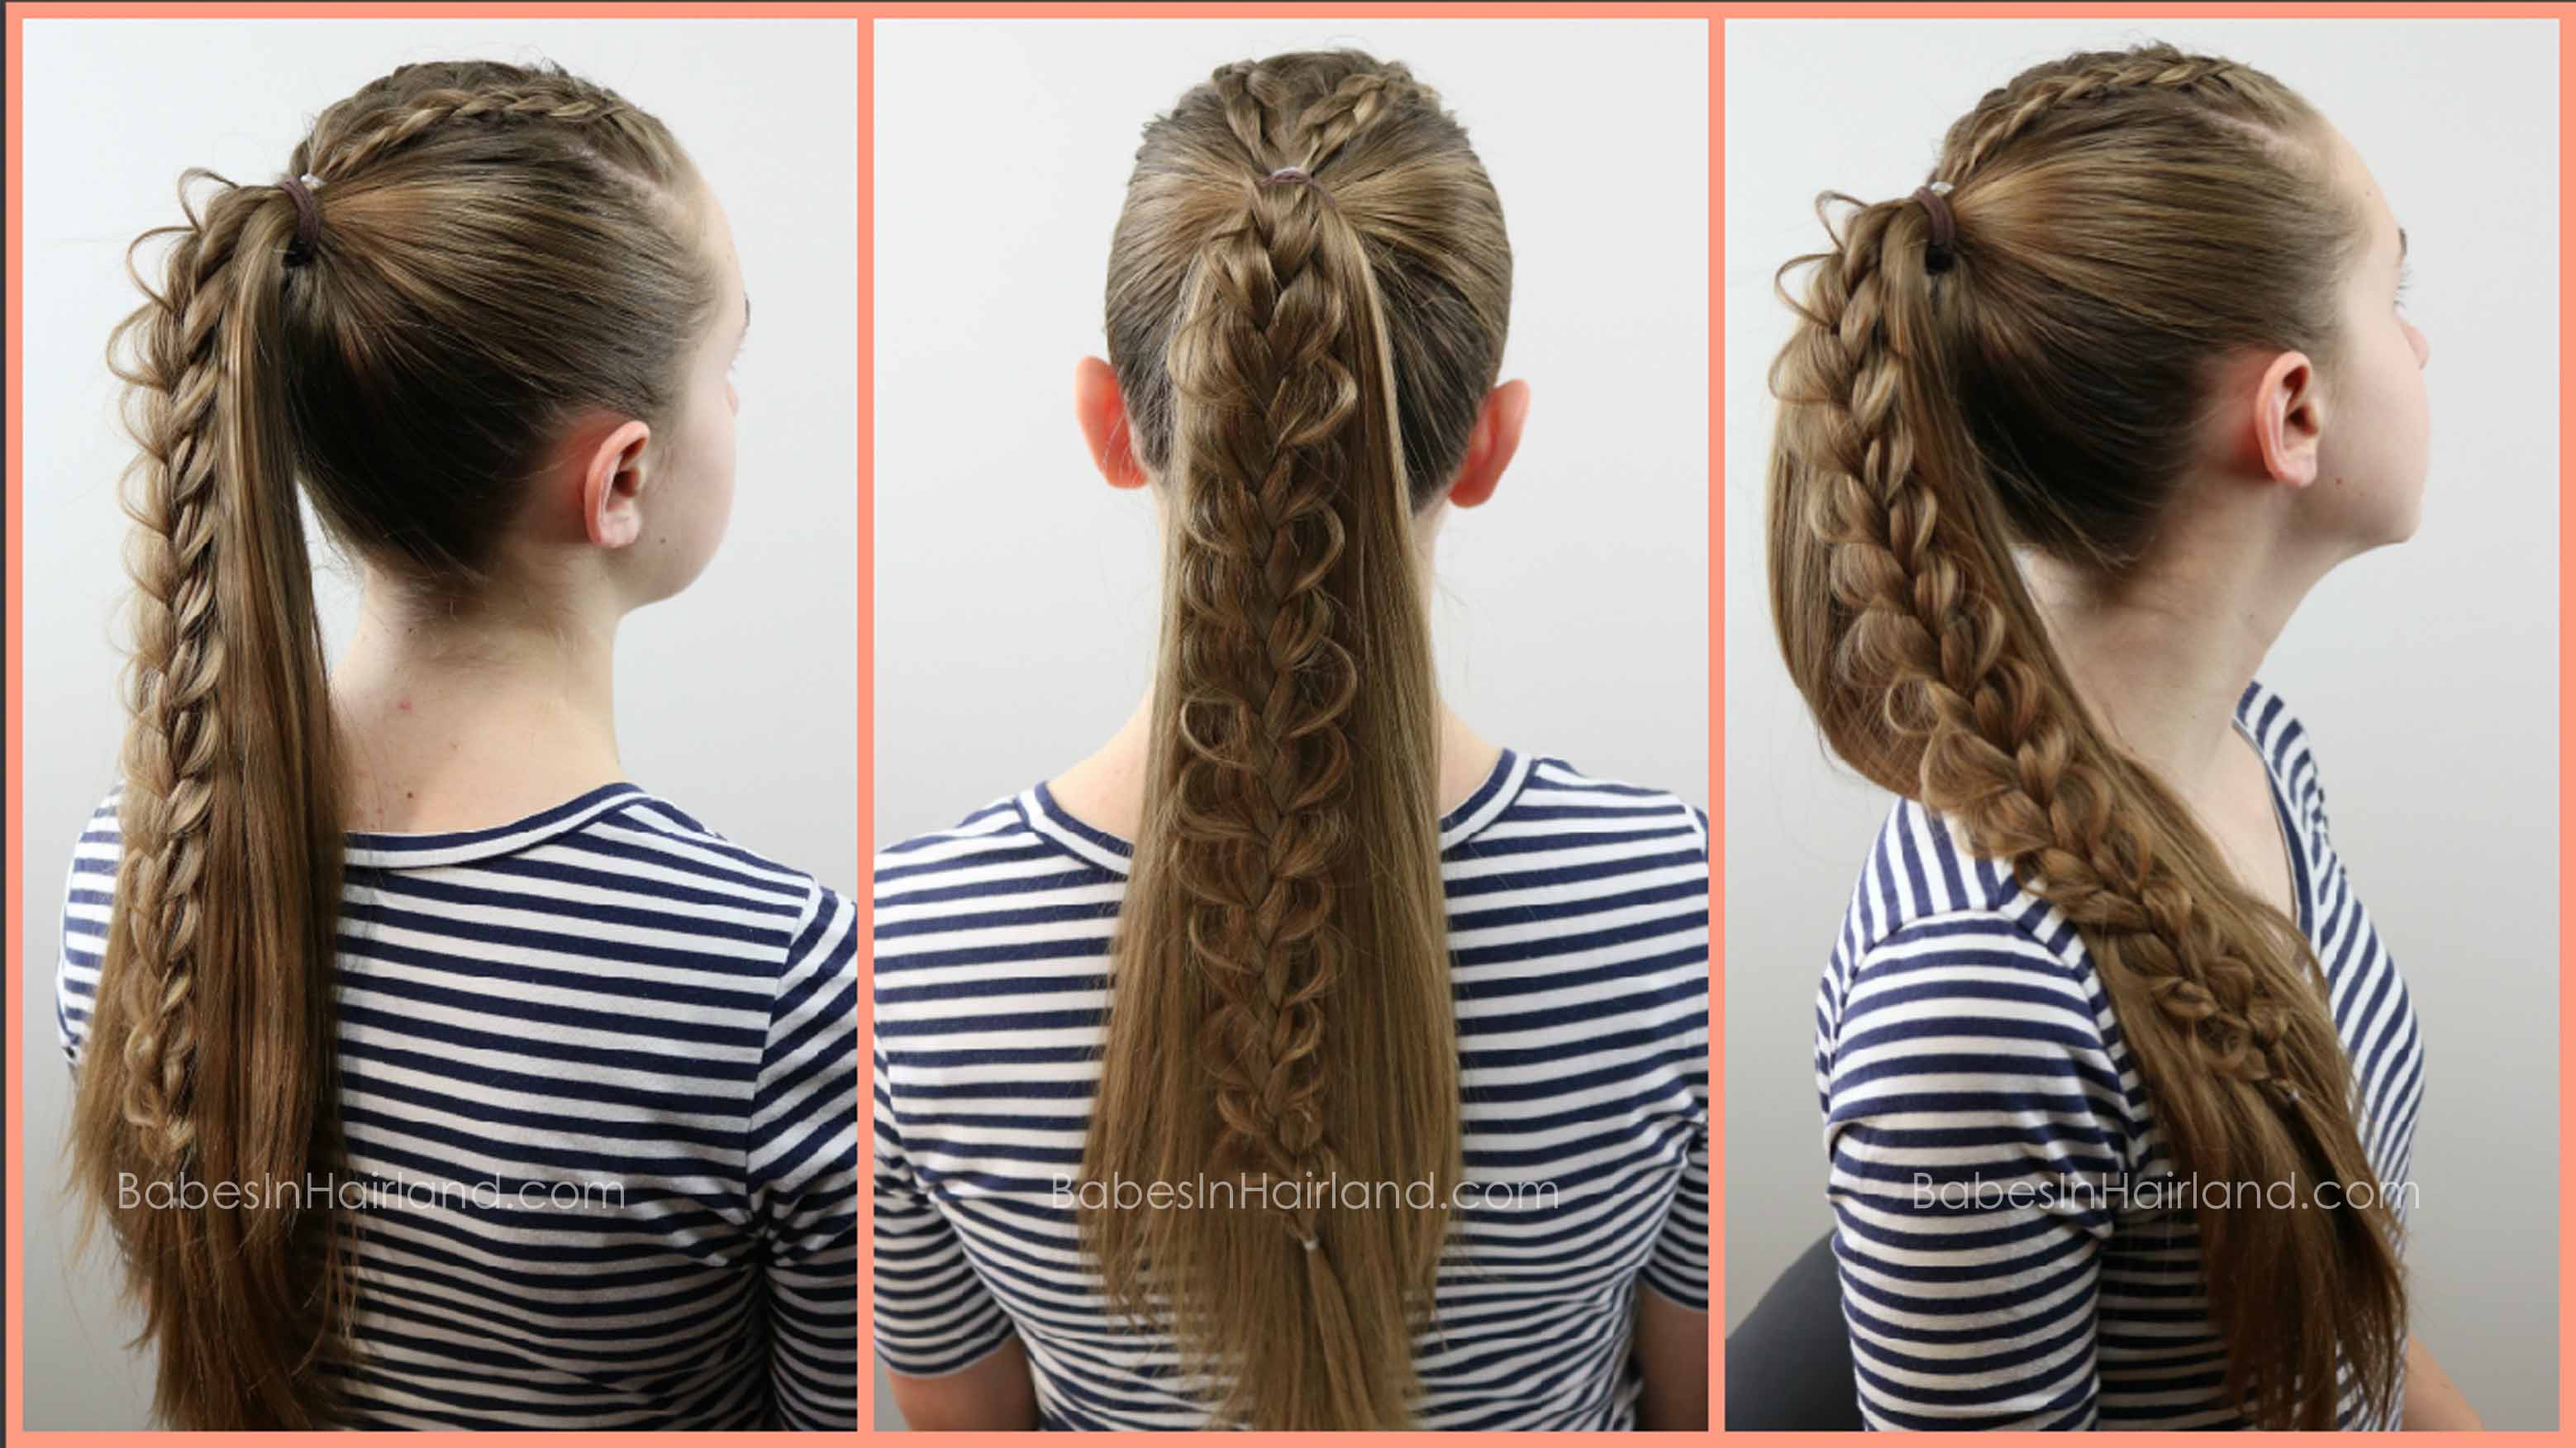
6- With the ponytail below the elastic, begin a regular 3 strand braid.
7 – As you braid down, gently pull on the very edges of the braid to create a scalloped loop edge to the braid.
You can do any type of braid in this part of the style. Again, so many options, but we just stuck with a regular braid and scalloped the edges.
8 – Braid all the way down the ponytail and secure the end with an elastic.
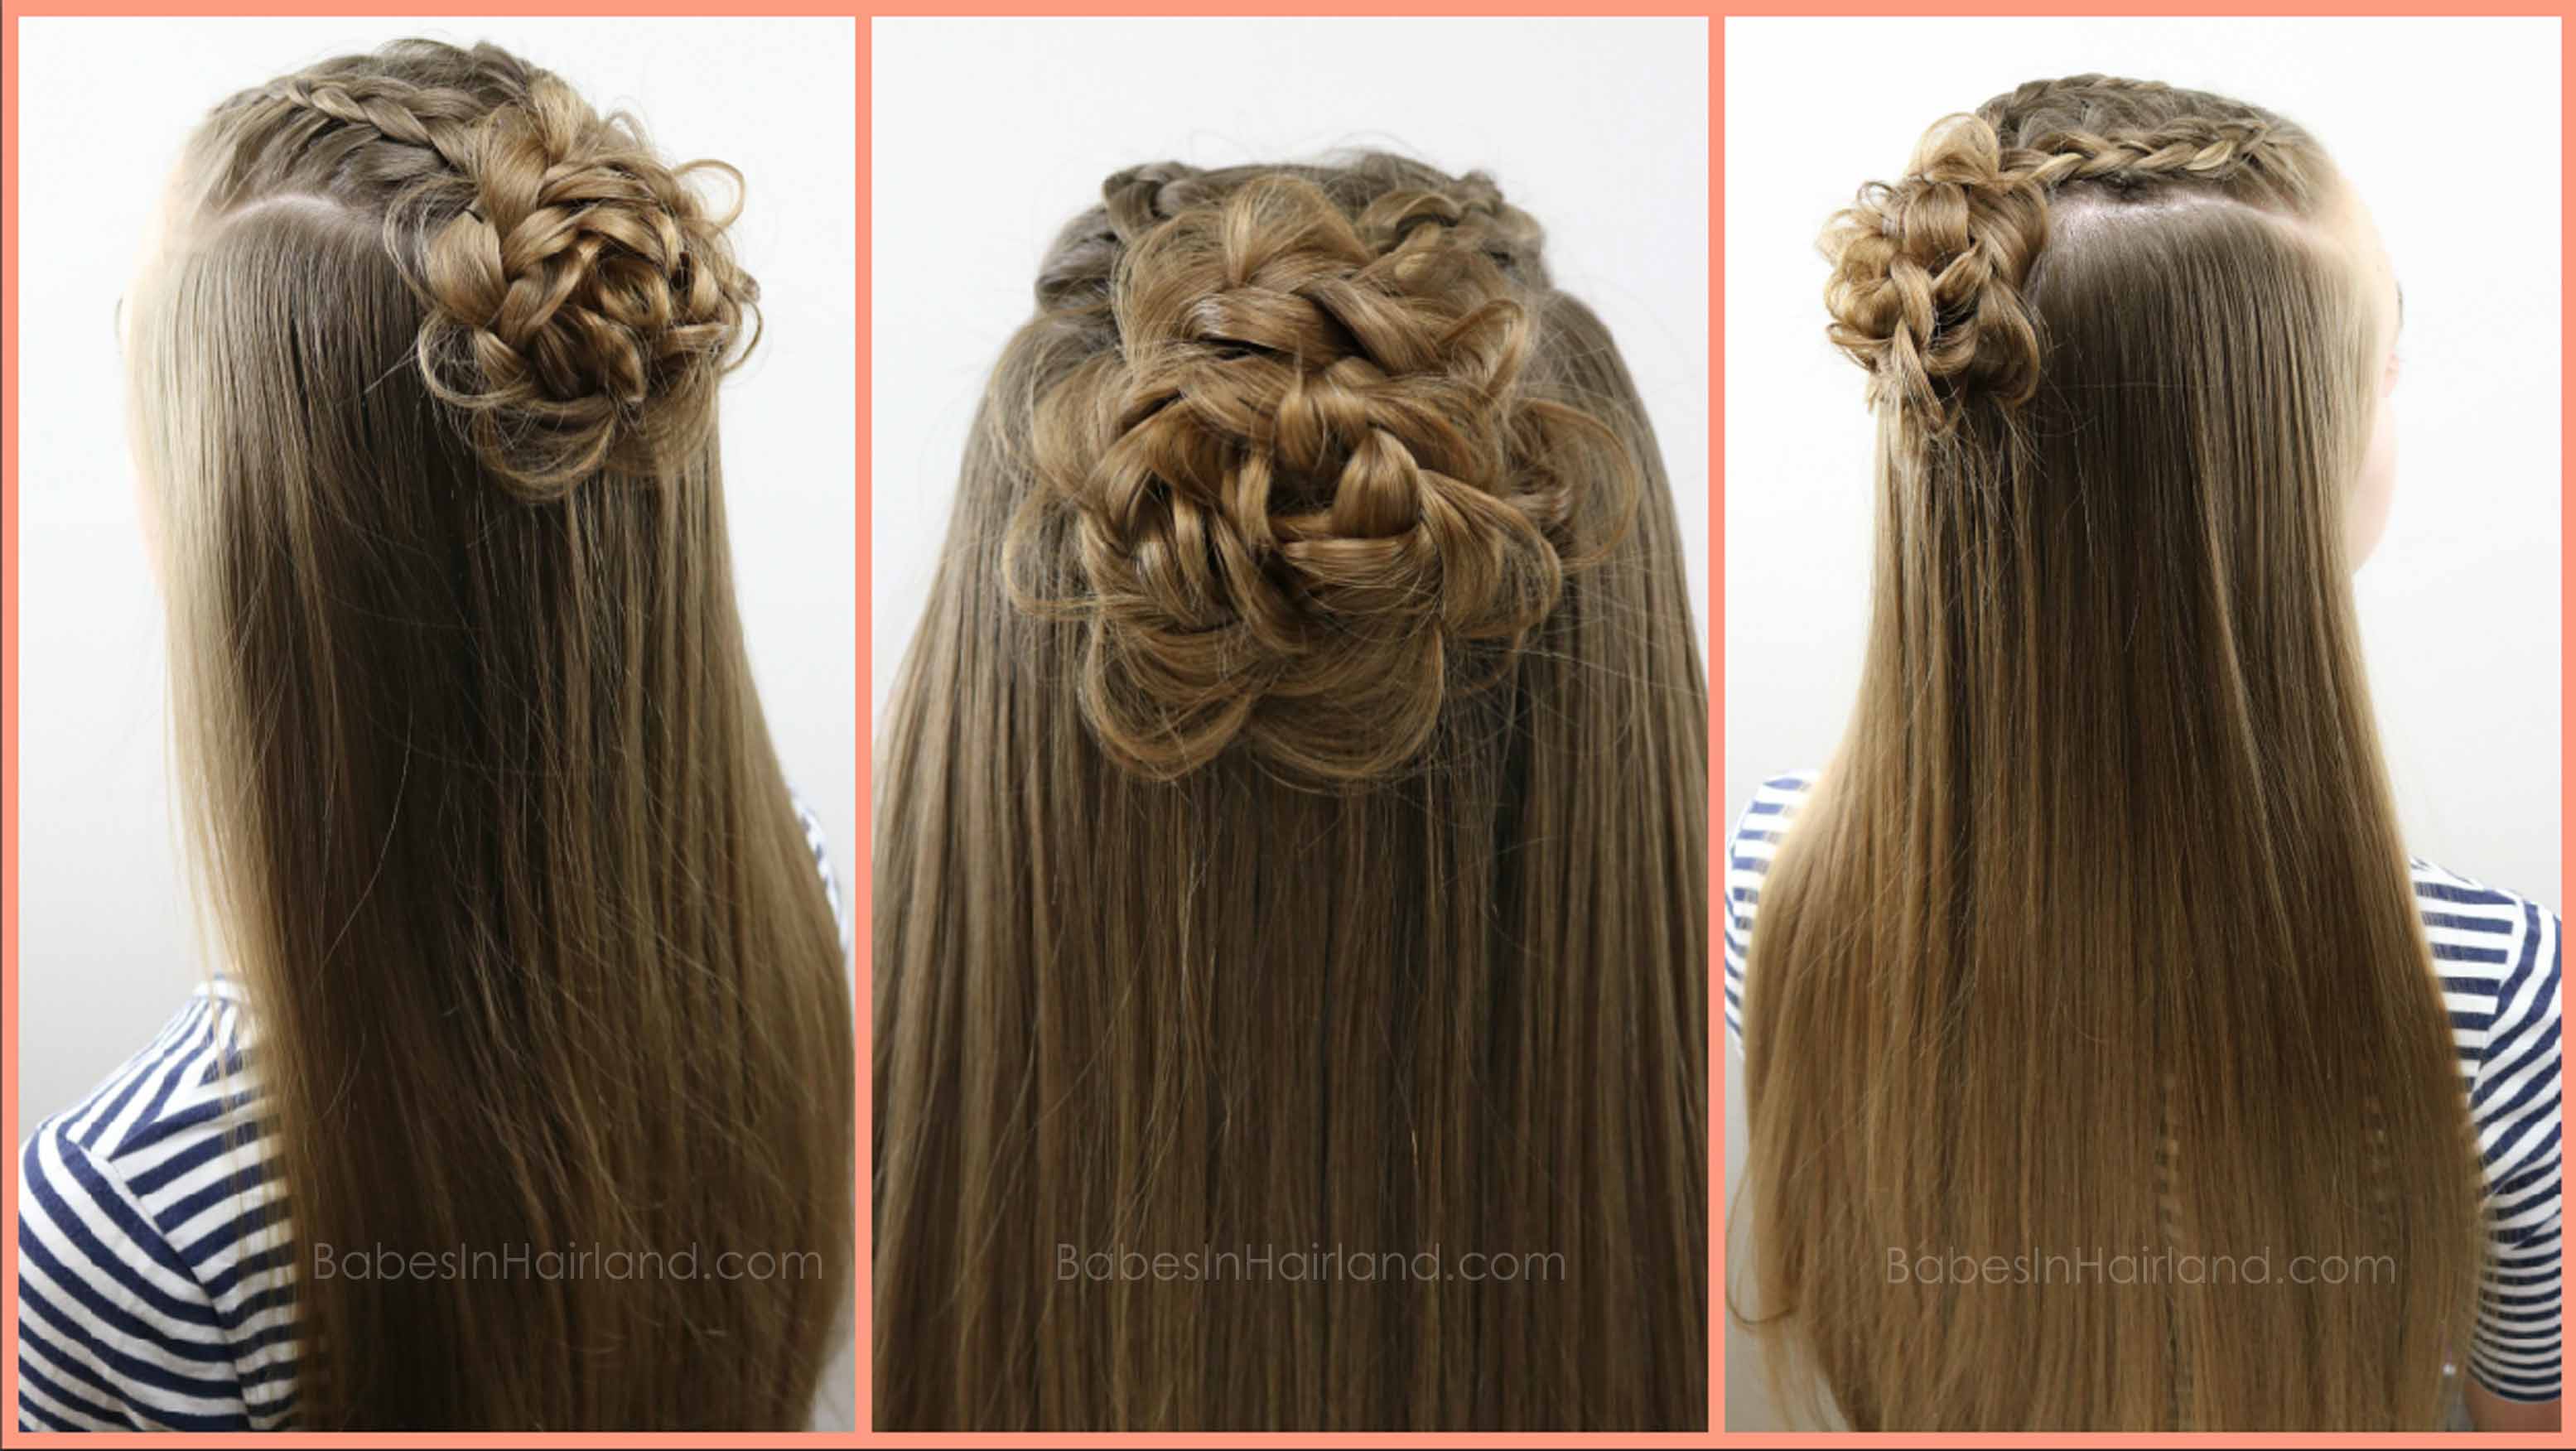
FINISHED DUTCH BRAID STYLE #2
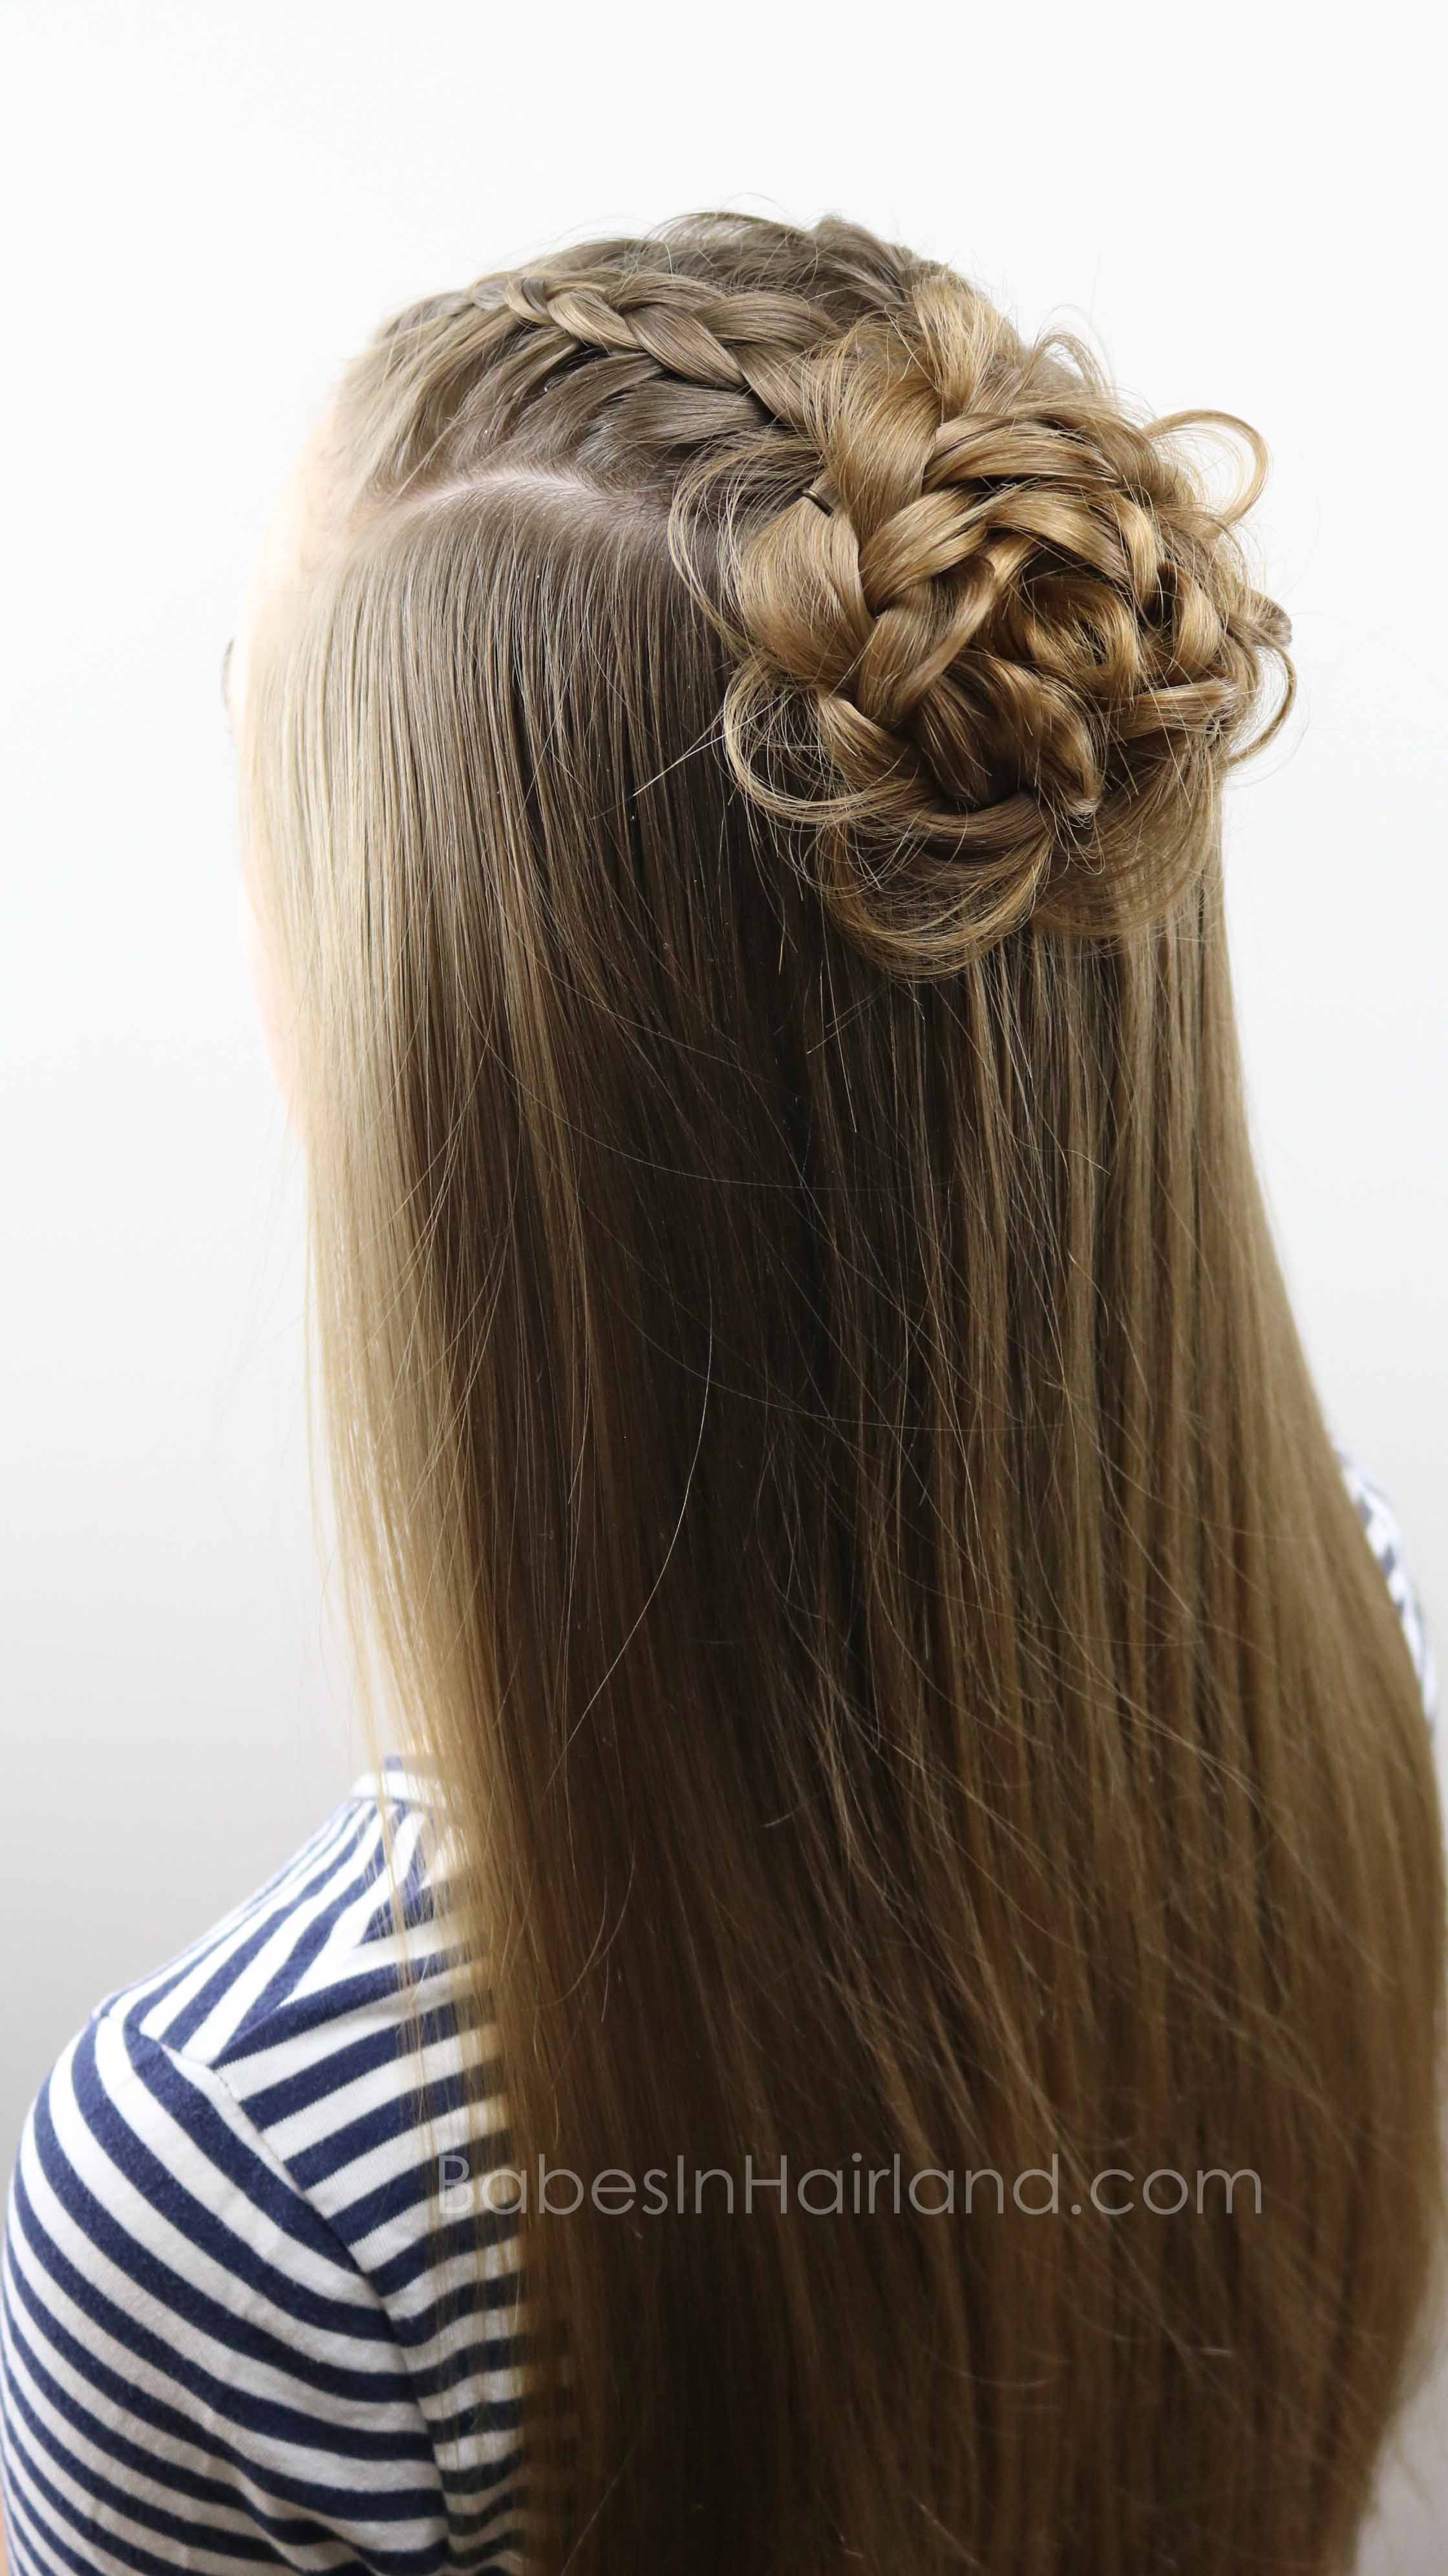
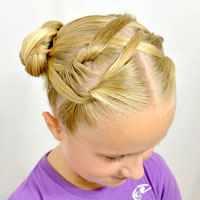
9- Gently coil or wind the scalloped edge braid up into a rosette looking bun. Do not wrap this braid like a regular bun, you want it to appear more like a flower.
10- Secure the rosette with bobby pins as needed.
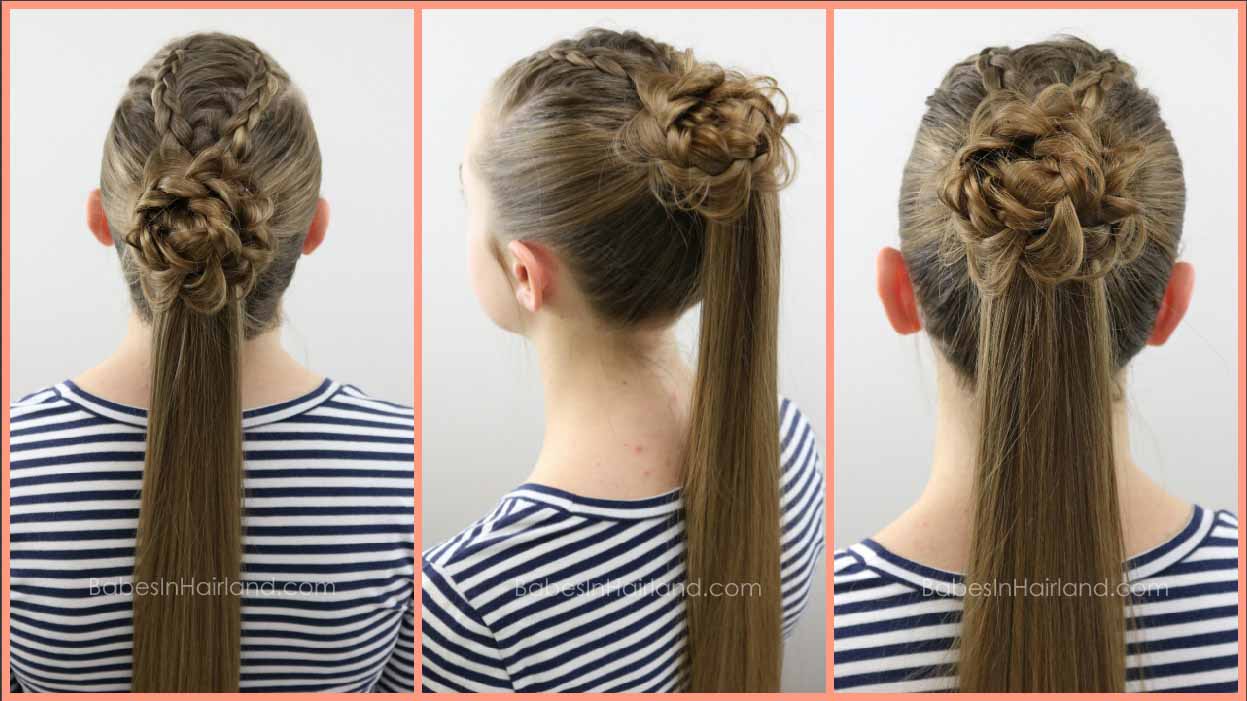
FINISHED DUTCH BRAID STYLE #3
11- Remove the bobby pins from the rosette bun and unwind it. Flip the braid up and out of the way temporarily.
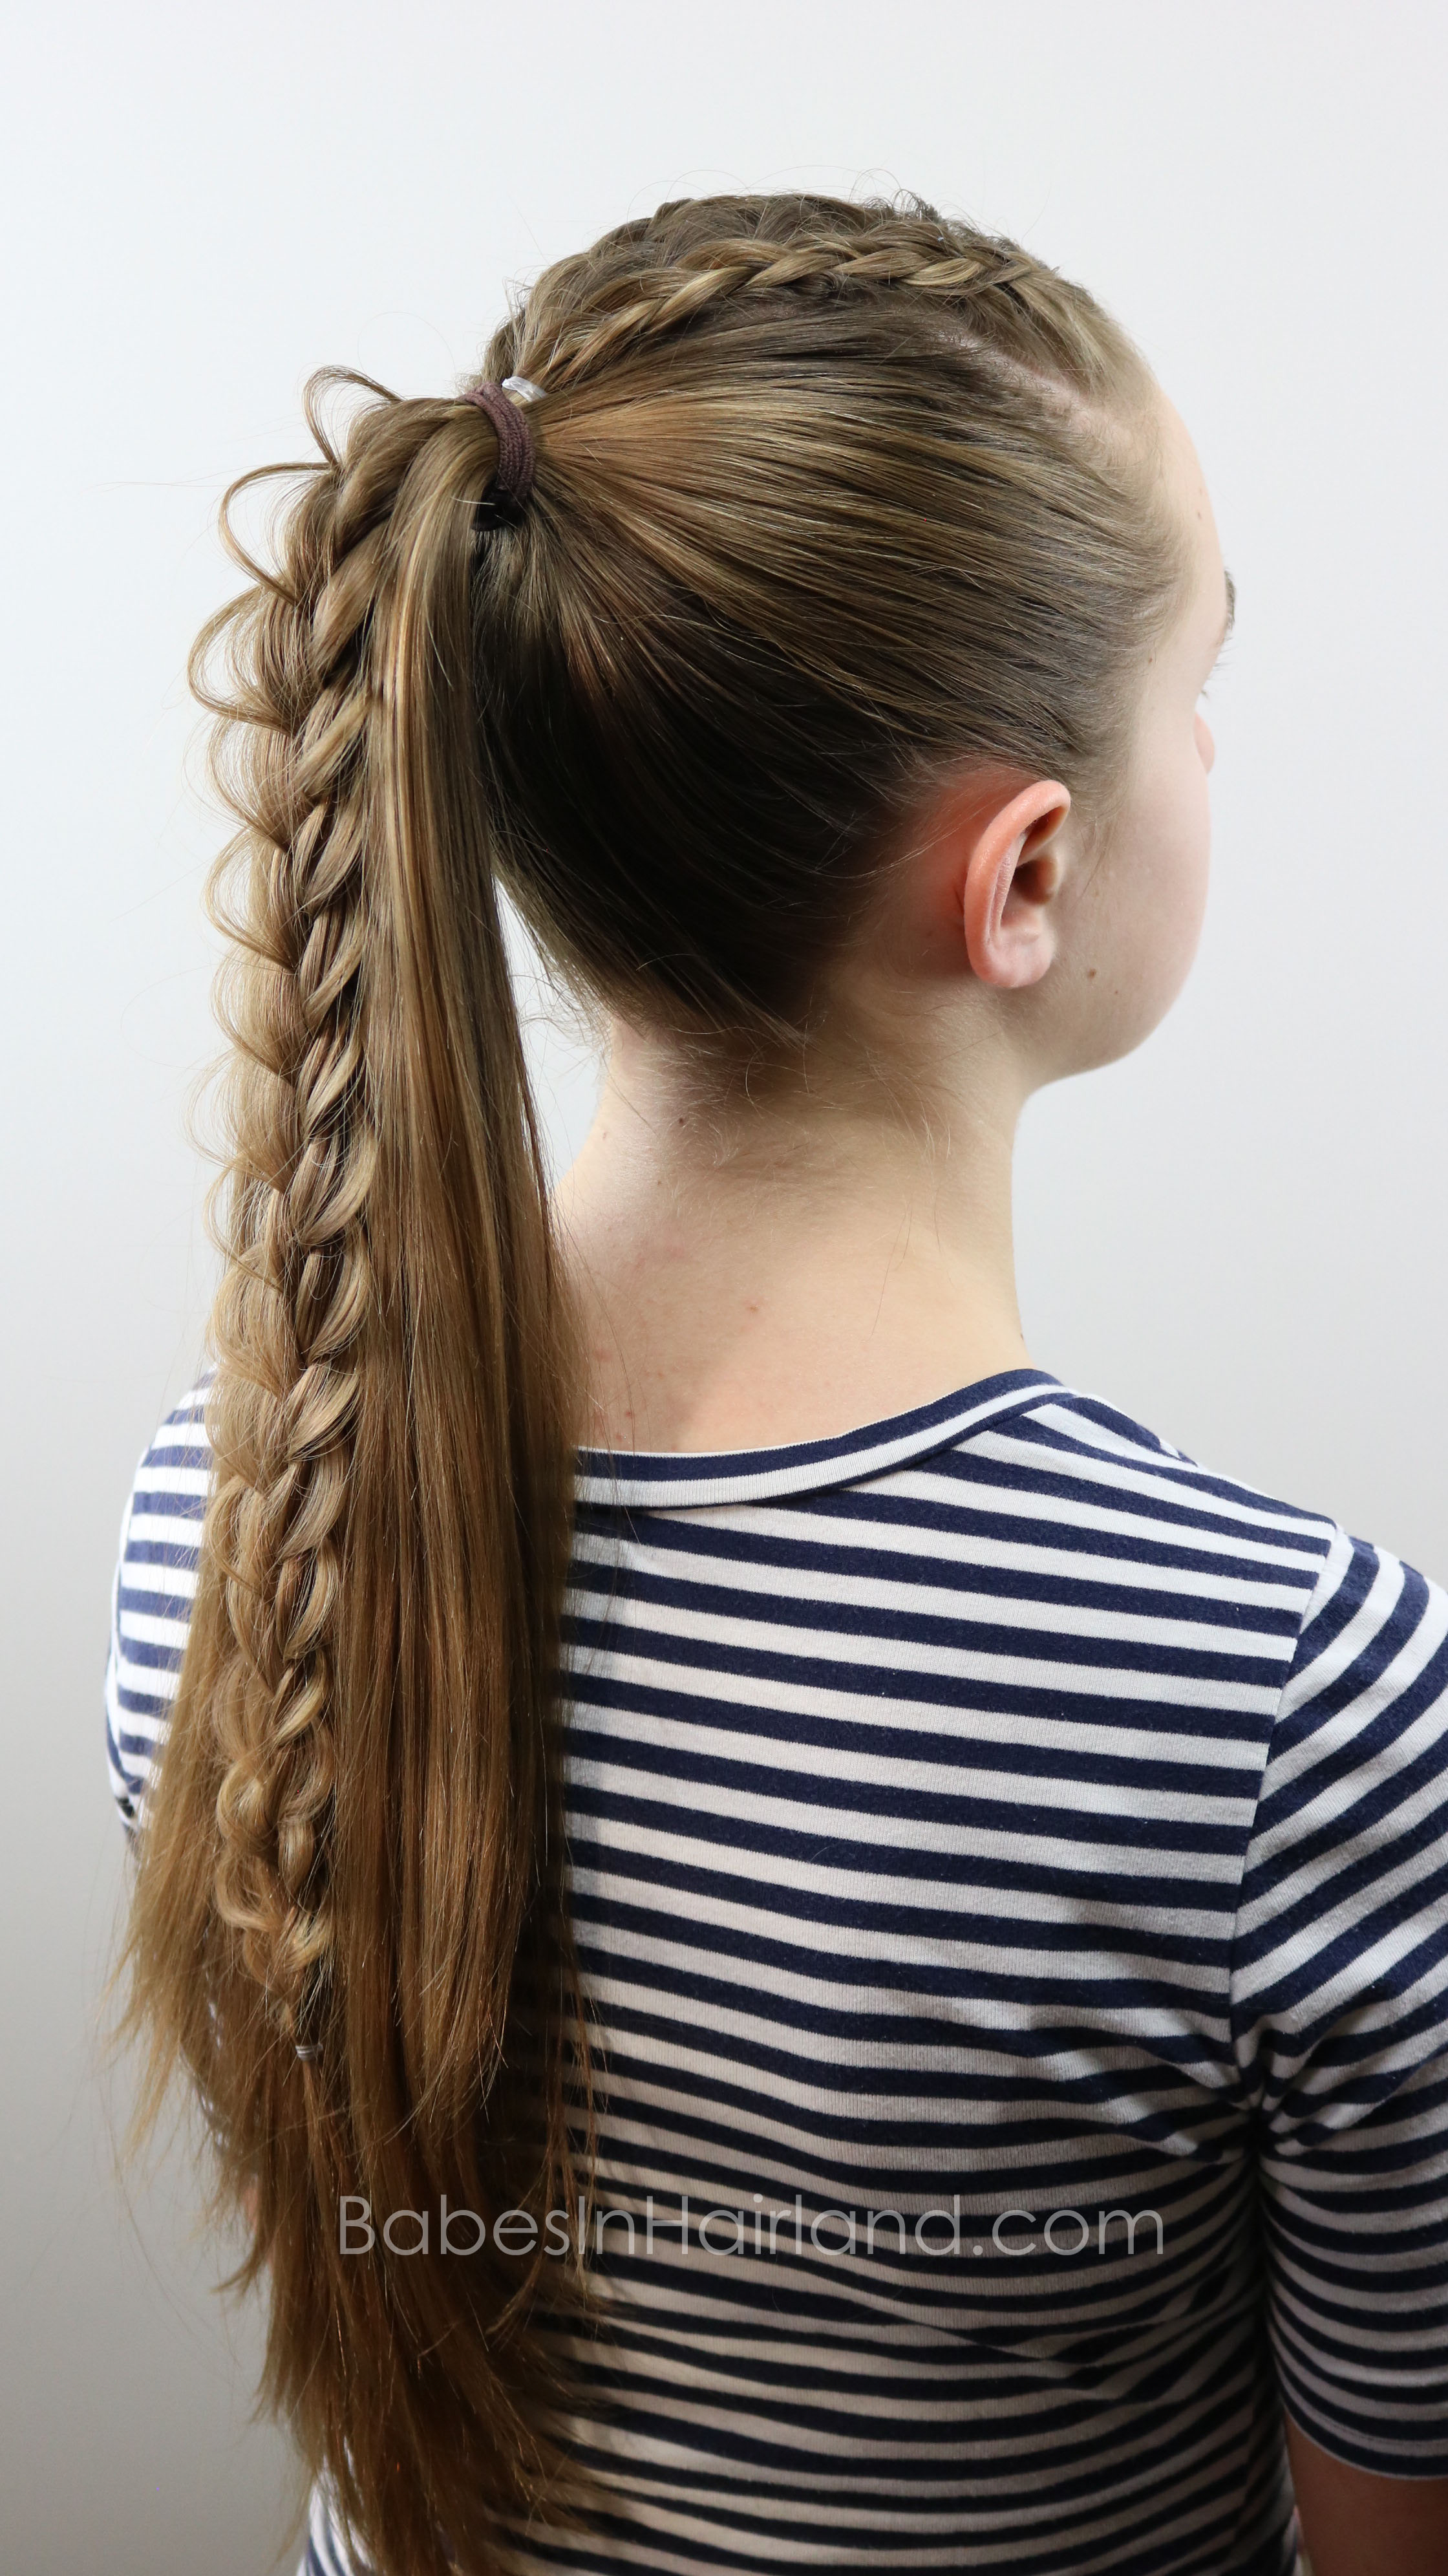
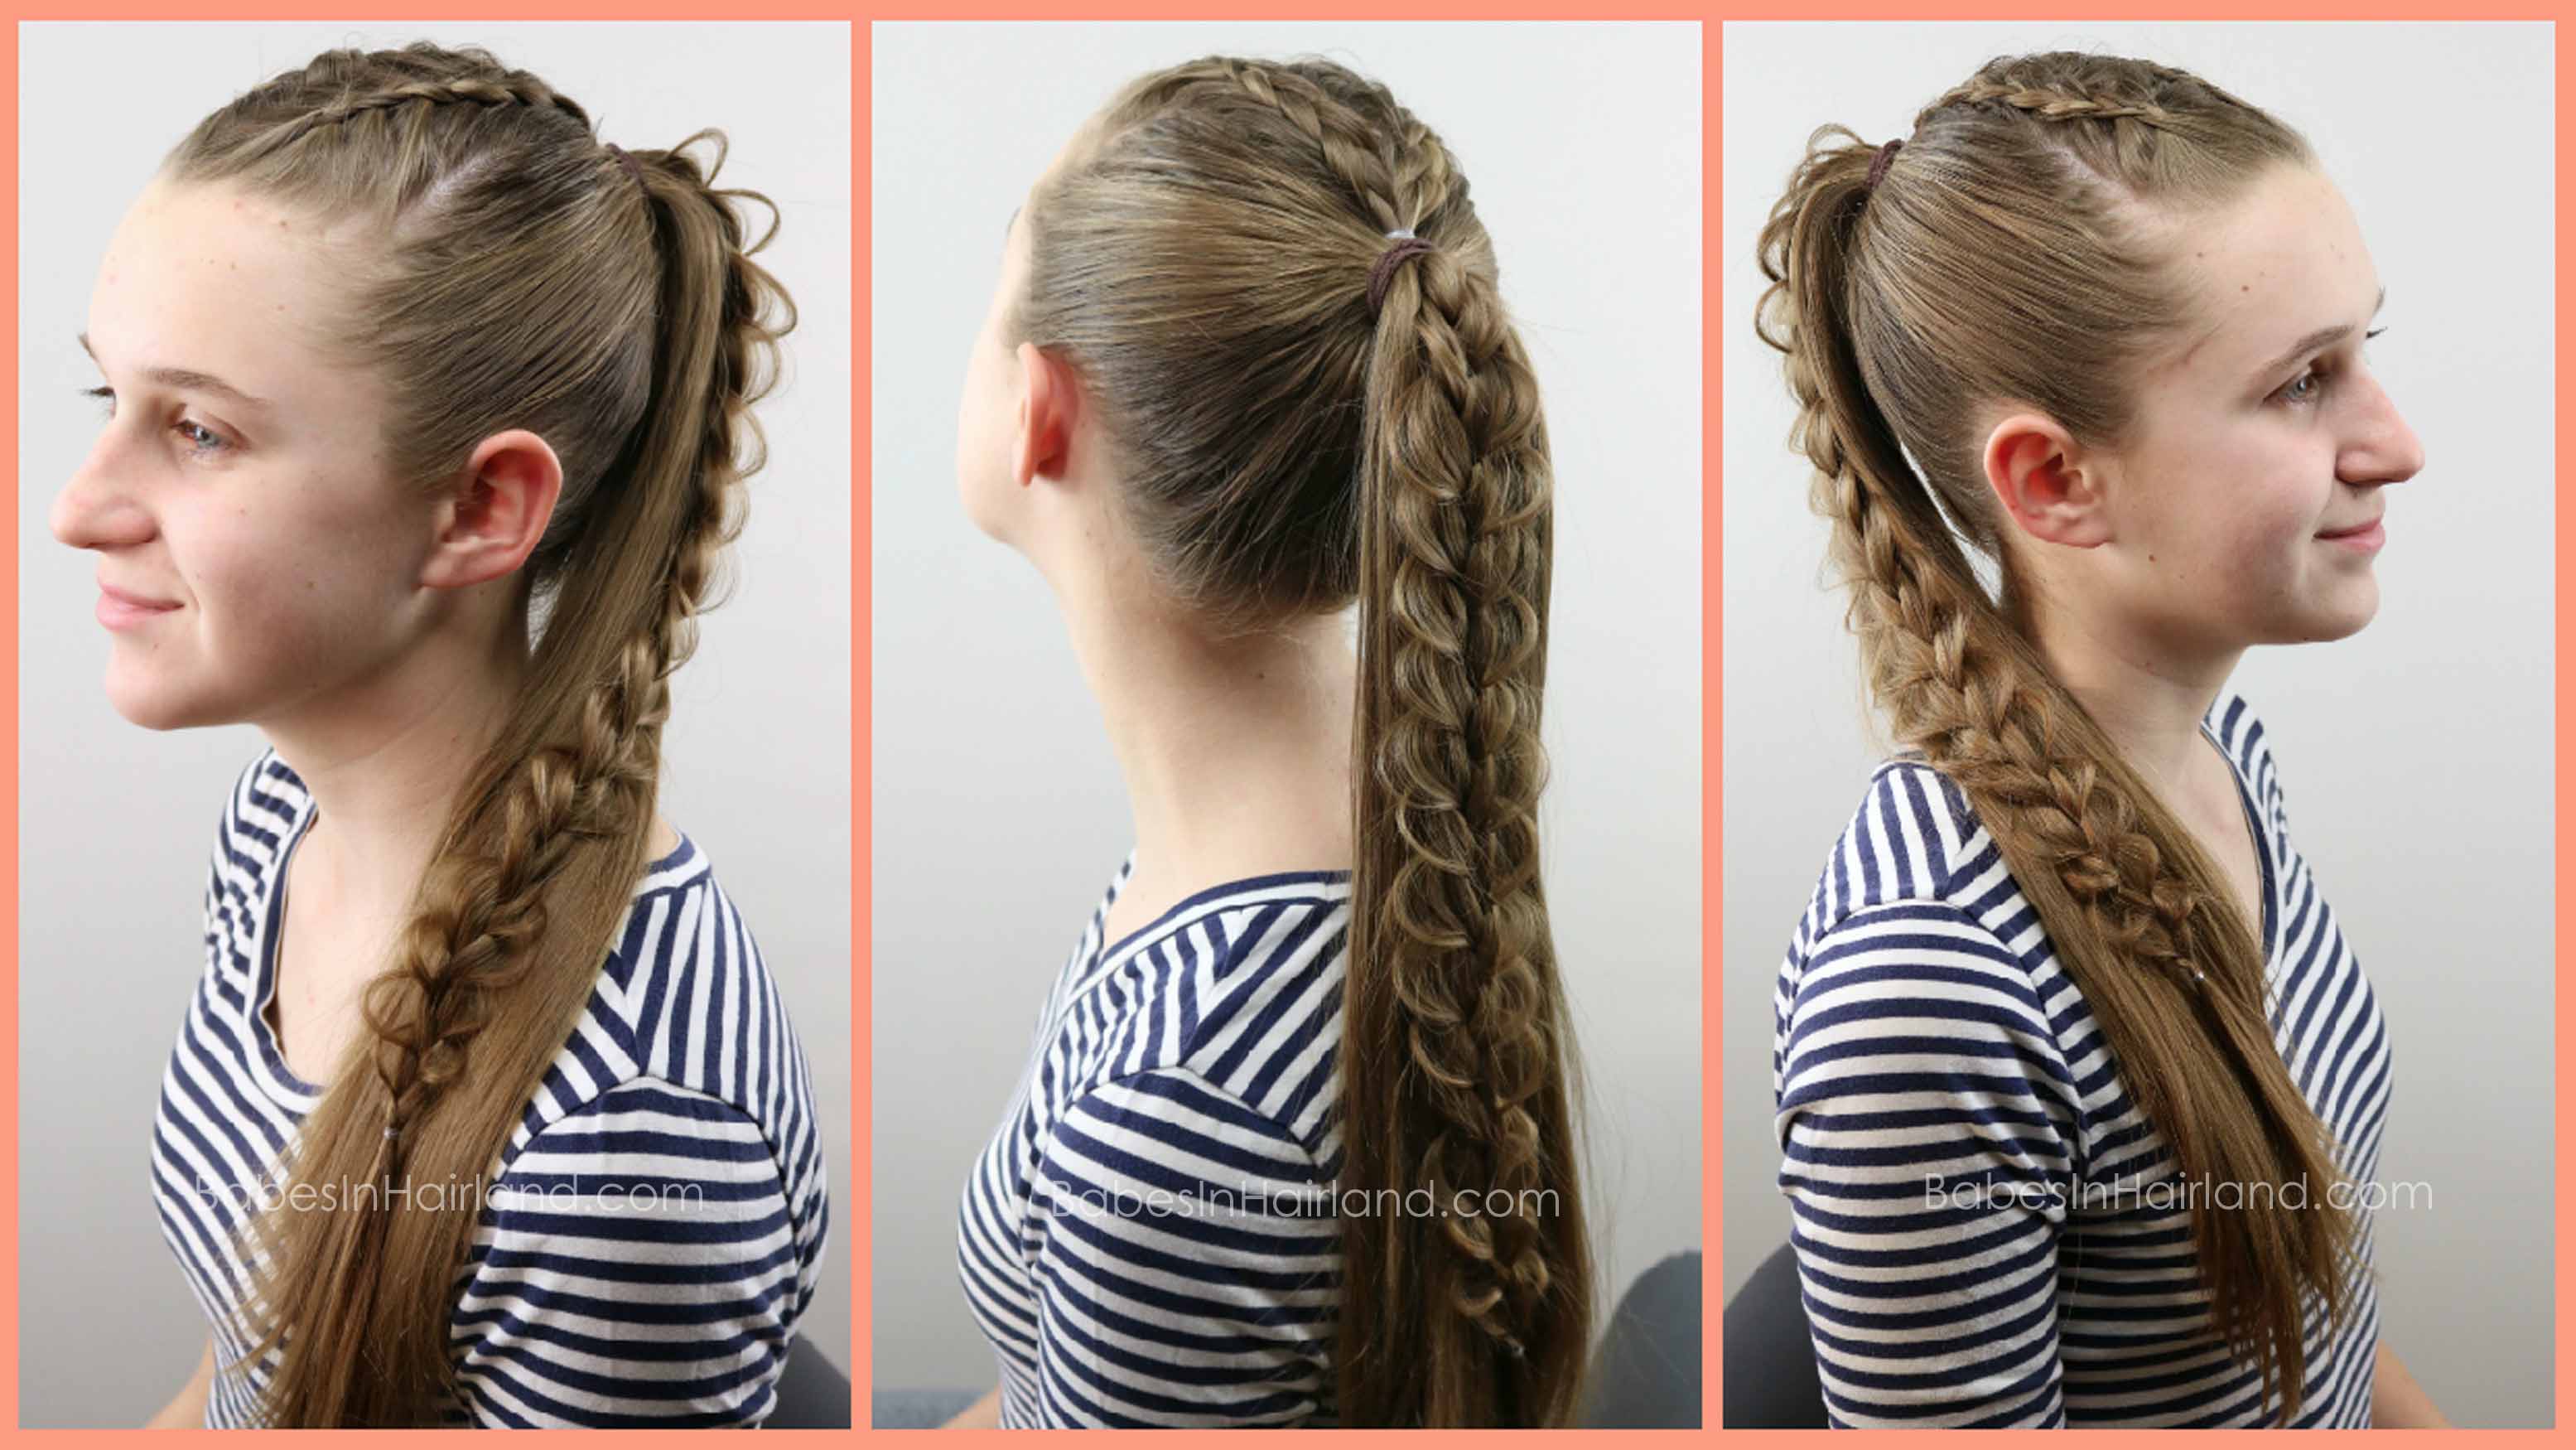
12- Gather all remaining hair down in back into a high ponytail.
13 – Draw your braid back down and add it into the hair you’ve gathered into a ponytail.
14- Secure all the hair and braid into a high ponytail with an elastic. Try get your ponytail high enough that your ponytail holder is close to, or covers the elastic from Step 4.
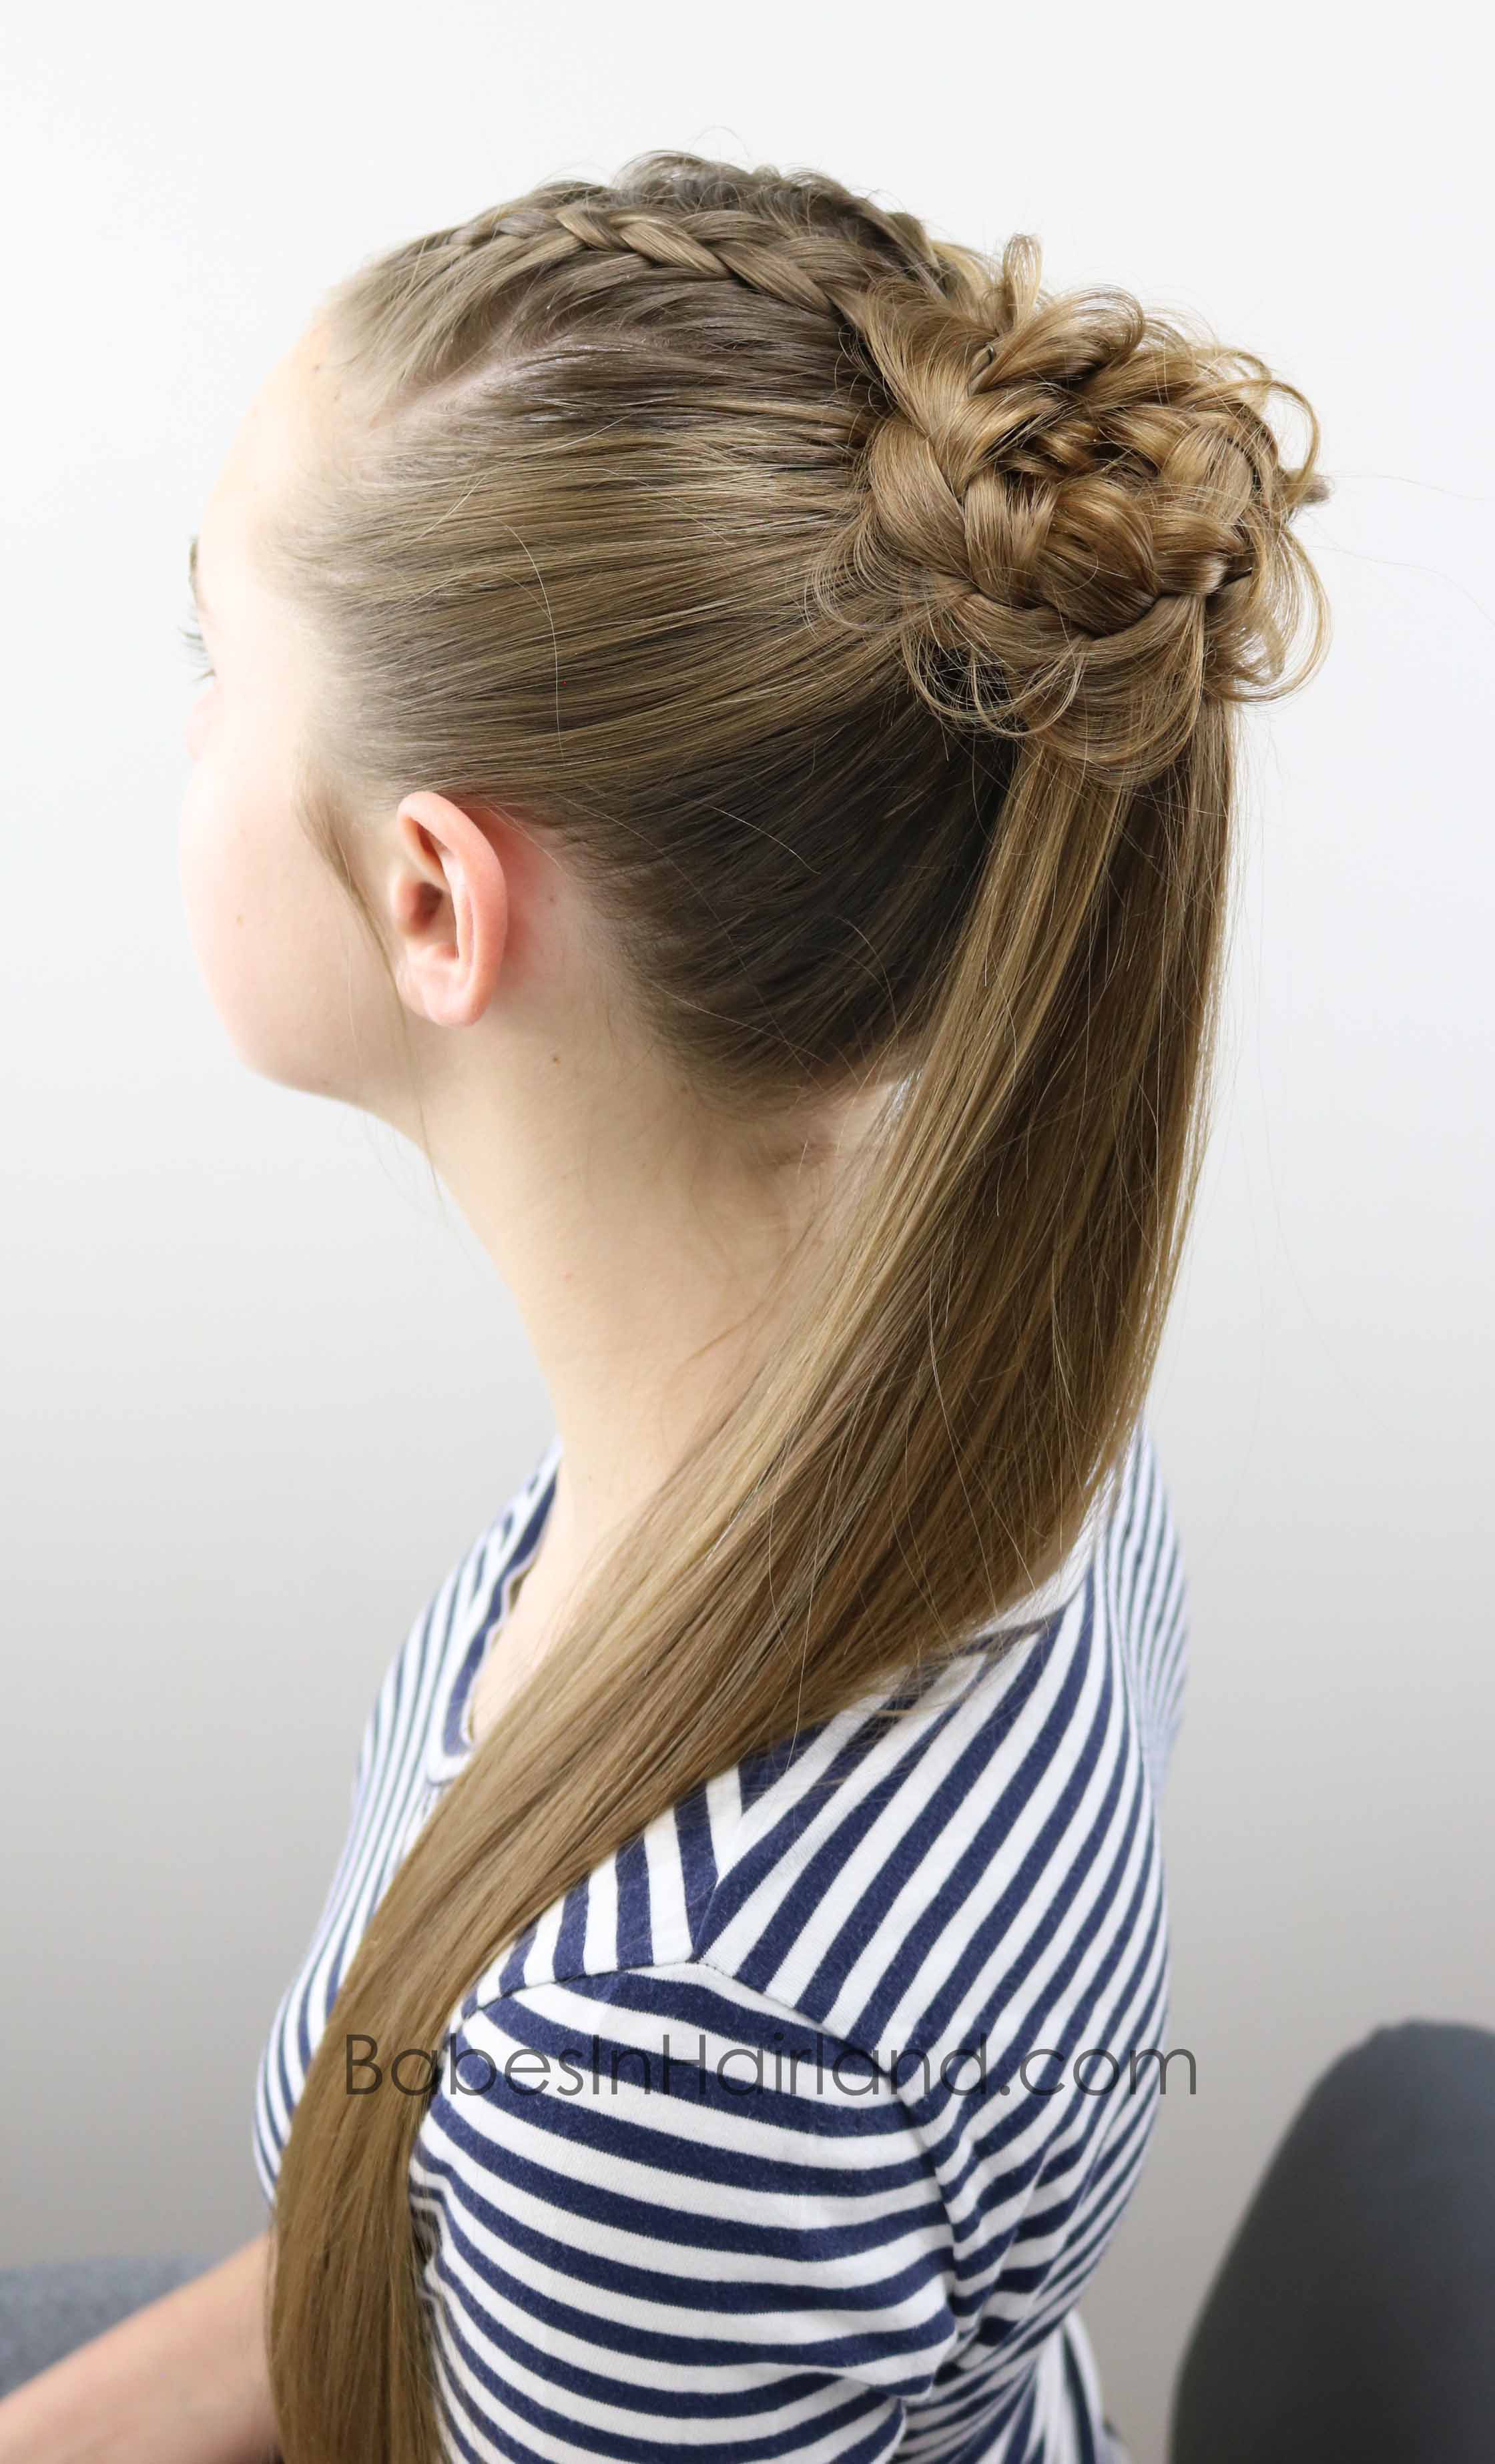
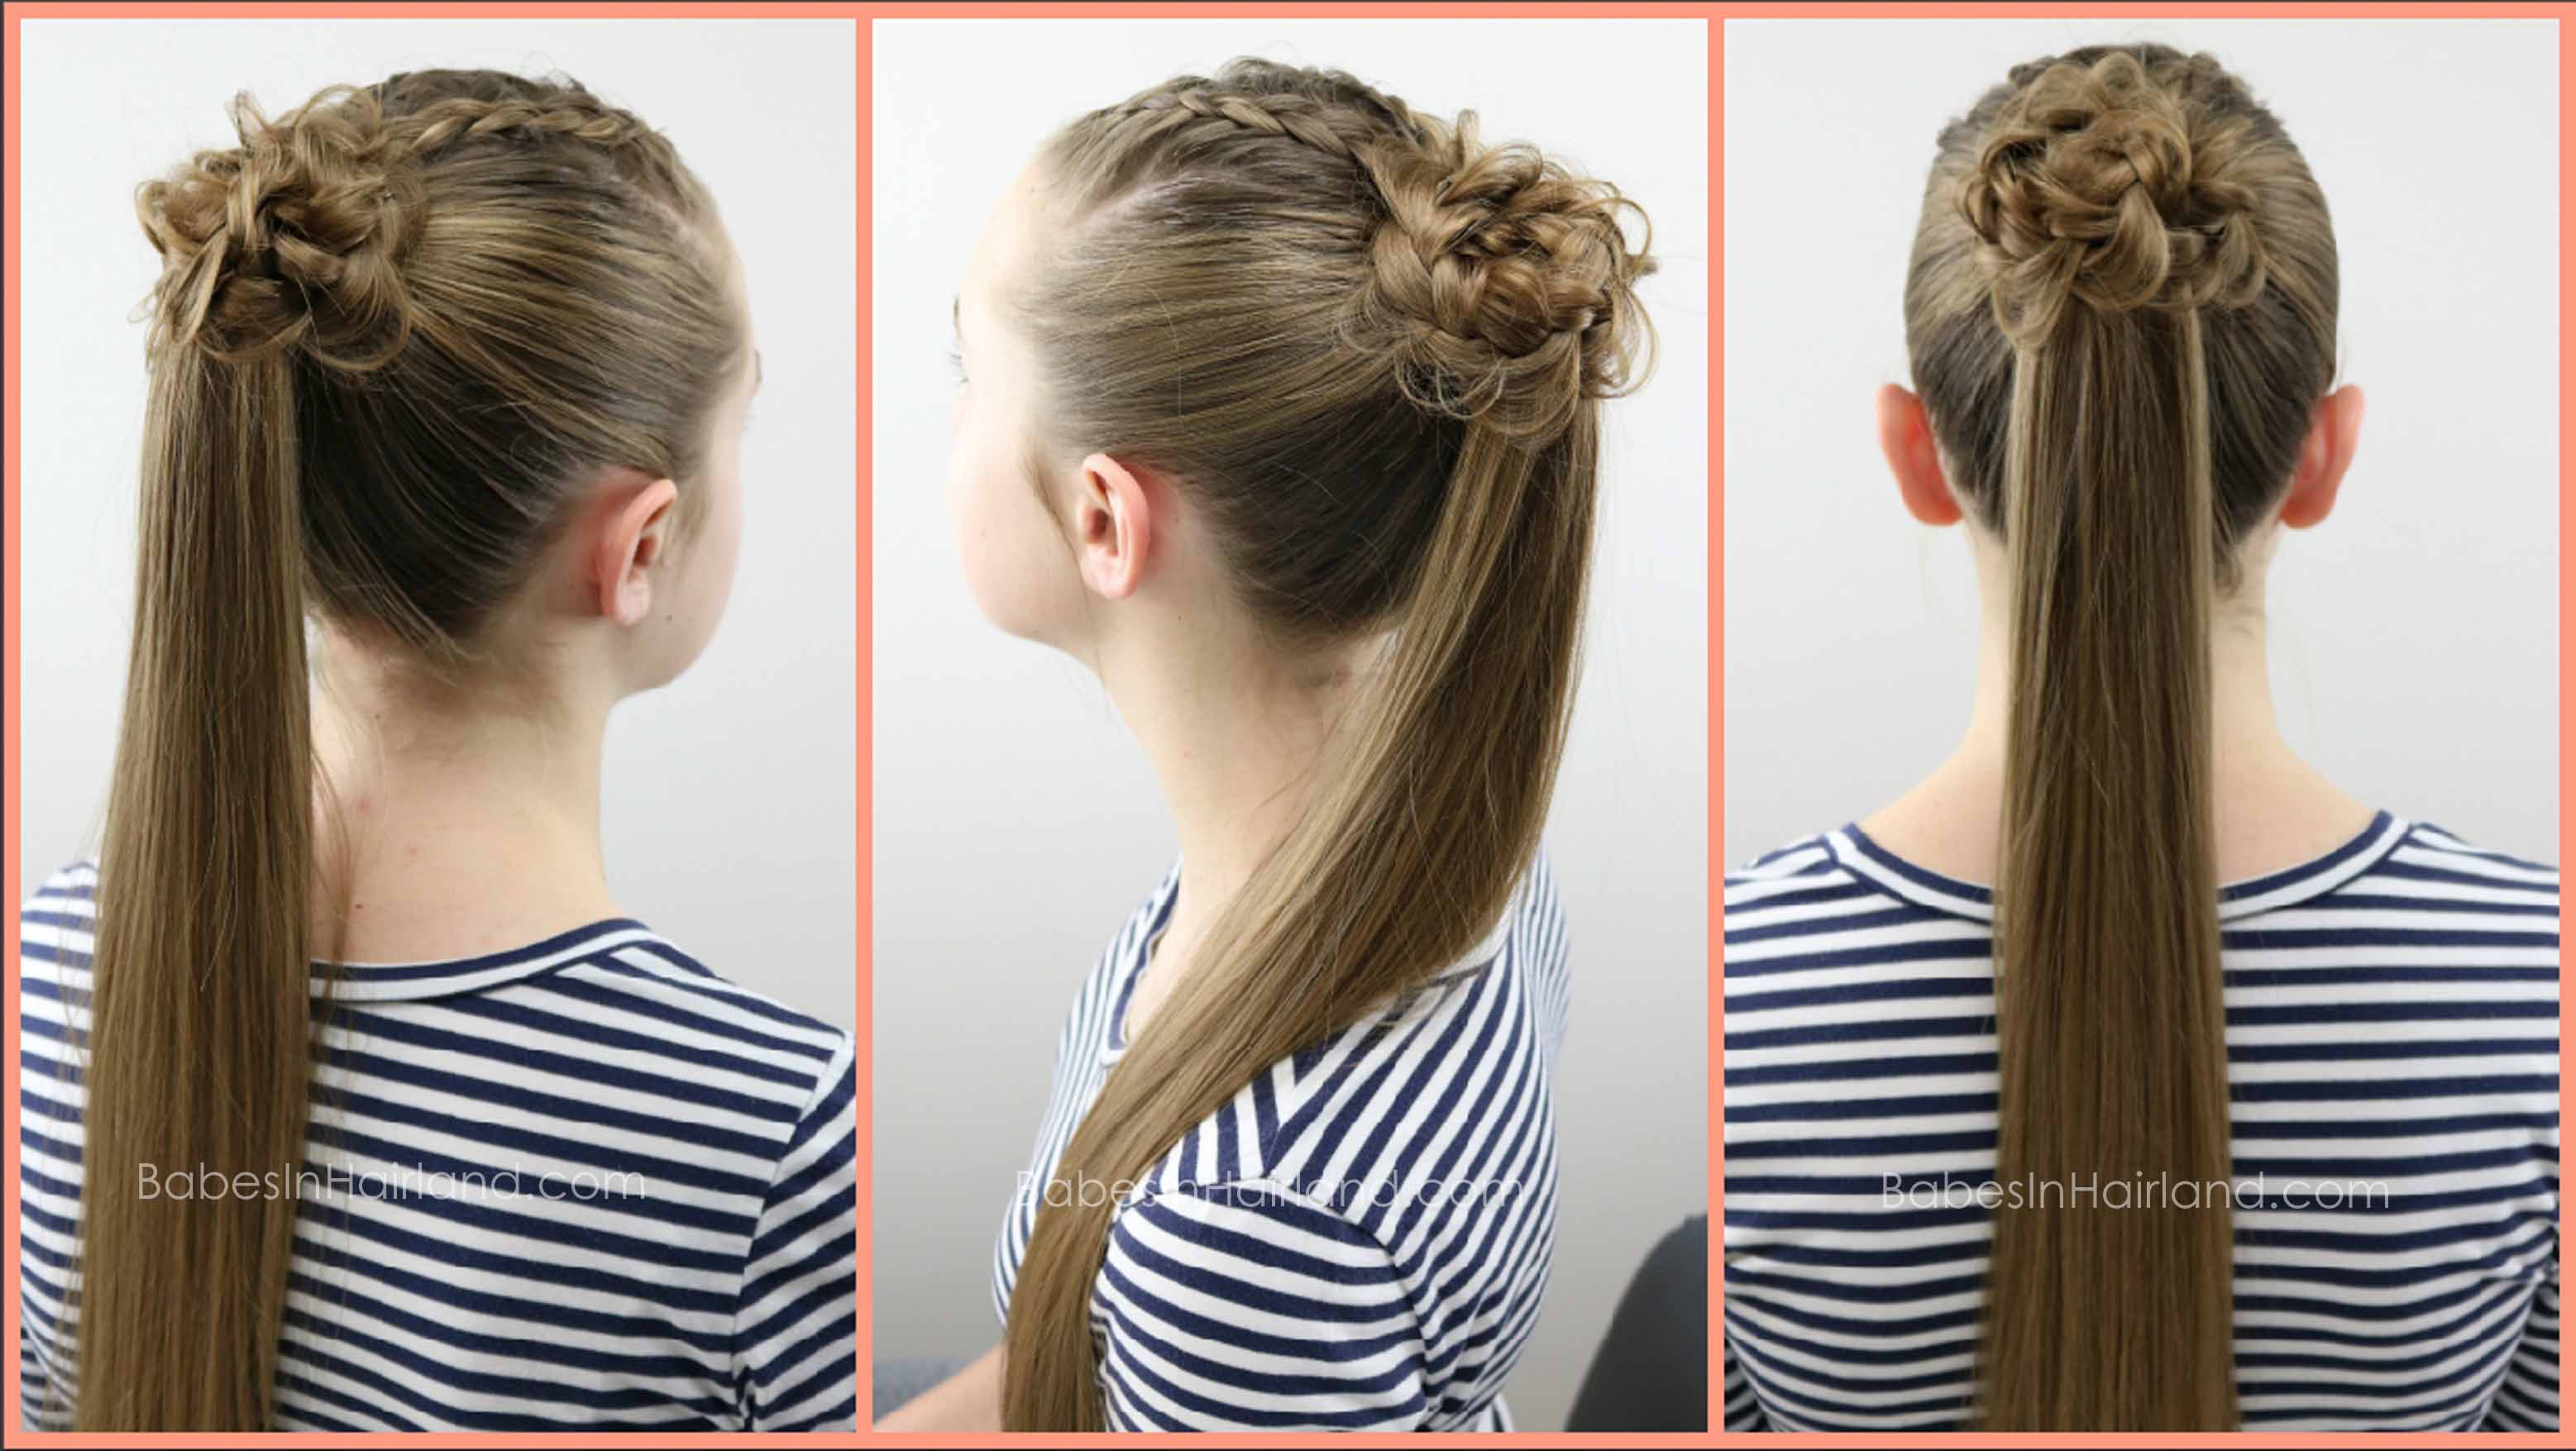
FINISHED DUTCH BRAID STYLE #4
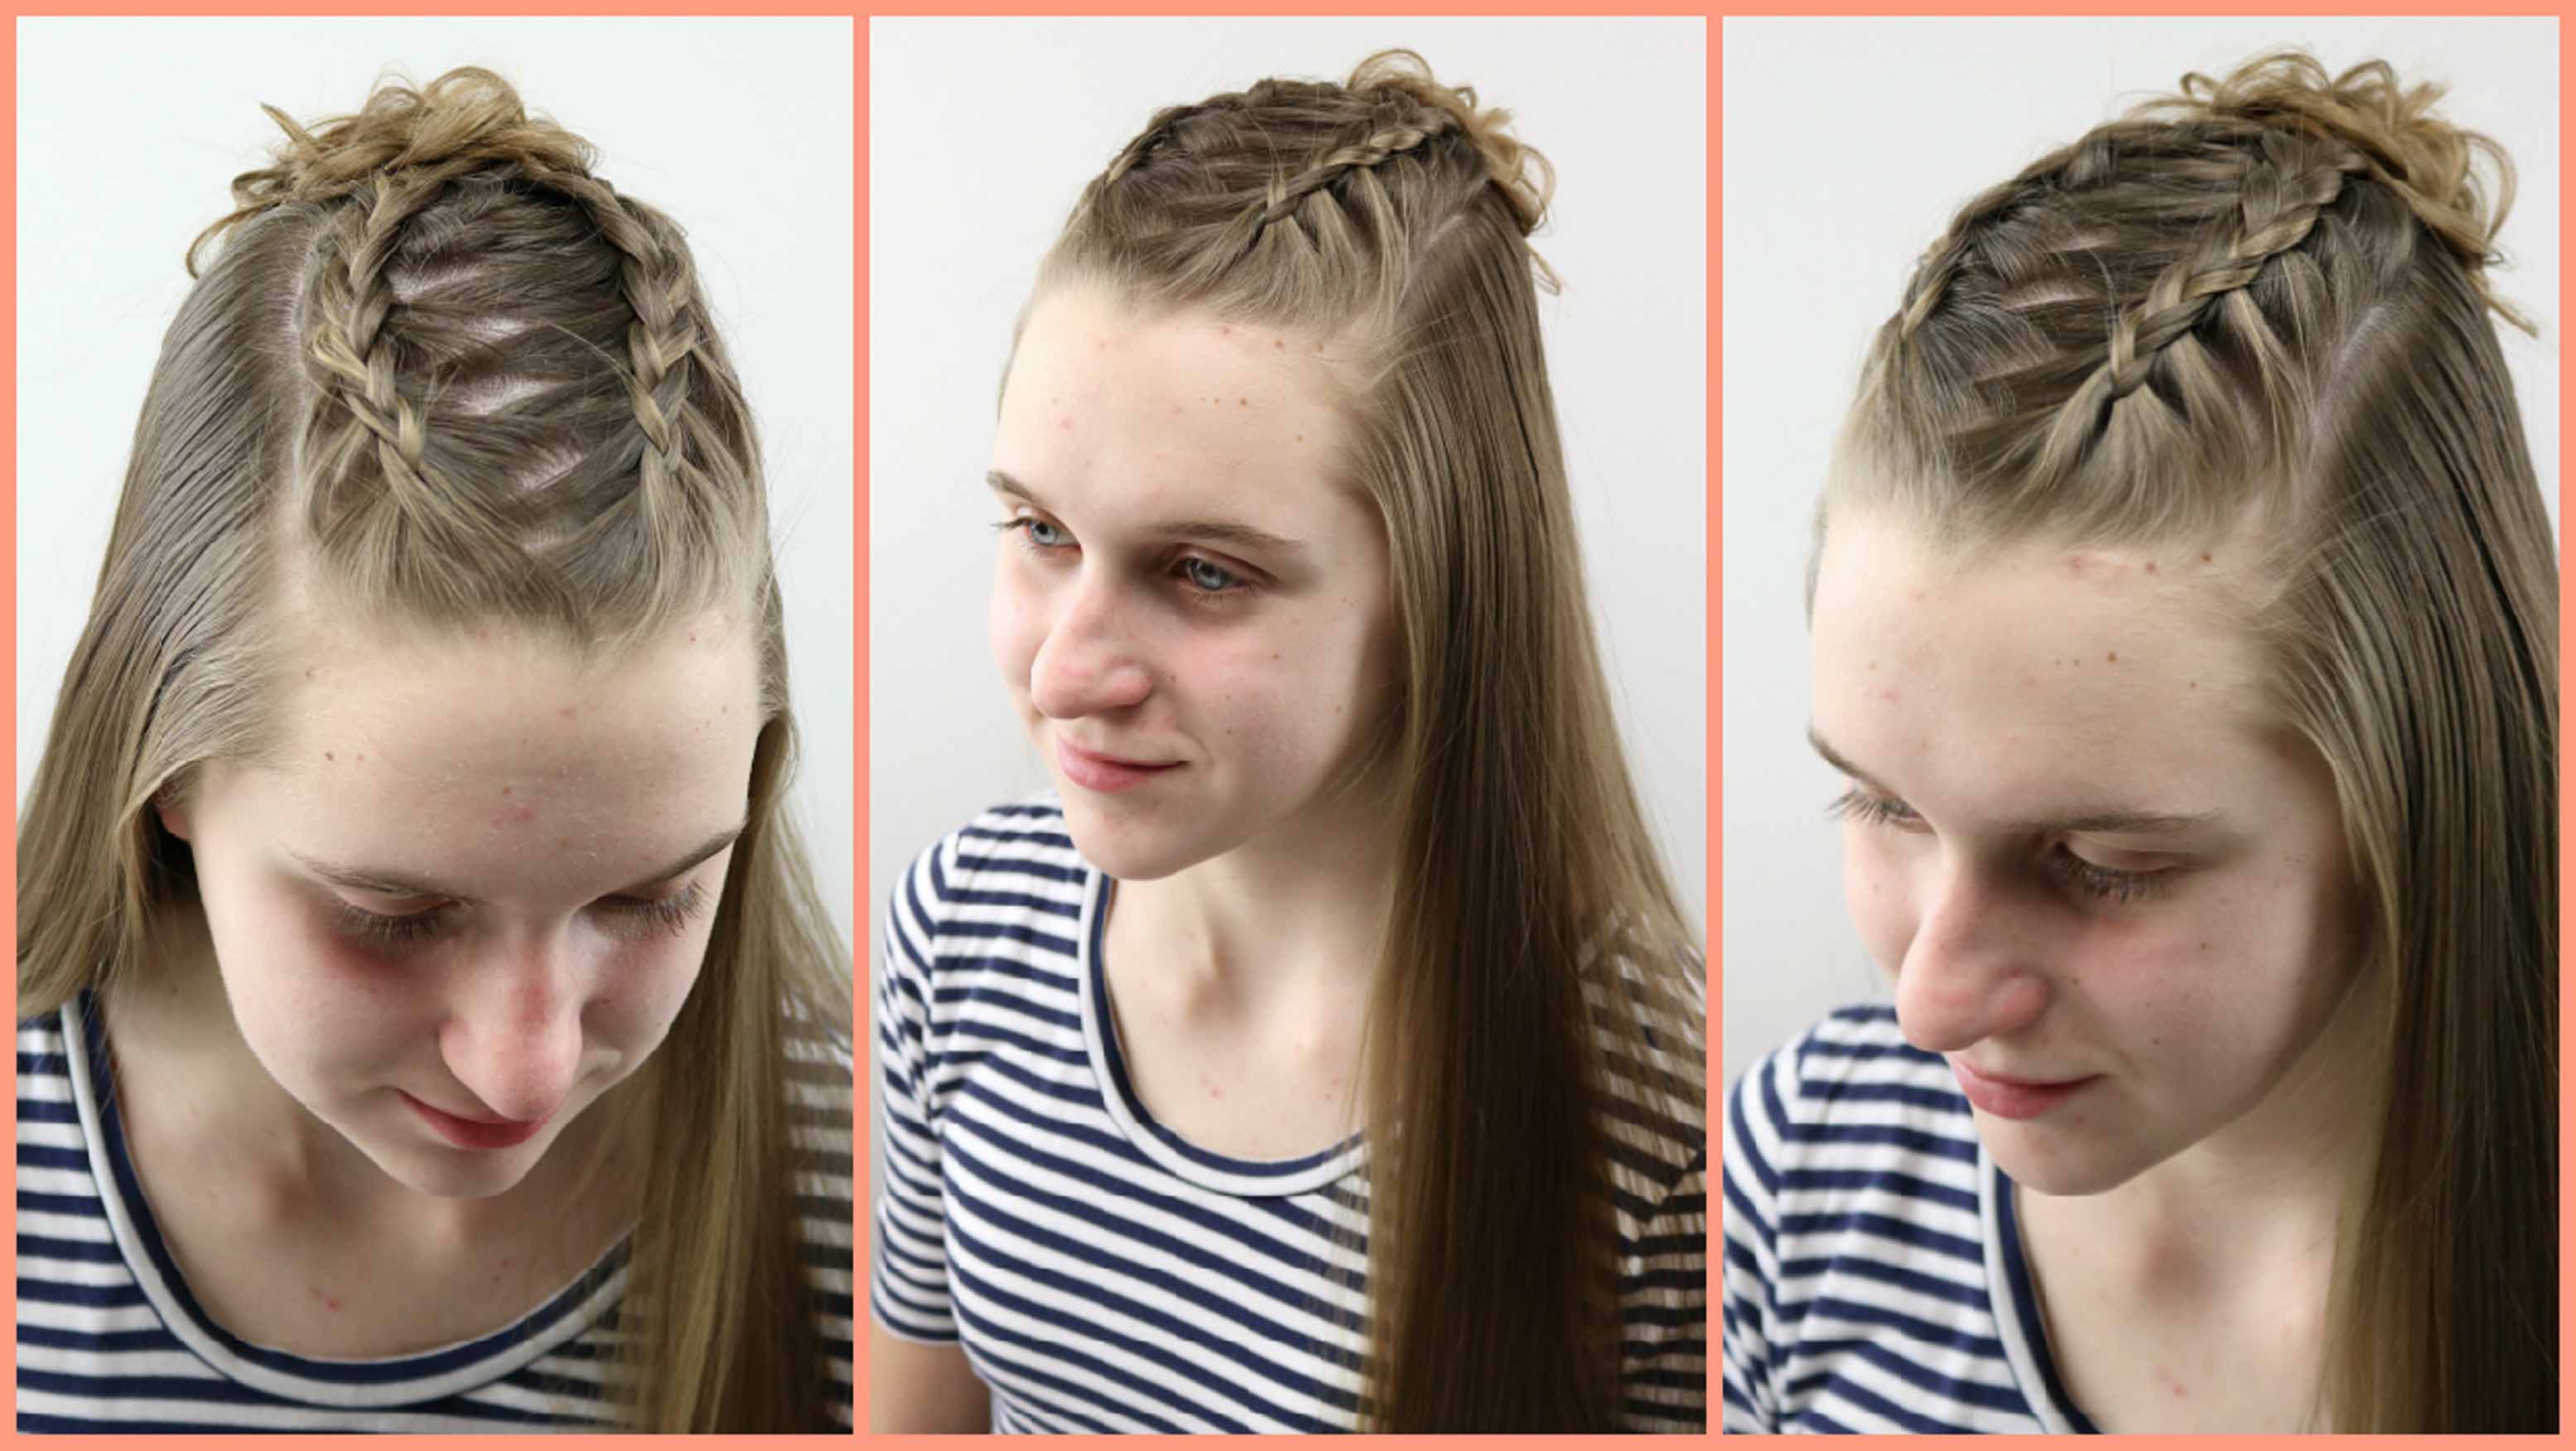
 15- With the braid sitting on top of the ponytail, gently coil it back up into a rosette bun that will sit on top of the ponytail.
16- Secure the rosette bun on top of the ponytail with bobby pins so it covers the ponytail holder.
FINISHED DUTCH BRAID STYLE #5
You can totally add more to this style, by doing many different things in the ponytail, but like I said, we just wanted to keep things basic and show you how a style can progress to different things using one main element.
Which style is your favorite? Be sure to PIN it and SHARE it! Thanks for stopping by and we’ll see you next week!
