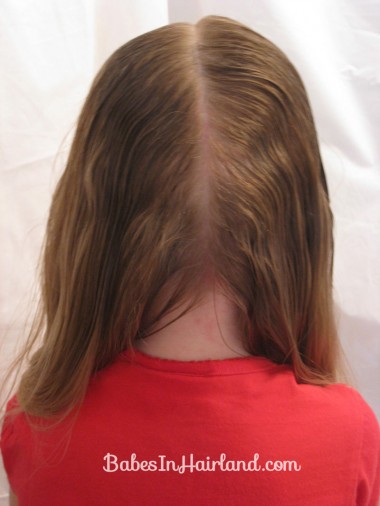
 I’d had Bug’s hair in a loose braid the day before, so we just went with her hair as is to start this one.
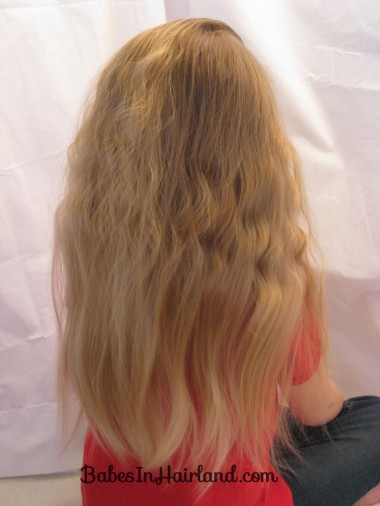
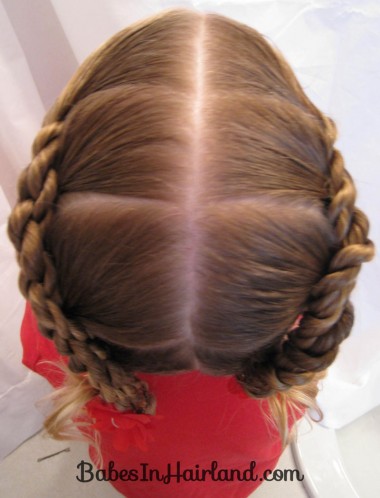
Part the entire head of hair down the middle – from front to back. Notice Bug’s waves in the right side of her hair. That’s not from her prior day’s hair – it drives me crazy, because it makes my parts not look straight and things don’t lay as good as I’d like them sometimes when I deal with that section of her hair.
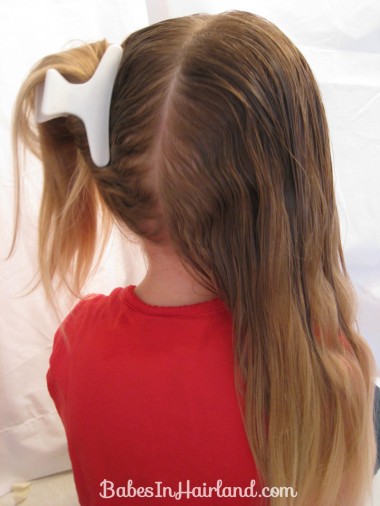
Anyway – part the hair and then clip off the one side to keep it out of the way.
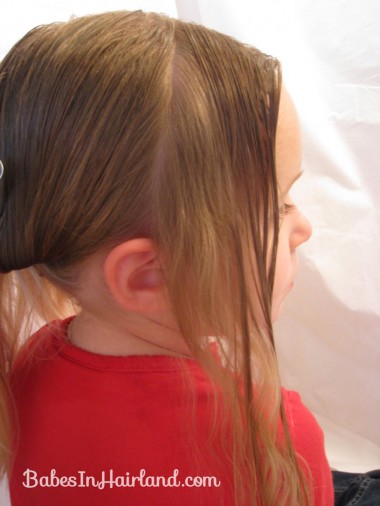
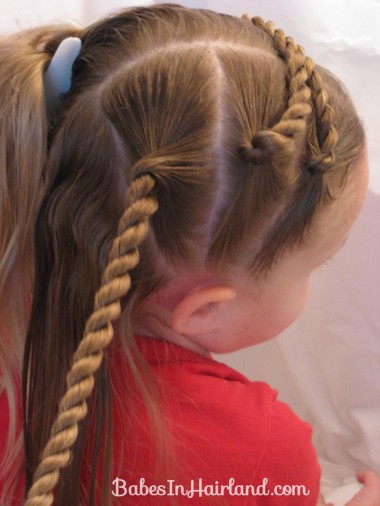
From the middle part, make another part in the front section of the hair branching off from the middle part down to the top front part of the ear.
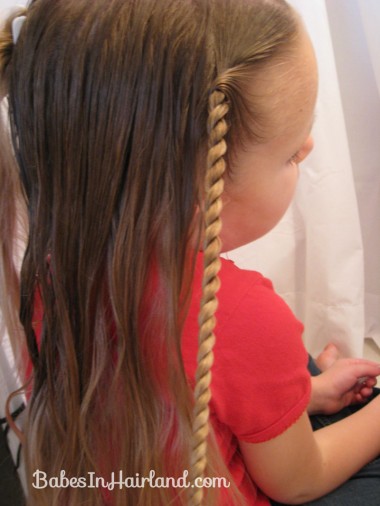
Make a rope/twist braid and tie it off with a clear rubber band. See our video HERE if you don’t know how to do them!
I draped that rope/twist braid over to the other side to get it out of the way (and did that to all of them) until I’m ready to work with them all. Make another part – this one coming down behind the back of the ear. Do another rope/twist braid (#2) and flip it over the head out of the way.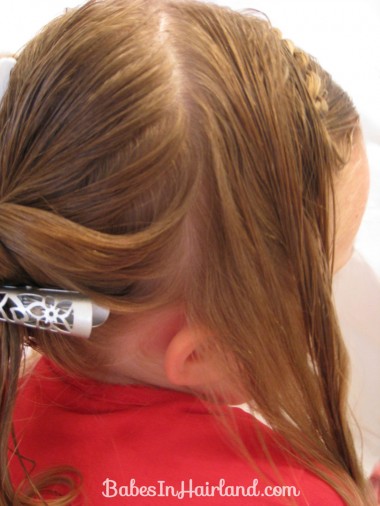
Make another part taking another 1/4 of the hair and make another rope/twist braid& again, flip it up out of the way.
Repeat with the last section of hair – until you have 4 tied off rope/twist braids.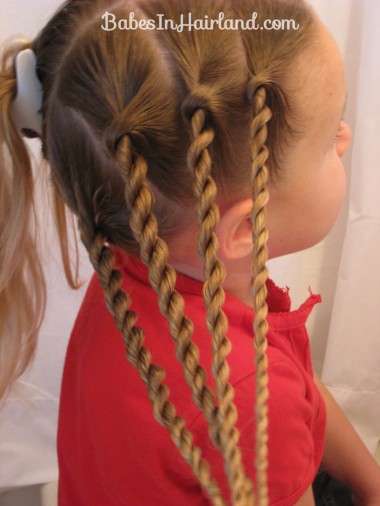
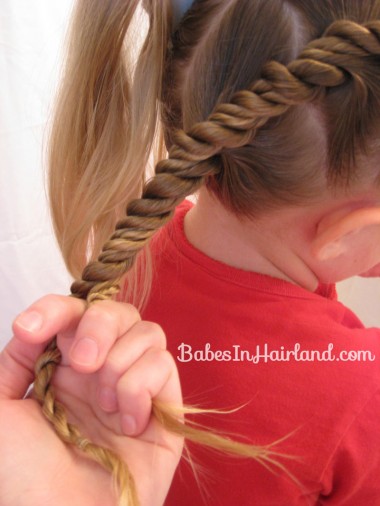
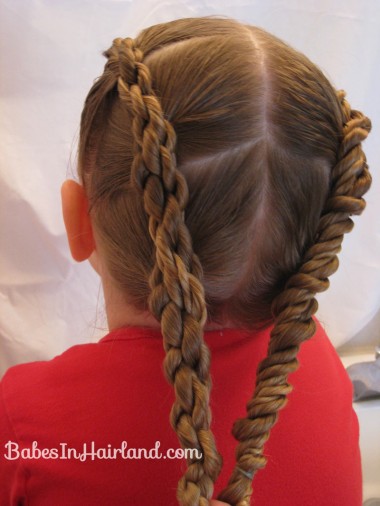
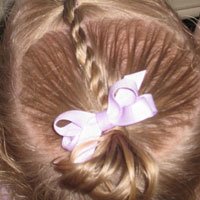
Now take the front rope/twist braid and bring it up and over #2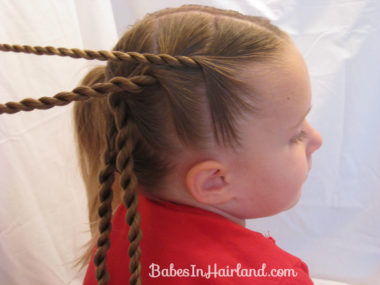
Then just twist them together – right over left. Not doing a rope/twist braid – just a simple twist. Twist those 2 together until you reach the end.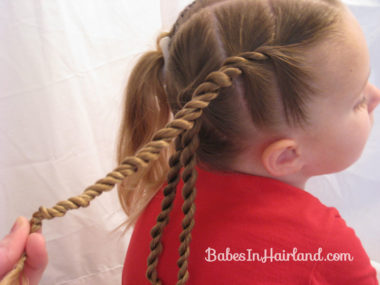
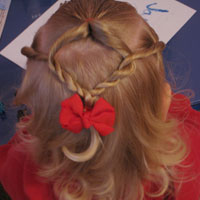
Then take those 2 that are combined and pass them over the top of rope/twist braid #3 and begin the process again – right over left until you reach the end. (I think these start looking like those long old fashioned lolly pops that are twisted!)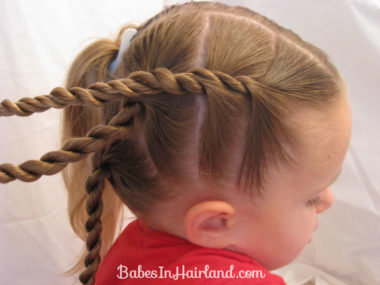
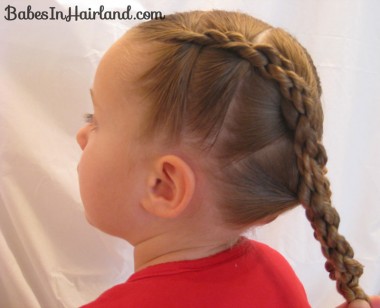
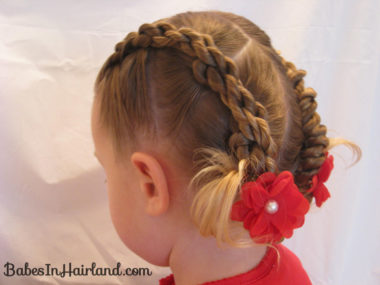
Repeat that process on the 4th rope/twist braid and twist down as far as you like. I decided I wanted to flip the ends up a bit, so I tied it off a bit further up.
Repeat the process on the left side.
And here was my “secret experiment” …. (and maybe I’m just daft and do things weird, but this was my experiment!) I did my rope/twist braids the exact same way on both sides except for 1 thing – and can you see how different the whole look turned out? Some of this has to do with the fact that I’m right handed so I was curious to see what would happen…
Assuming you know how to do a rope/twist braid this hopefully will make sense. If you struggle with this concept, just skip this paragraph becuz it’ll seem like some stupid story problem that will only confuse you! Anyway – It’s because on the right side when I began my individual rope/twist braids I passed the right strand up and over the left strand and then twisted the 2 strands to the right (and then passed the right strand to the left to make the rope/twist braid.)
But on the left side of her head, I started the same way but I passed the right strand down and under the left strand and then making the rope/twist braid. I don’t know if that makes any sense at all. But basically if you want the right side to look like the left, when you do the right side, you need to start by passing the left strand down over the right & twist to the left (which I’ve found to be a challenge due to my right handedness.) Also, on the right side, I needed to use a few bobby pins to keep the whole twist closer to her head to keep it from sort of untwisting. Basically one side you need to twist to the right – the other you need to twist to the left to get them to look uniform. I personally like the left side better.
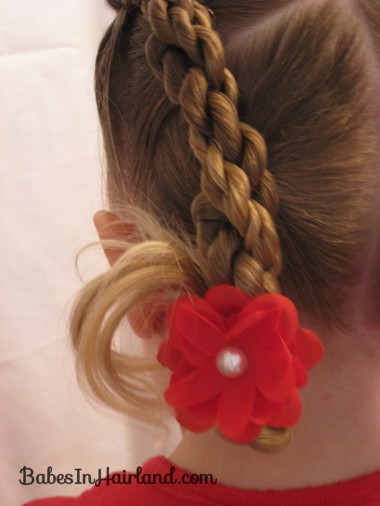
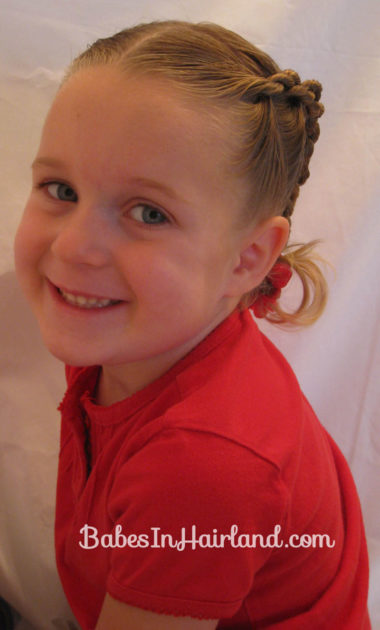
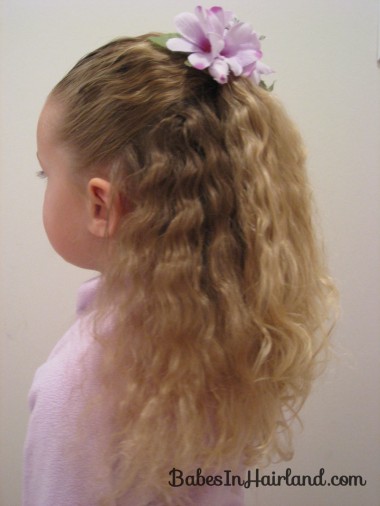
Ok – sorry if I confused you. I left all the rubber bands in and just flipped the ends up and fastened them up with another rubber band. I curled them a bit so the ends would curl back down. Then I put in the flowers to dress it up a bit.
NOW — onto the exciting part. A new accessory. See that beautiful red flower in her hair? Let me tell you about this FABULOUS accessory. I normally don’t like to “give plugs” but I can’t keep this a secret! I got these from Maiden America … and let me tell you how wonderful these clips are. Well, where to start. I’d never heard of Maiden America before, until recently one of my followers tipped me off about a gift certificate giveaway that was going on there. I posted about it, and then decided to look around on the site. Besides having the most beautiful and original clips I’ve seen, they don’t slide out of my DD’s hair.
These clips have an amazing non-slip grip in them that help them stay in ANY hair (that is unlike any I’ve seen on other clips). I put one of these clips in my baby Bee’s hair (to make a ponytail) without a rubber band – which I would never do, because nothing holds her hair without first fastening it with a rubber band. So I thought I’d put them to the test and and just put a basic ponytail on top of her head for the day fastening it with the barrette. Let me tell you – it did not budge. In her fine baby hair it stayed in all day – nap time & all – without a rubber band. So, if you have issues with things staying in your DD’s hair – regardless of age – these are the clips for you.
So there you have it – the 4 Rope Braid Twisted Hairstyle & amazing red flowers from Maiden America. If you haven’t yet, go over and have a look. I personally give them my full stamp of approval. I know you won’t be disappointed.
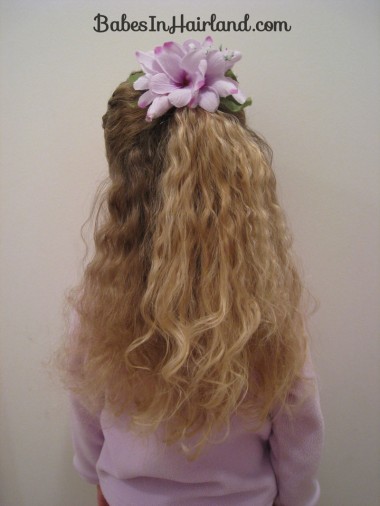
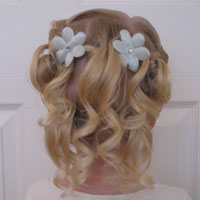
P.S. – This was our “day after hair” from the rope/twist braid do. I slightly curled the ends since they were straight – but other than that, it all thanks to the prior hair do. Very pretty.